Leap Year
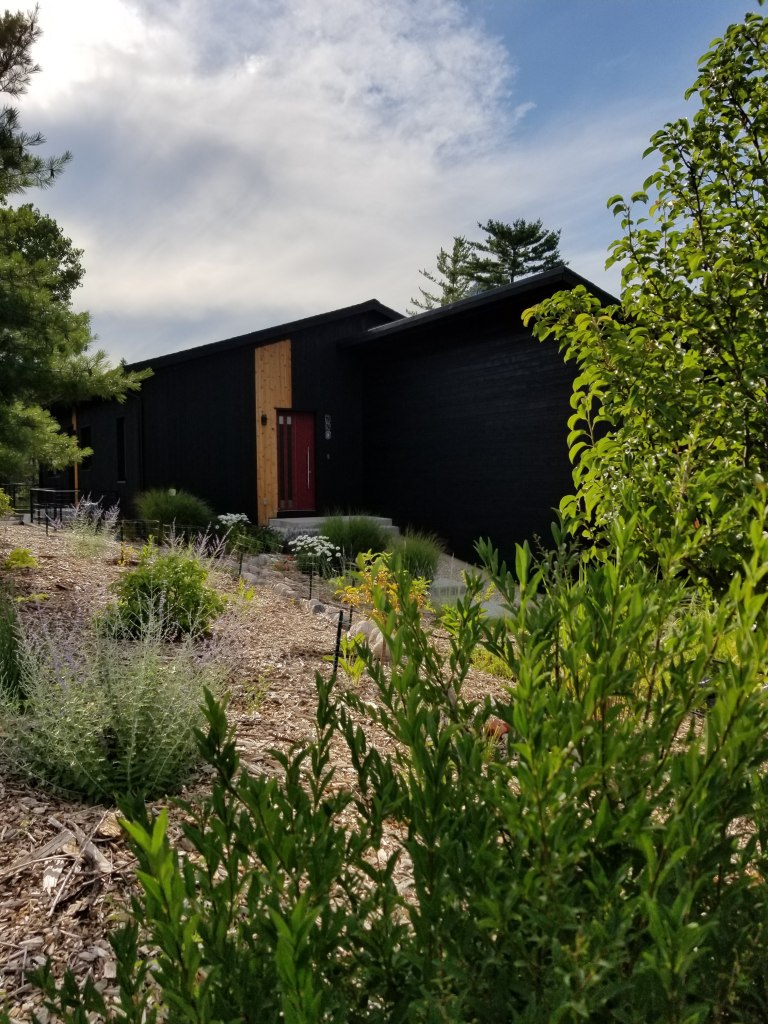
In terms of the old gardening adage ‘first year sleep, second year creep, third year leap…‘ our yard is mostly on schedule. We were technically entering our fourth year of planting and growing, however, it was still only the second or third year for a majority of our plants. Nevertheless, it was exciting and deeply gratifying to see a major growth spurt from many of the older plants. This fourth year also presented us with our first real explosion of color throughout the growing season. Our yard has clearly moved on from the mulched moonscape look of its first two years.
Although we began with a diversity of plantings, even in our first year, because much of what we planted came from small pots it’s taken time for large areas of the yard to fill in. The main goal has always been overall health, whether it’s been the soil, our extensive mulching, or the wide variety of plants we’ve organized by guilds and aesthetics. Using permaculture design strategies, we knew we were operating with sound principles, but, even so, it’s difficult not to be impatient with the rate of growth year to year.
Early in the design phase of the build we decided to plant in stages, making a little progress each year, rather than try to get everything in the ground the first year. While it’s required some patience, this strategy has allowed us to develop a sense of what will work on our site, get a feel for the plant varieties we’d really like to have, and it helps to ensure the best placement for each plant grouping.
While permaculture is generally thought of as a series of design principles used to maximize food production in a sustainable way, we’ve chosen to emphasize the flowers and grasses to create a haven for wildlife, in particular pollinators and birds, all while producing a decent amount of food for ourselves. Even though various descriptors could apply to what we and others like us are trying to do with our yards (e.g., food forest, edible landscape, micro agroforestry or regenerative agriculture), at a basic level, it’s employing strategies that work with nature to produce better and more sustainable outcomes.
“One of the greatest assets of a farm is the sheer ecstasy of life.”
—Joel Salatin, quoted by Michael Pollan in The Omnivore’s Dilemma
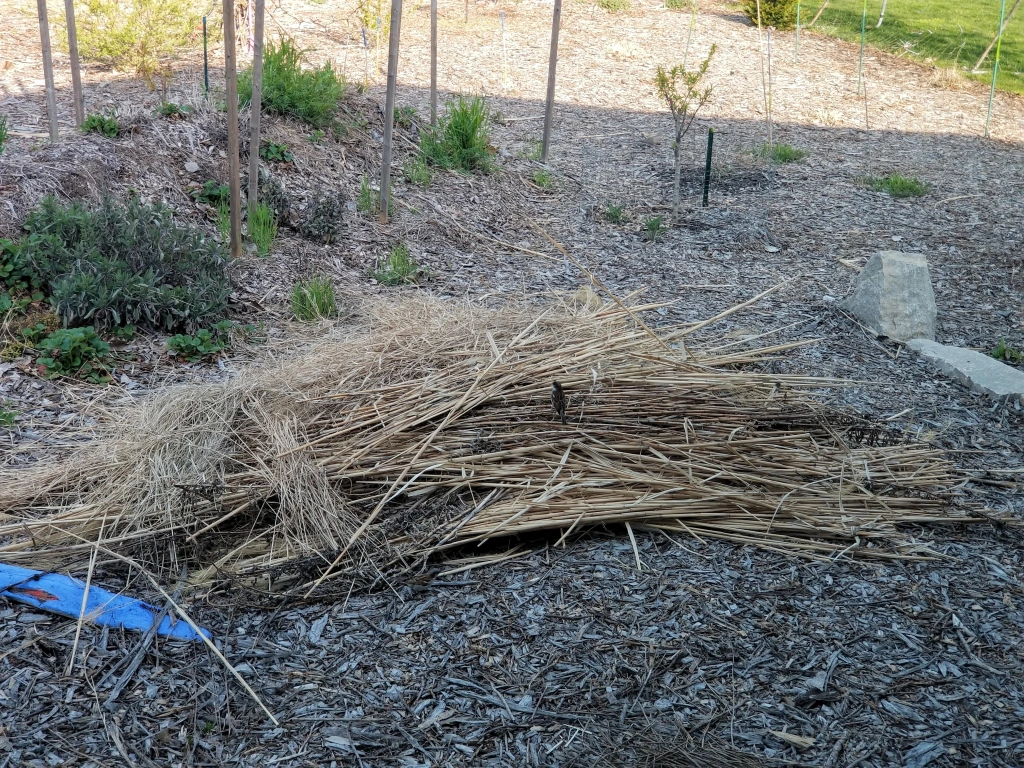
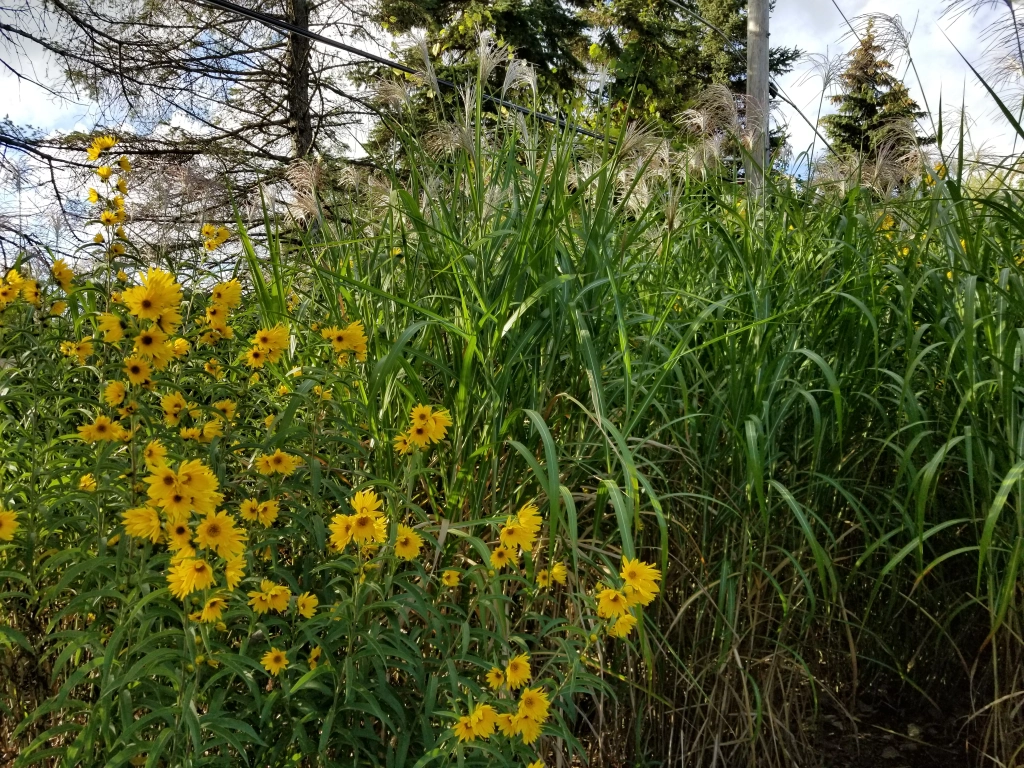
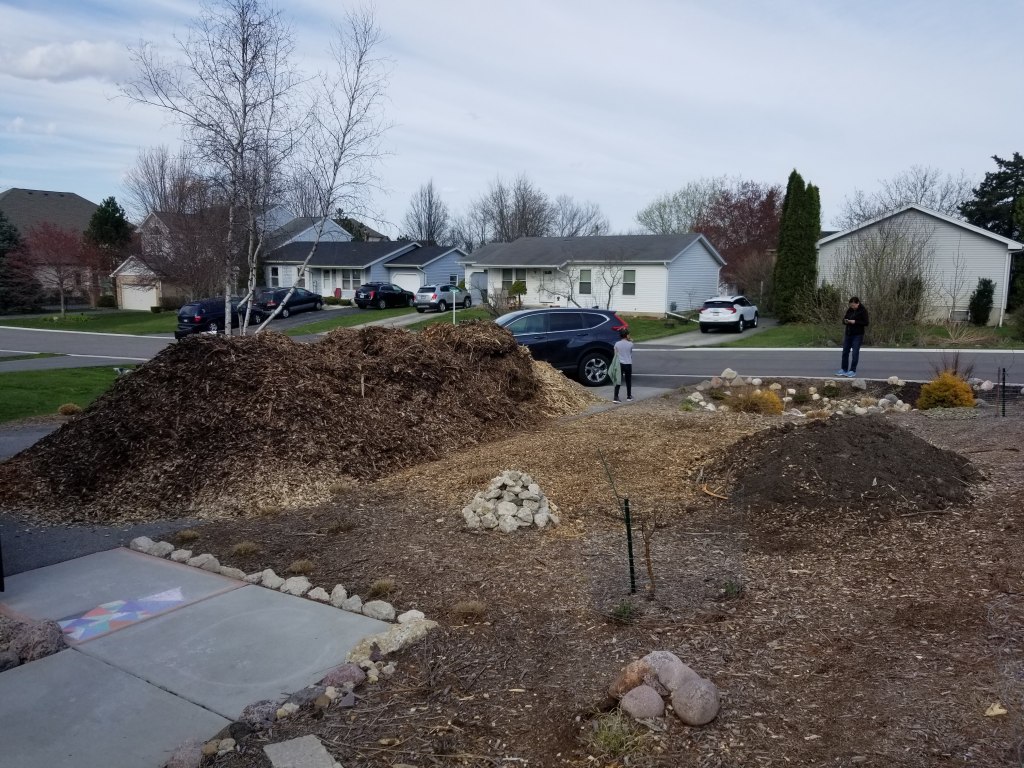
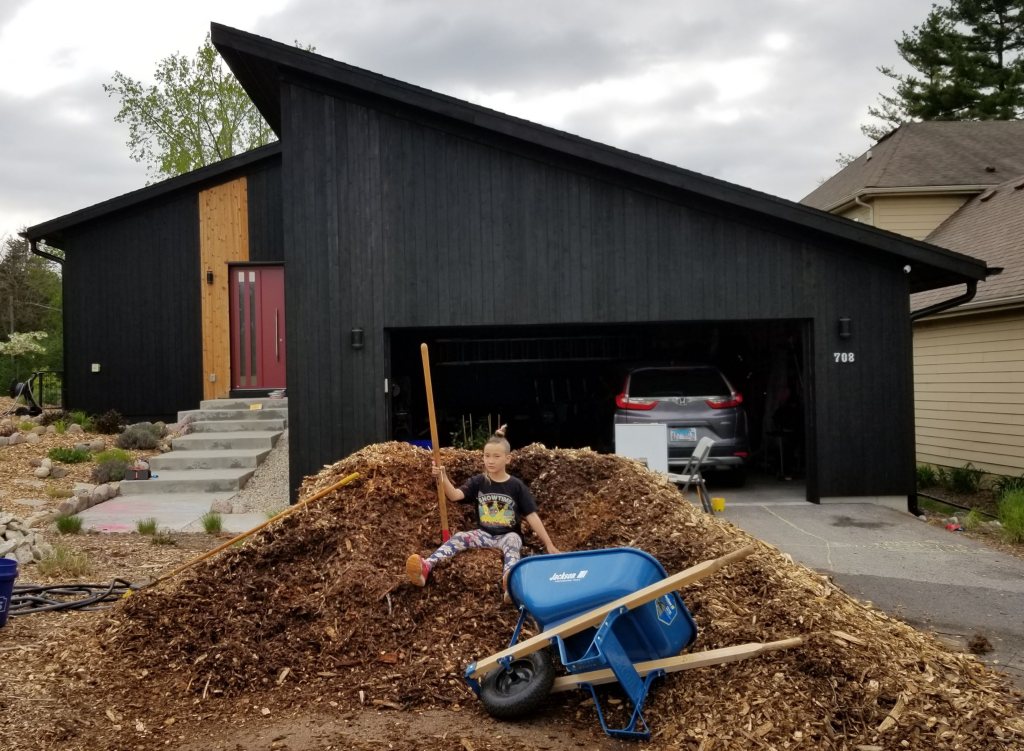
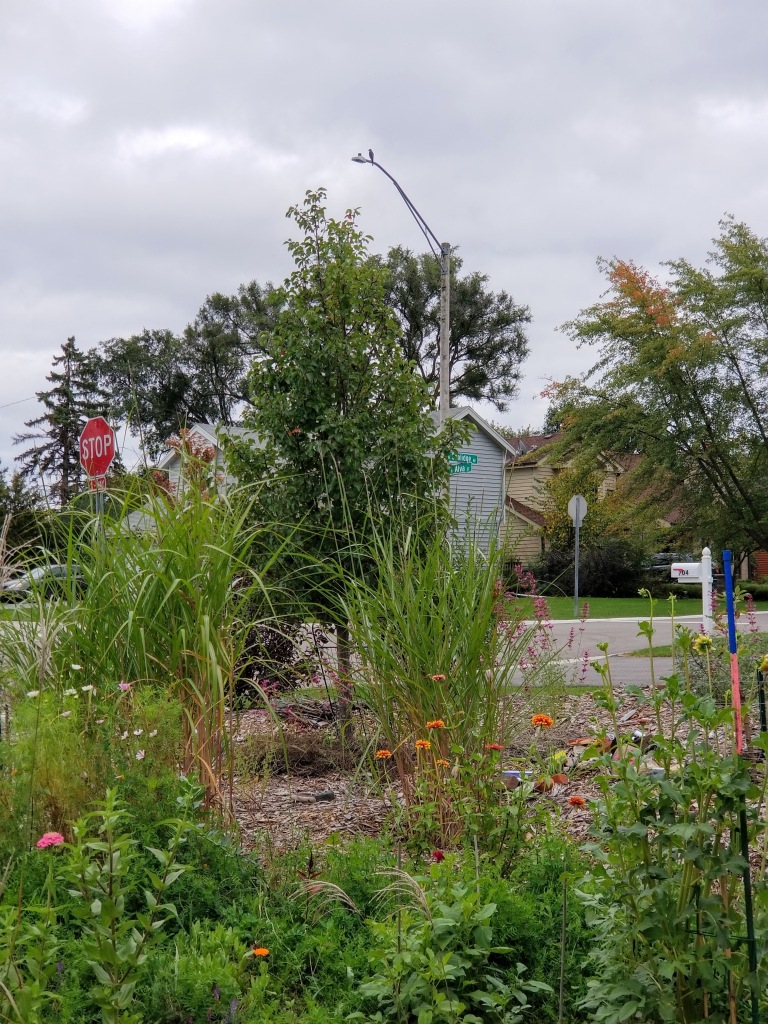
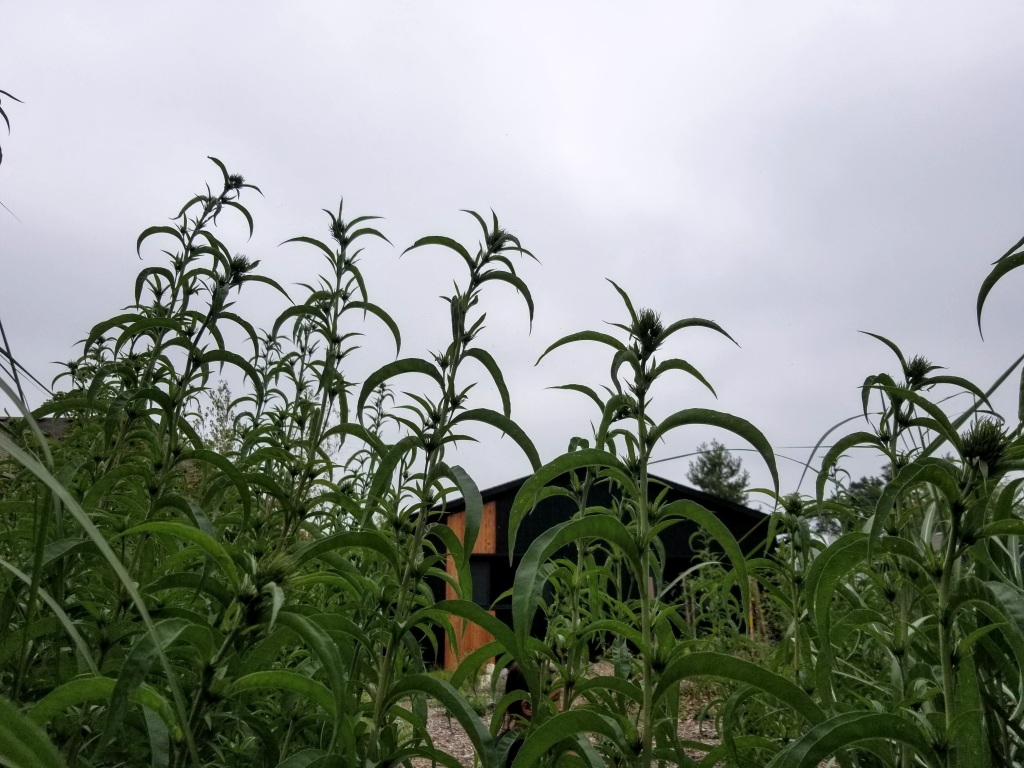
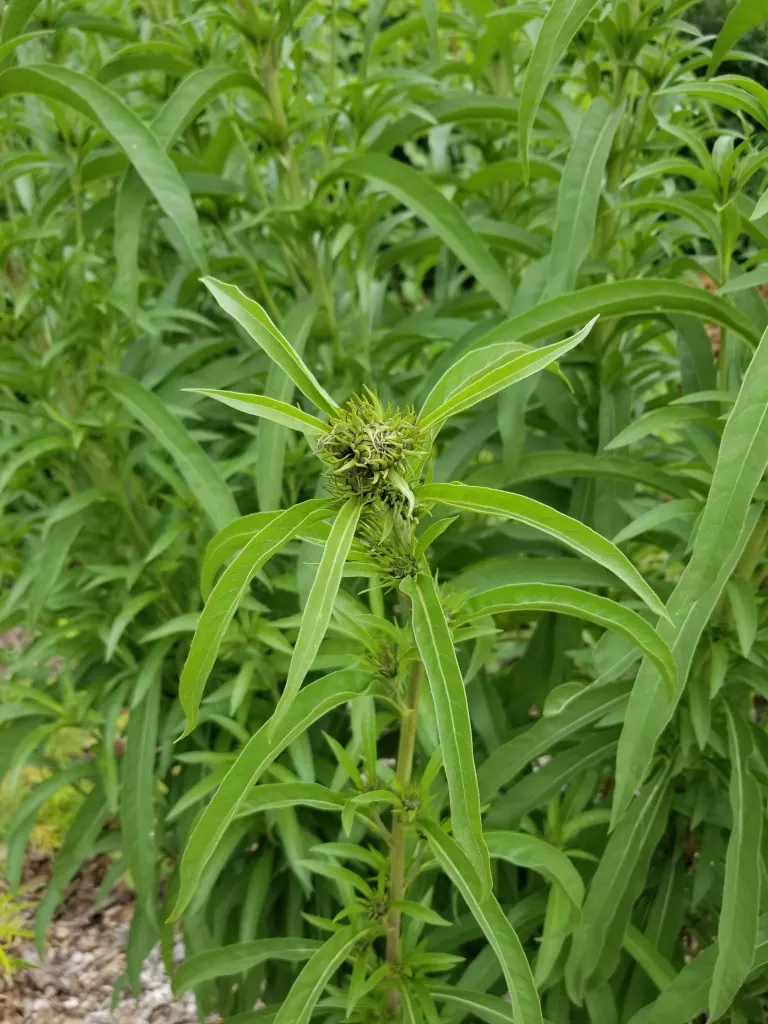
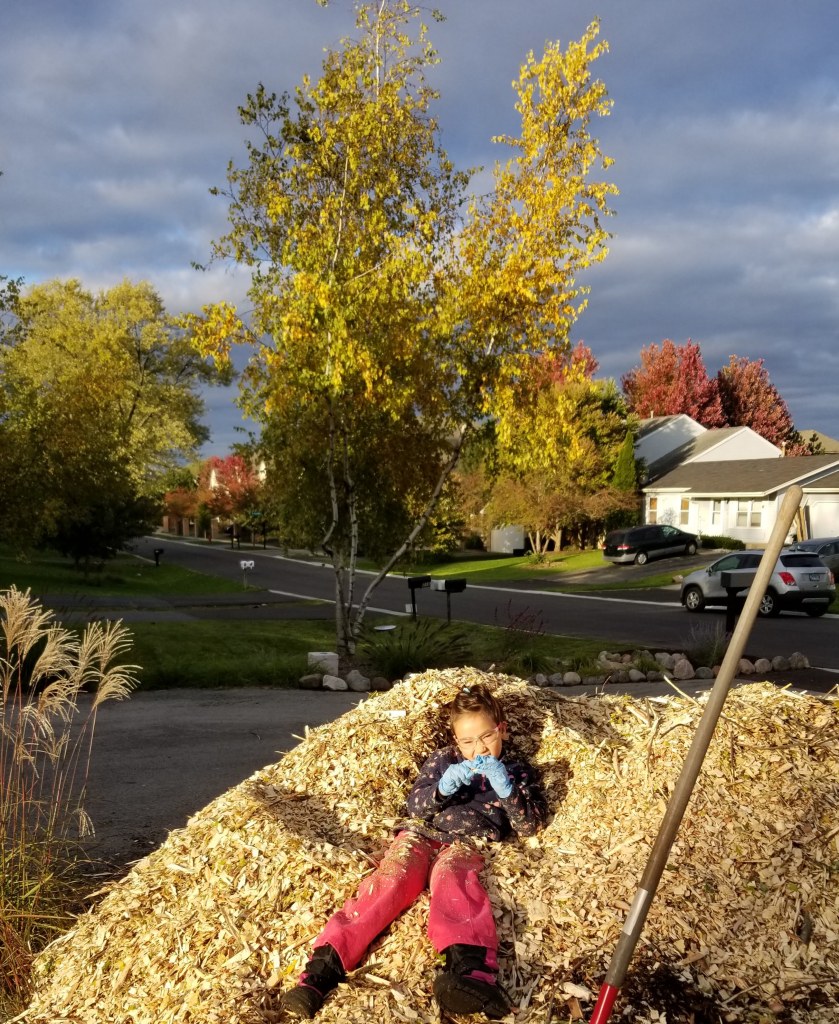
Early spring clean up usually begins for us in the backyard. The standing Miscanthus giganteus stalks and the Maximillian sunflower branches (visible in the background in the photo below) make excellent sources of biomass.
We’ve used the Miscanthus giganteus for tepees and general use staking, while the sunflowers get stacked in small piles under our ‘living fence’ shrubs where we hope they will attract toads, frogs, and eventually snakes and salamanders. Some have also found their way onto the hügelkultur bed as added mulch.
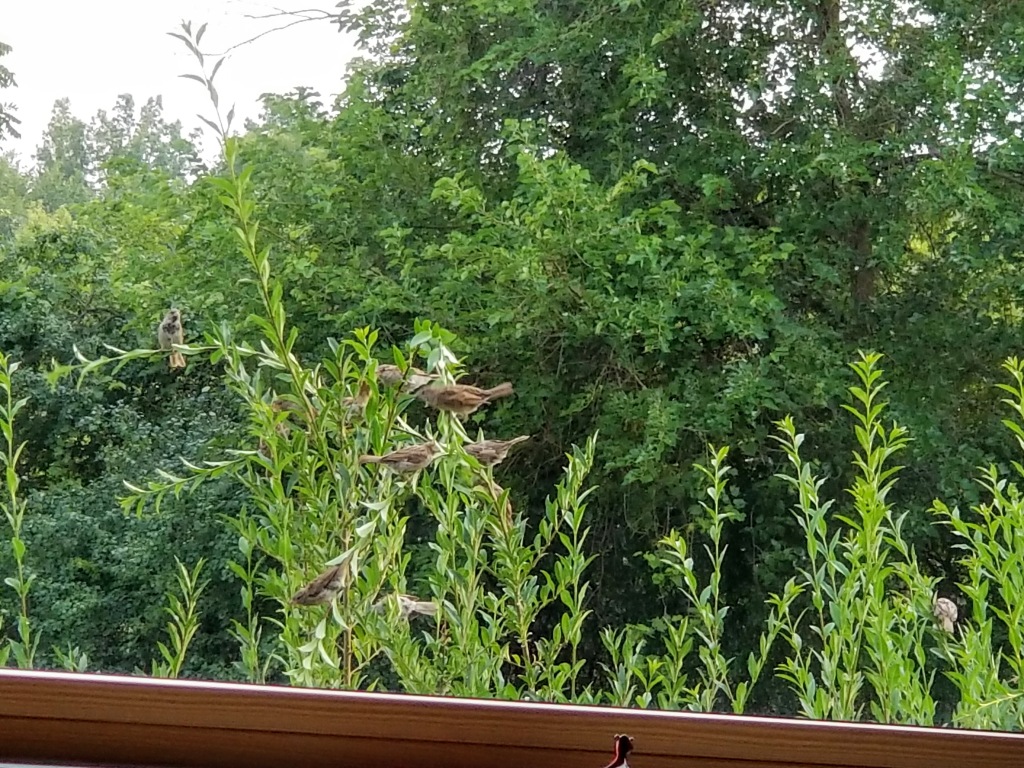
We tend to pile up the cuttings from our wide variety of grasses before deciding where to place them. Below, a sparrow rummages through one of our piles looking for nesting material. As things progress each growing season, there’s more bounty to share with the wildlife that is slowly making our yard home. This has been one of the more rewarding aspects of watching things develop each growing season.
Even some of the smaller signs of progress let us know we’re on the right path. For instance, as our plantings continue to grow and develop, spreading ever closer to one another, more of the leaf litter from the previous fall manages to stay on site, rather than being lost to the surrounding yards as the wind tries to move it around. In addition, any excess gets added to our ‘cold’ compost bin where it’s mixed with our kitchen scraps.
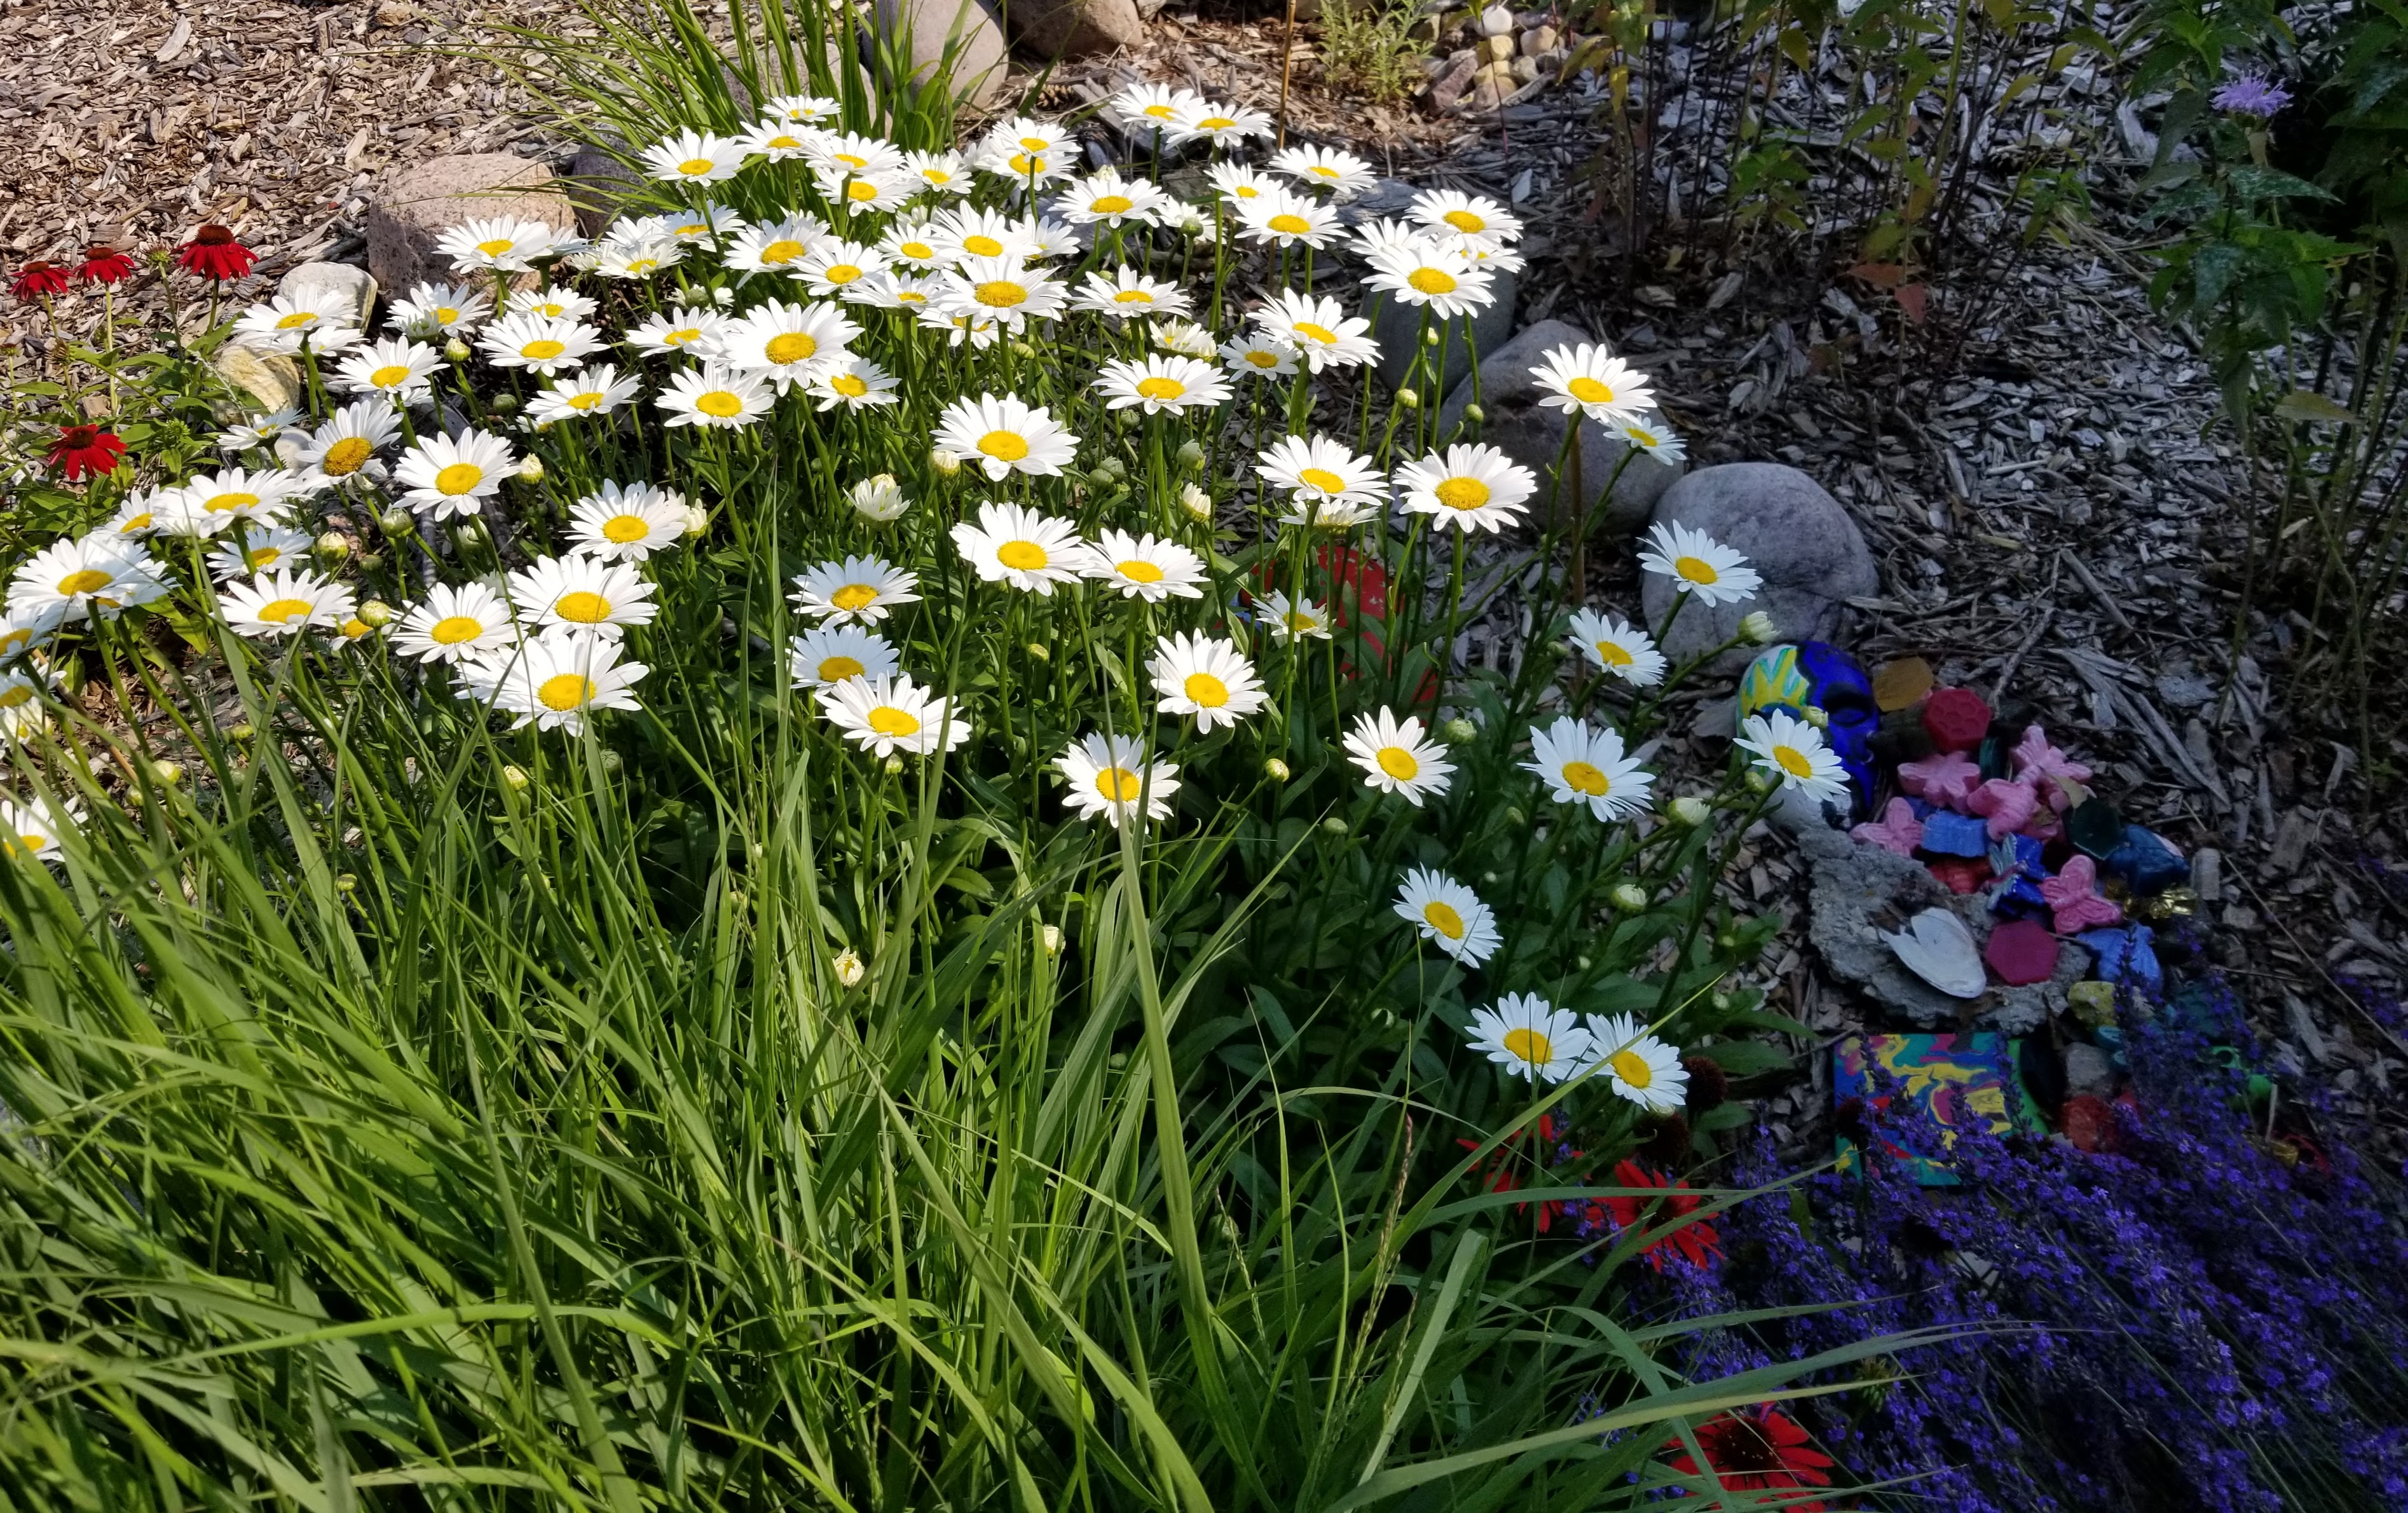
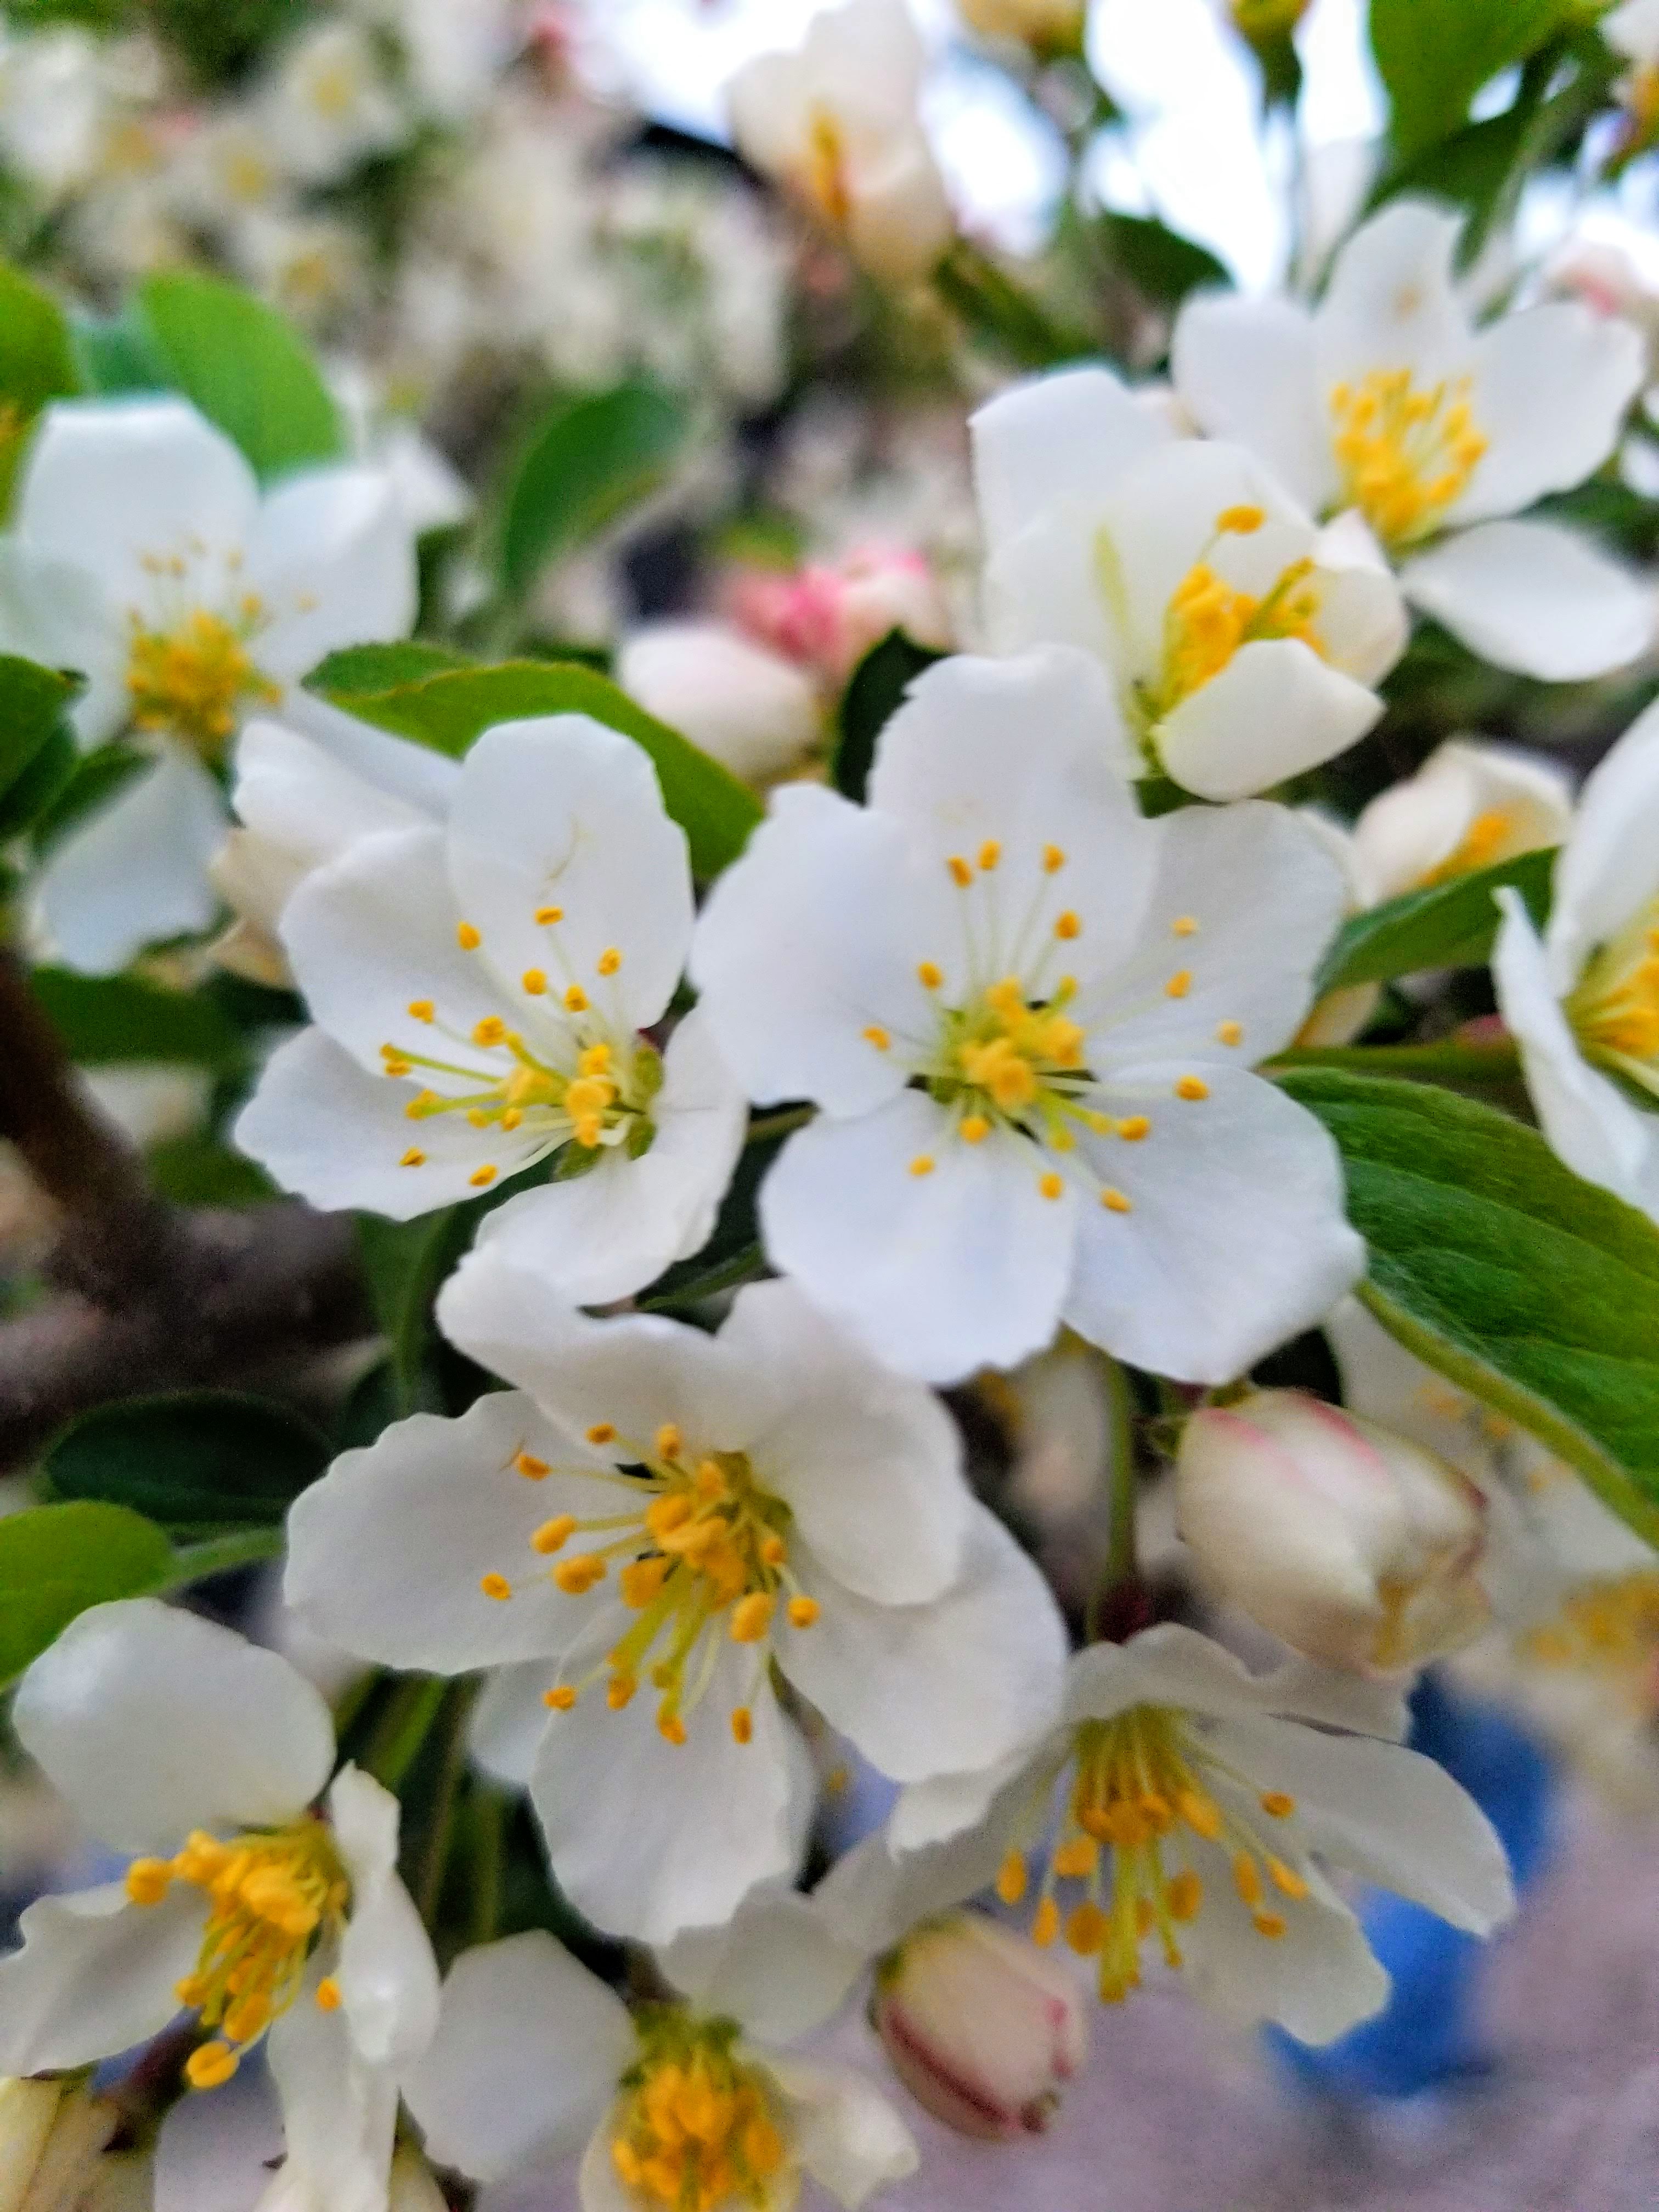
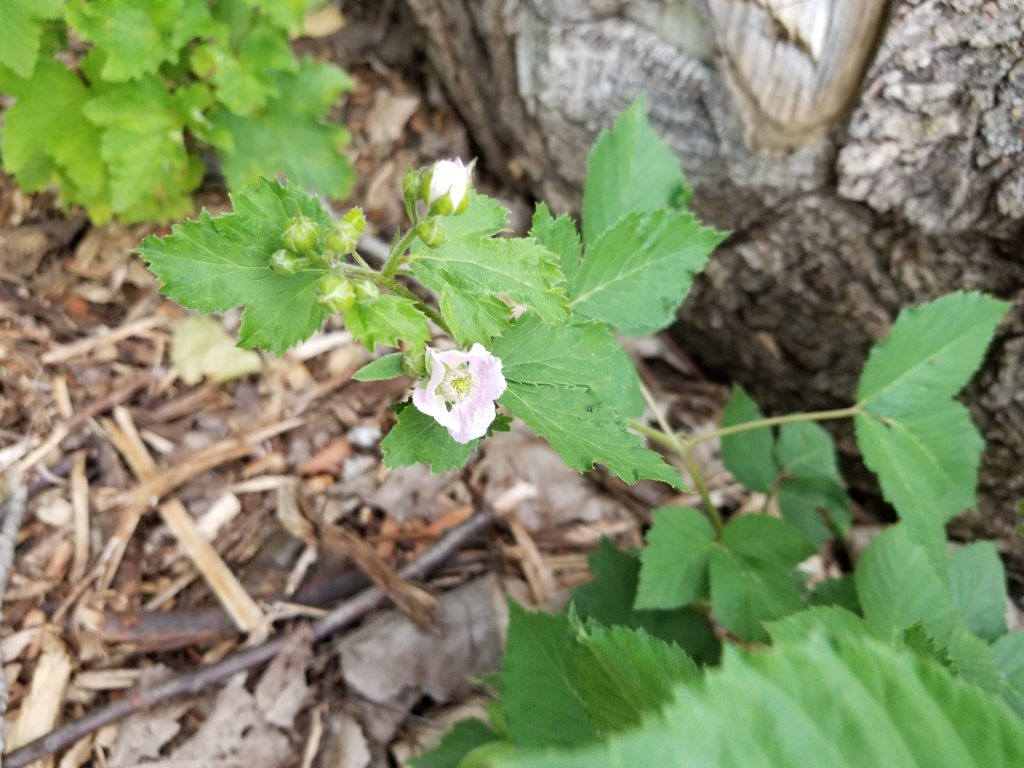
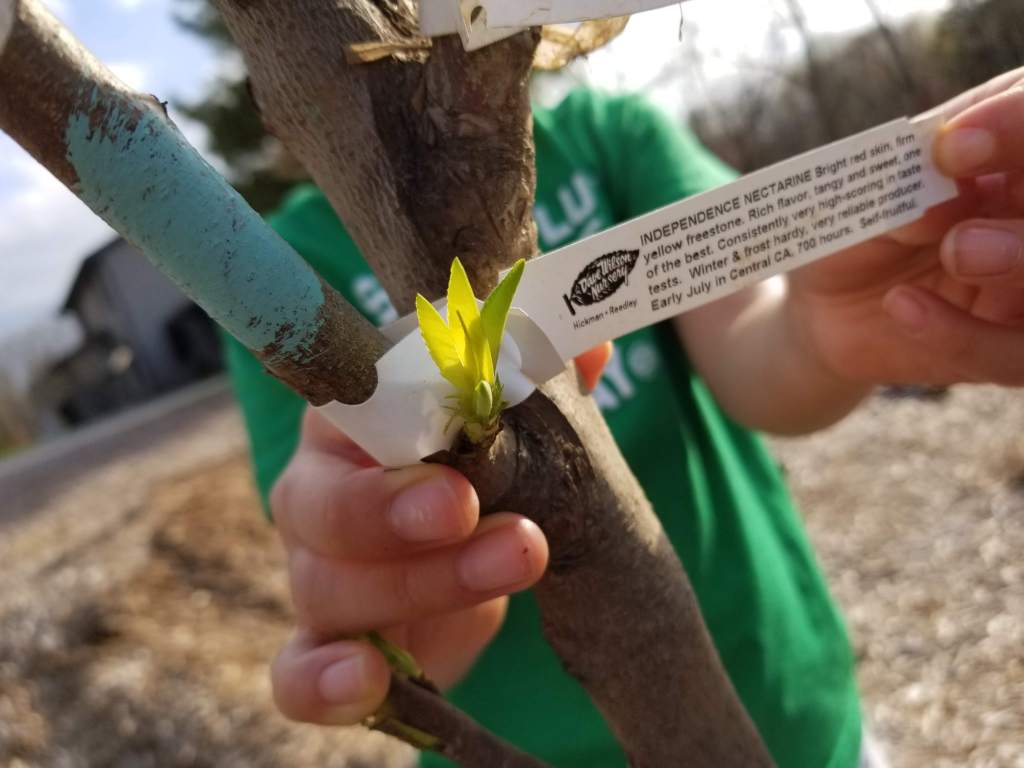
An early sign that we were in a ‘leap year’ began with our crabapple blossoms. The profusion of blooms brought in an early cloud of busy pollinators:
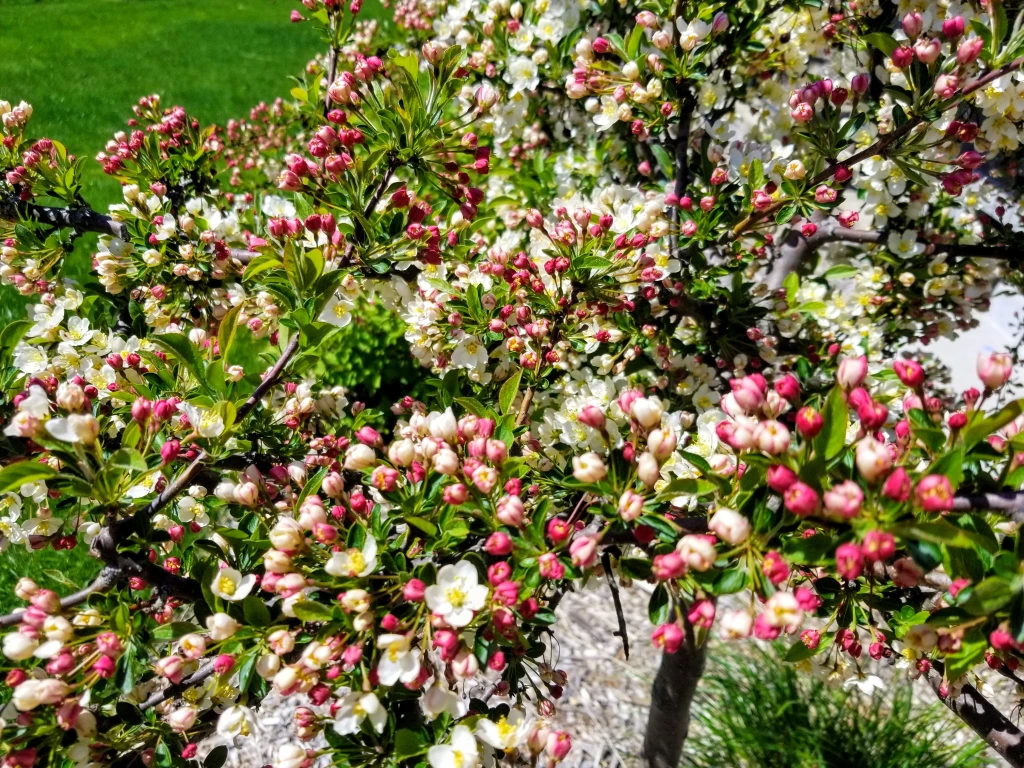
Although exceedingly ephemeral, these spring blossoms are a nice way to leave behind our cold, gray winters:

Almost without exception, our ‘living fence’ shrubs all took on significant growth this year. While many of them started out at waist height, or even shorter, most are now at least shoulder height at this point. They’ve also spread out, inching towards one another, beginning to form an almost continuous wall of vegetation.
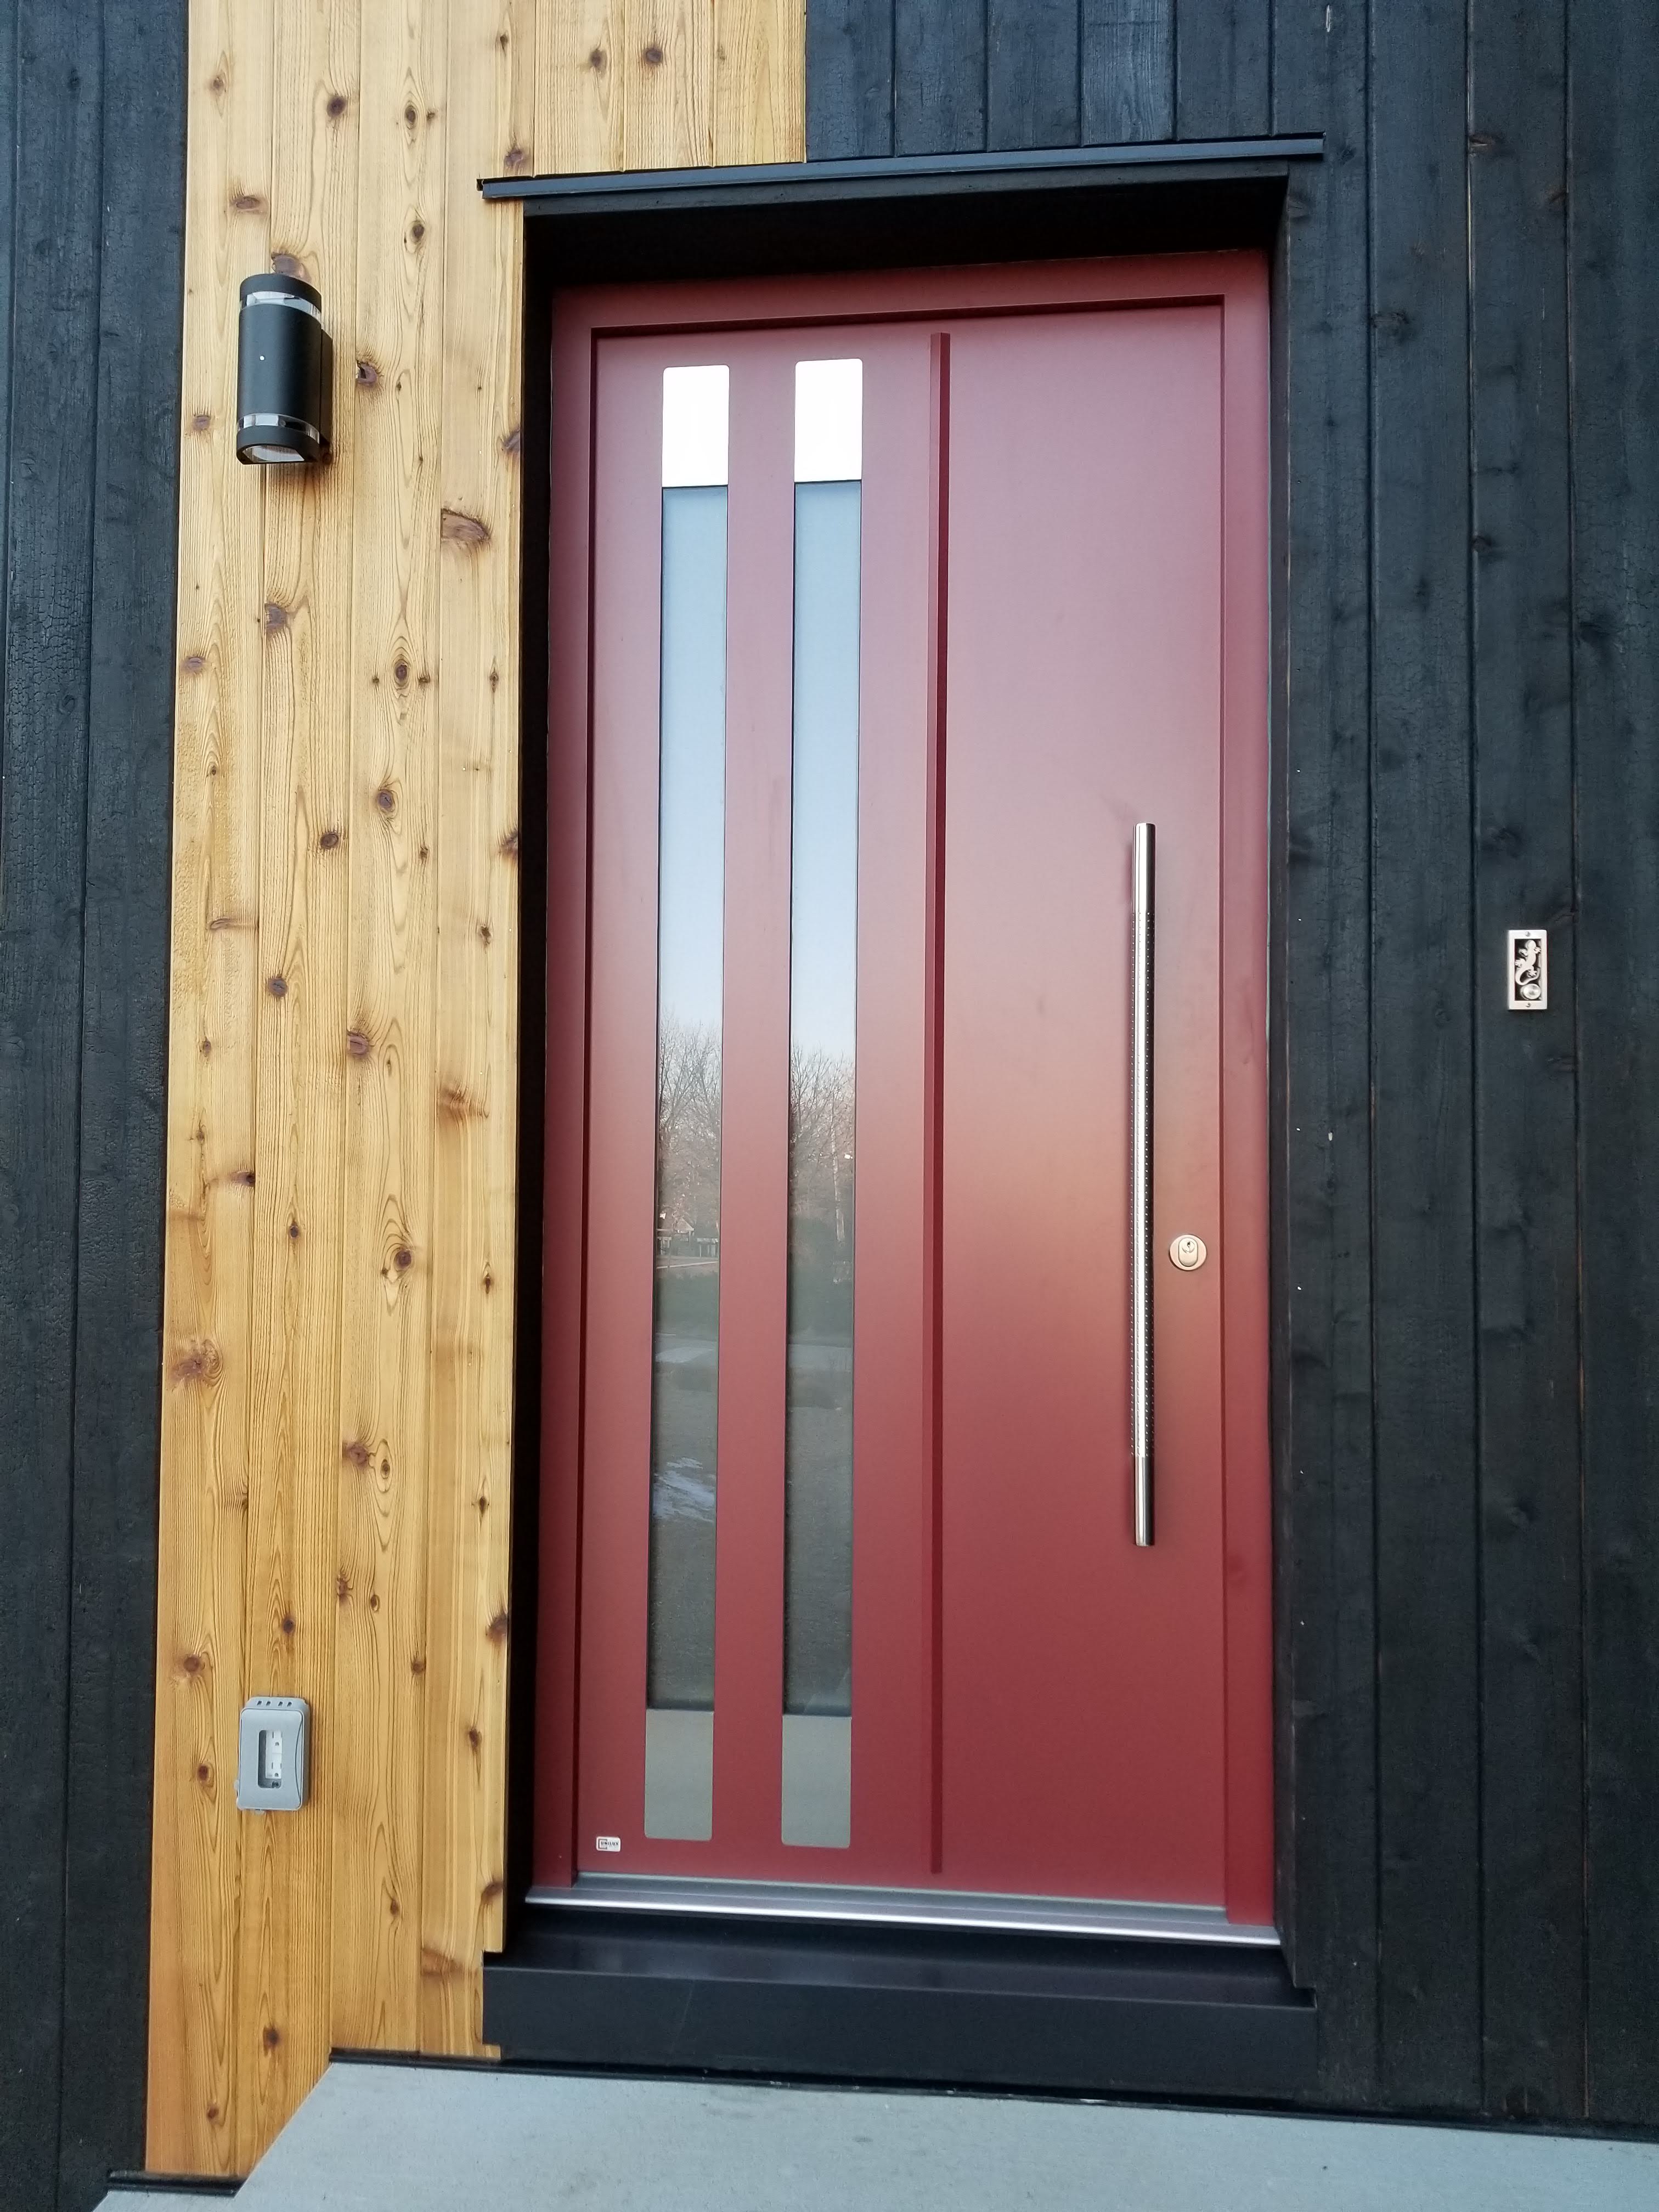
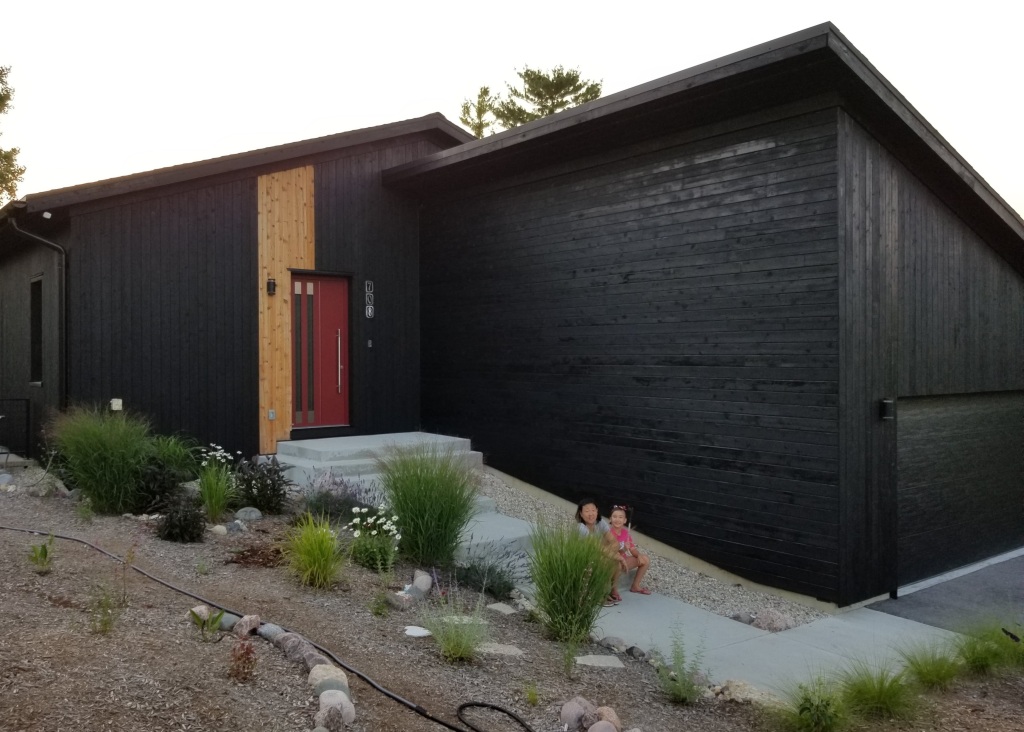
Here’s a section of ‘living fence’ just outside our kitchen door:
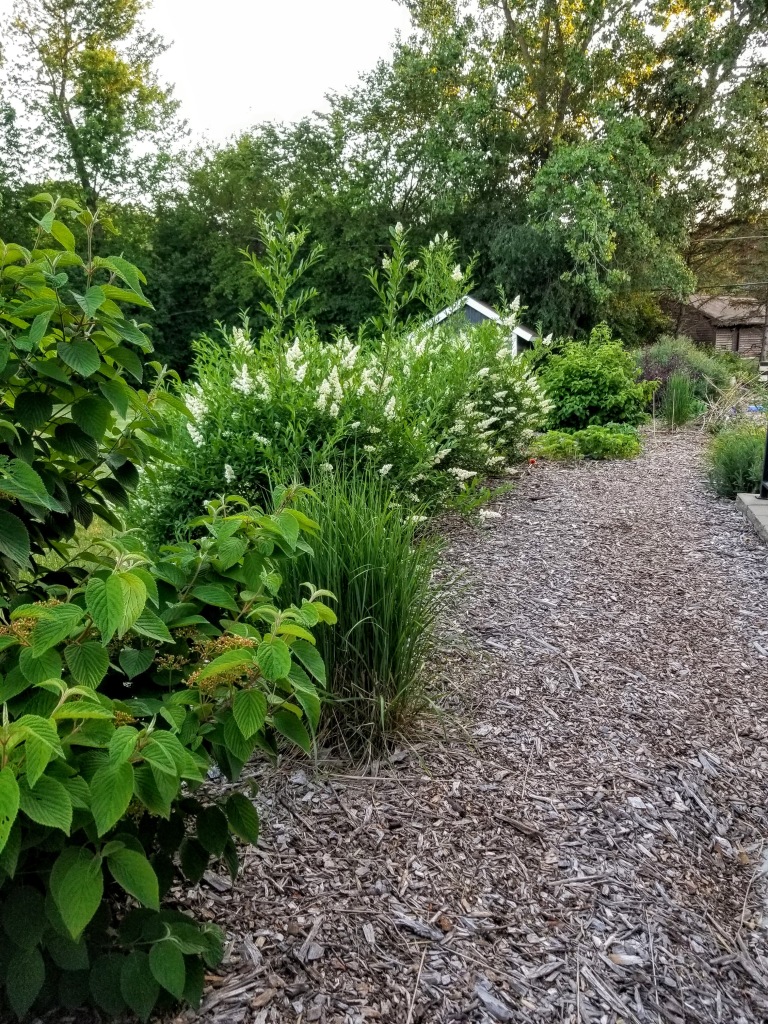
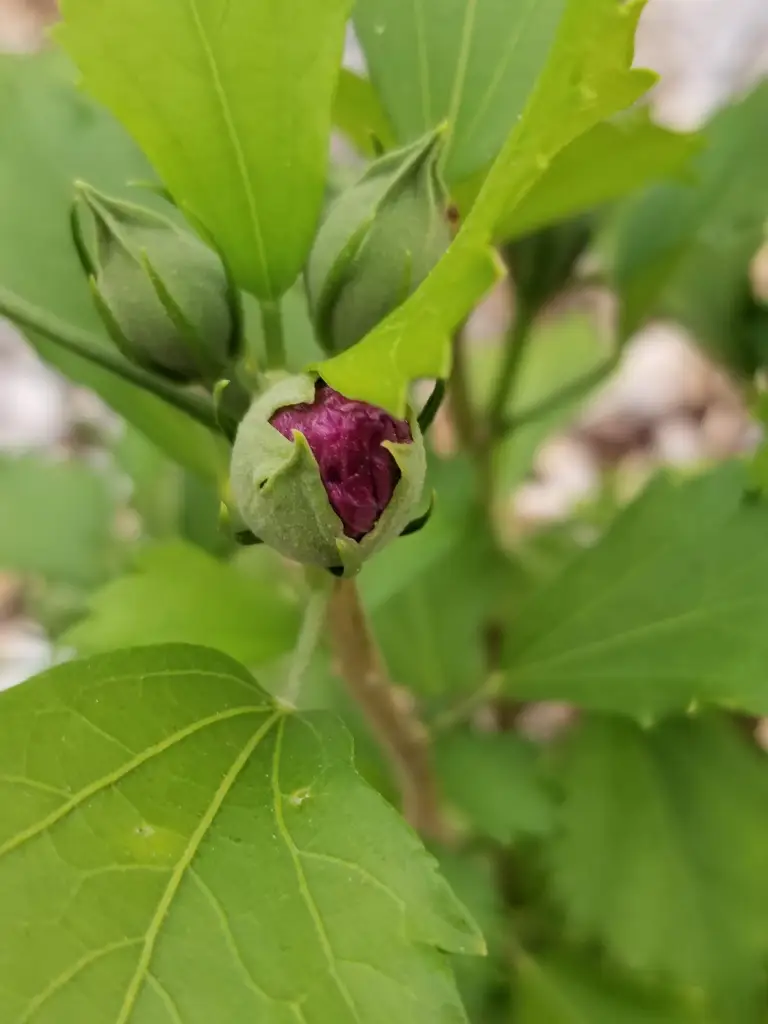
Our privets began to have some blooms last year, but this year they were covered with intensely perfumed flowers for the first time:
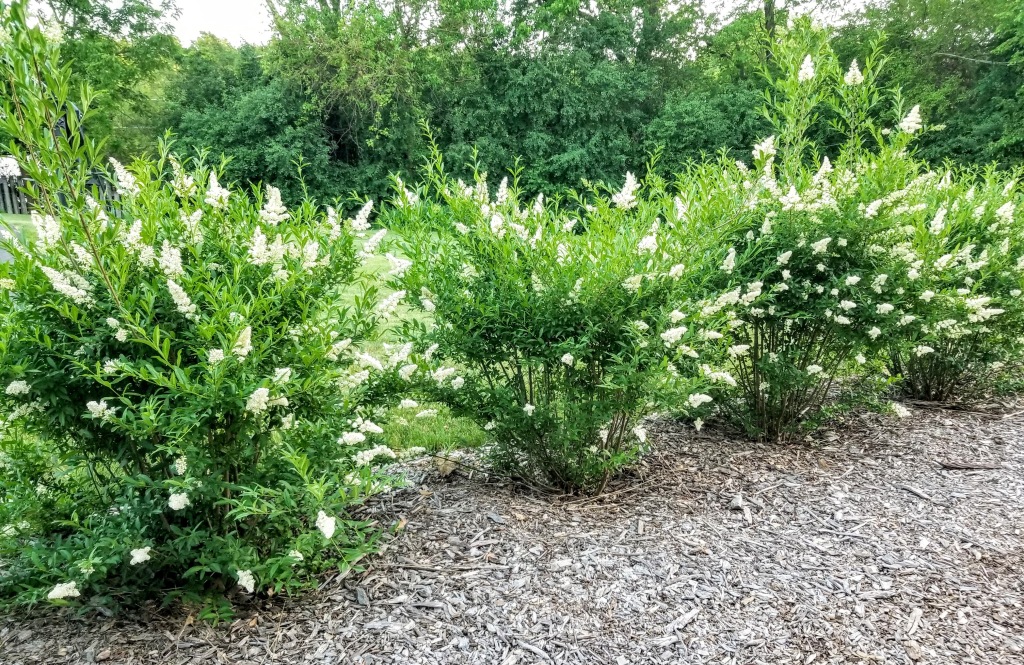
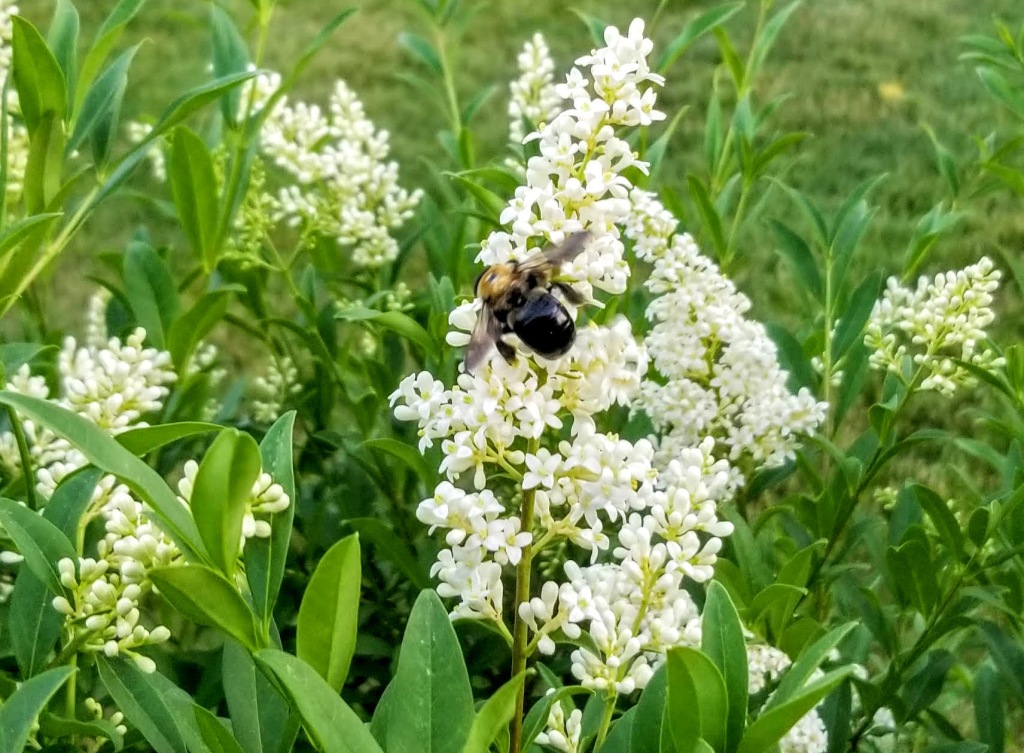
This explosion of flowers did not go unnoticed by the many pollinators in the area:
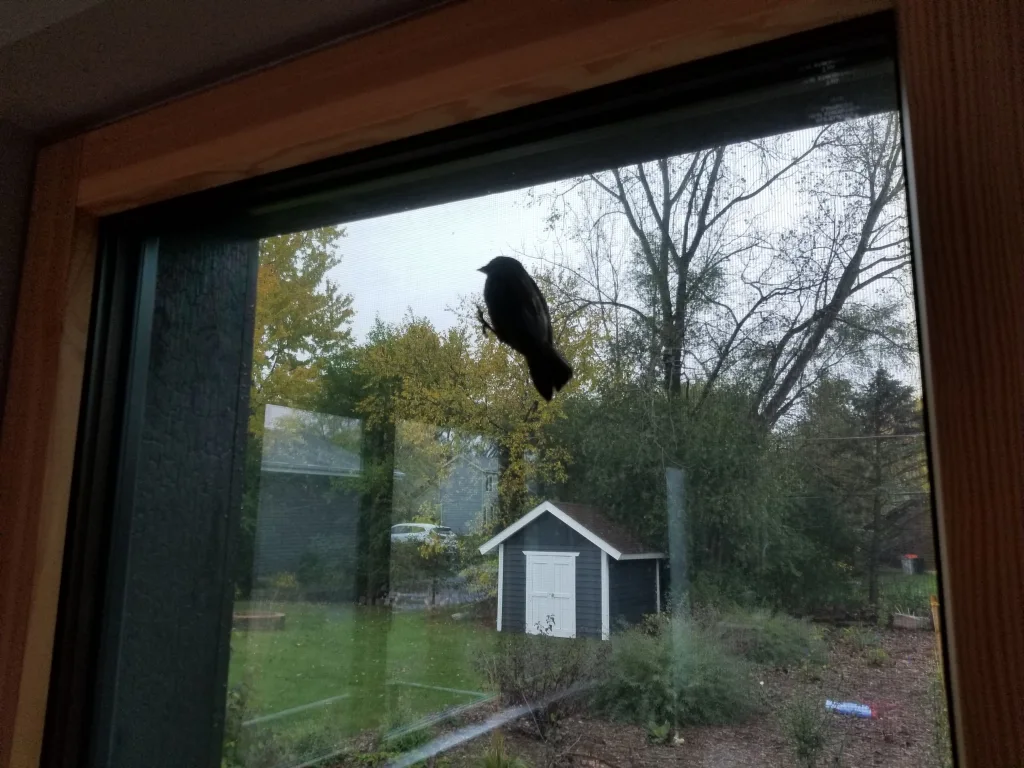
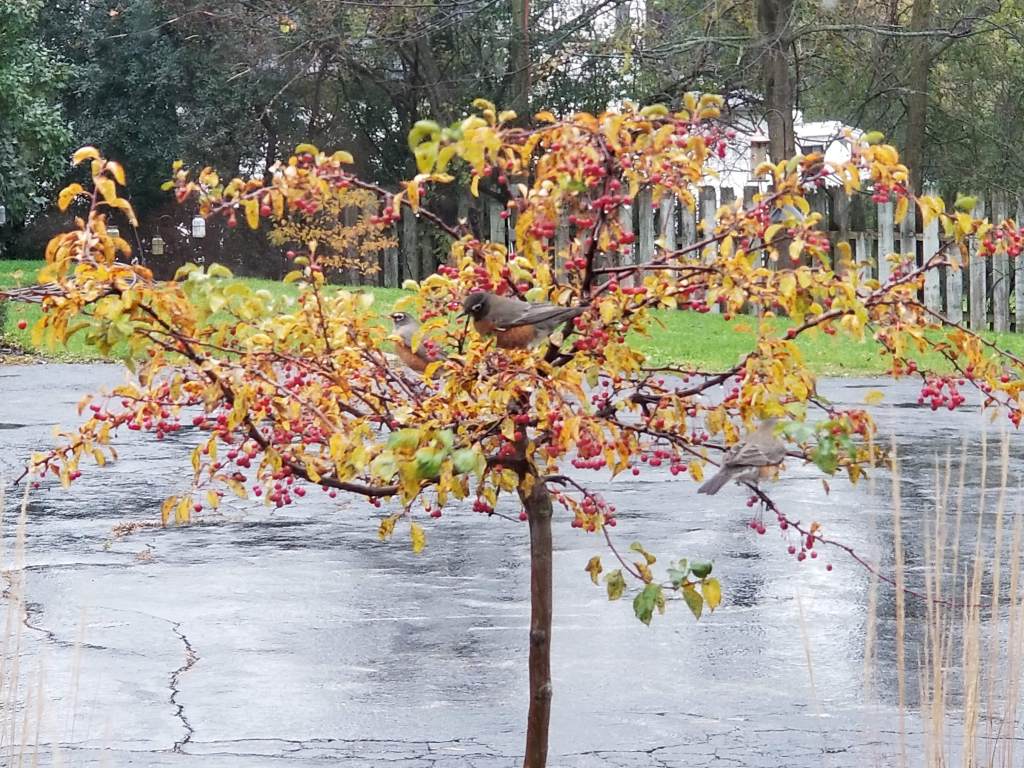
This new growth was also beneficial to the many birds that come through our yard, offering new landing sites and even additional hiding spots when hawks would come through, diving bombing, looking for a quick meal:
As our plants continue to flourish, and we’ve added some additional bird feeders, our army of sparrows has grown. Unfortunately, they’ve not always been viewed as beneficial to the farmer or gardener:

After enjoying the bird seed, they help us manage destructive pest insects, in particular Japanese beetles, whose numbers have continued to dwindle in each successive growing season.
“I supplied nature with the tools, and then I relied on nature’s disposition toward fertility.”
— Masanobu Fukuoka, Sowing Seeds in the Desert
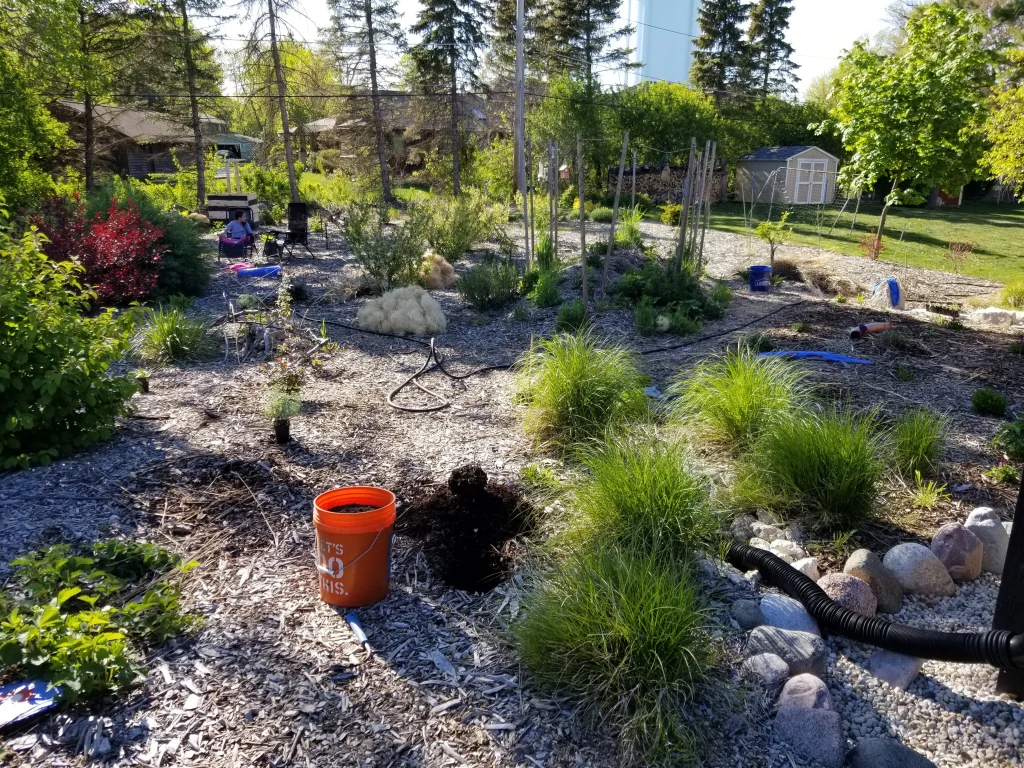
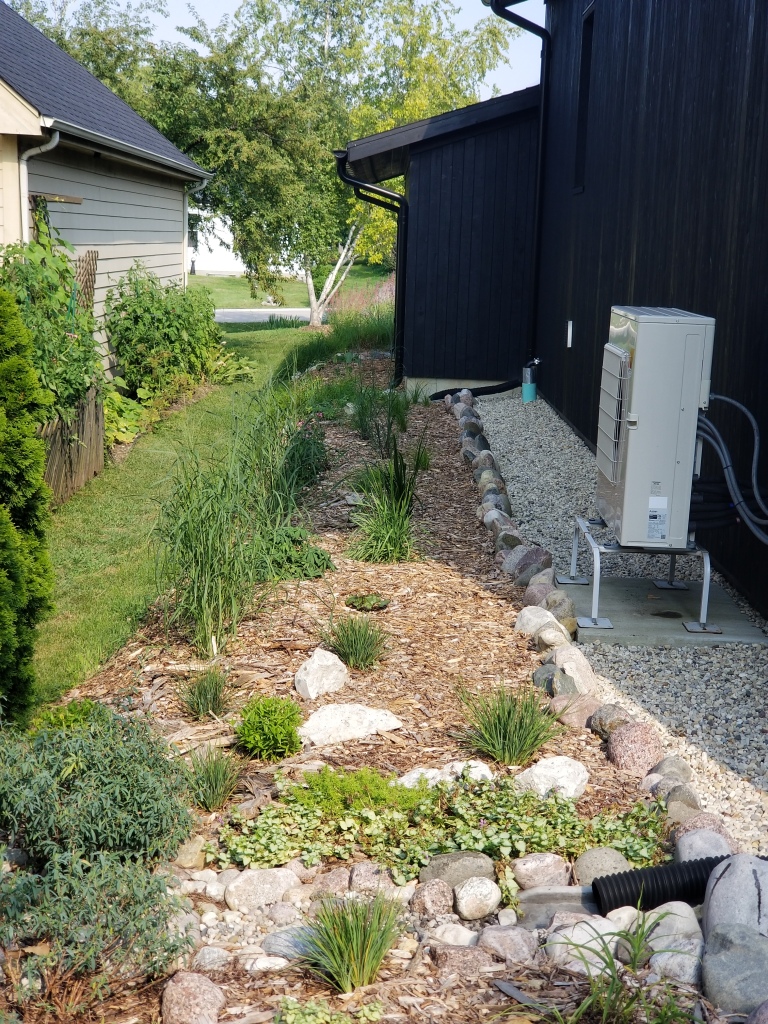
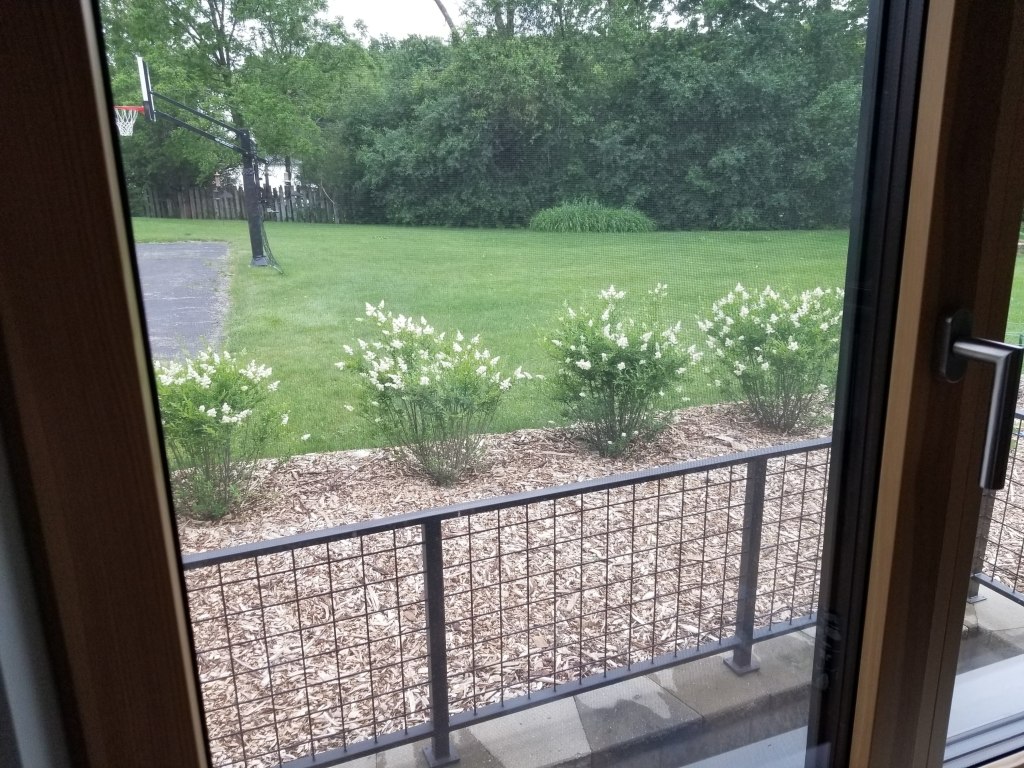
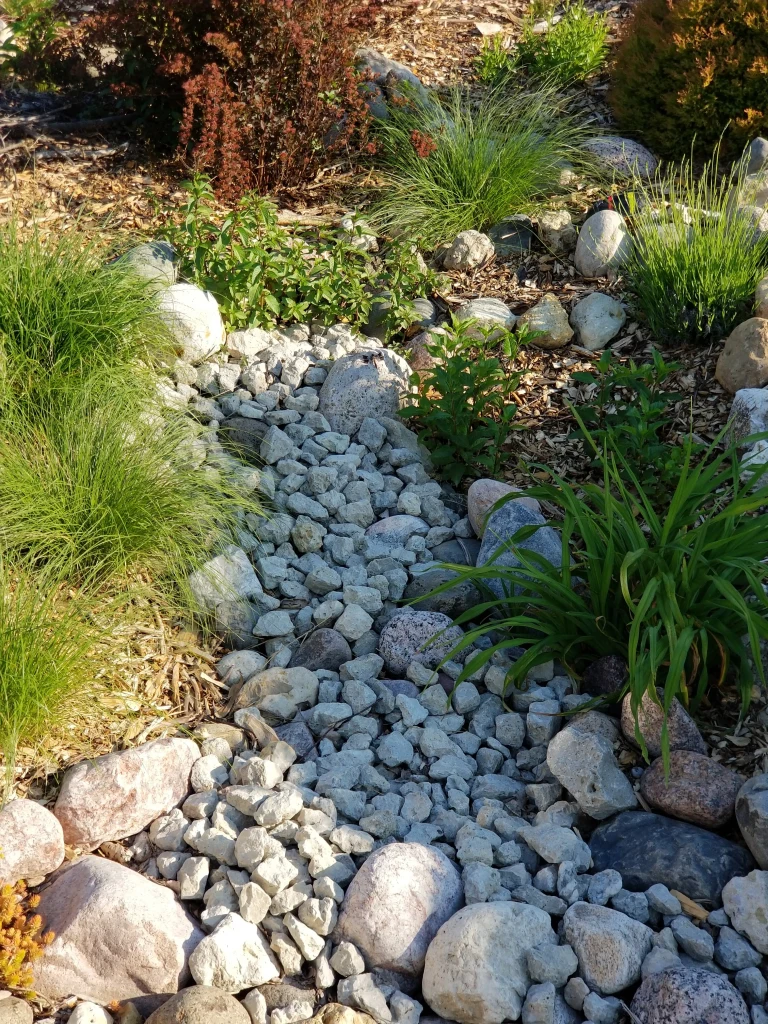
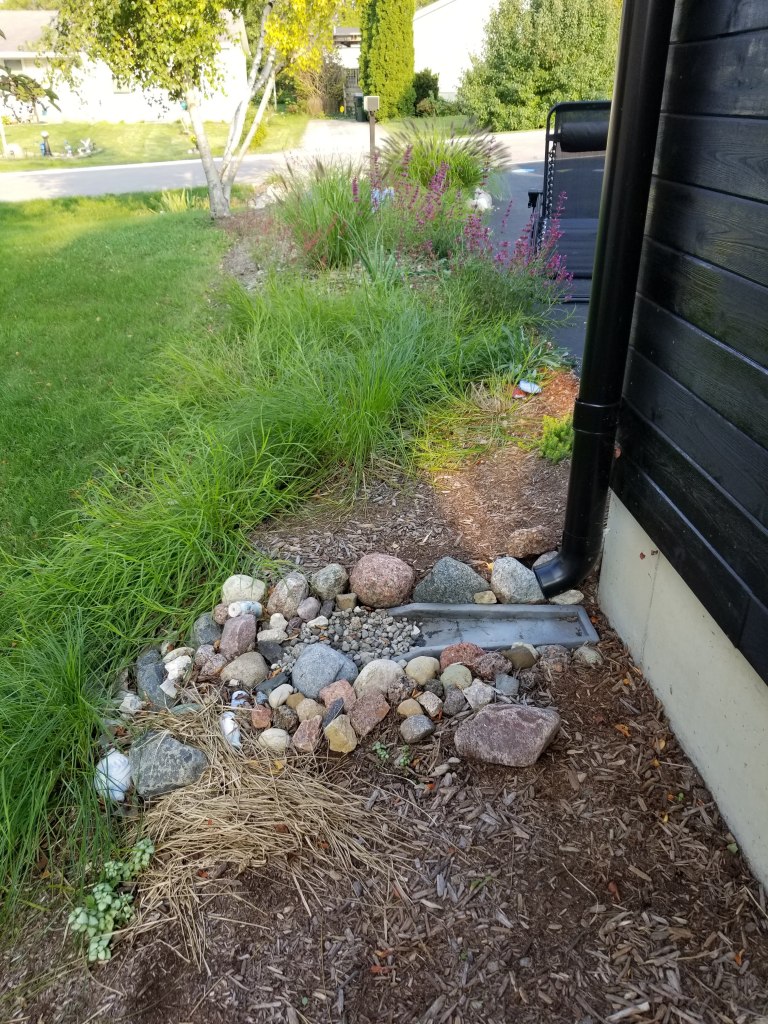
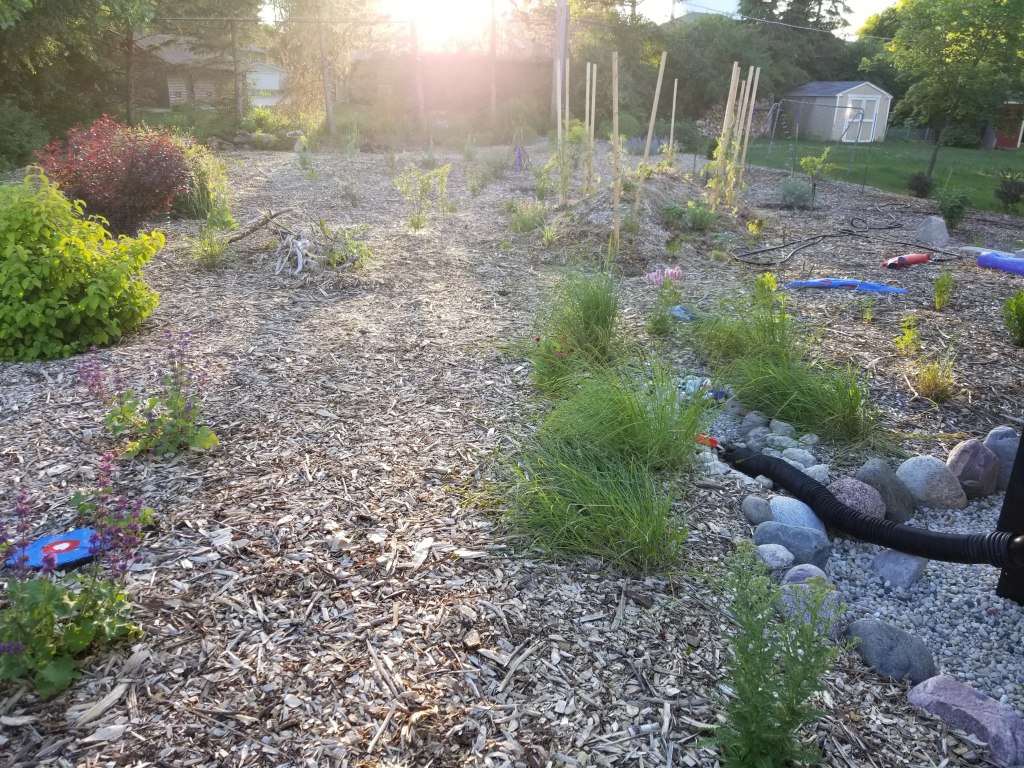
Another area where we’ve seen significant growth is around our downspout rain gardens. Now that the grasses, groundcovers, and flowers have had a couple of years to settle in, they have no trouble keeping up with even the heaviest of downpours. We’ve noticed that our sump pump doesn’t run as much, which is an additional benefit.
It’s still spring in the photo below, so many of the plants are enjoying their first burst of leafy green foliage:
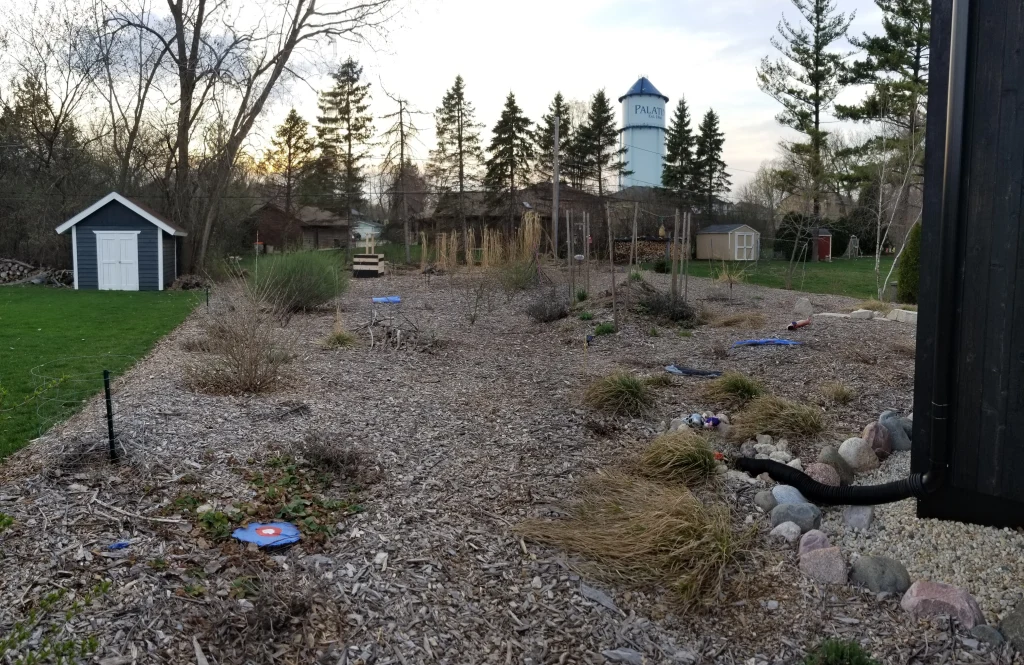
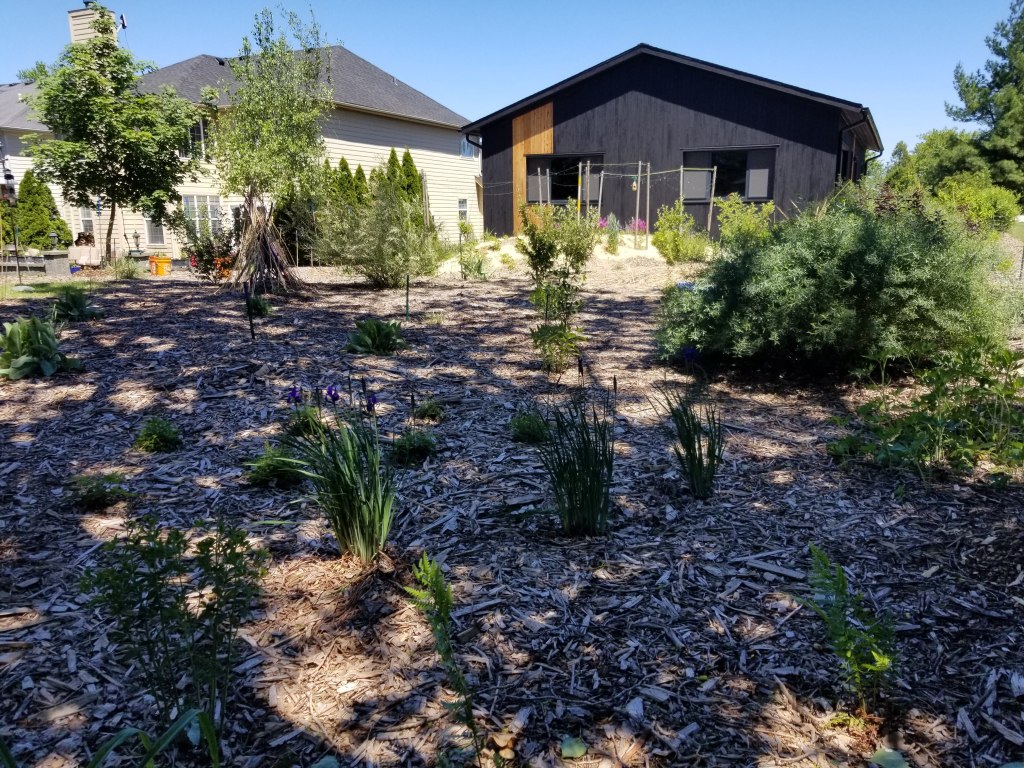
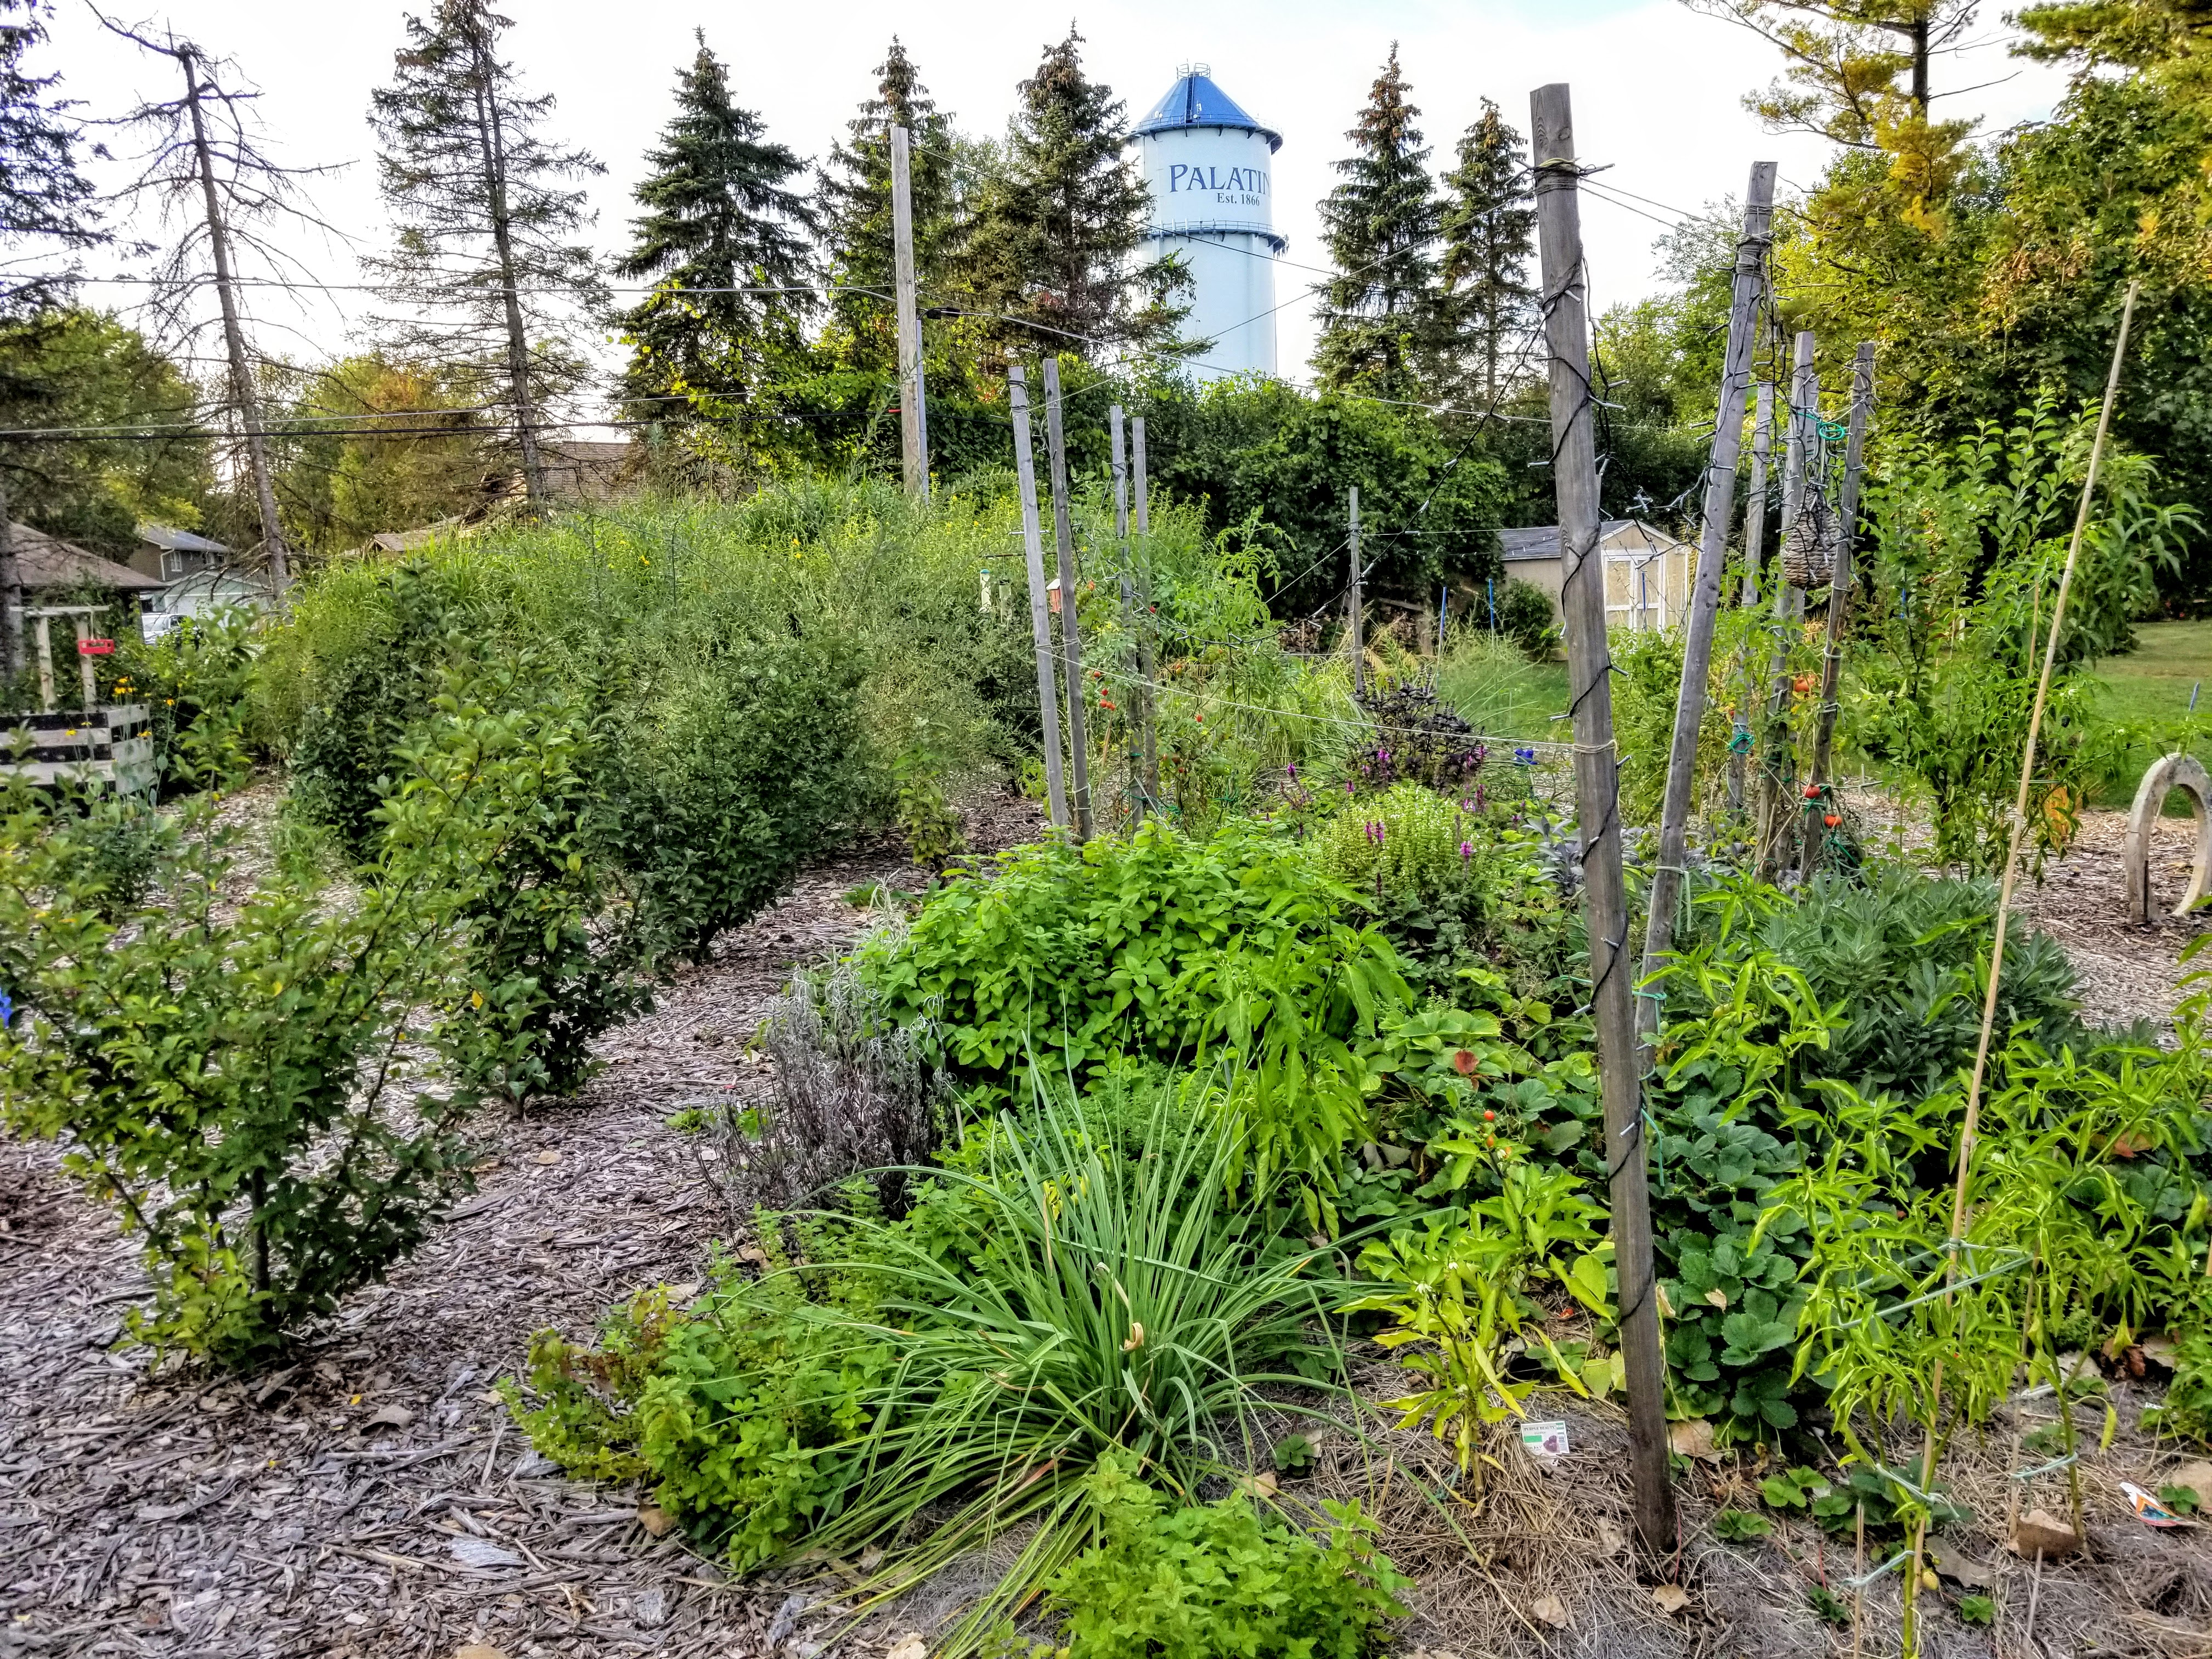
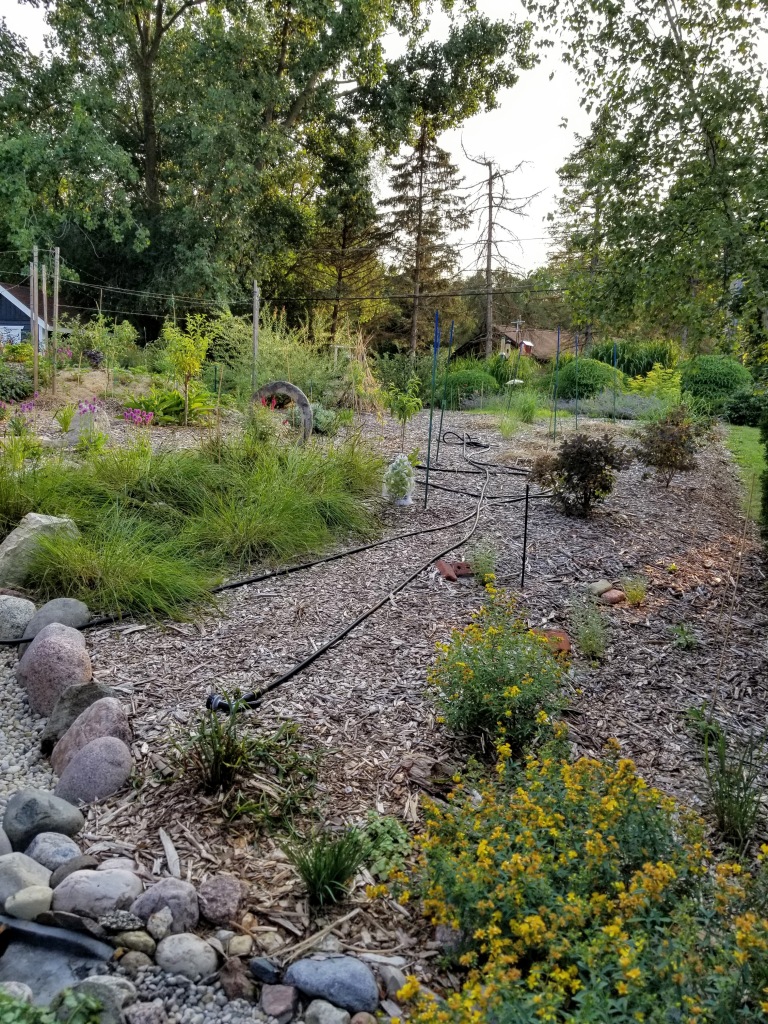
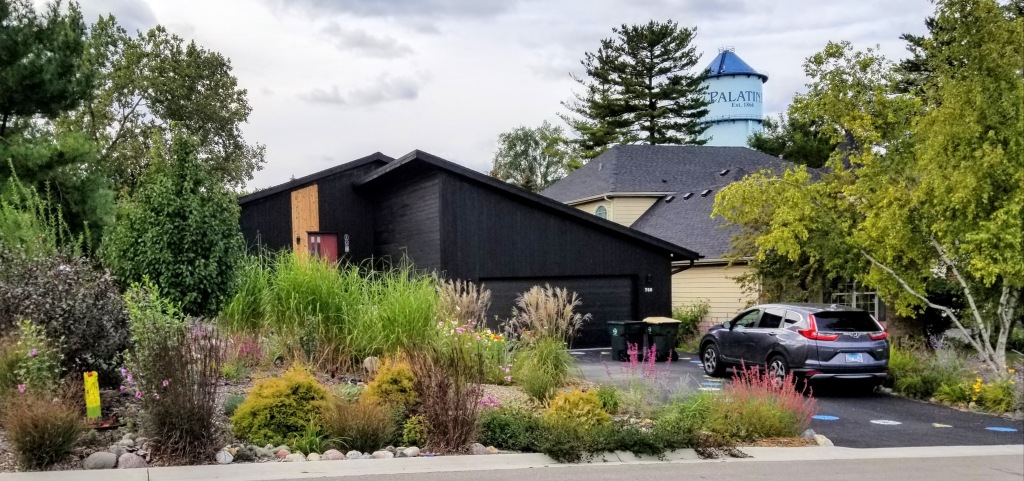
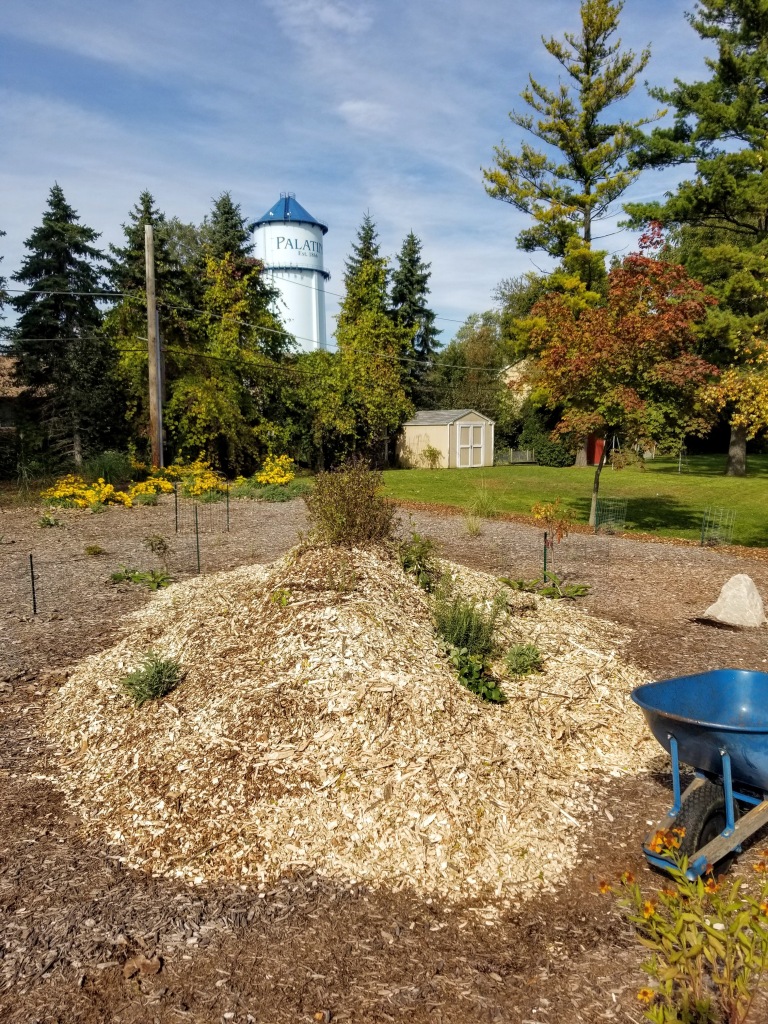
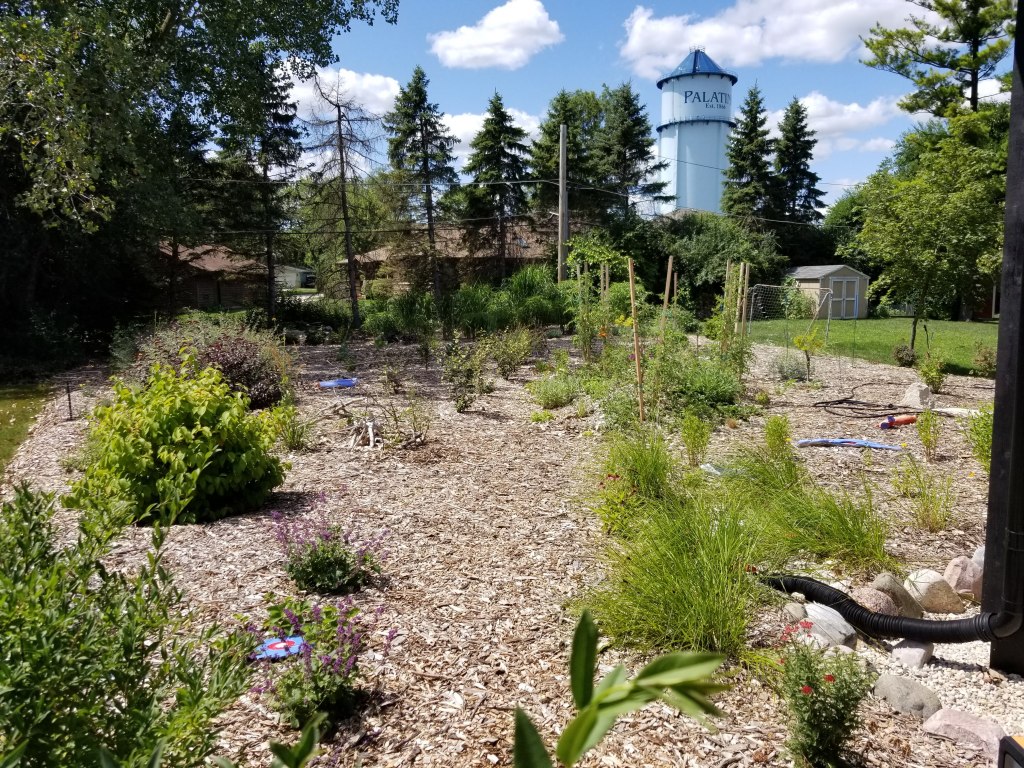
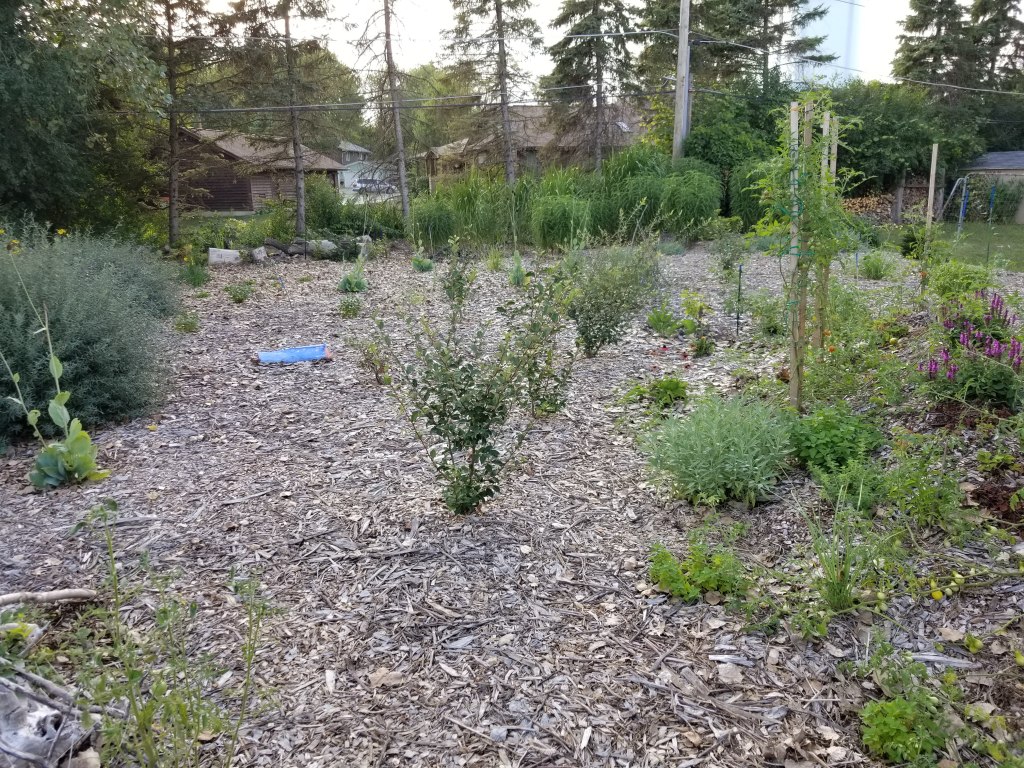
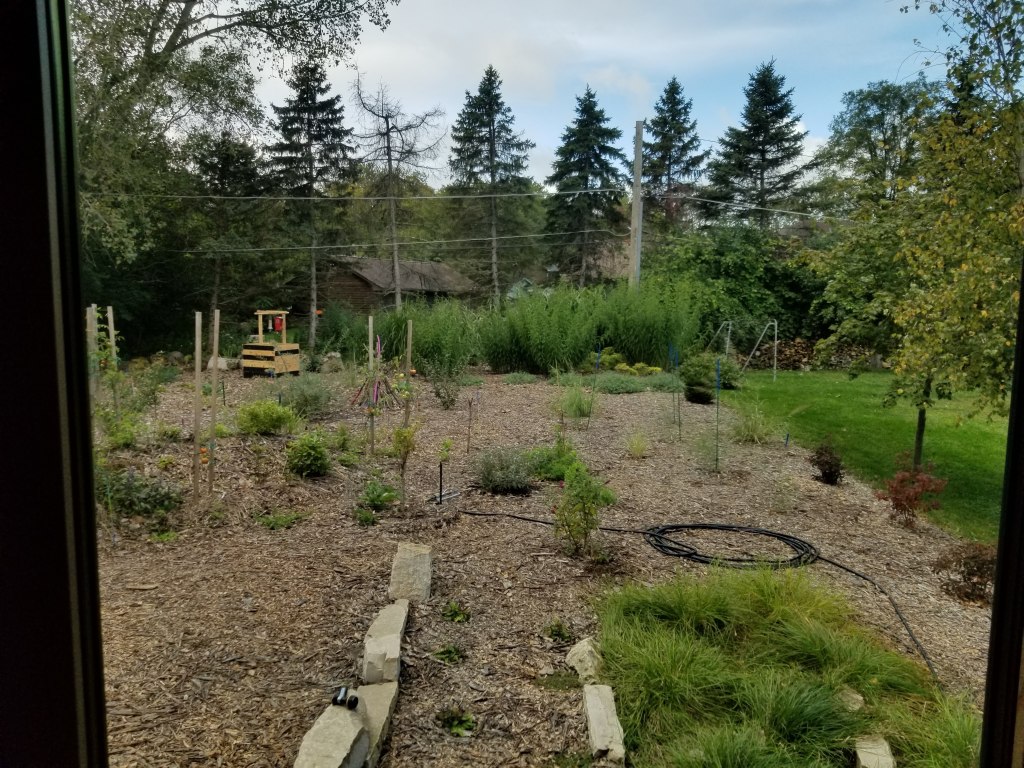
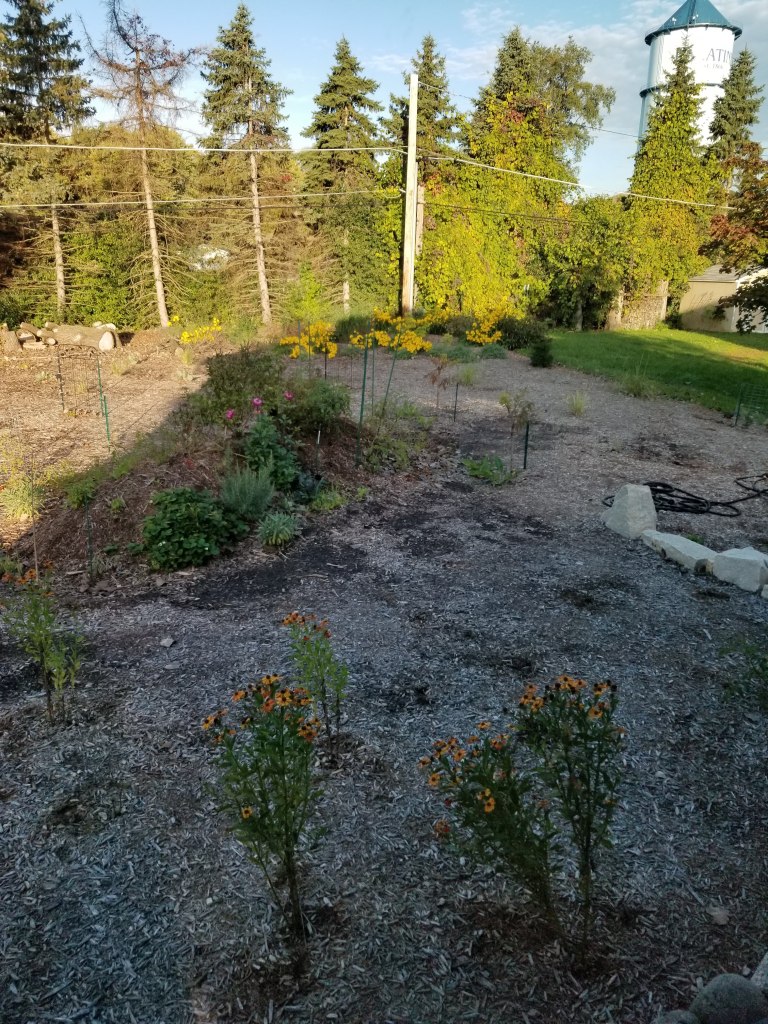
Below, with an aerial view of the backyard, it’s clear that the structure of the yard is finally taking on some recognizable shape. For instance, the far right back corner is dense and lush with ‘tropical’ growth provided by the Miscanthus giganteus and the perennial sunflowers. The shrubs to the far left, south-facing edge of our yard have filled in dramatically, in particular the pair of arctic willows. Between these shrubs and the hügelkultur bed, our five goumis continue to develop. Off to the far right, in the middle, a mix of asparagus and fruit trees are spread out. We’ll be mixing in some flowers and fruiting shrubs in this area over the next couple of years.
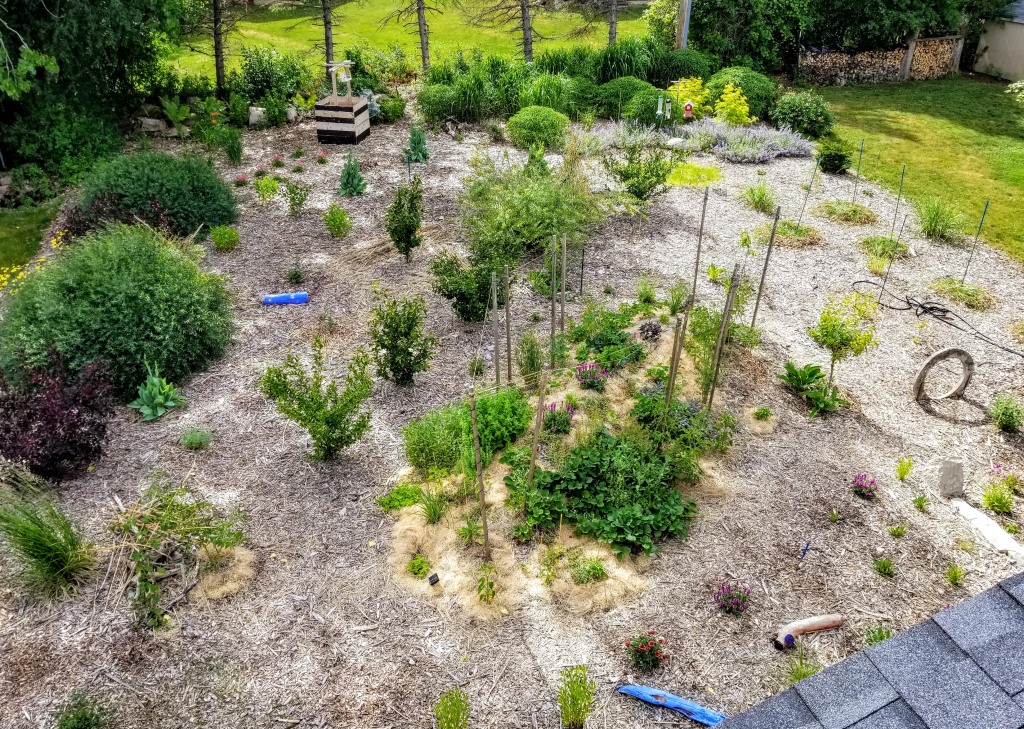
Although there are clearly some empty spaces that remain to be filled, we’ve come a long way since our first two years.
“The archeological evidence seems clear on the question of the original environment. For most of two million years human beings lived on the savannas of Africa, and subsequently those of Europe and Asia, vast, parklike grasslands dotted by groves and scattered trees. …people work hard to create a savanna-like environment in such improbable sites as formal gardens, cemeteries, and suburban shopping malls, hungering for open spaces but not a barren landscape, some amount of order in the surrounding vegetation but less than geometric perfection.”
— Edward O. Wilson, Biophilia
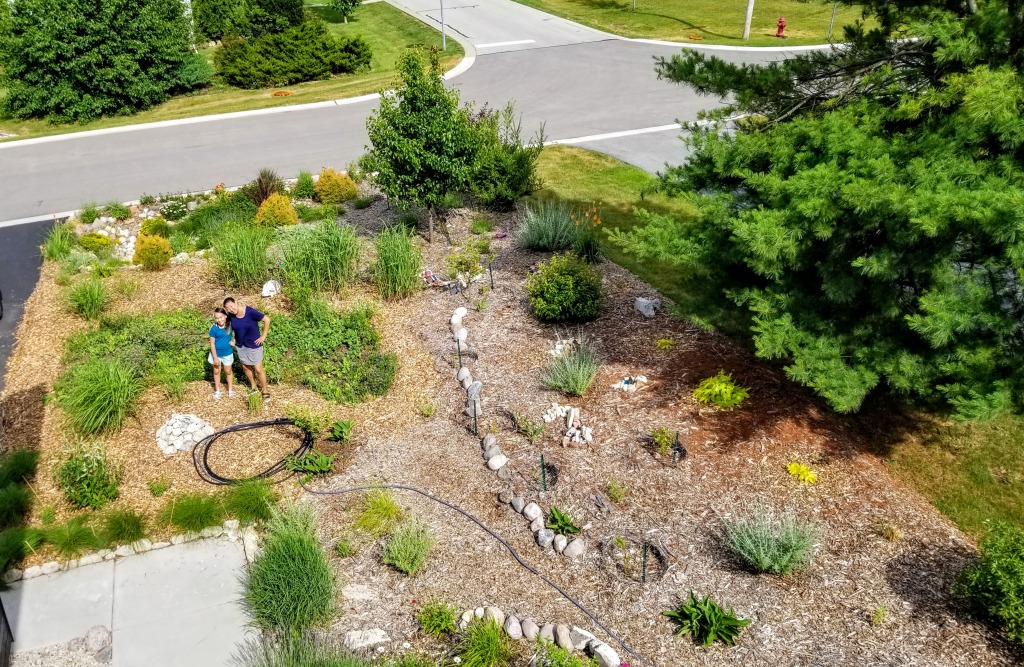
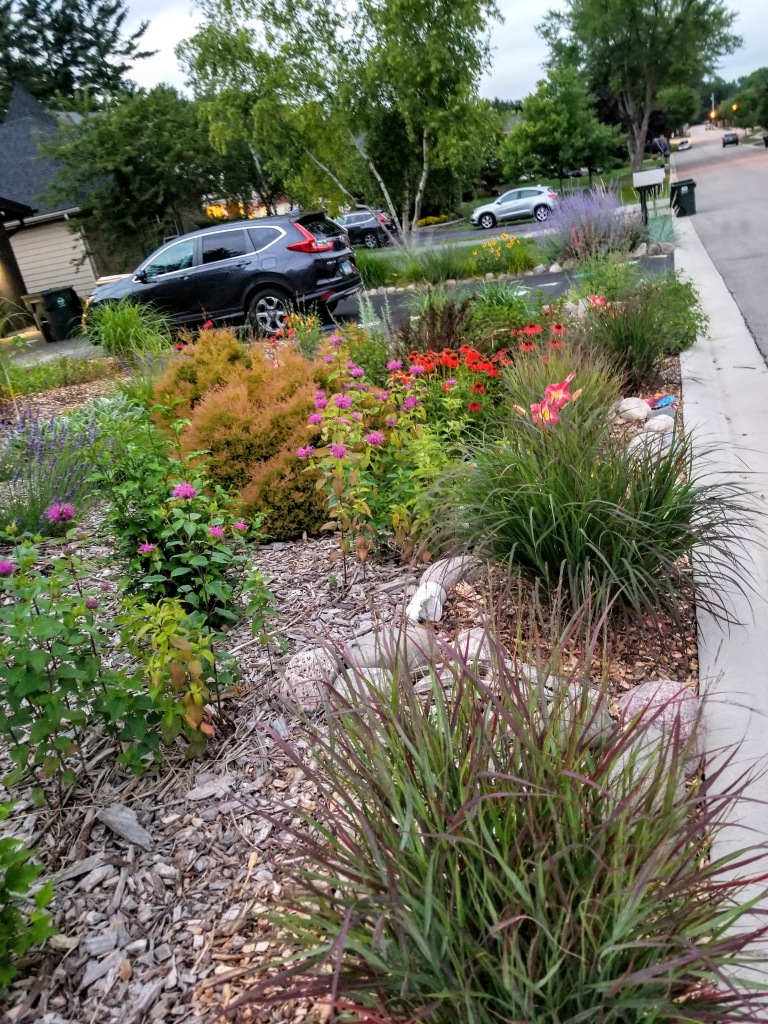
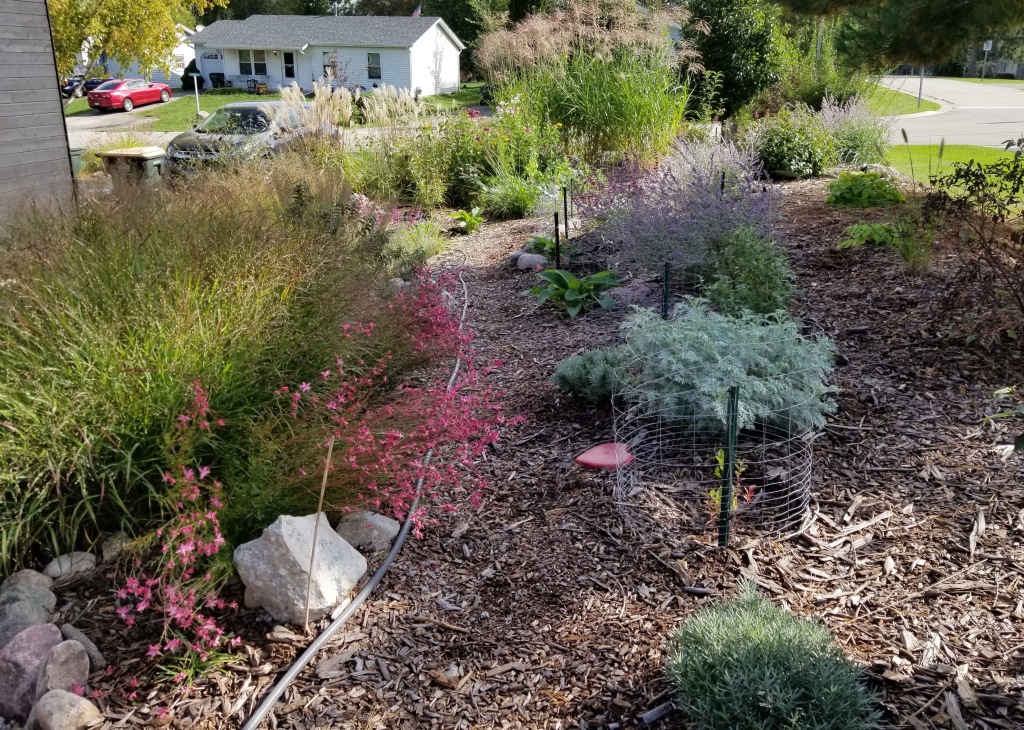
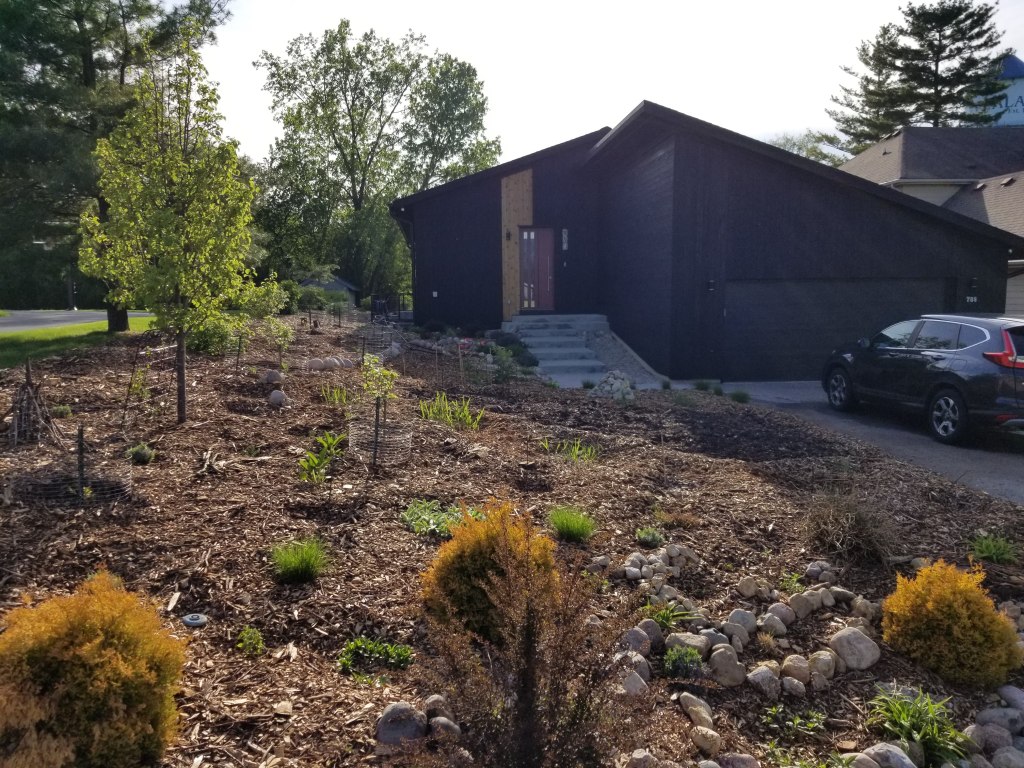
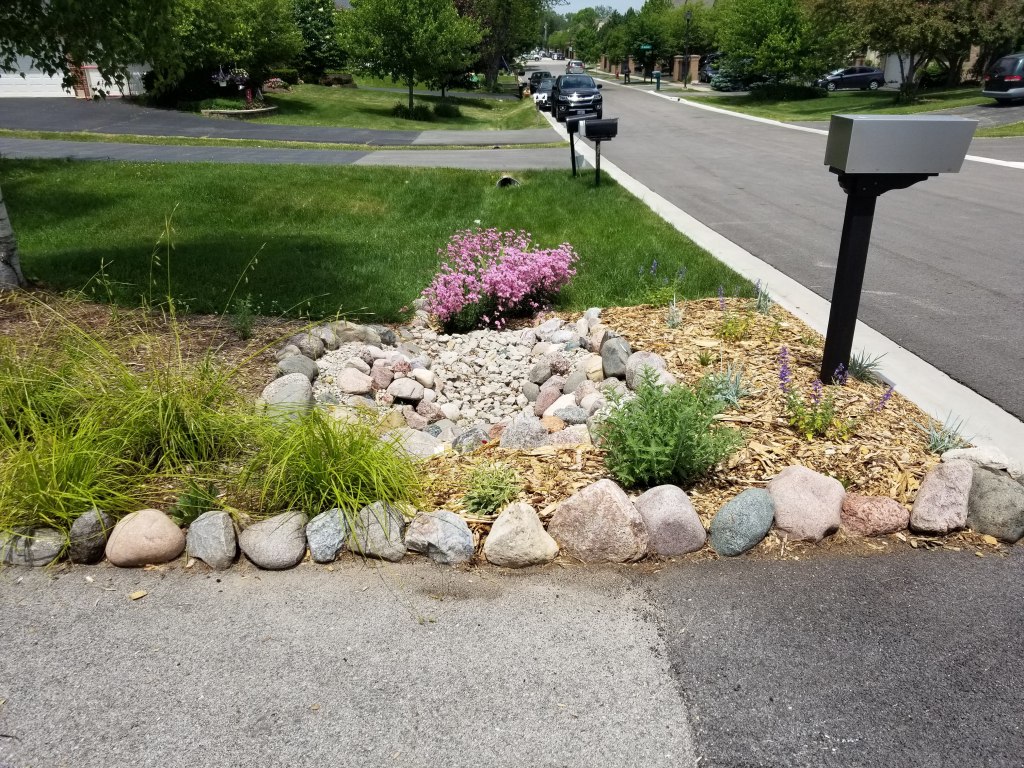
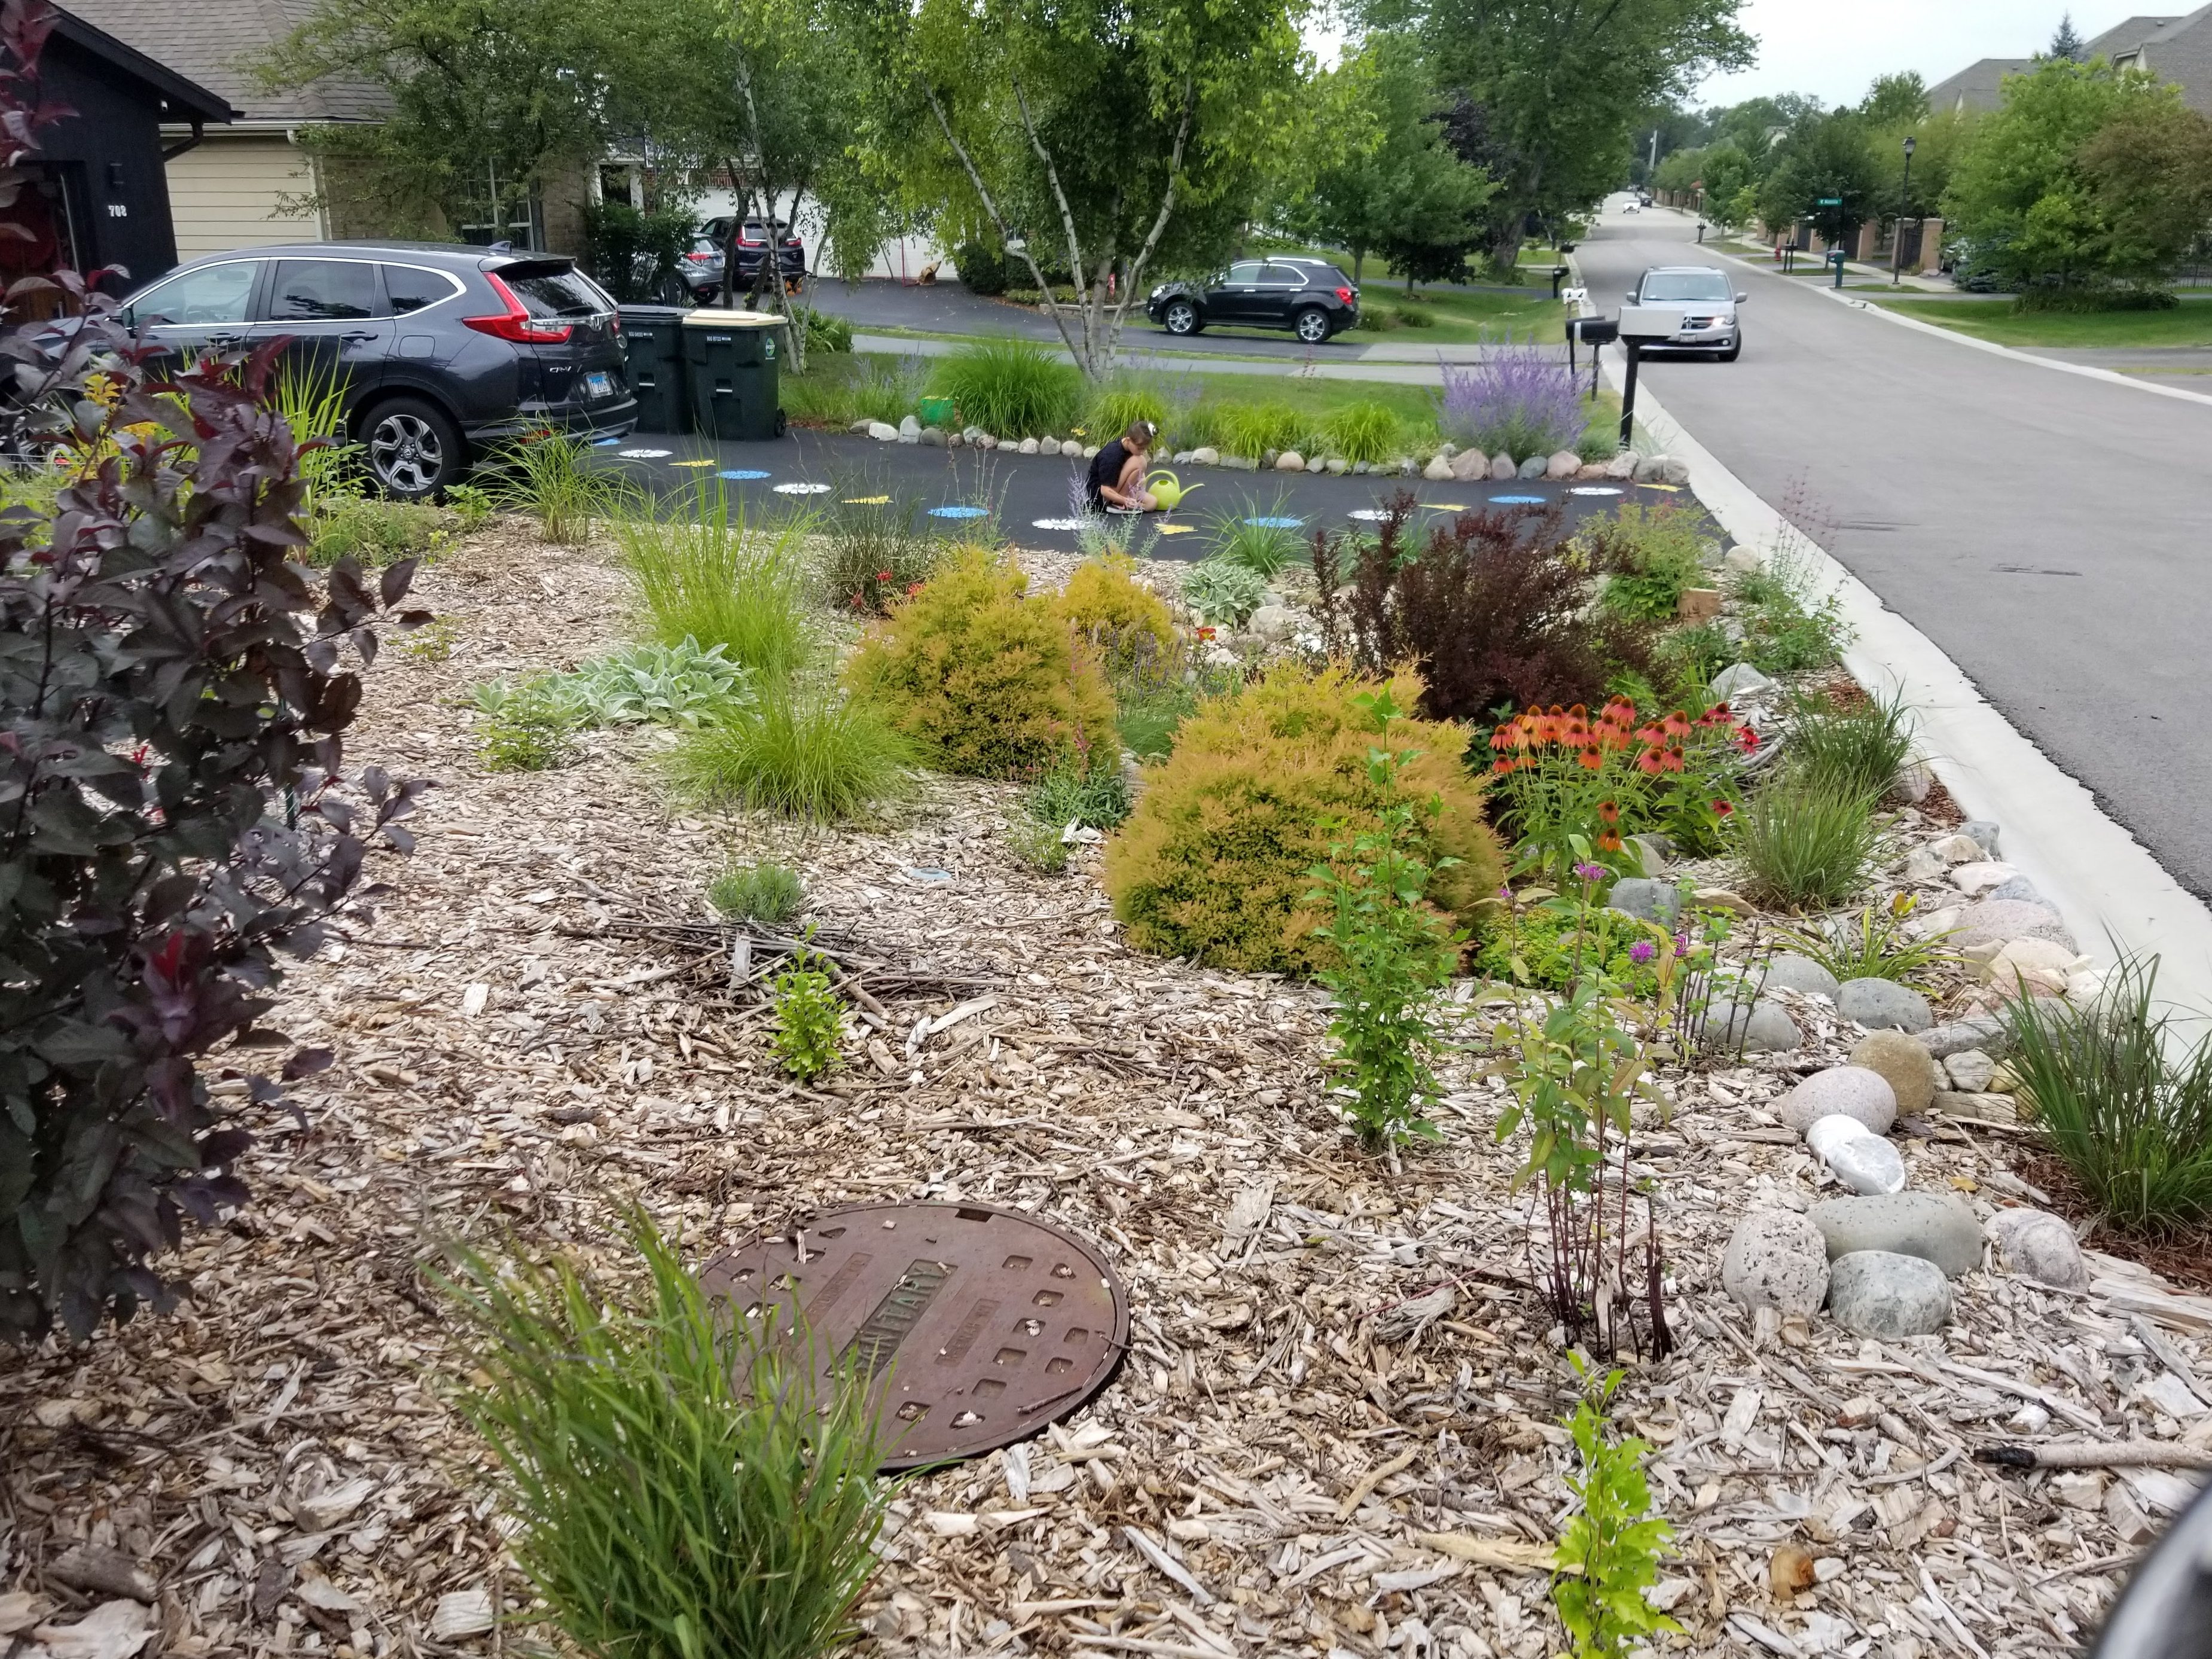
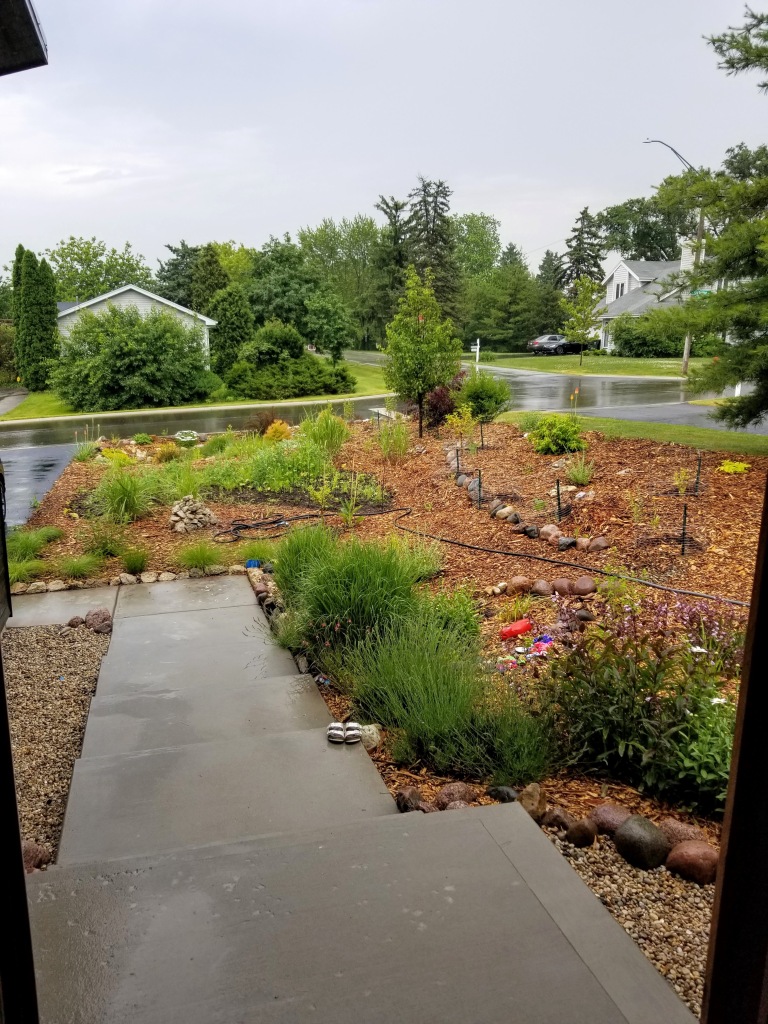
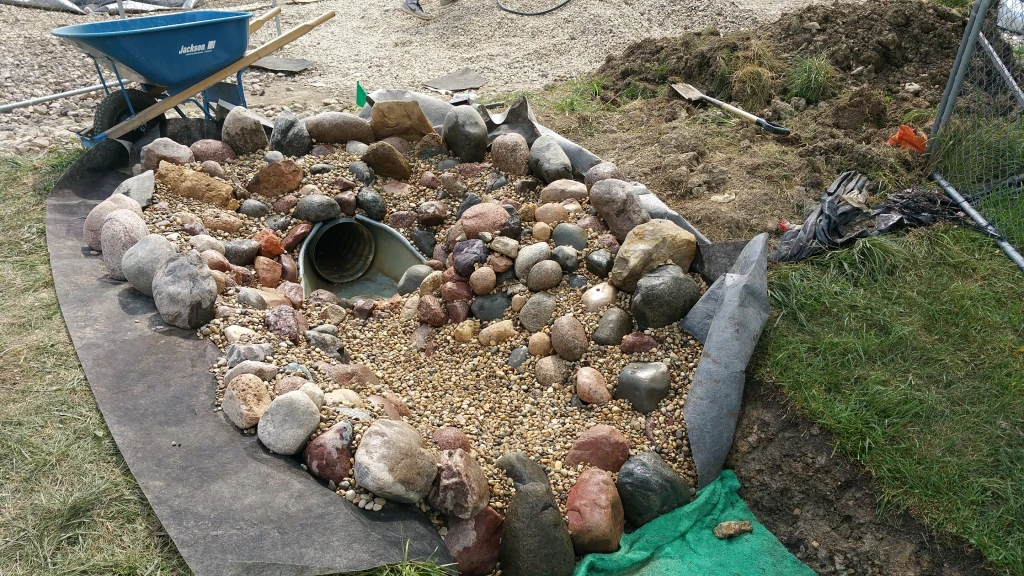
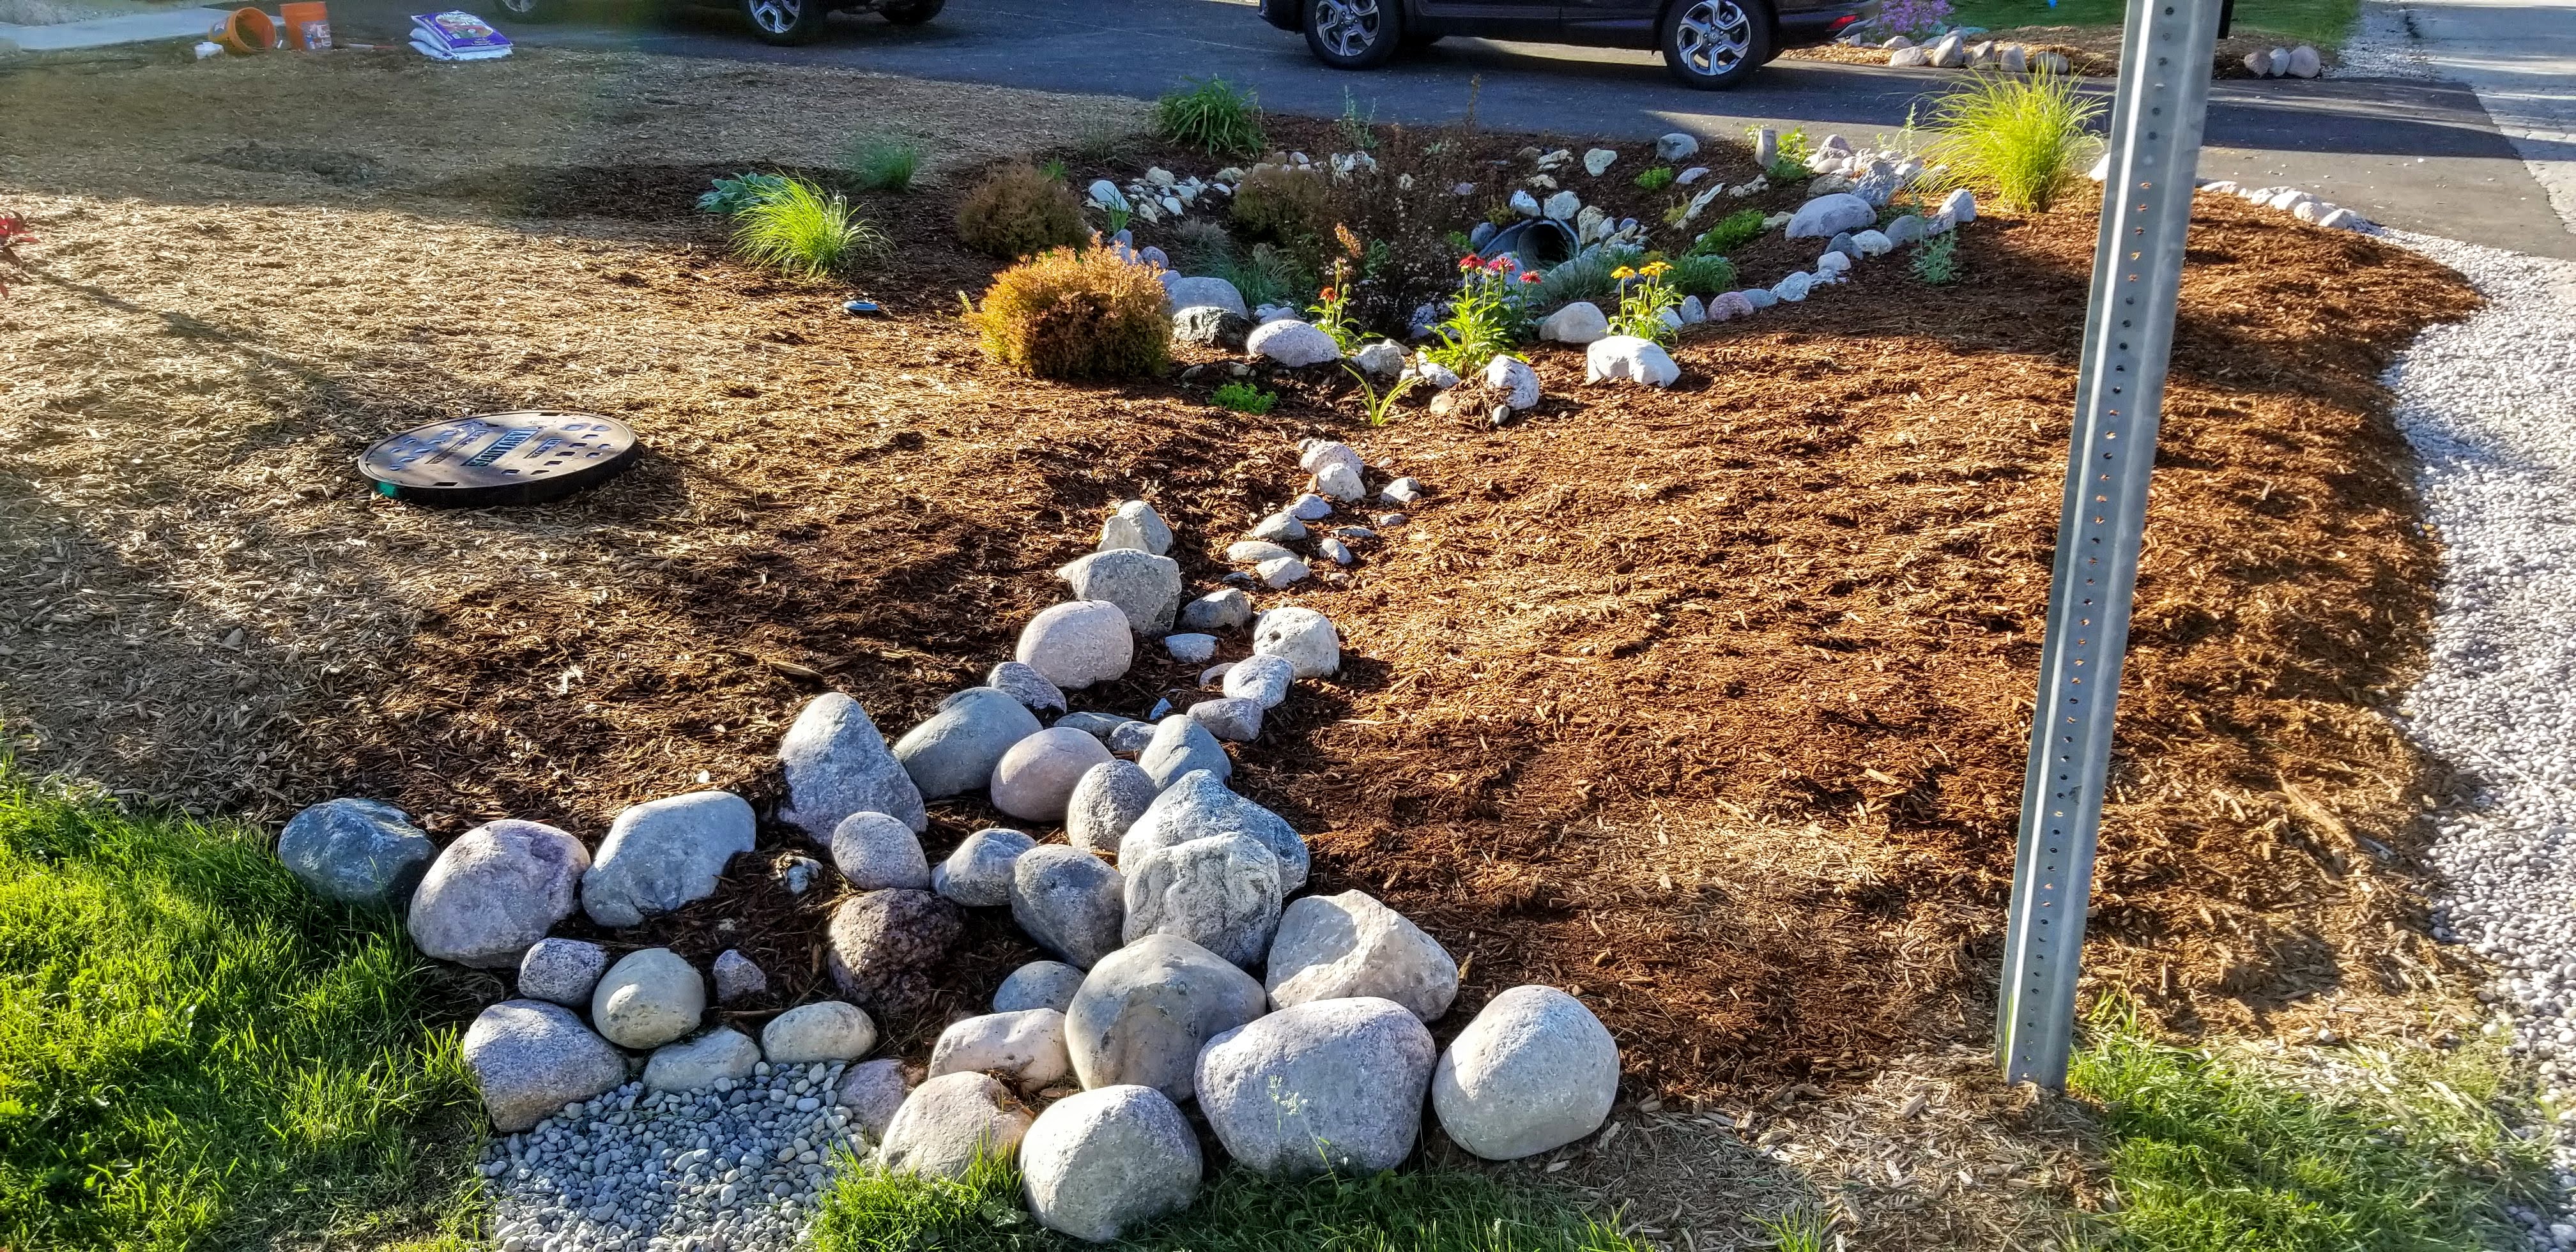
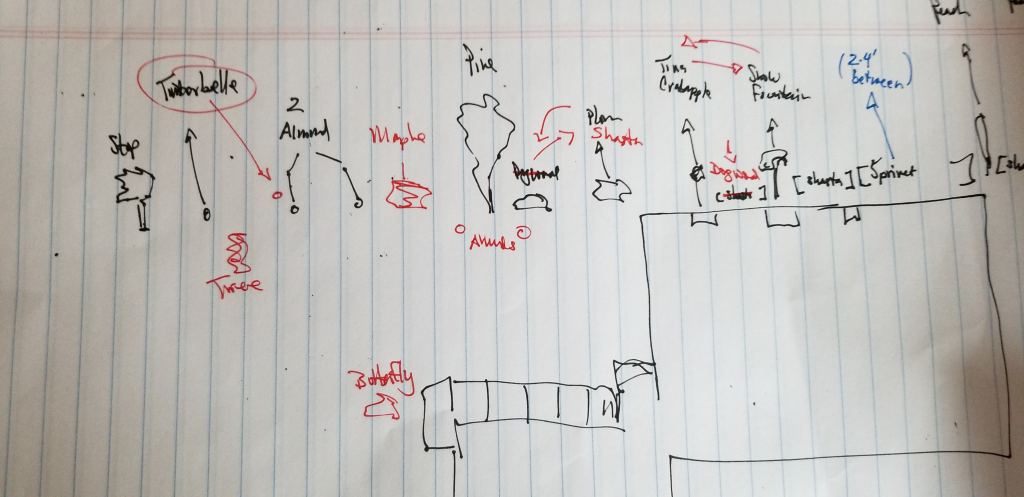
Below is a second aerial view, this time of our front yard. While there are still many gaps present here, too, especially down the middle and along the driveway, it does feel like the various plant groupings are slowly coming together. It’s also no surprise that the area around the culvert, out at the street, looks the most lush and full, since this area is where we began planting nearly four years ago.
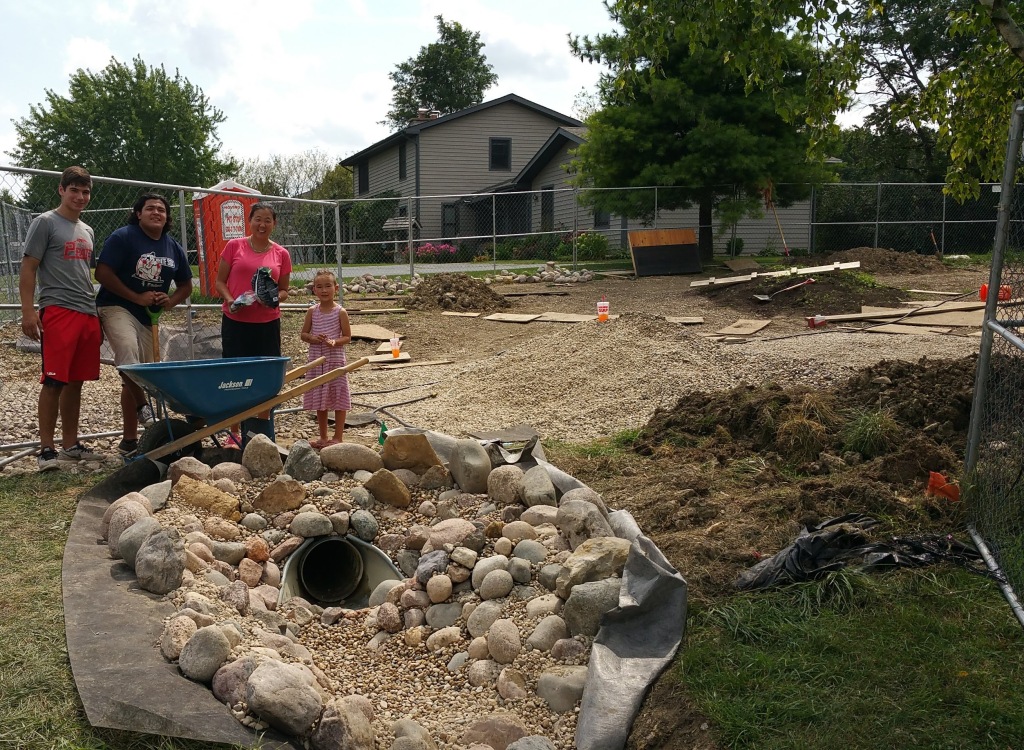
Here’s a closer view of the back end of the culvert, later in the summer:
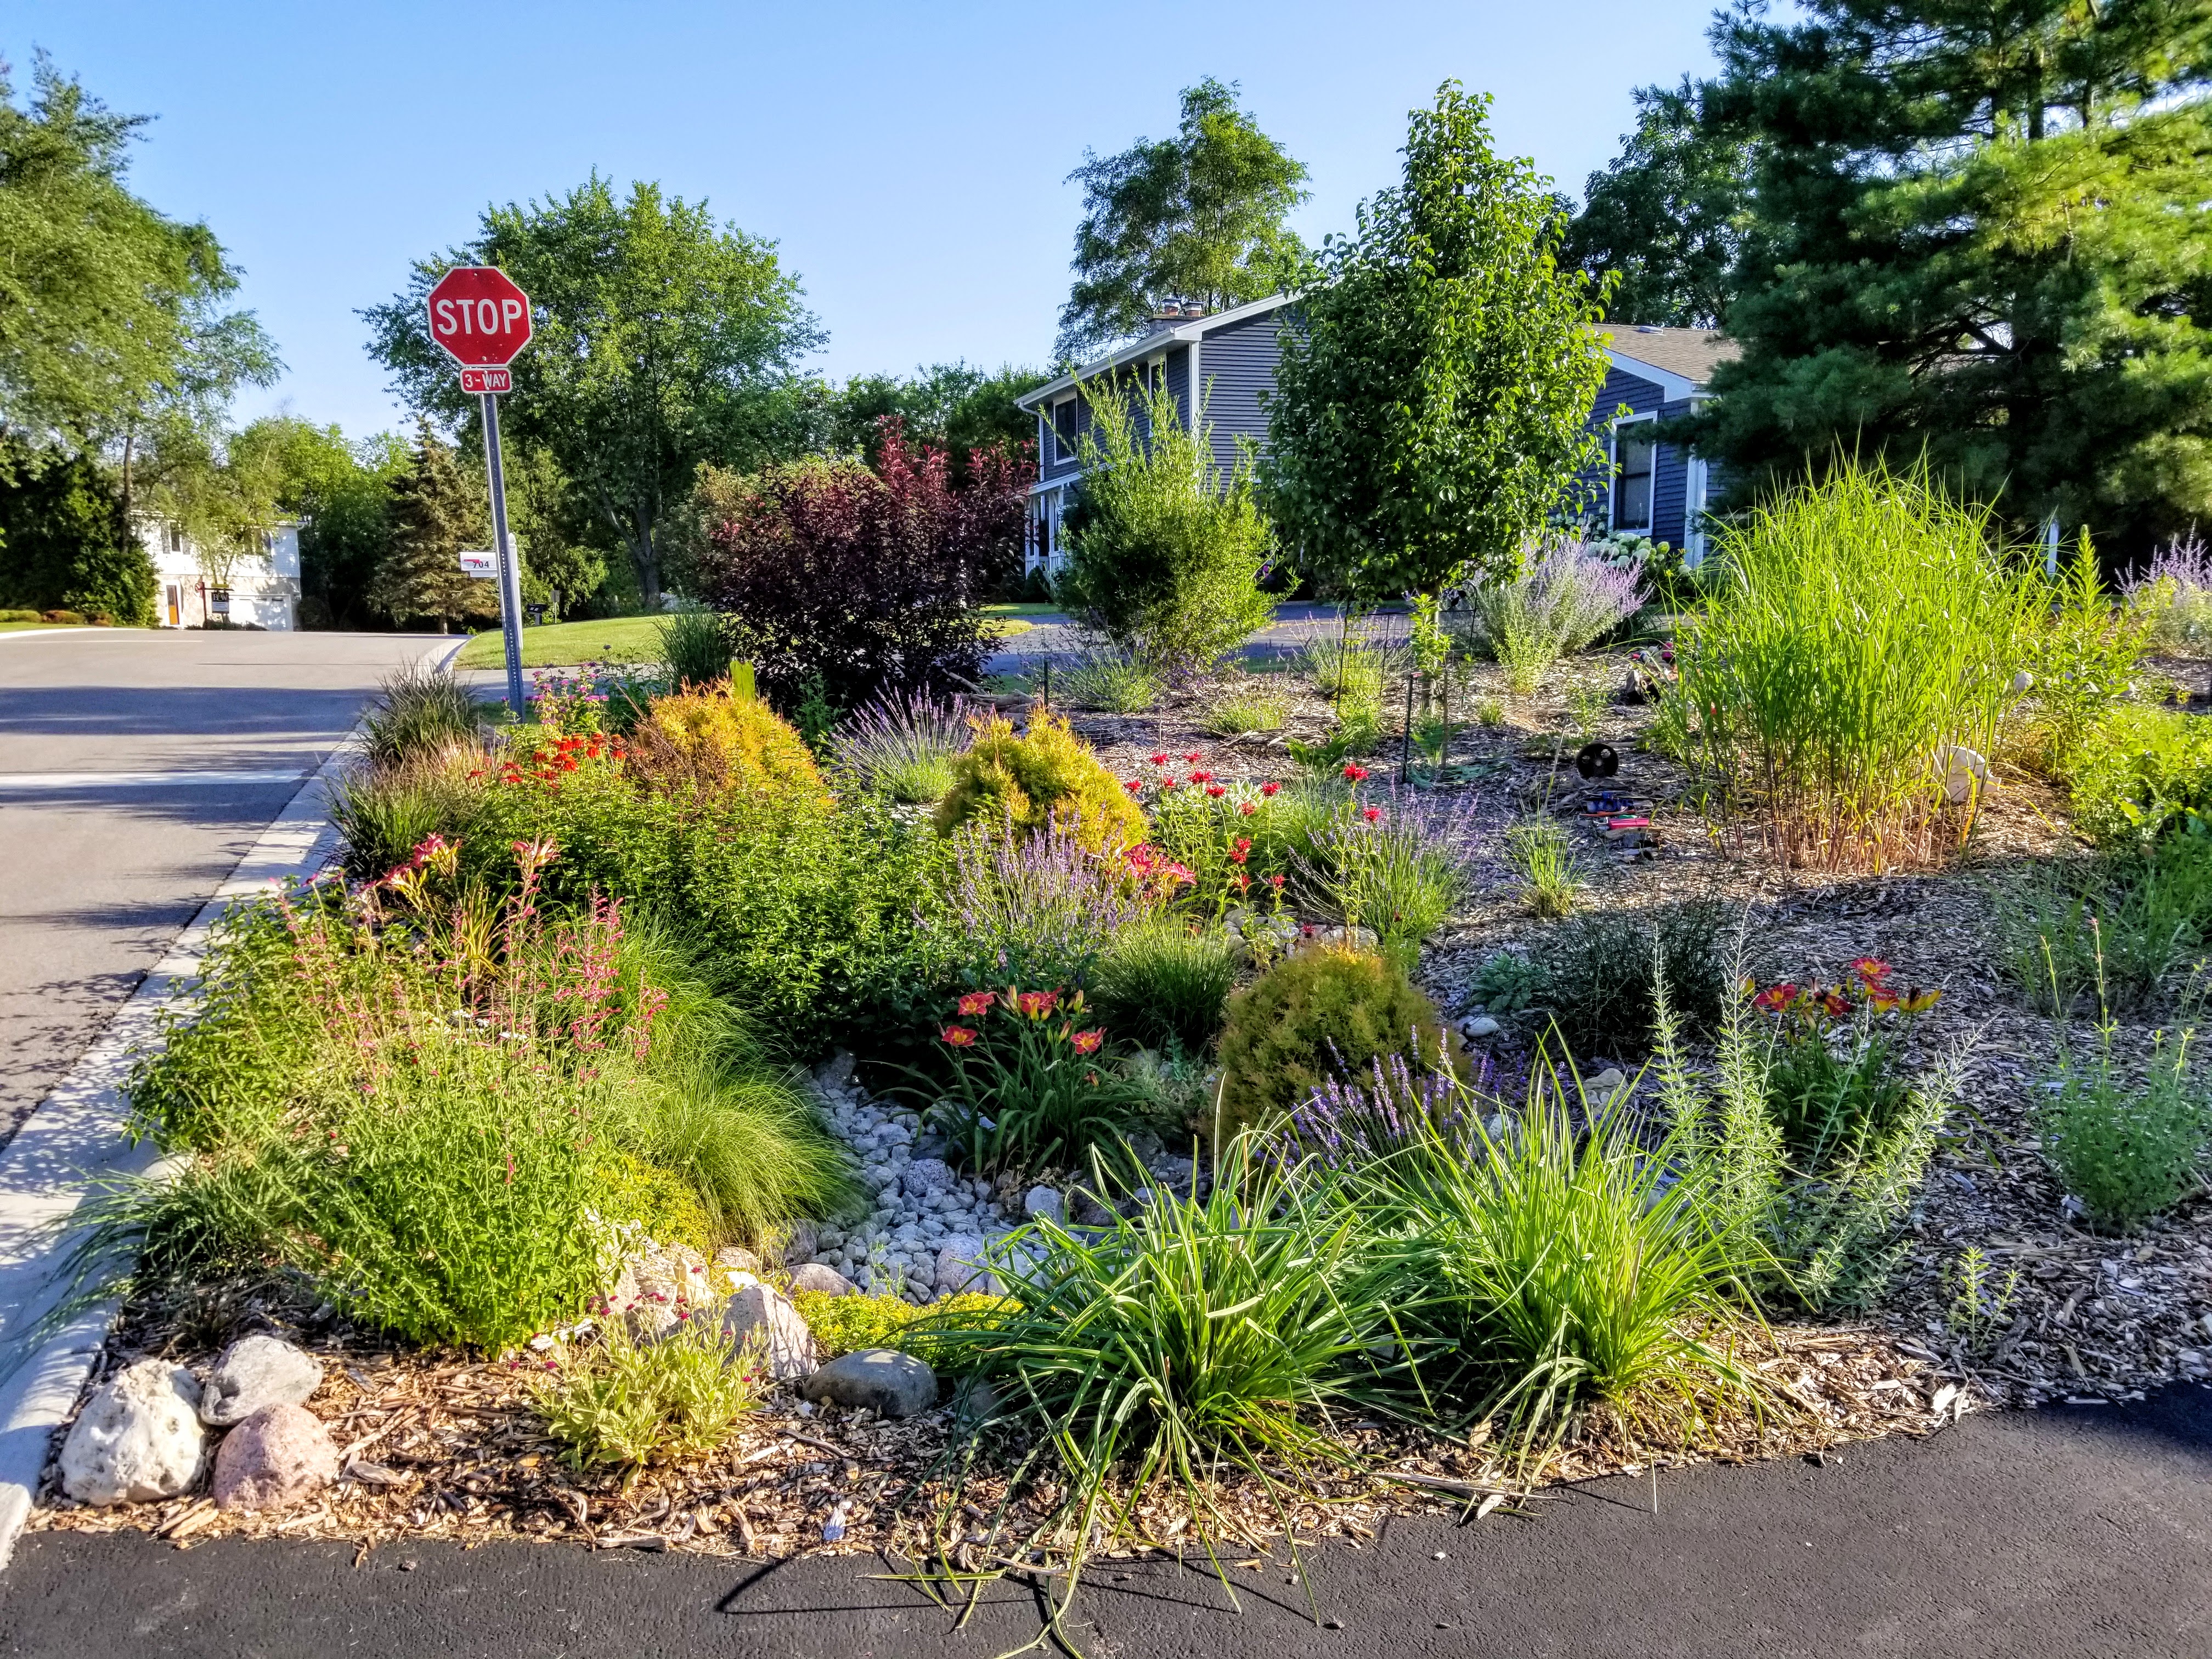
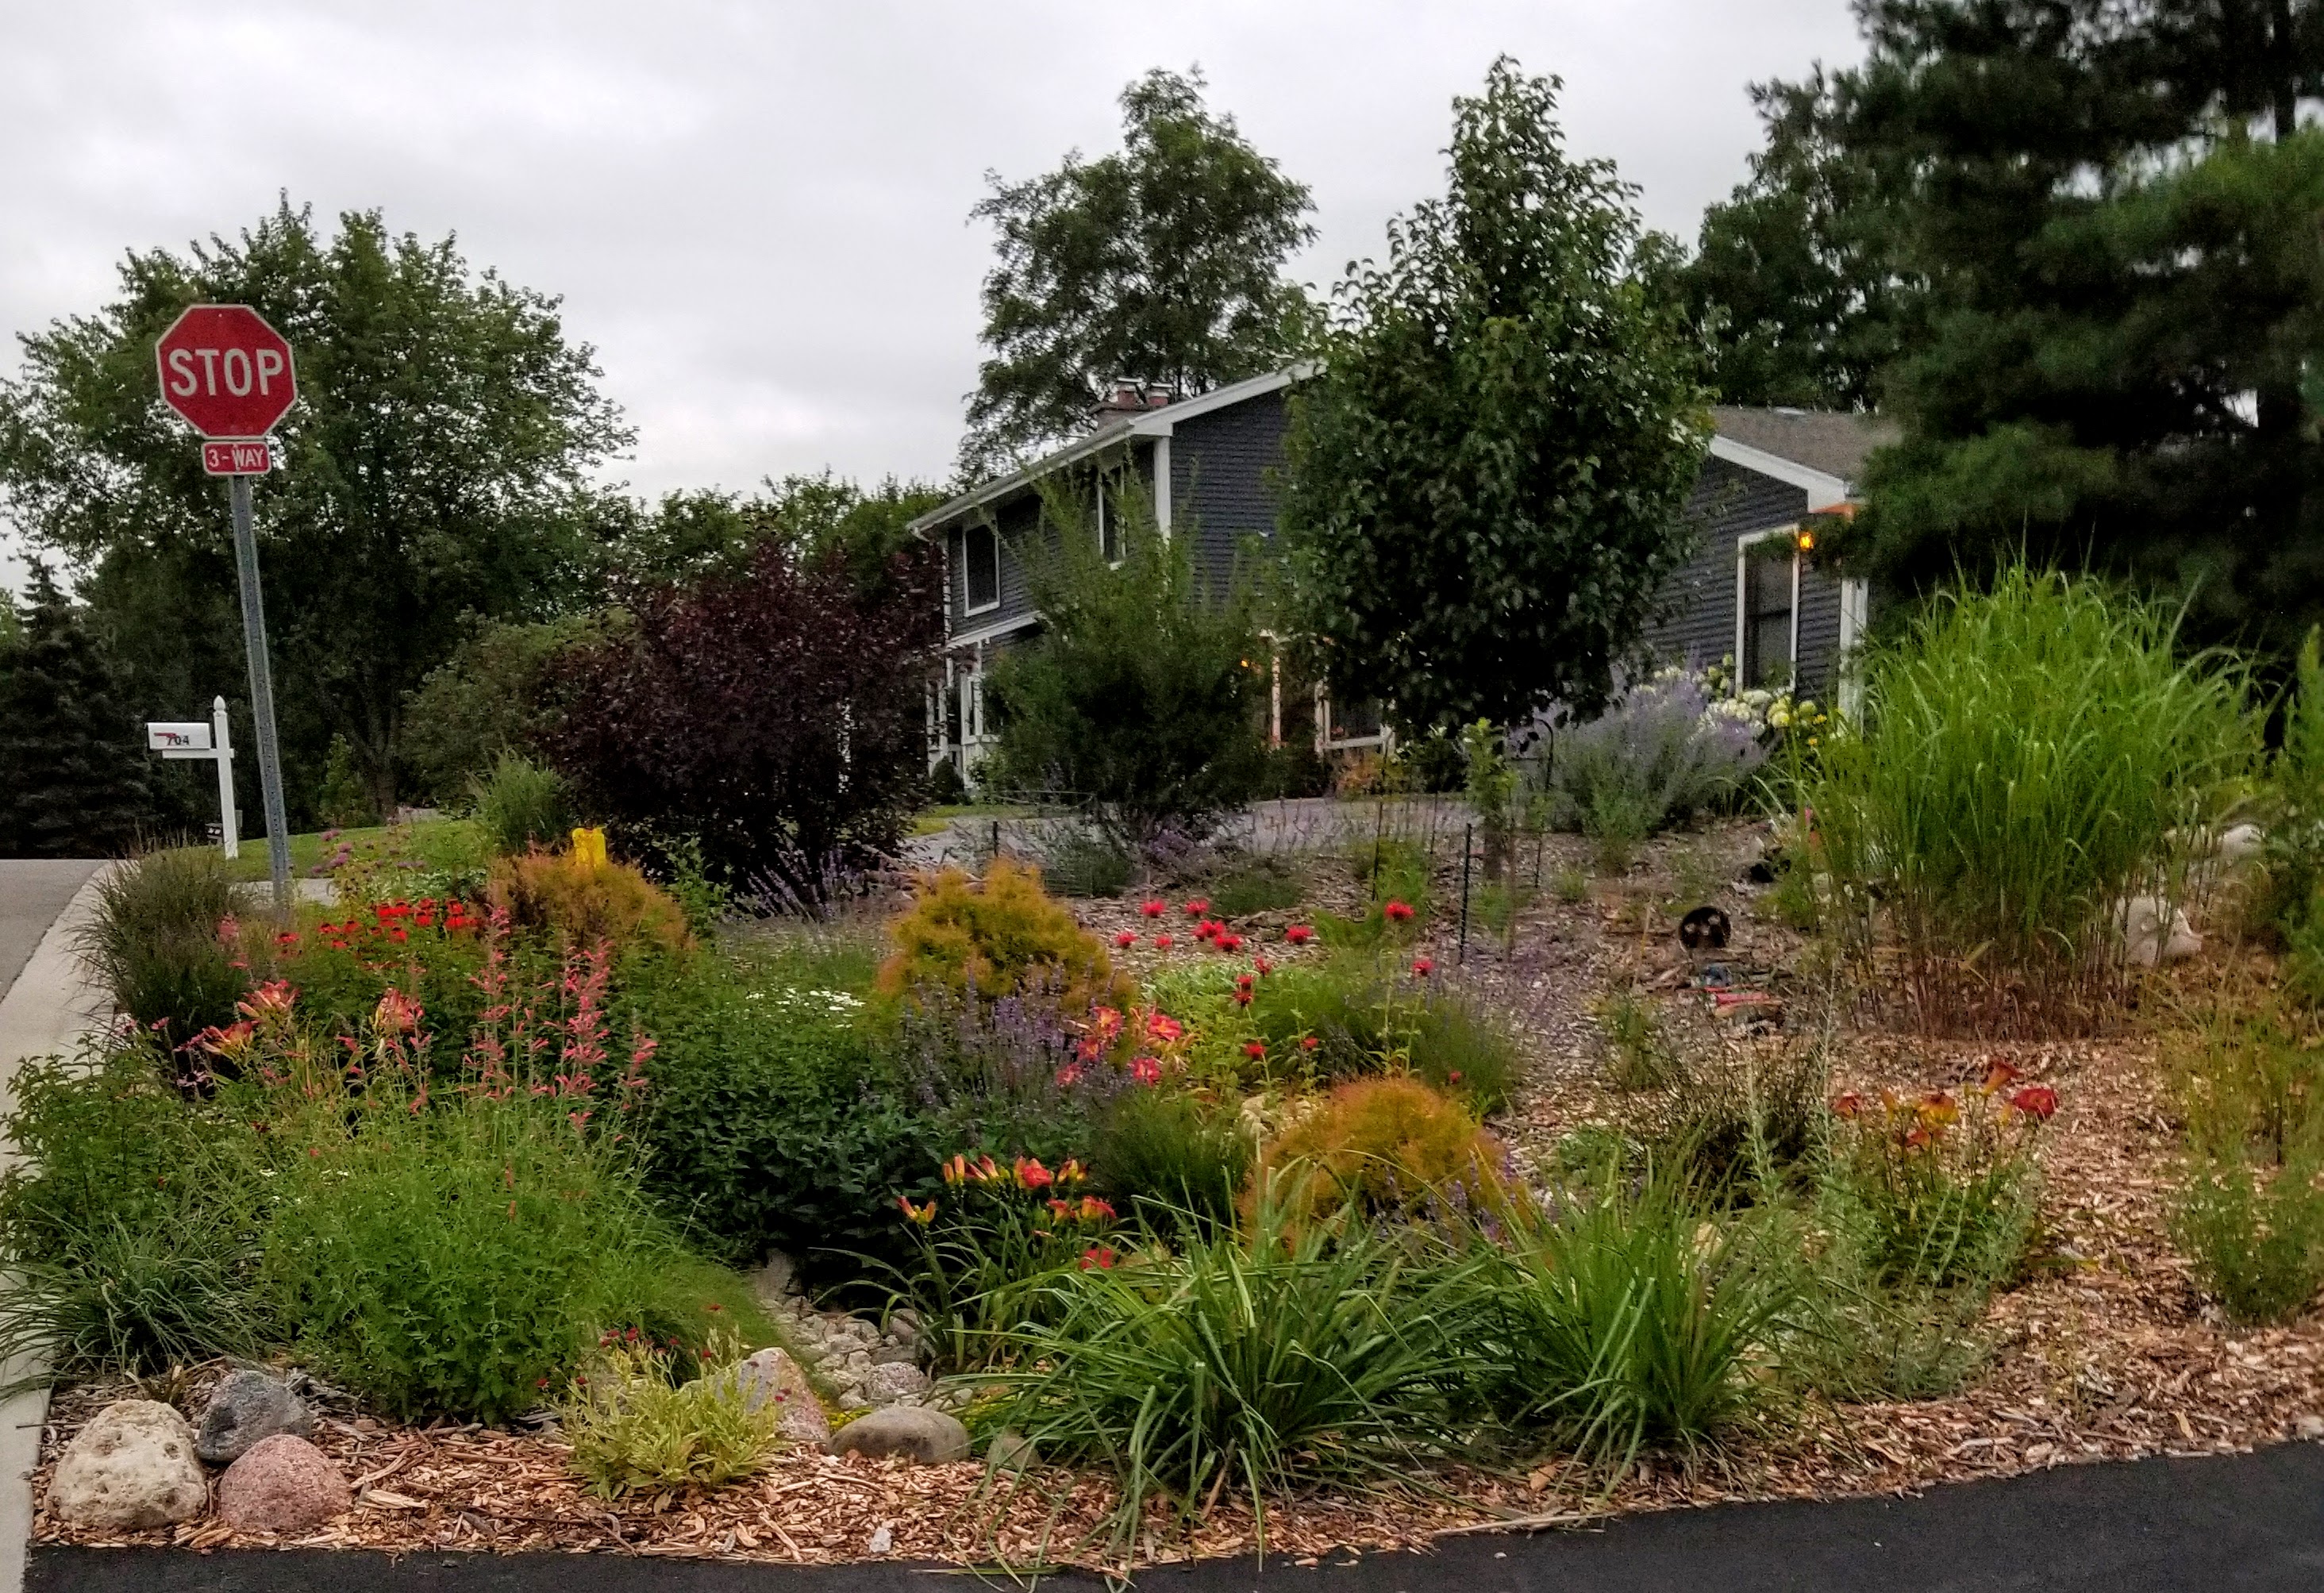
Here are two more views of the culvert from the same spot, one in the late afternoon, the other at dusk:
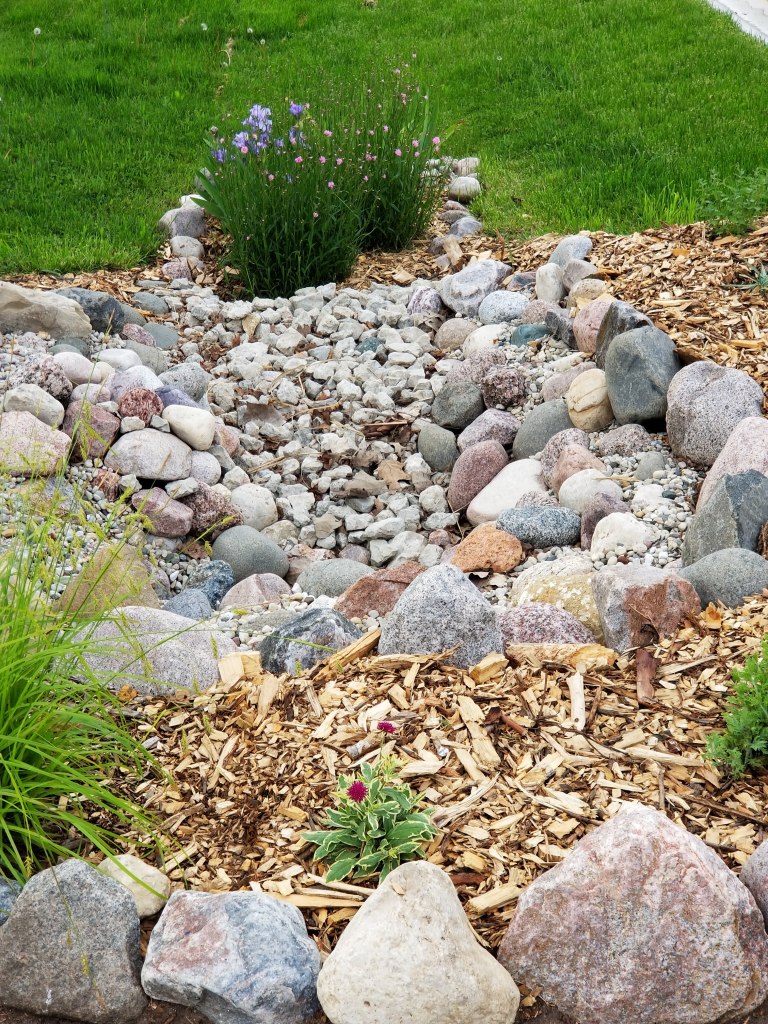
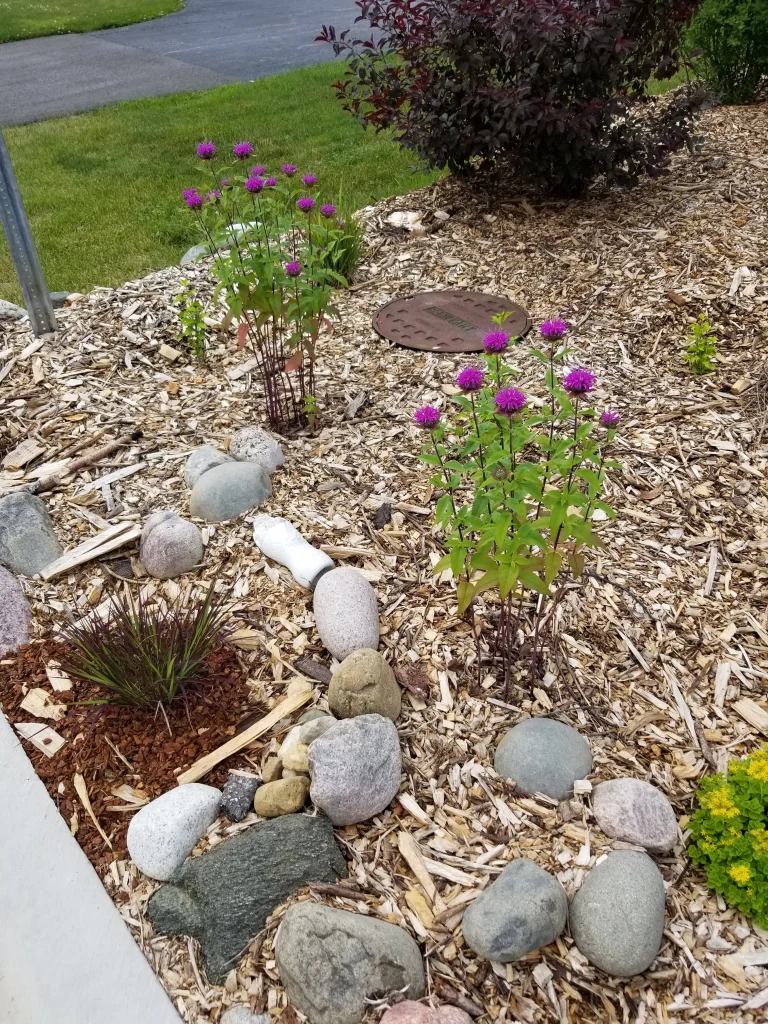
In contrast, the far southwest corner of our lot has been the slowest to develop. This area initially took on a lot of water in early spring. In addition to adding a deep layer of hardwood mulch, we’ve also selected plants such as iris and blueberries that don’t mind periods of inundation before things dry out over the course of the summer. It also helps that we’ve added plants to this area each year, so that the mulch and the roots of the plants can work together absorbing this additional moisture.
A closer view of this southwest corner, with ferns, irises, astilbes, some fruiting shrubs, and our compost bin:
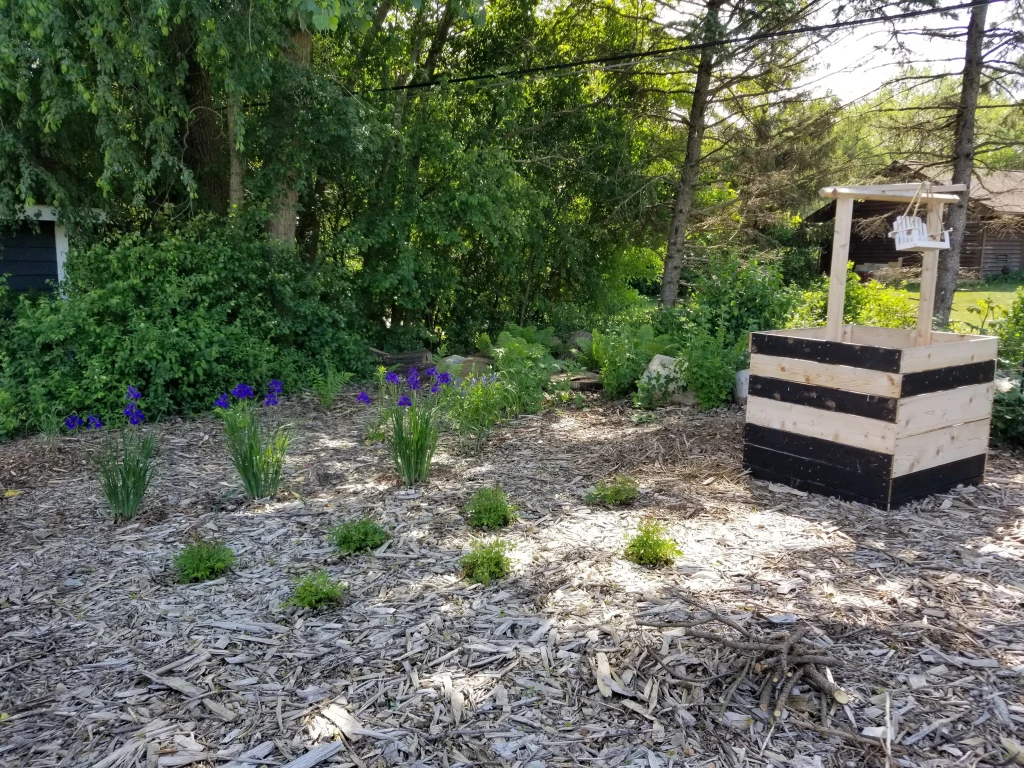
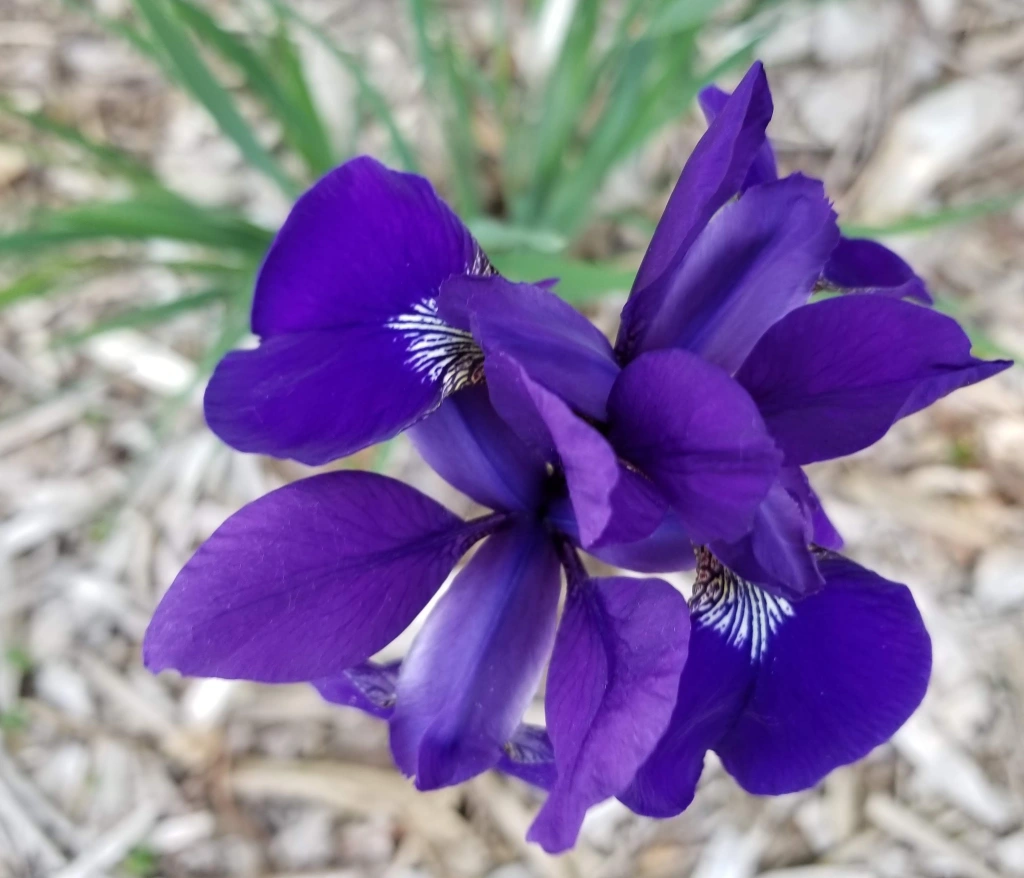
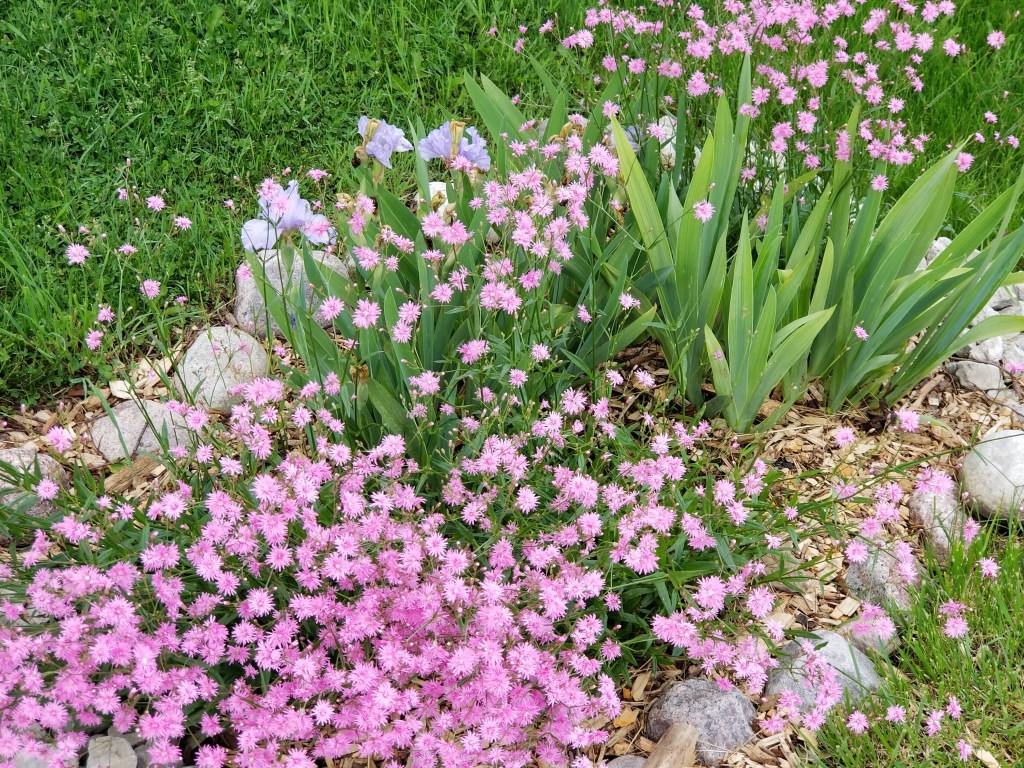
While the irises took off in their second year, the astilbes continue to lag far behind:

This ‘Caesar’s Brother’ variety offers a unique and intense purple that looks amazing in dappled shade:
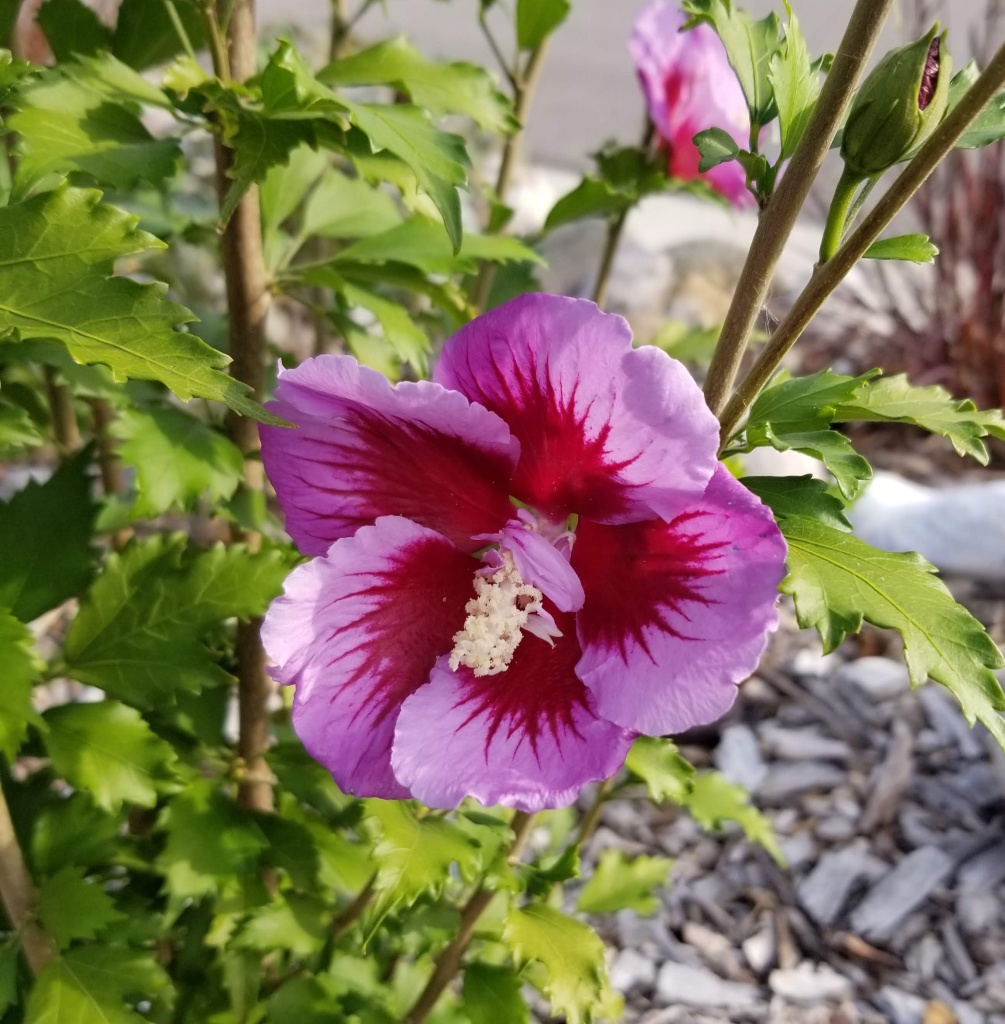
In its first year, our false indigo produced only foliage, so it was nice to see some color this year:

“A garden which grows true to its own laws is not a wilderness, yet not entirely artificial either. Many gardens are formal and artificial. The flower beds are trimmed like tablecloths or painted designs. The lawns are clipped like perfect plastic fur. The paths are clean, like new polished asphalt. The furniture is new and clean, fresh from the department store.
These gardens have none of the quality which brings a garden to life — the quality of a wilderness, tamed, still wild, but cultivated enough to be in harmony with the buildings which surround it and the people who move in it.”
— Christopher Alexander, et al., A Pattern Language
A view from the southwest corner of the house as things begin to take off:
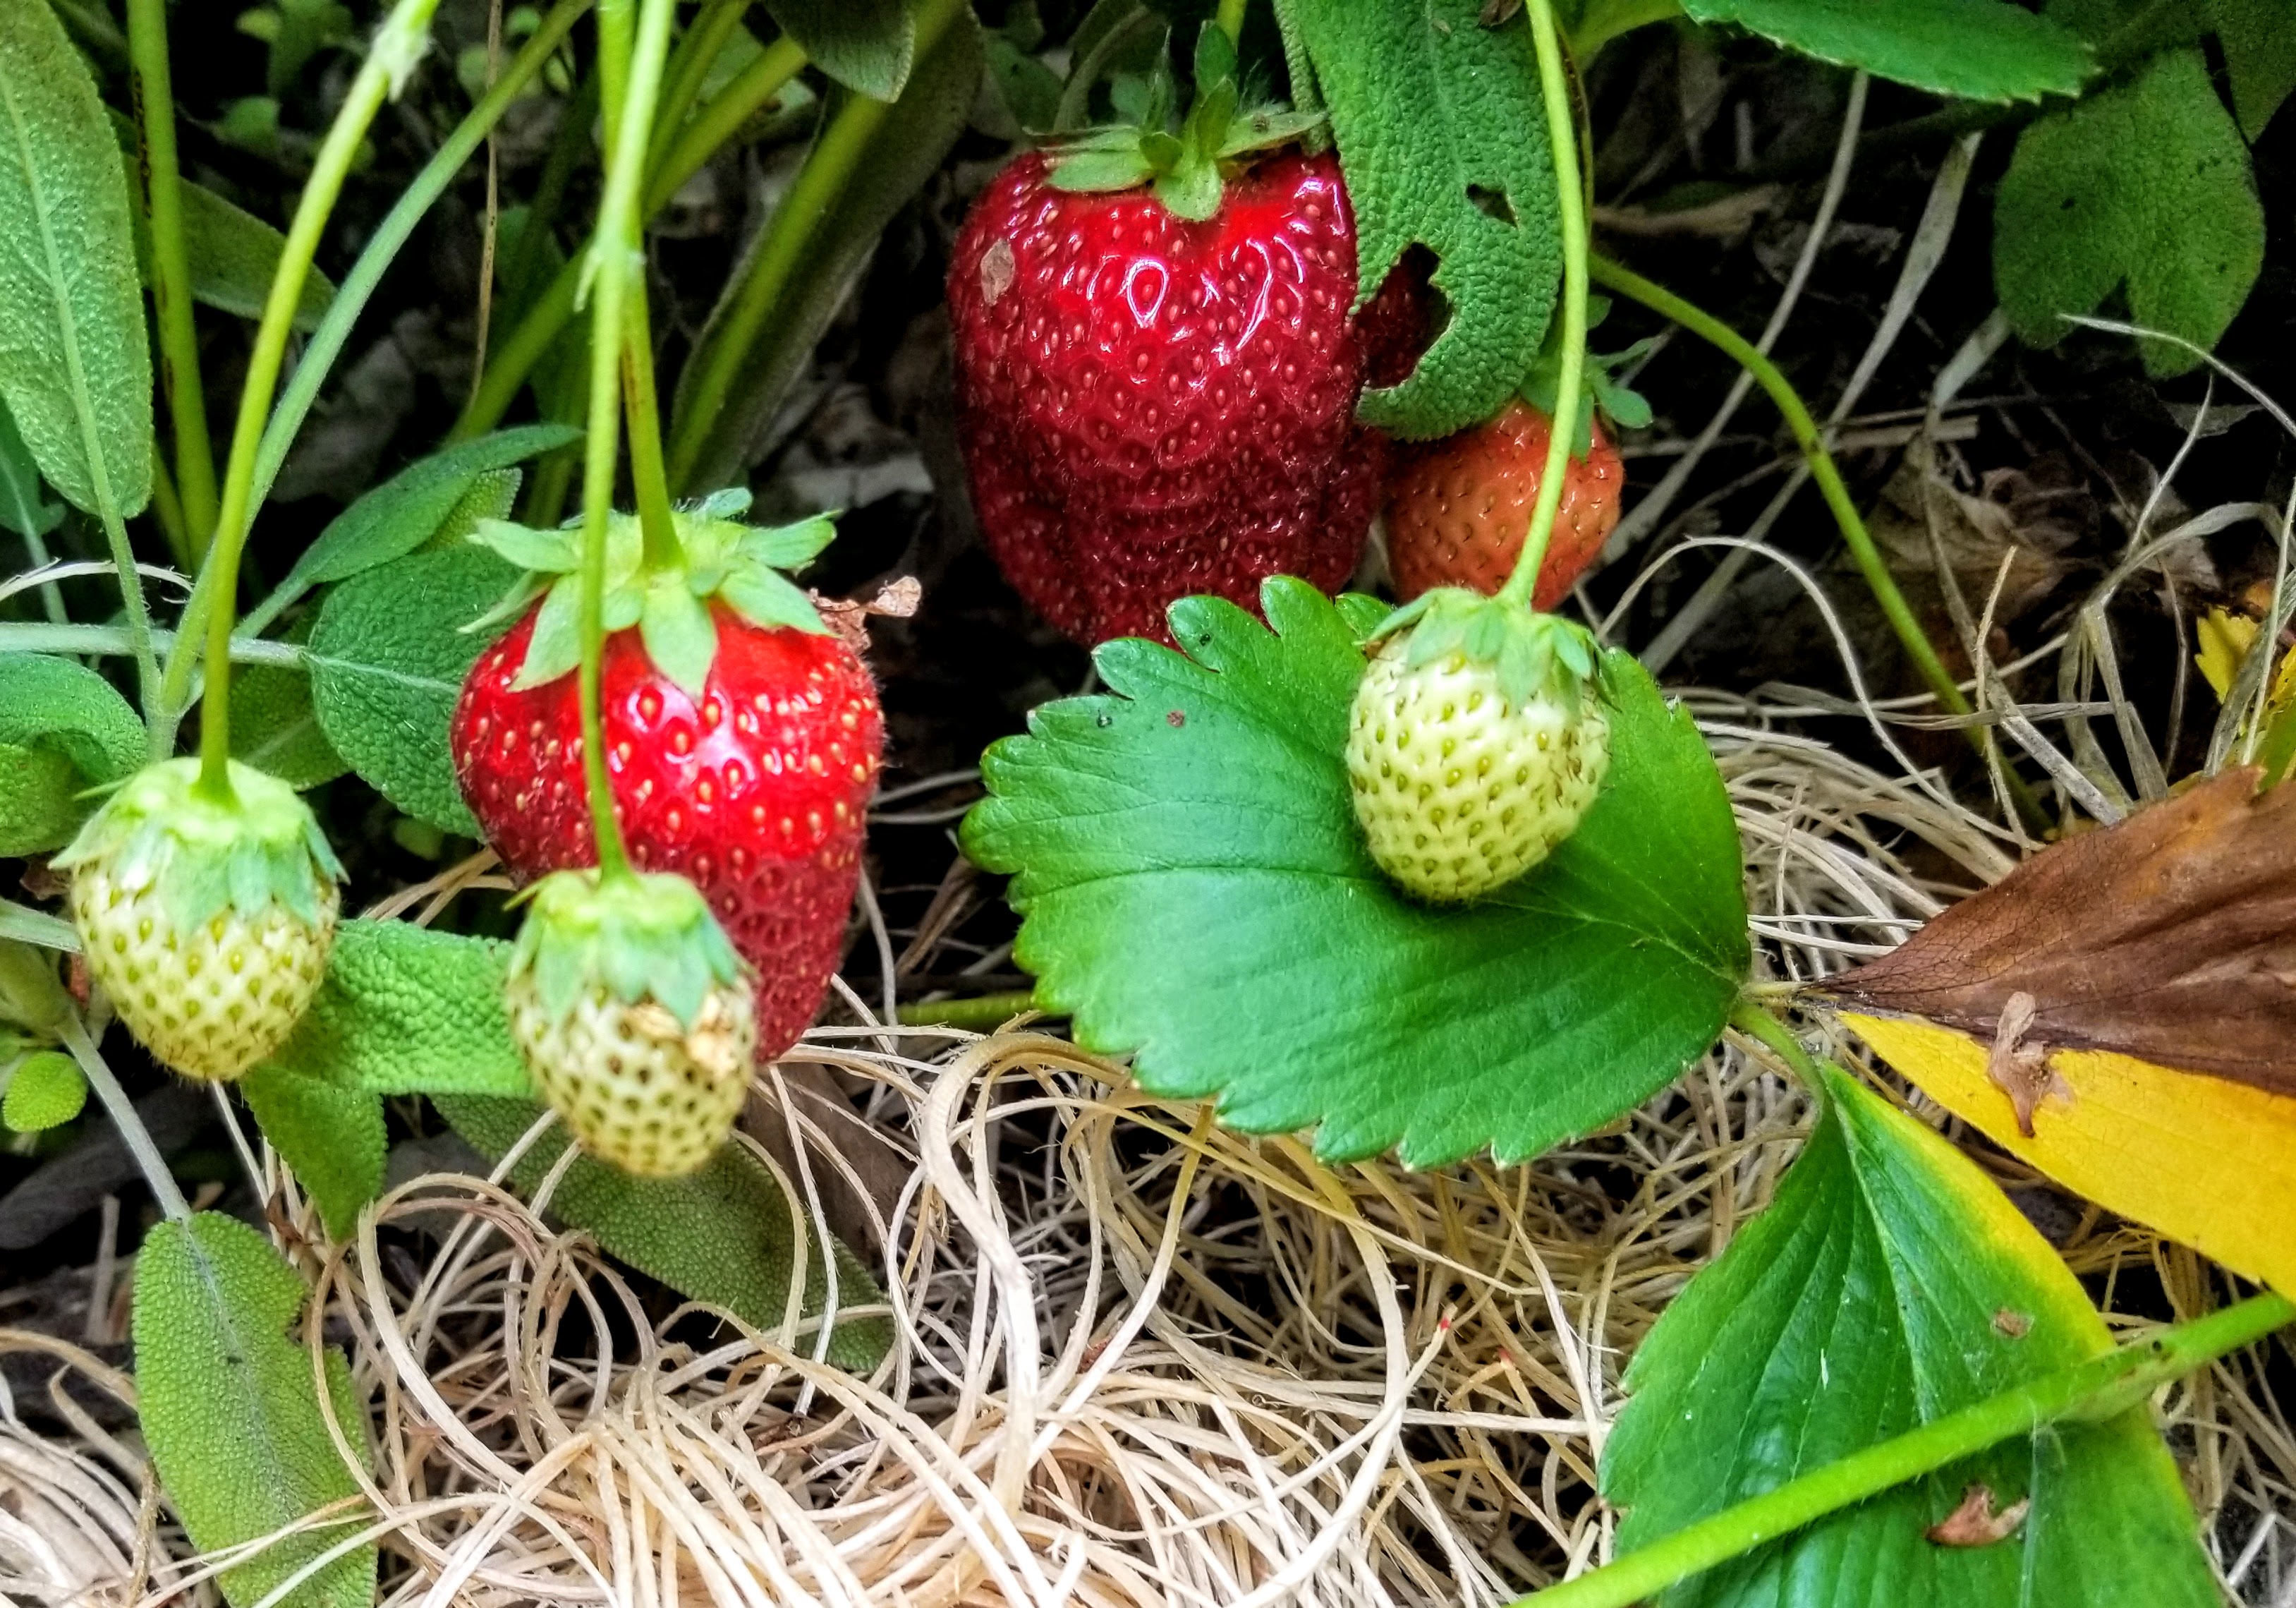
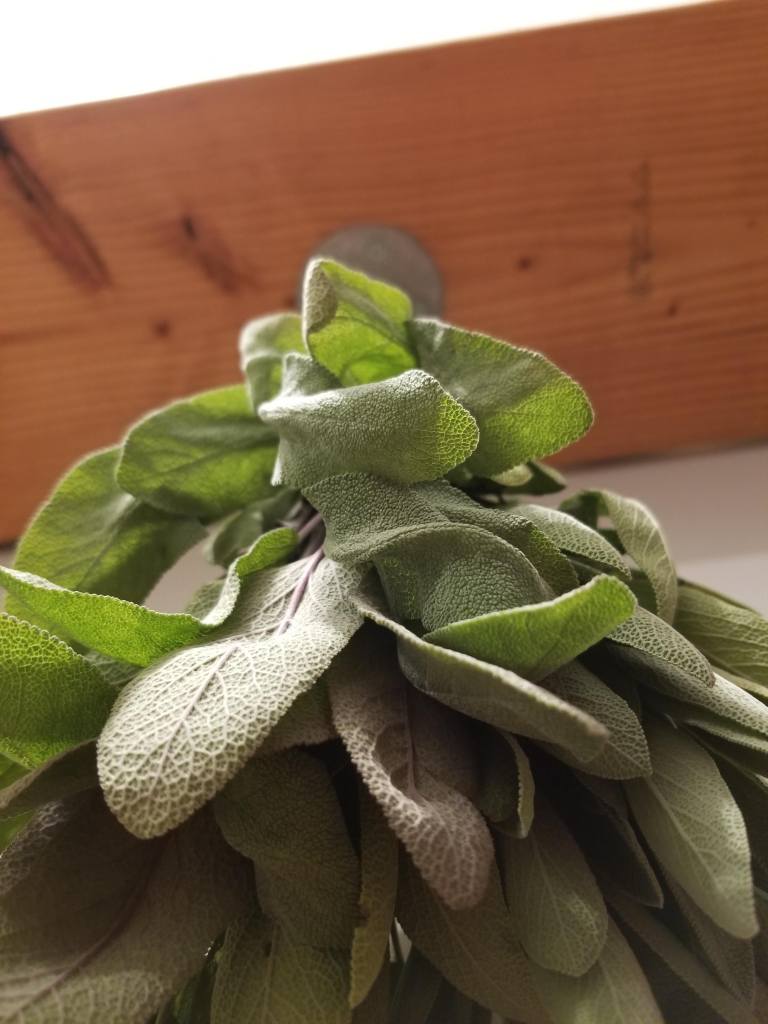
Close up as some strawberries ripen under one of our sage plants:
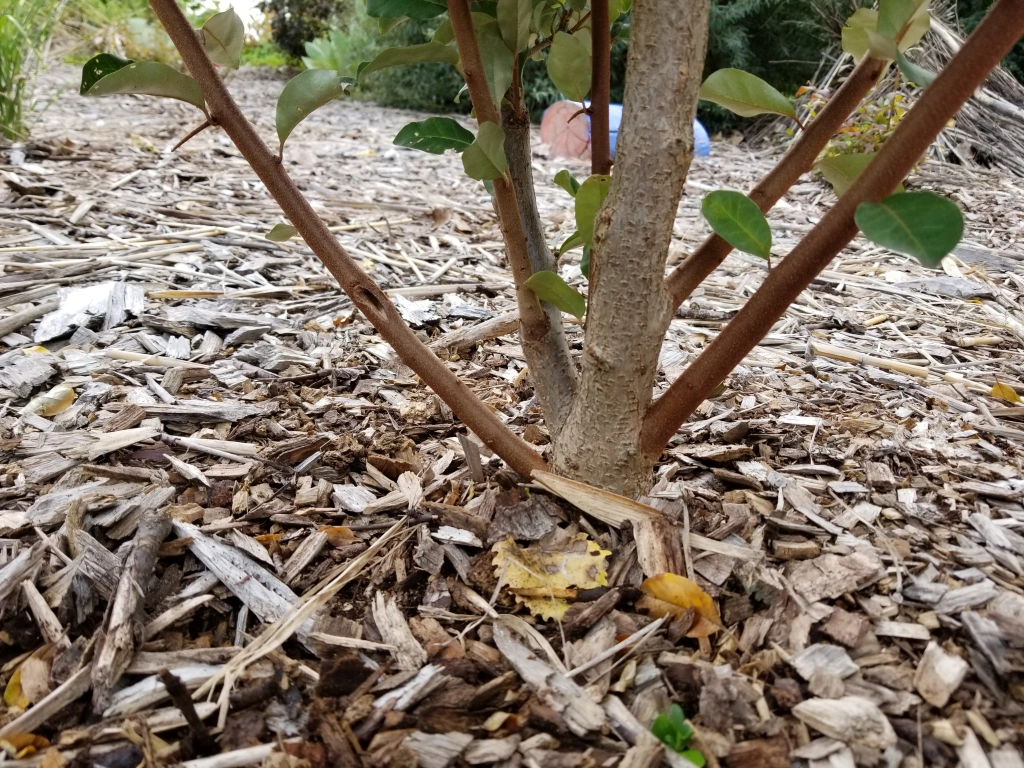
Our fruit trees continue to expand and thicken up, as we continue to shape them using the technique outlined by Ann Ralph in her book Grow a Little Fruit Tree.
Also, all of our goumis have set a significant amount of fruit, which we happily share with the robins and blue jays (they took a bulk of the harvest this year, but we don’t mind sharing the bounty with our feathered friends). The goumis also thickened up quite a bit at their base since their first year. With this rate of growth, it’s easy to imagine that we may have to do some cutting back in a couple of years just to ensure they don’t overtake other plants around them. A nice problem to have as the vegetation in our yard fills up the remaining voids.
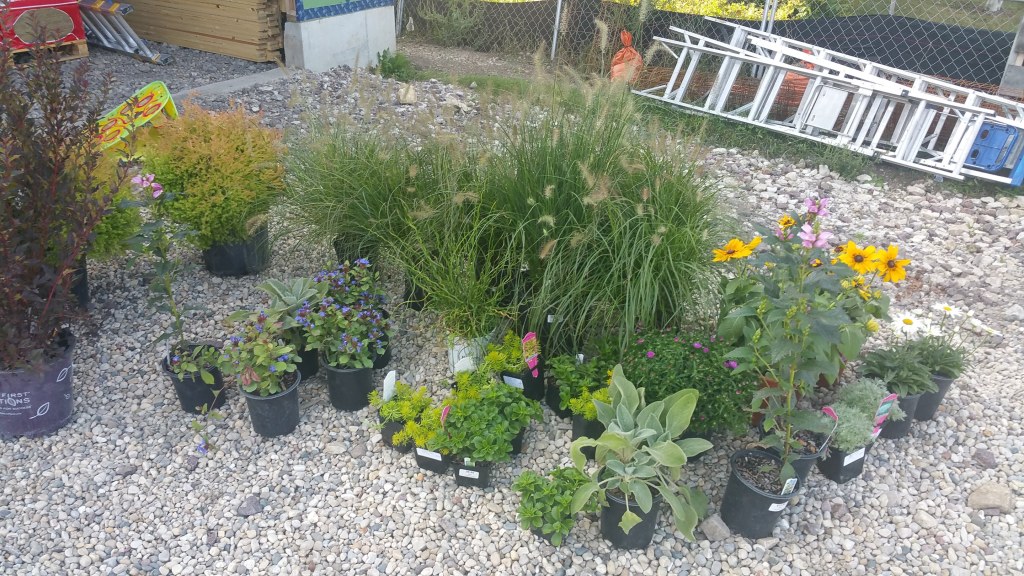
Some of the building blocks that we added this year included fruiting bushes, additional ornamental grasses, and some showy flowers:
We even enjoyed our first blackberries from the yard. Unlike store bought varieties, which tend to have a lemony aftertaste, these were pure sweetness:
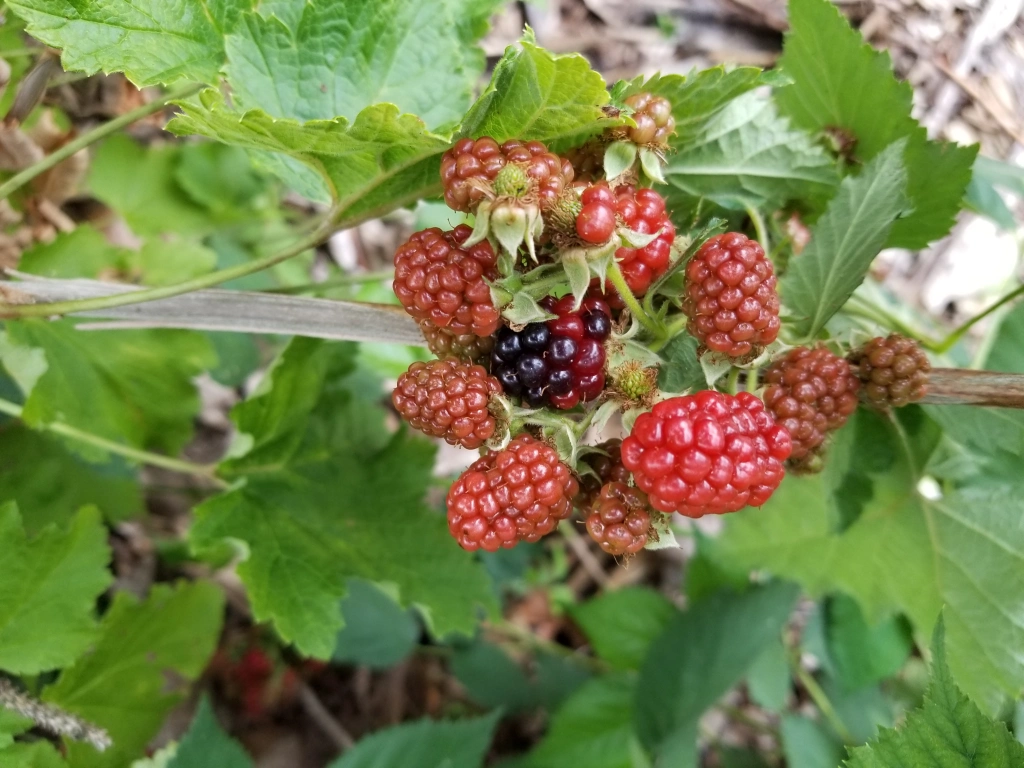
One of many happy surprises this year was the burst of growth on the blackberries, seen below trying to envelop our compost bin:
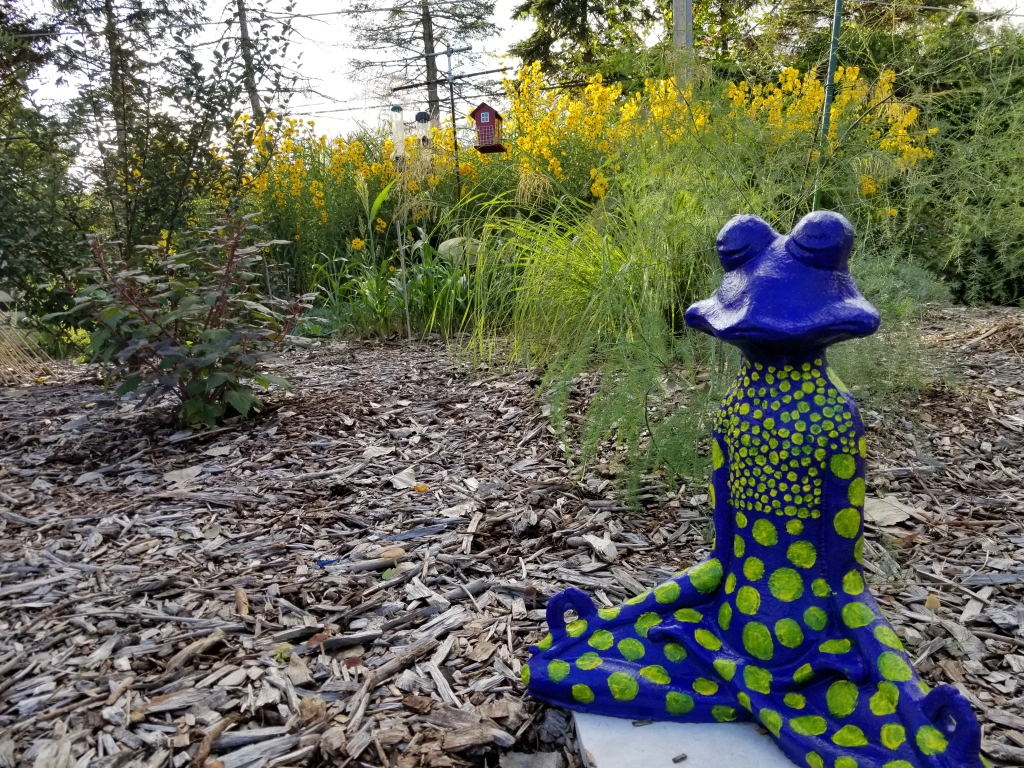
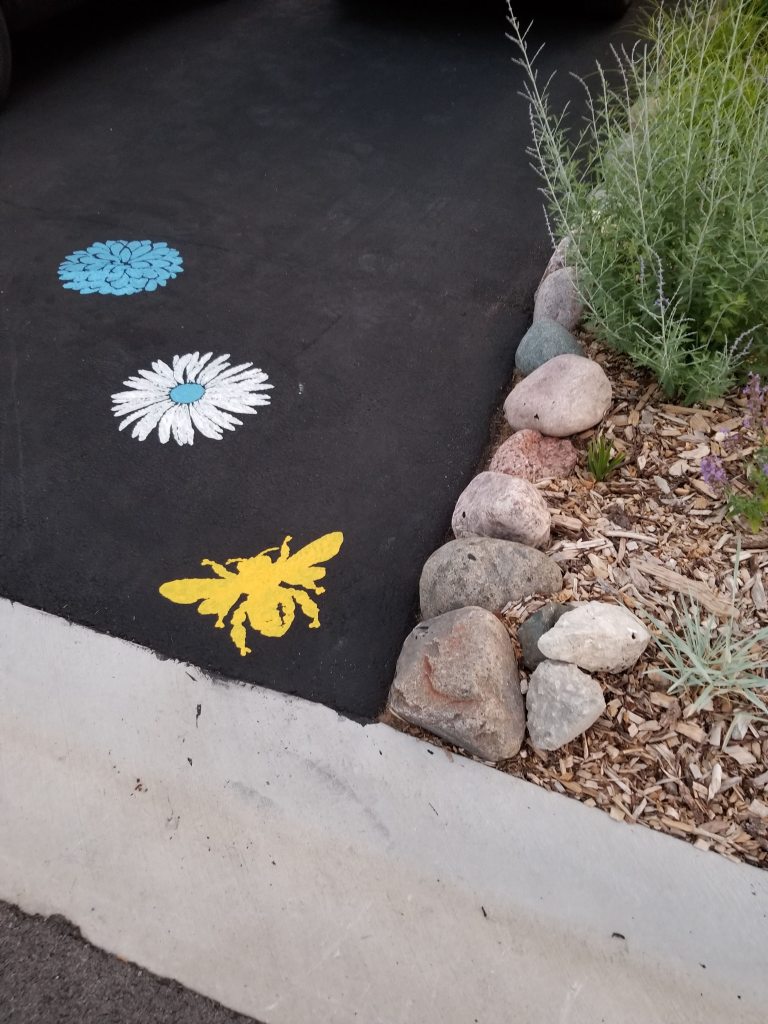
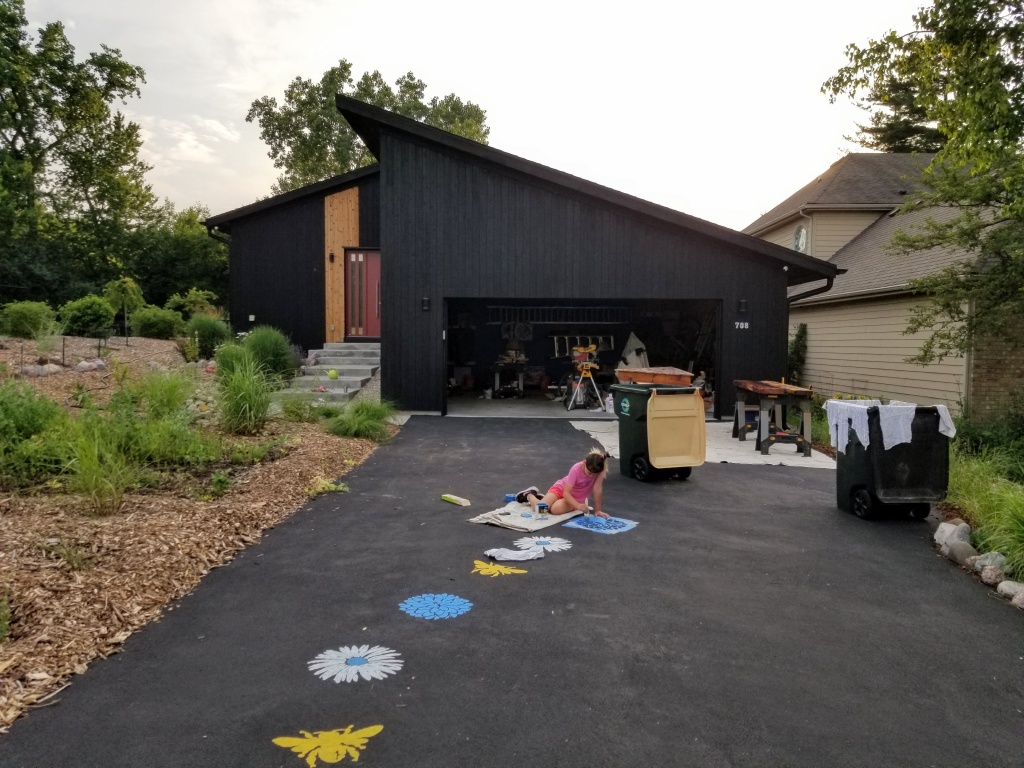
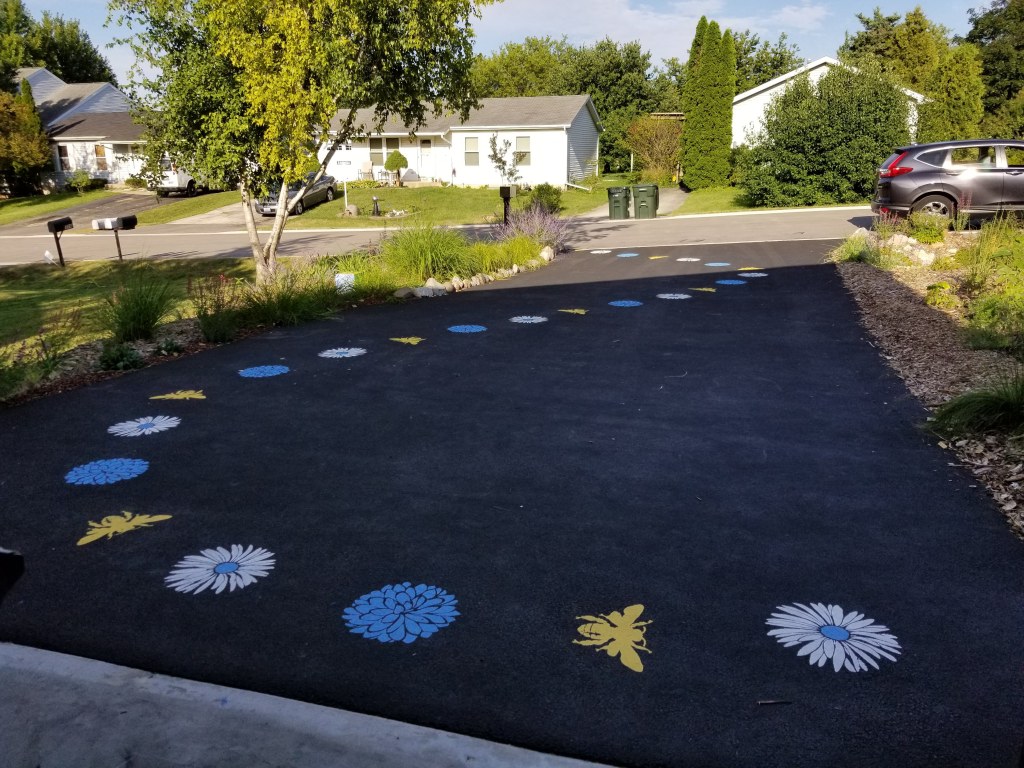
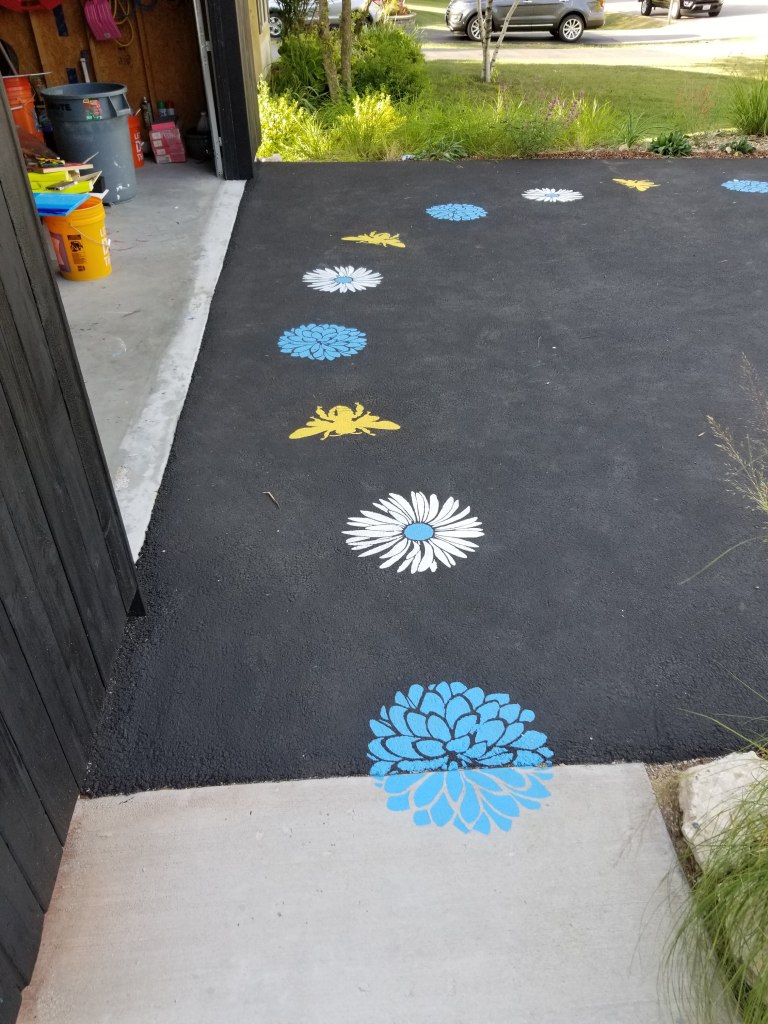
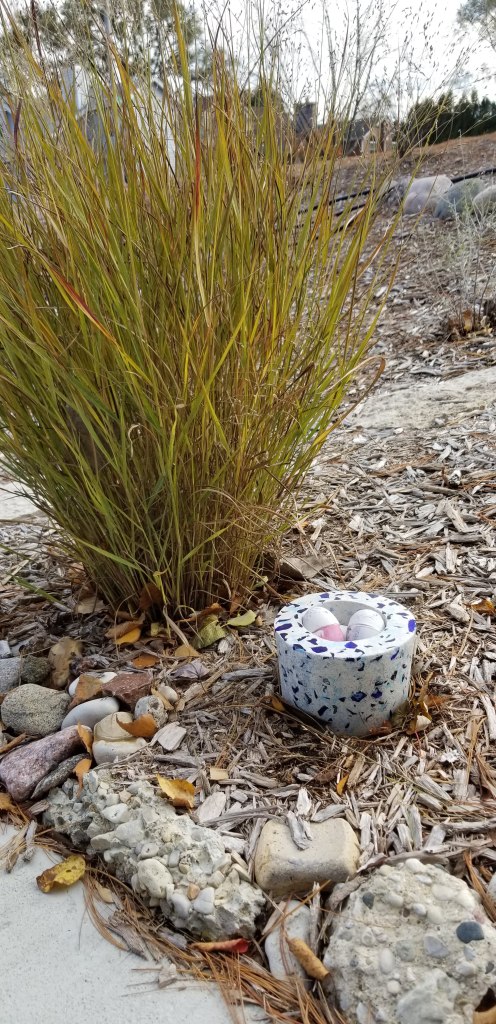
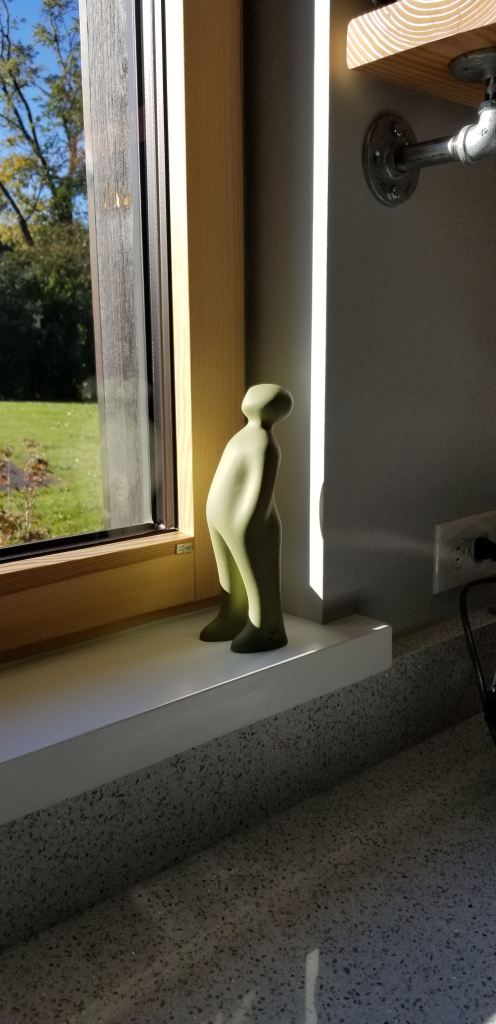
We also found time to add some decorative elements, including this Zen frog that my daughter helped me decorate:
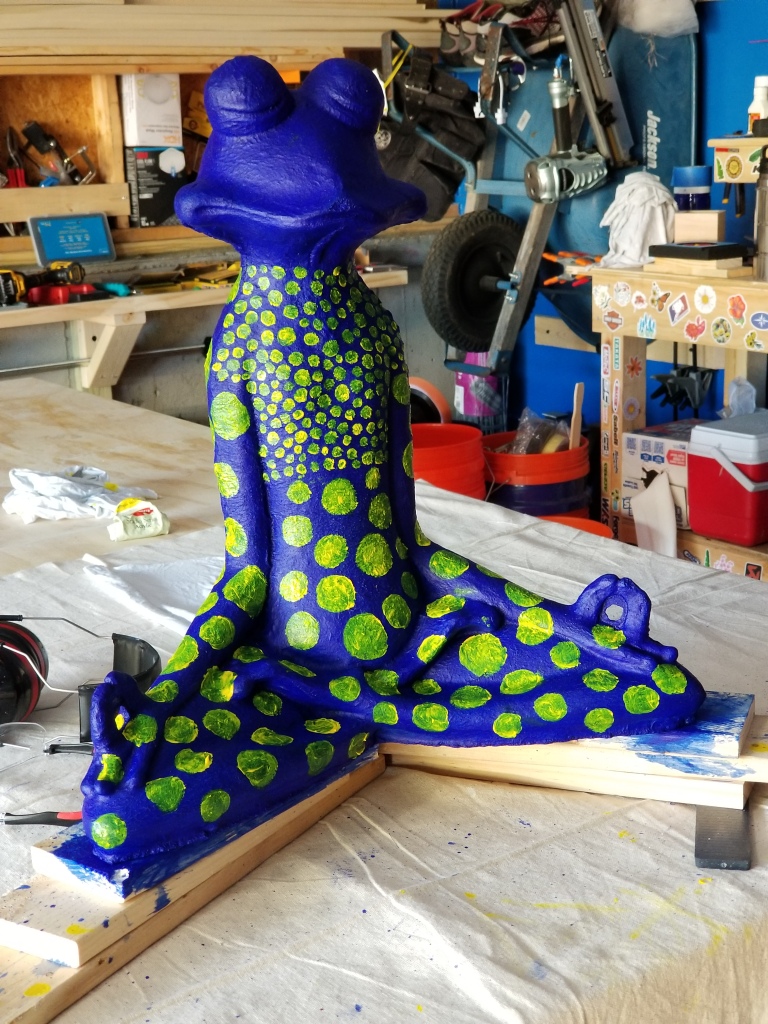
We decided to place him in an empty gap between our bird feeders and our fruit and asparagus patch:
We were also lucky to come across some urbanite, a byproduct of some roadwork being done in our area. Going through the piles, we selected small and medium sized chunks (the pieces with exposed aggregate being the mostly highly prized).
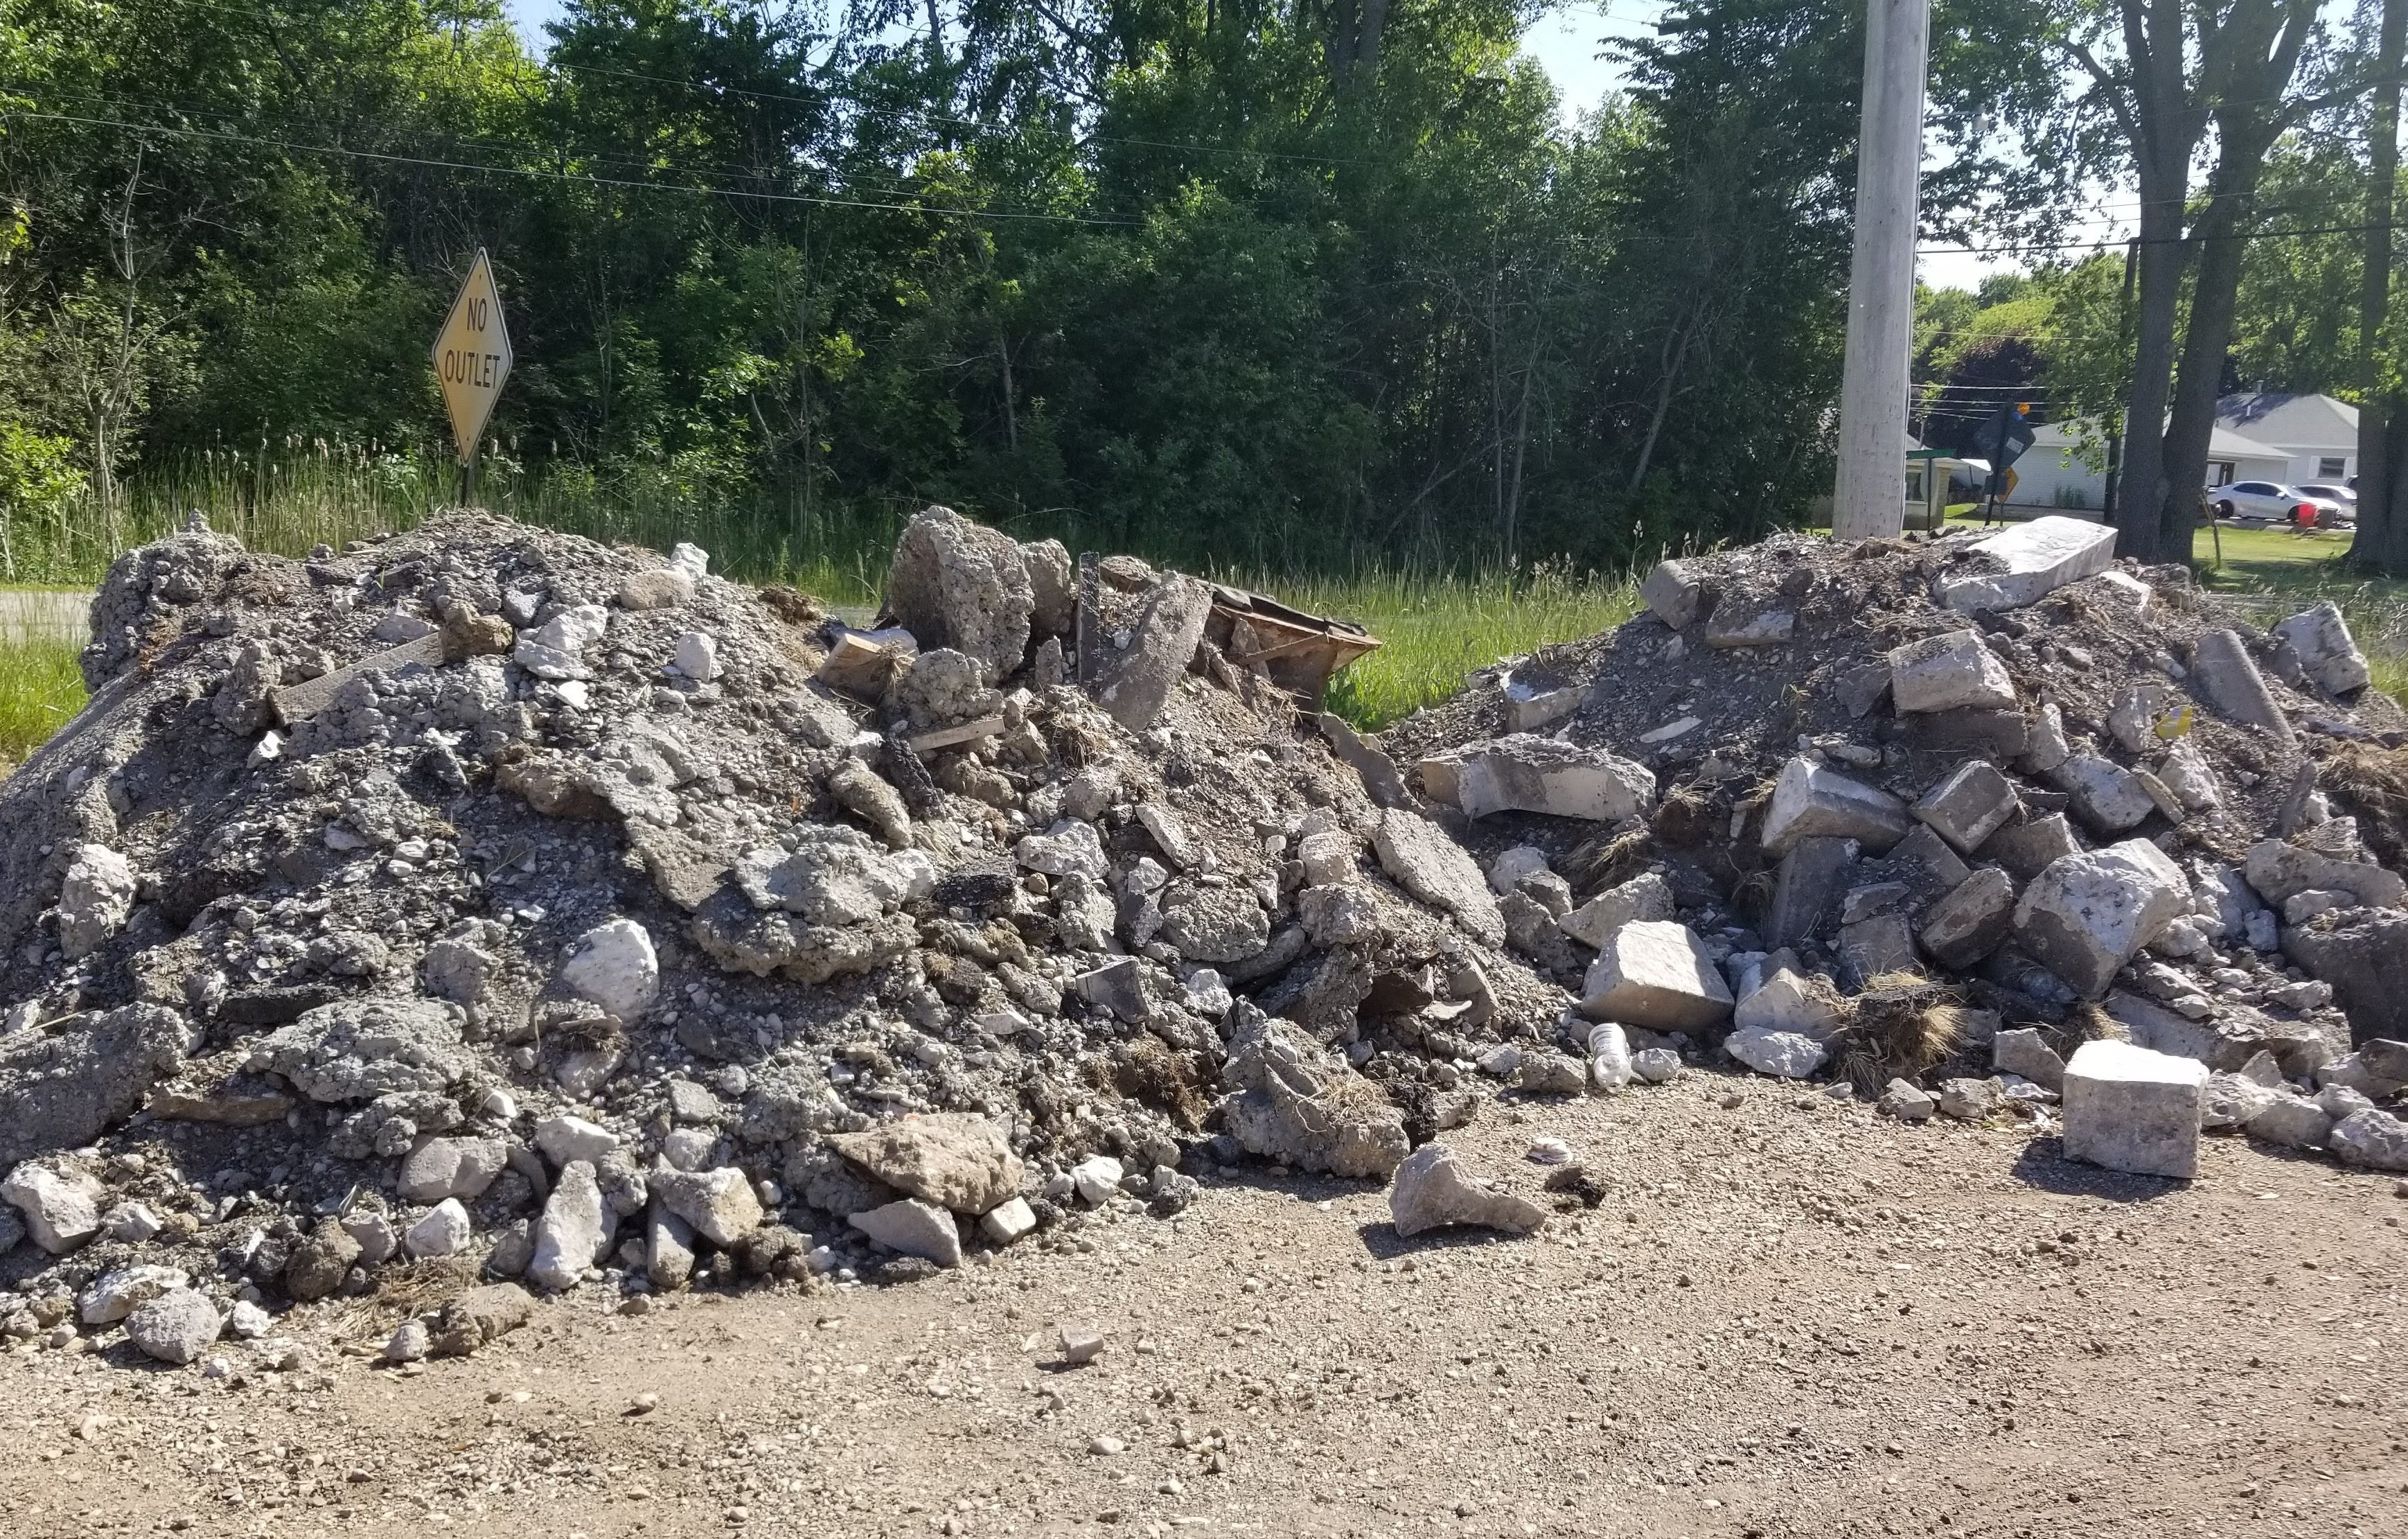
The chunks of concrete, when paired with plants and mulch, produce a visual effect somewhat redolent of ancient ruins. In terms of the visual interest, it’s a nice mix of hard and soft, organic and man-made. The concrete, moreover, also serves to prevent soil erosion in areas where the grading is uneven. For southern facing areas of our lot, these chunks of concrete can even contribute to the vegetation around it by acting as a heat sink, at least in theory, prolonging the growing season by offering some protection against early frosts.
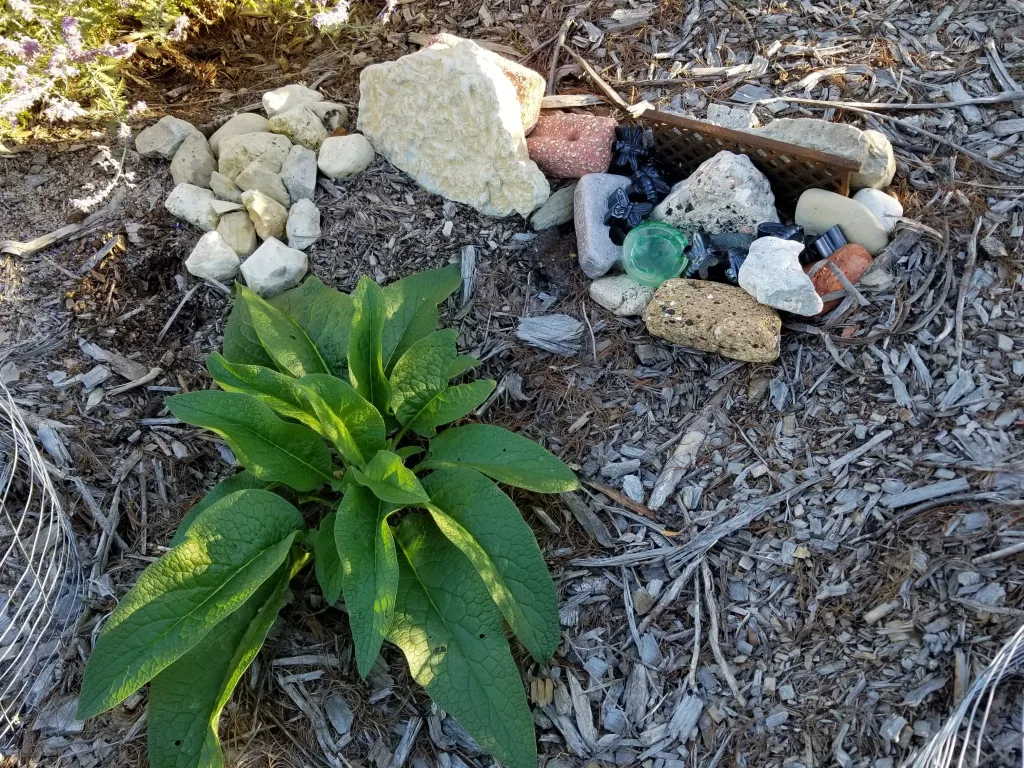
Along the north edge of our front yard, the urbanite chunks came in handy, as we mixed the pieces in amongst flowers and some shorter native grasses:
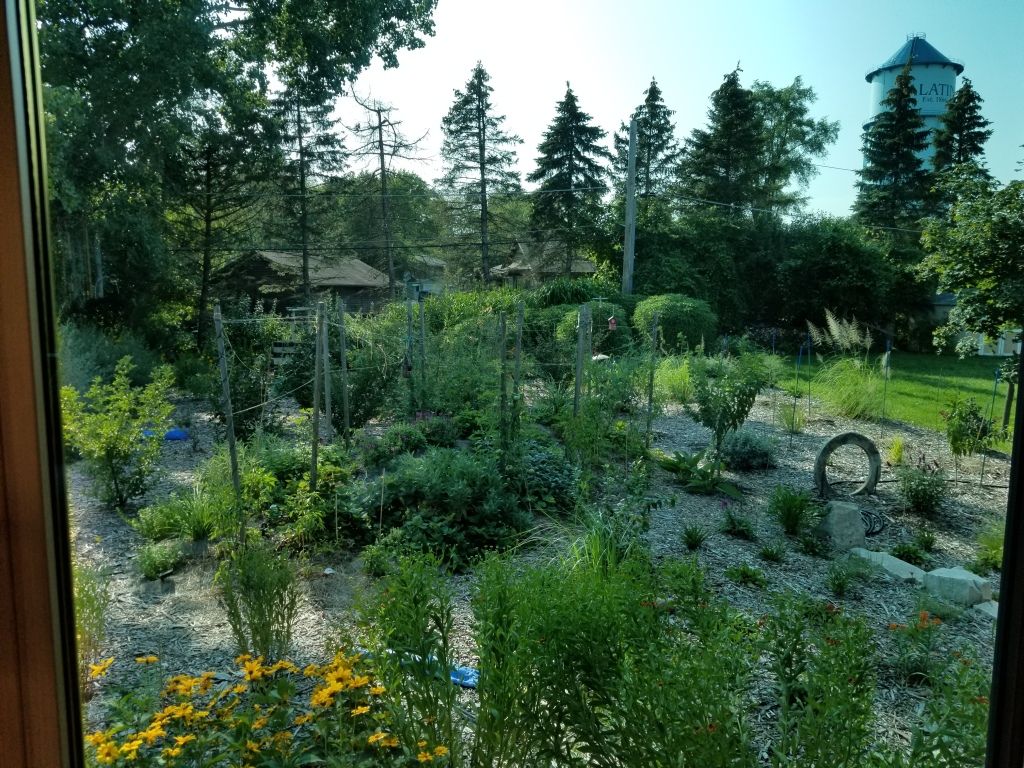
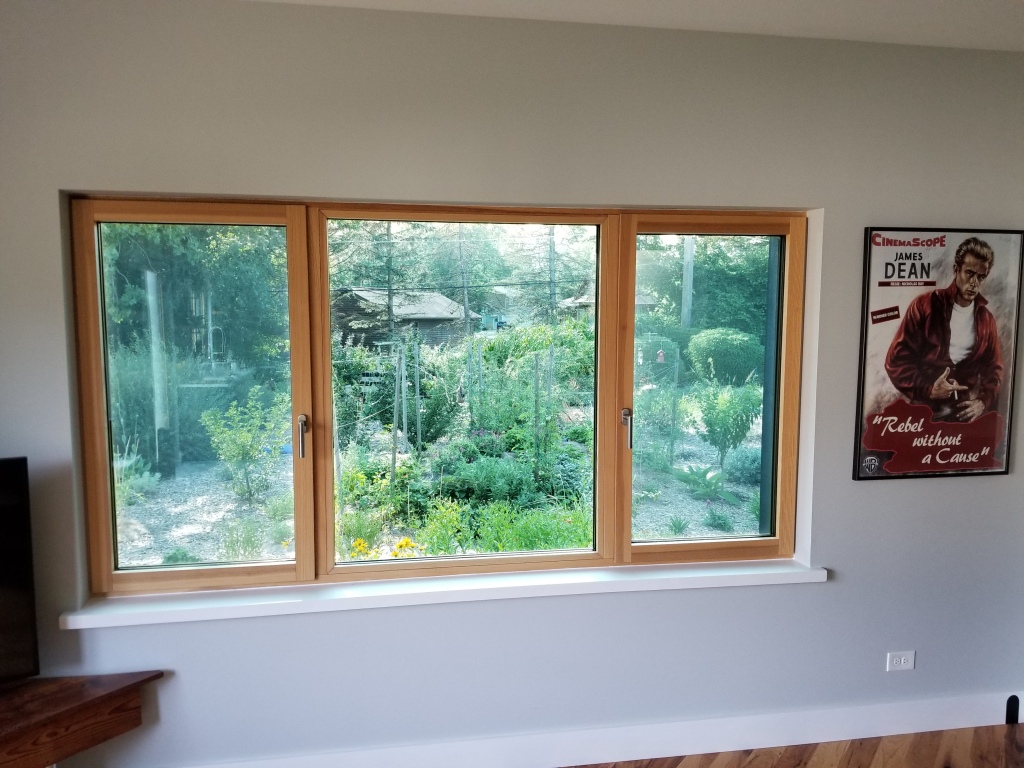
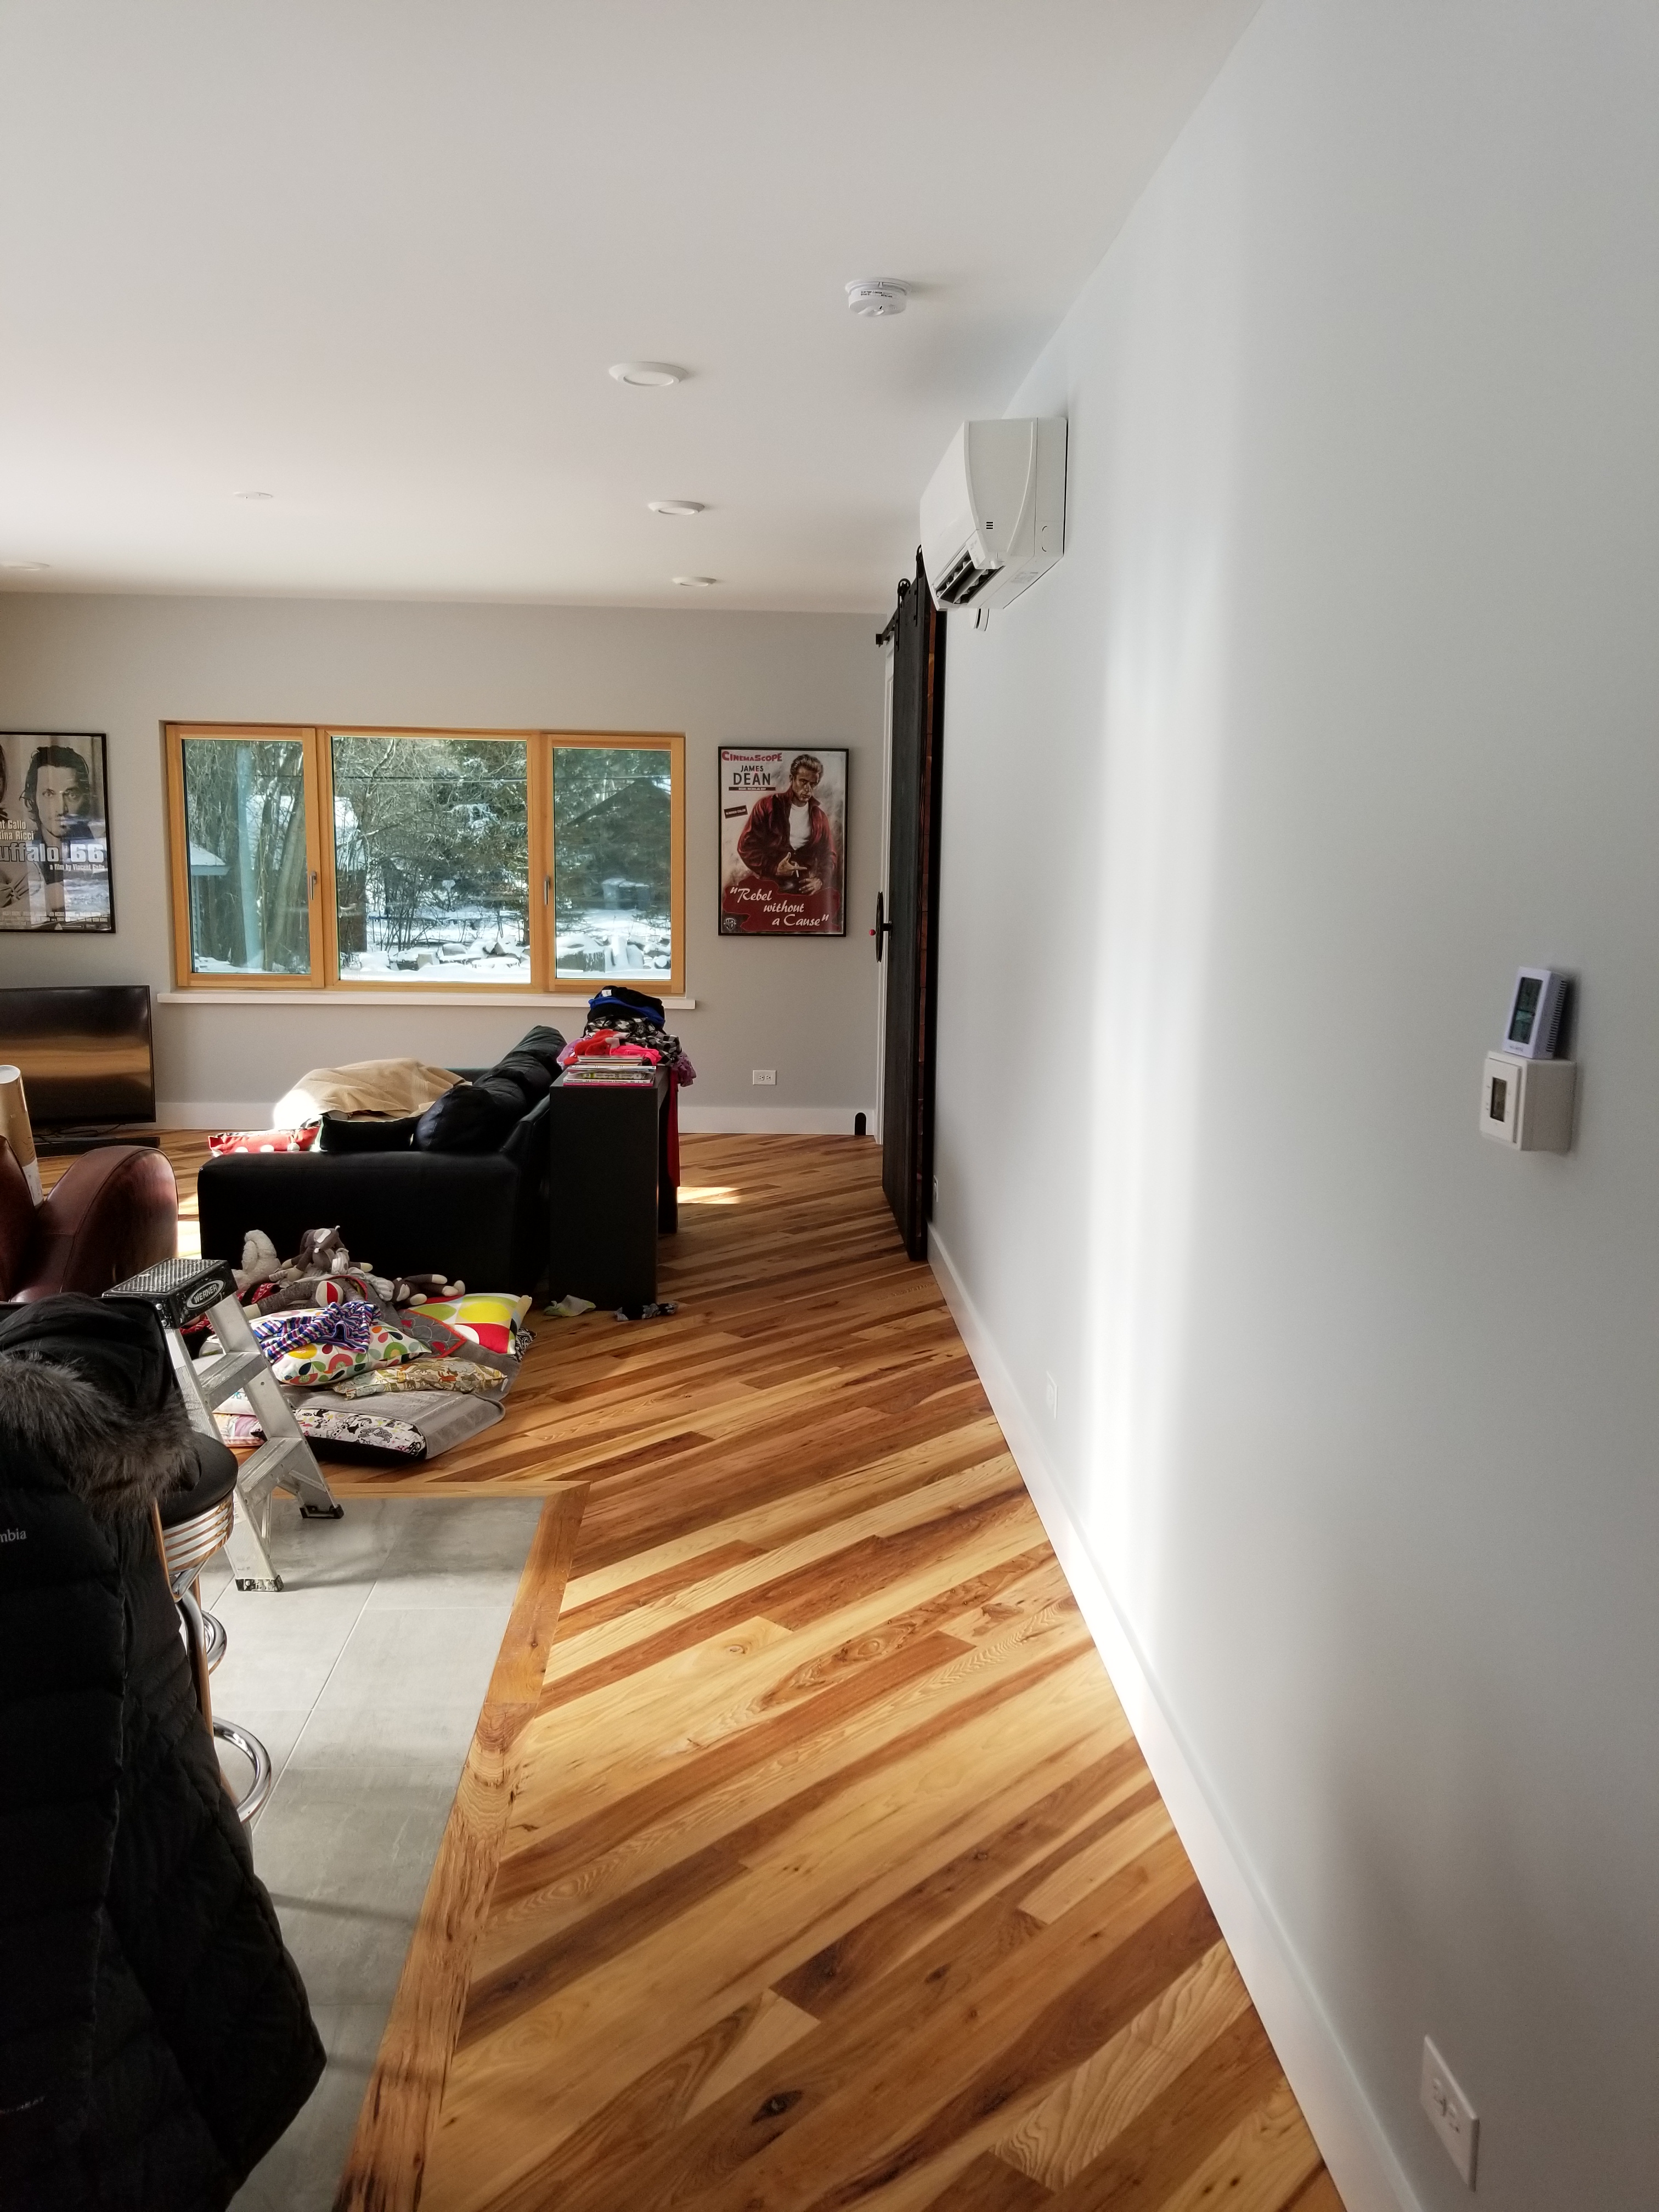
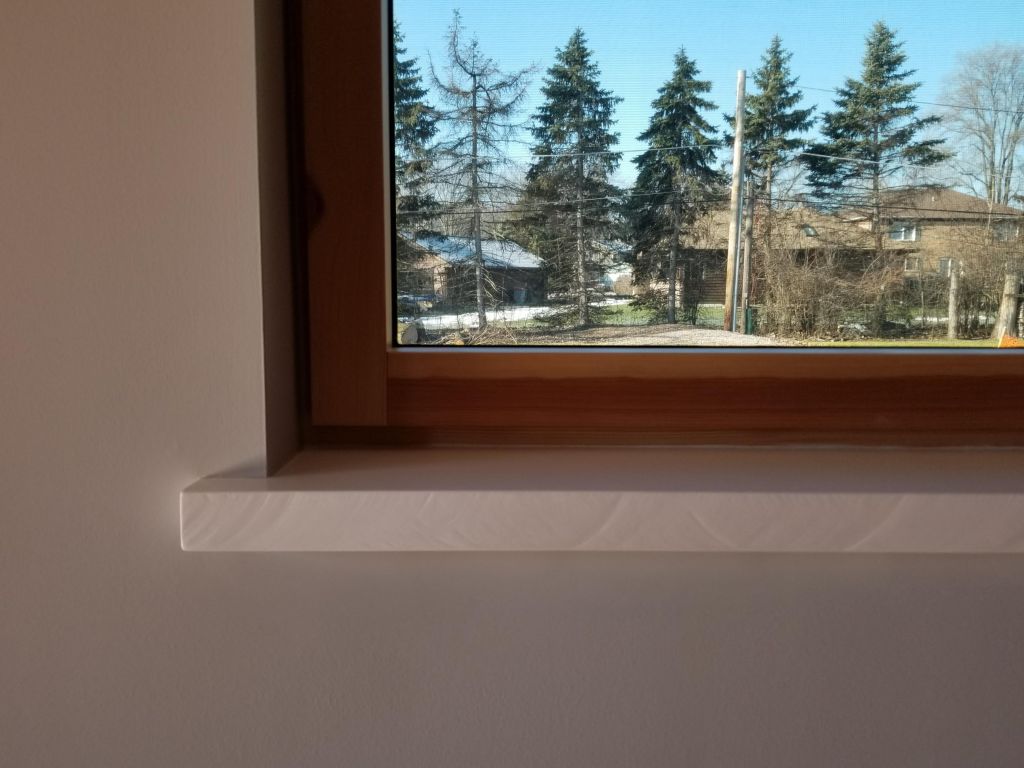
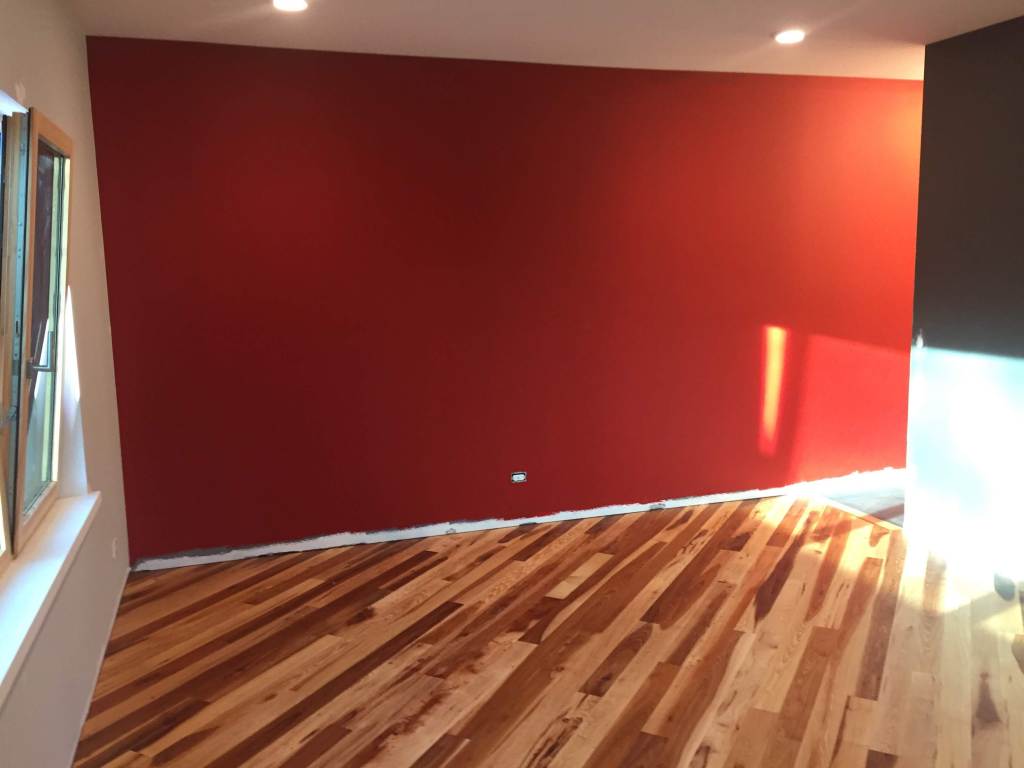
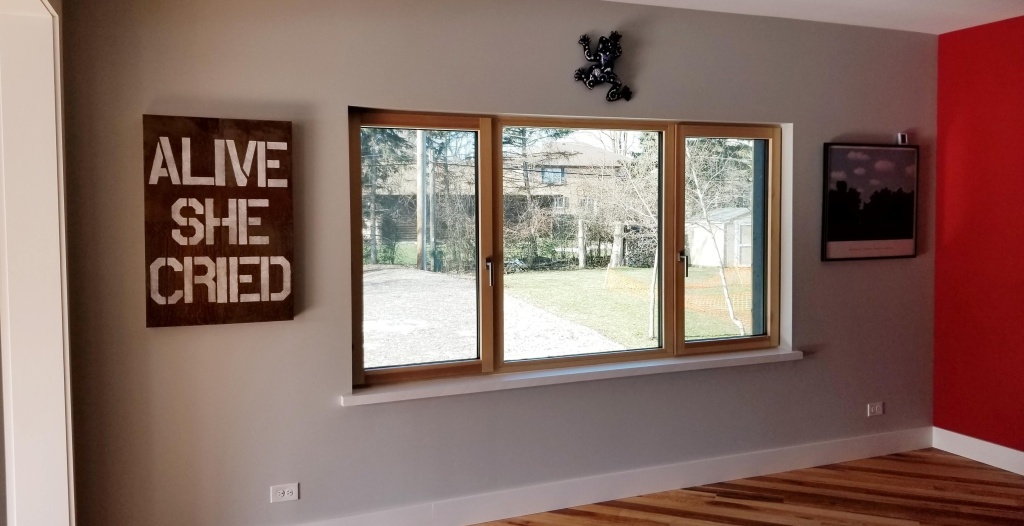
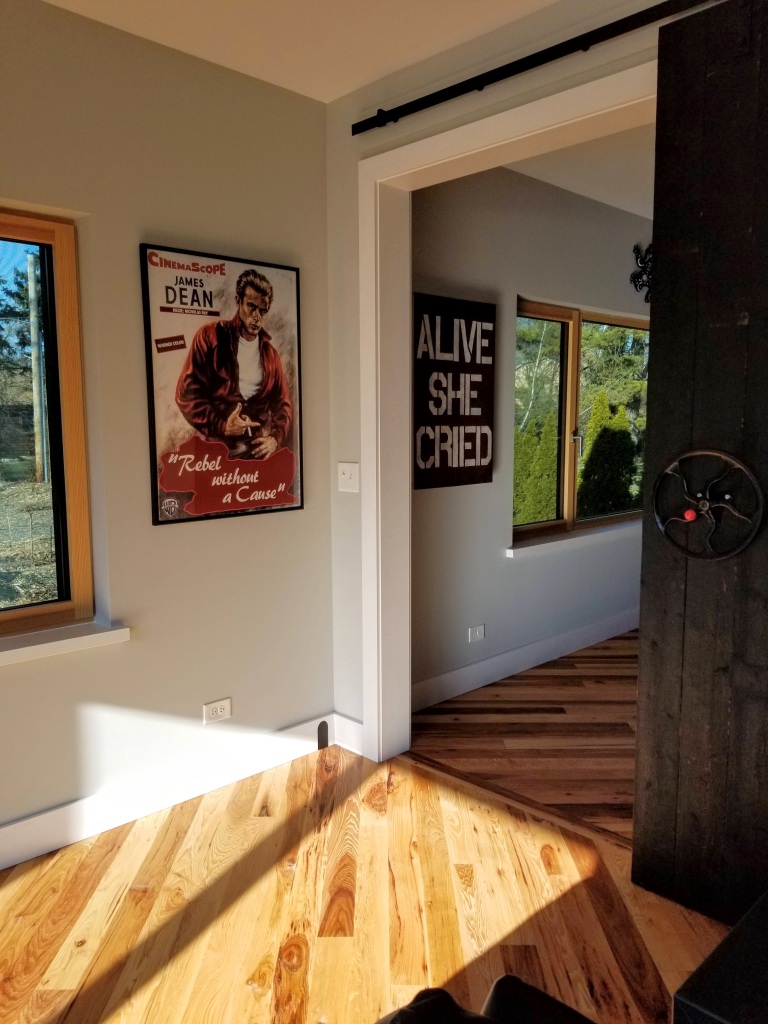
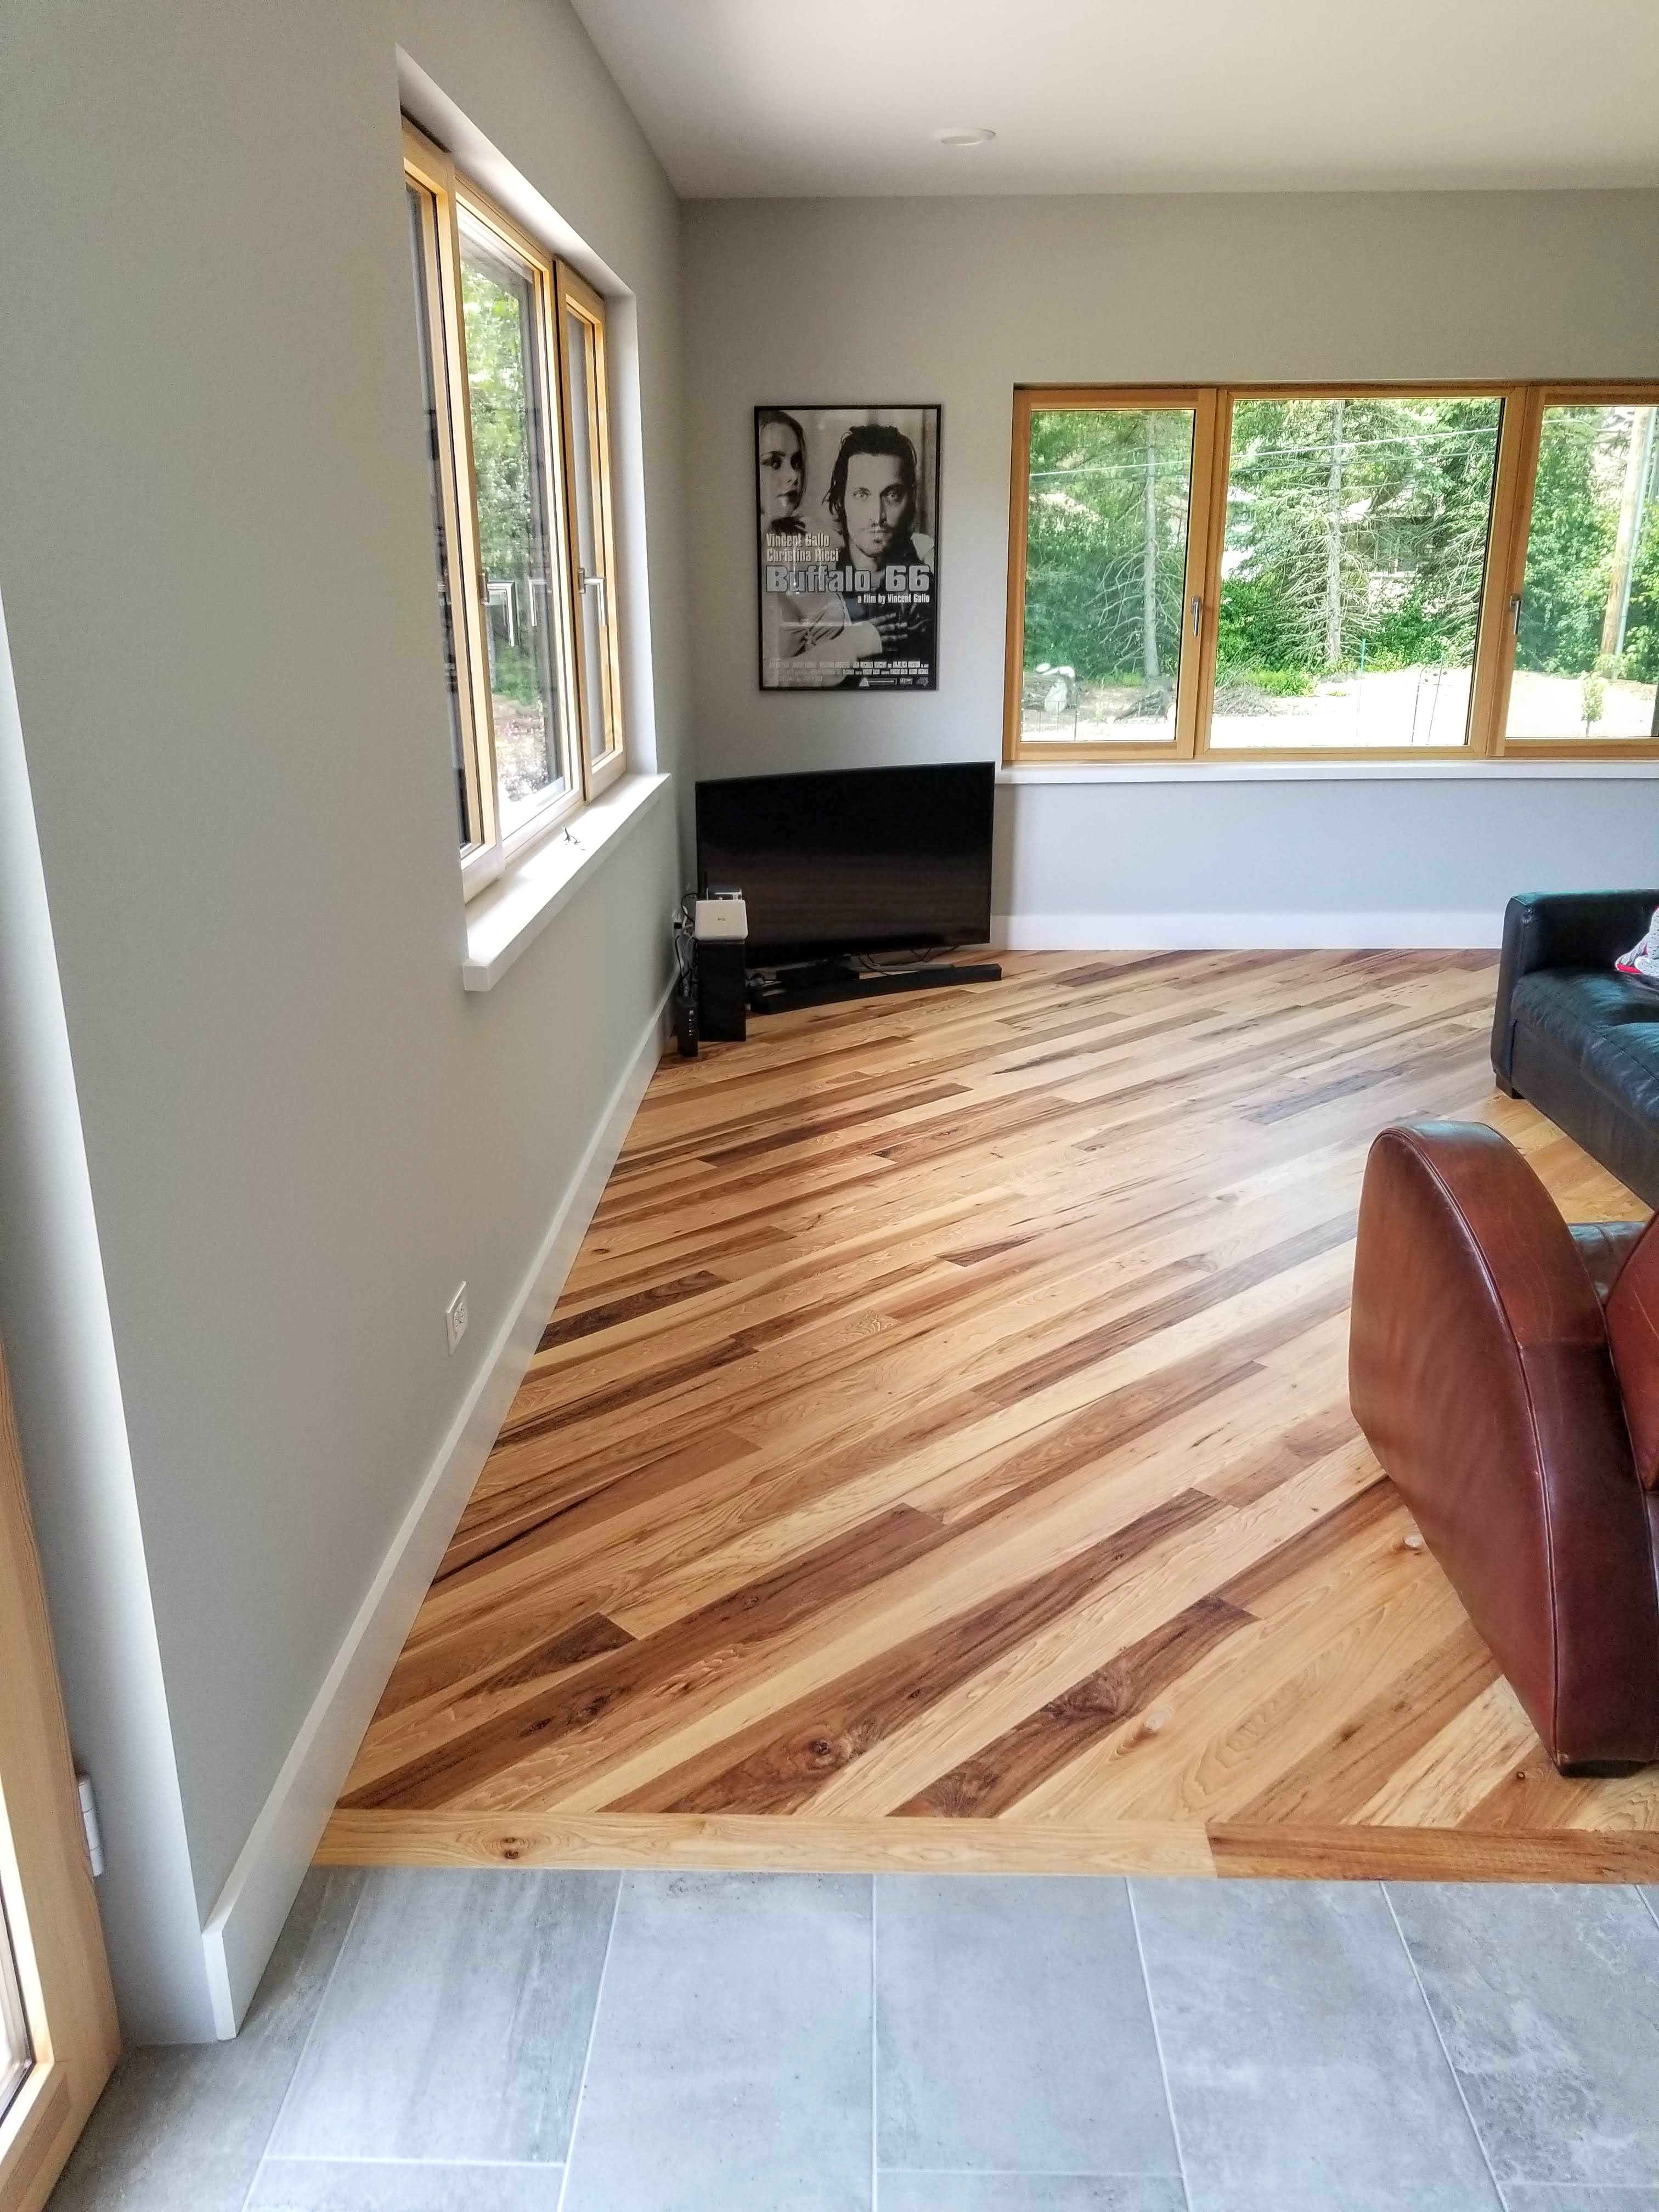
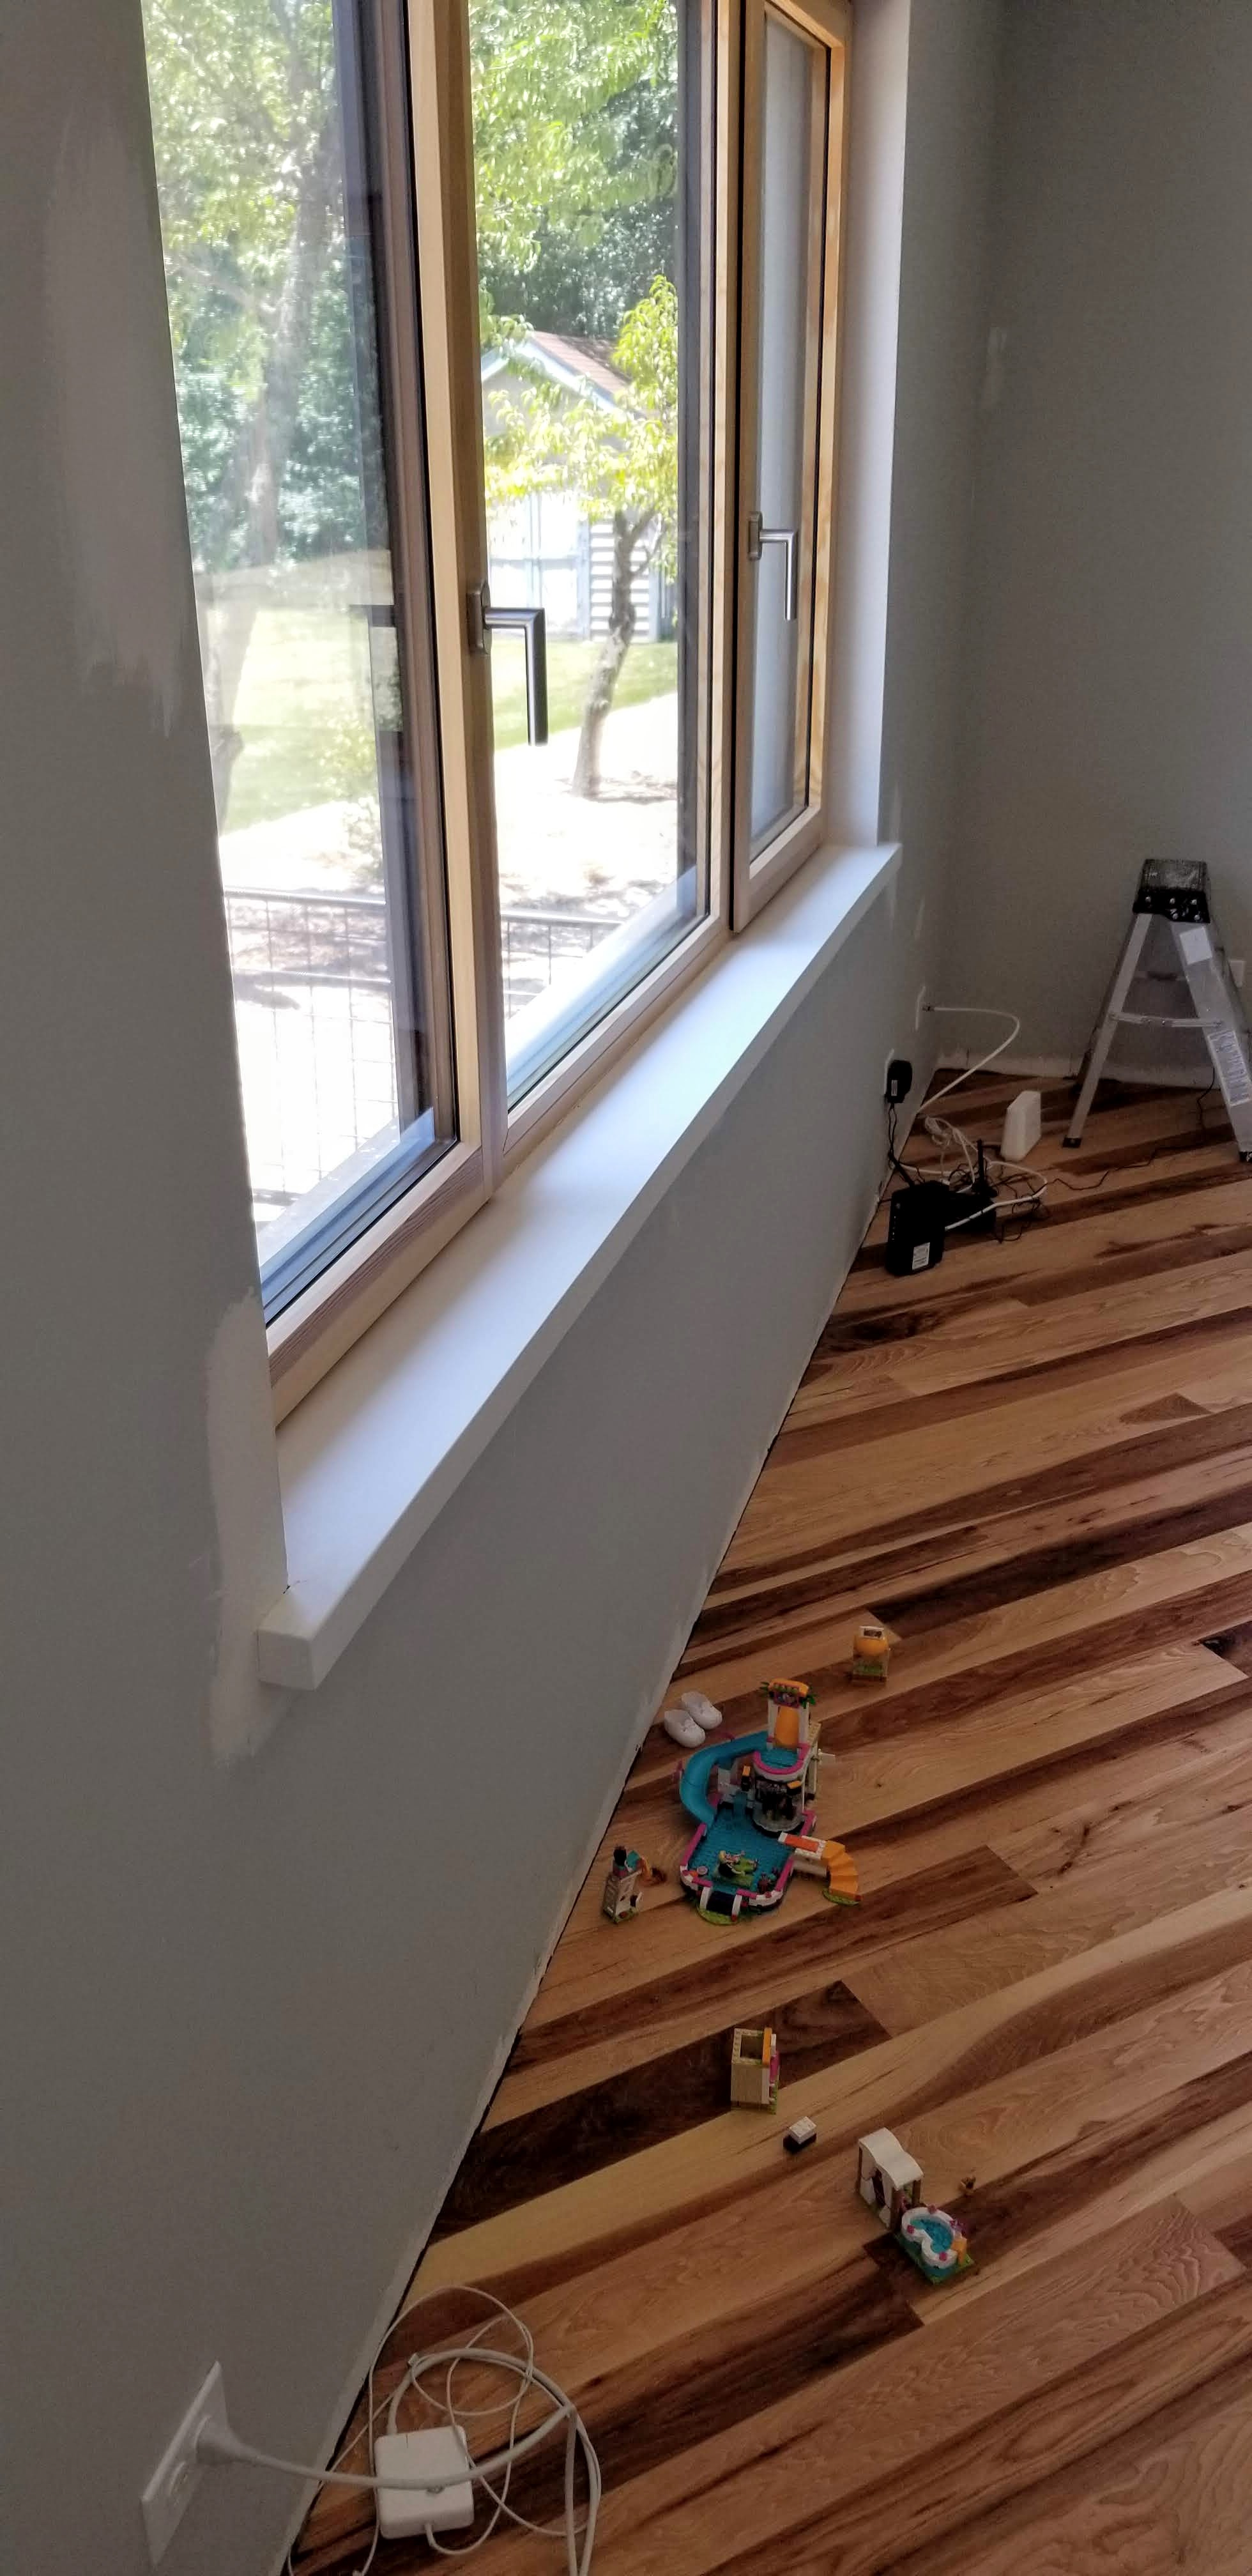
In terms of biophilic design, one of our favorite features is the large west-facing windows in our family room and main bedroom. Because the yard is always changing, and the view is so nicely framed, there’s always something new to see, no matter the season.
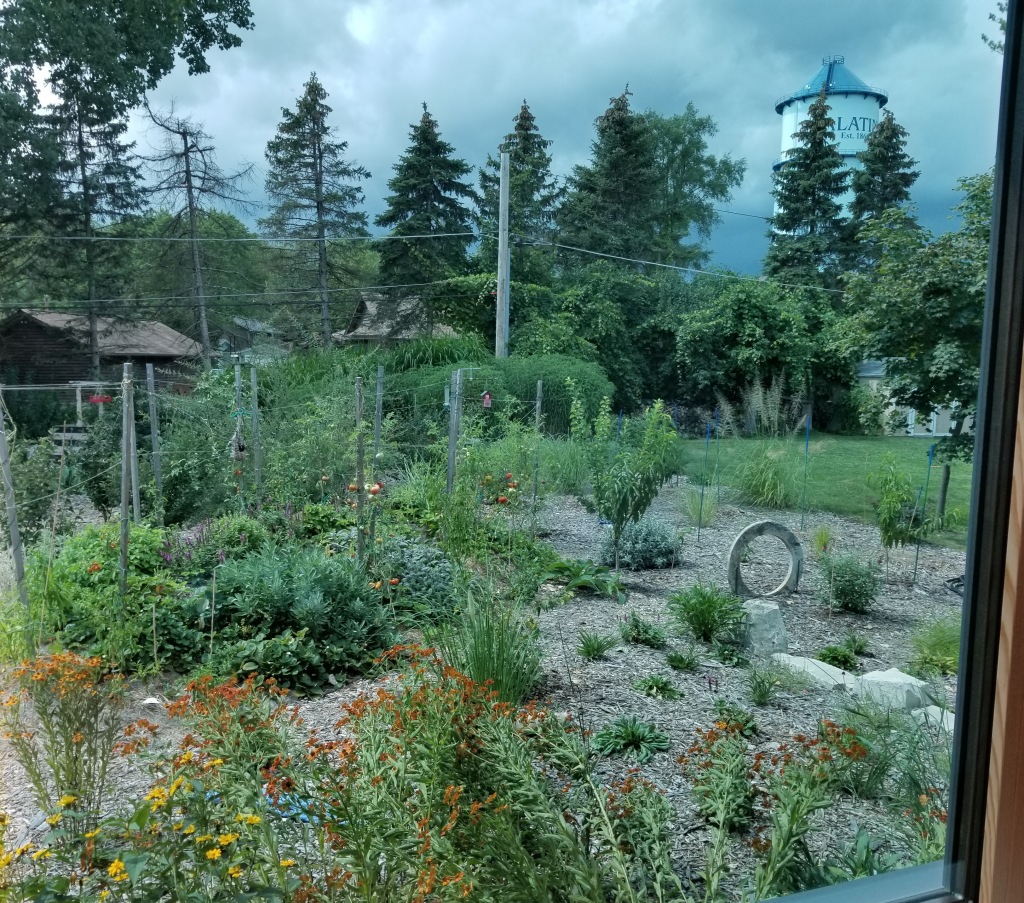
Here’s the view of the backyard standing at the family room window in summer:
Because of the Suntuitive self-tinting glass on these windows, we can enjoy the view at any time, even on the hottest and sunniest summer days, thus eliminating the need for window treatments.
“This suggests that people want to be near windows for other reasons over and above the daylight. Our conjecture that it is the view which is critical is given more weight by the fact that people are less interested in sitting near windows which open onto light wells, which admit daylight, but present no view.”
—Christopher Alexander, et al., A Pattern Language
Another view of the backyard, this time approaching the family room window — our bit of lush jungle in the backyard, constantly evolving with dynamic changes in colors, textures, and various kinds of wildlife:
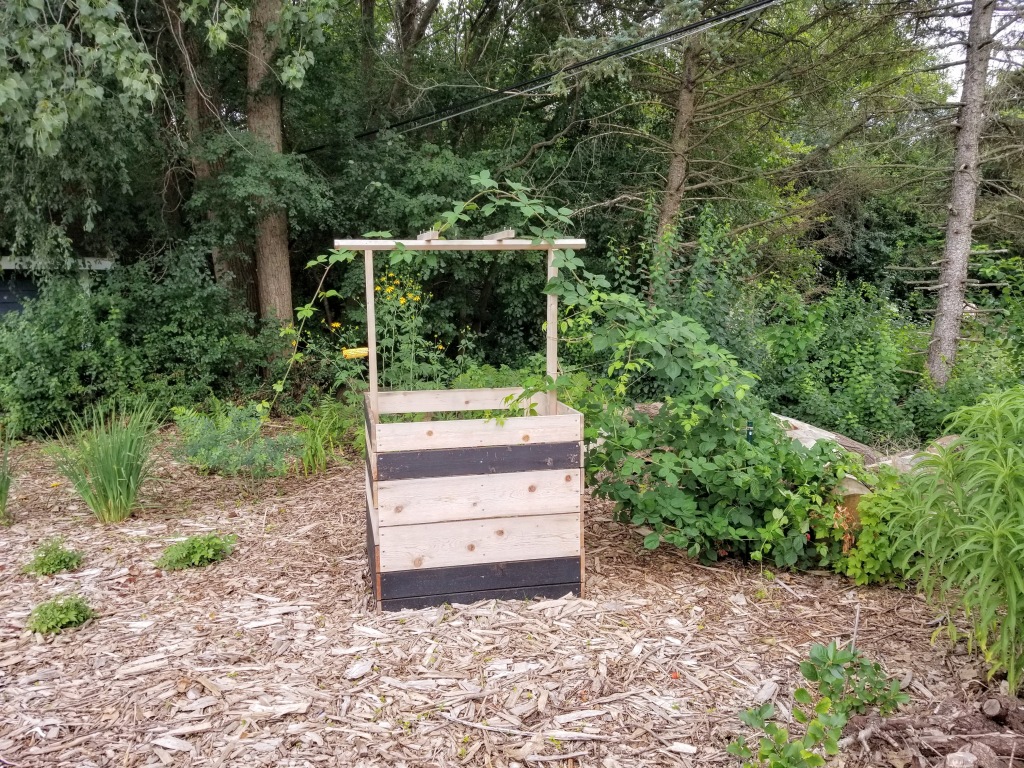
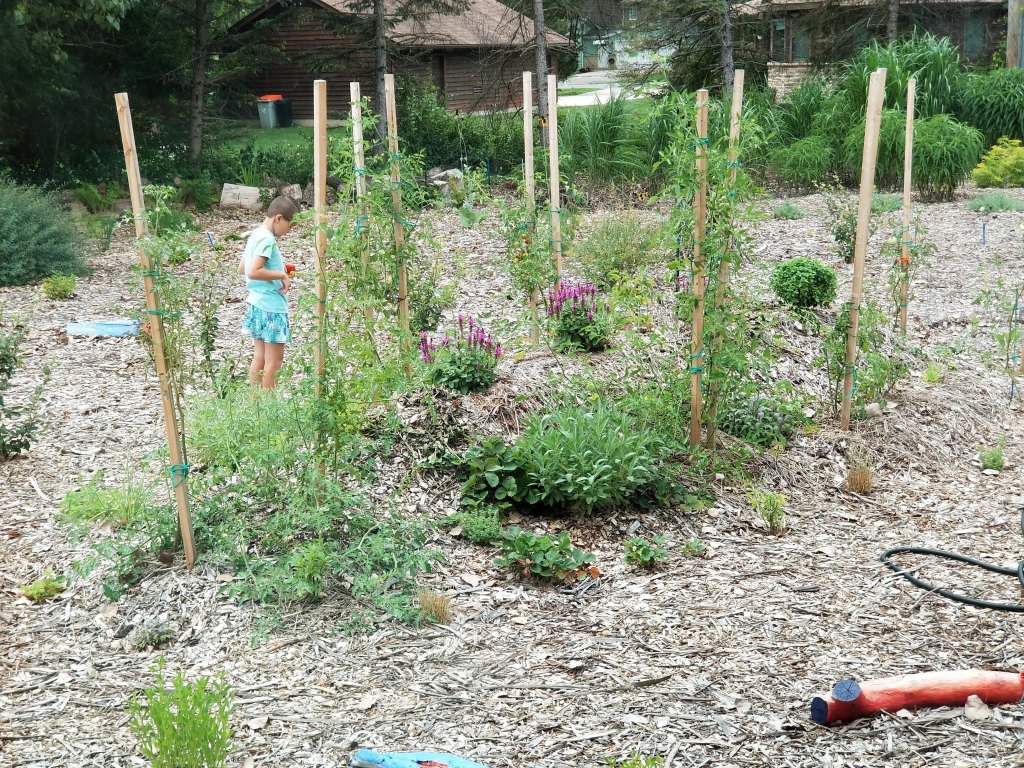
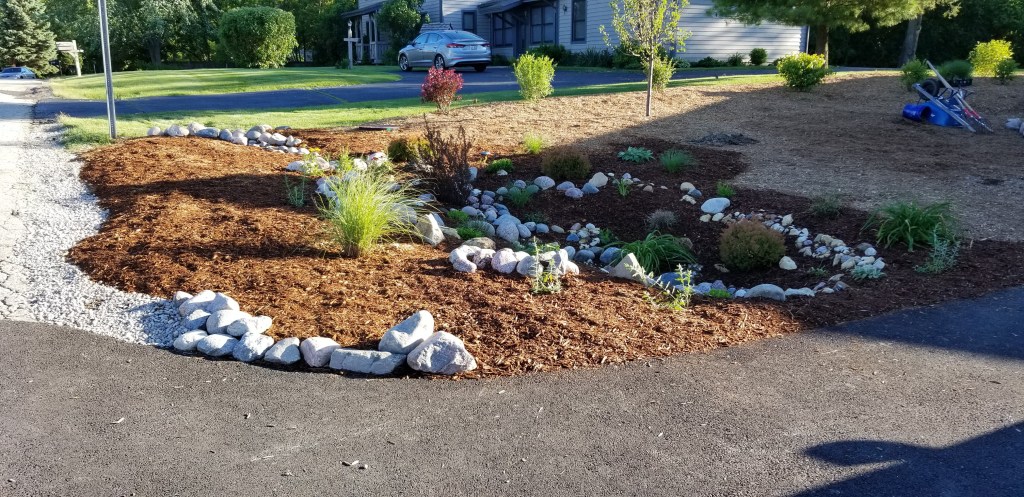
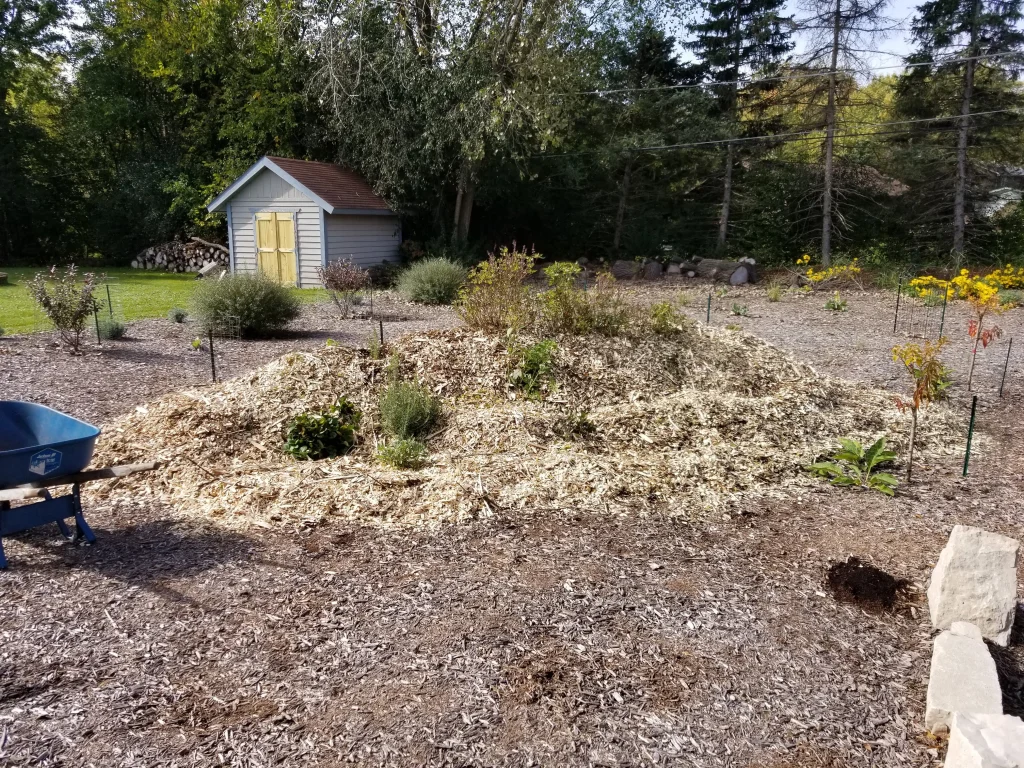
The hügelkultur bed is another area of the yard that saw substantial growth this year. With almost no bare areas left, it allows us to cut and shape the many varieties of plants that have finally started to weave themselves together:
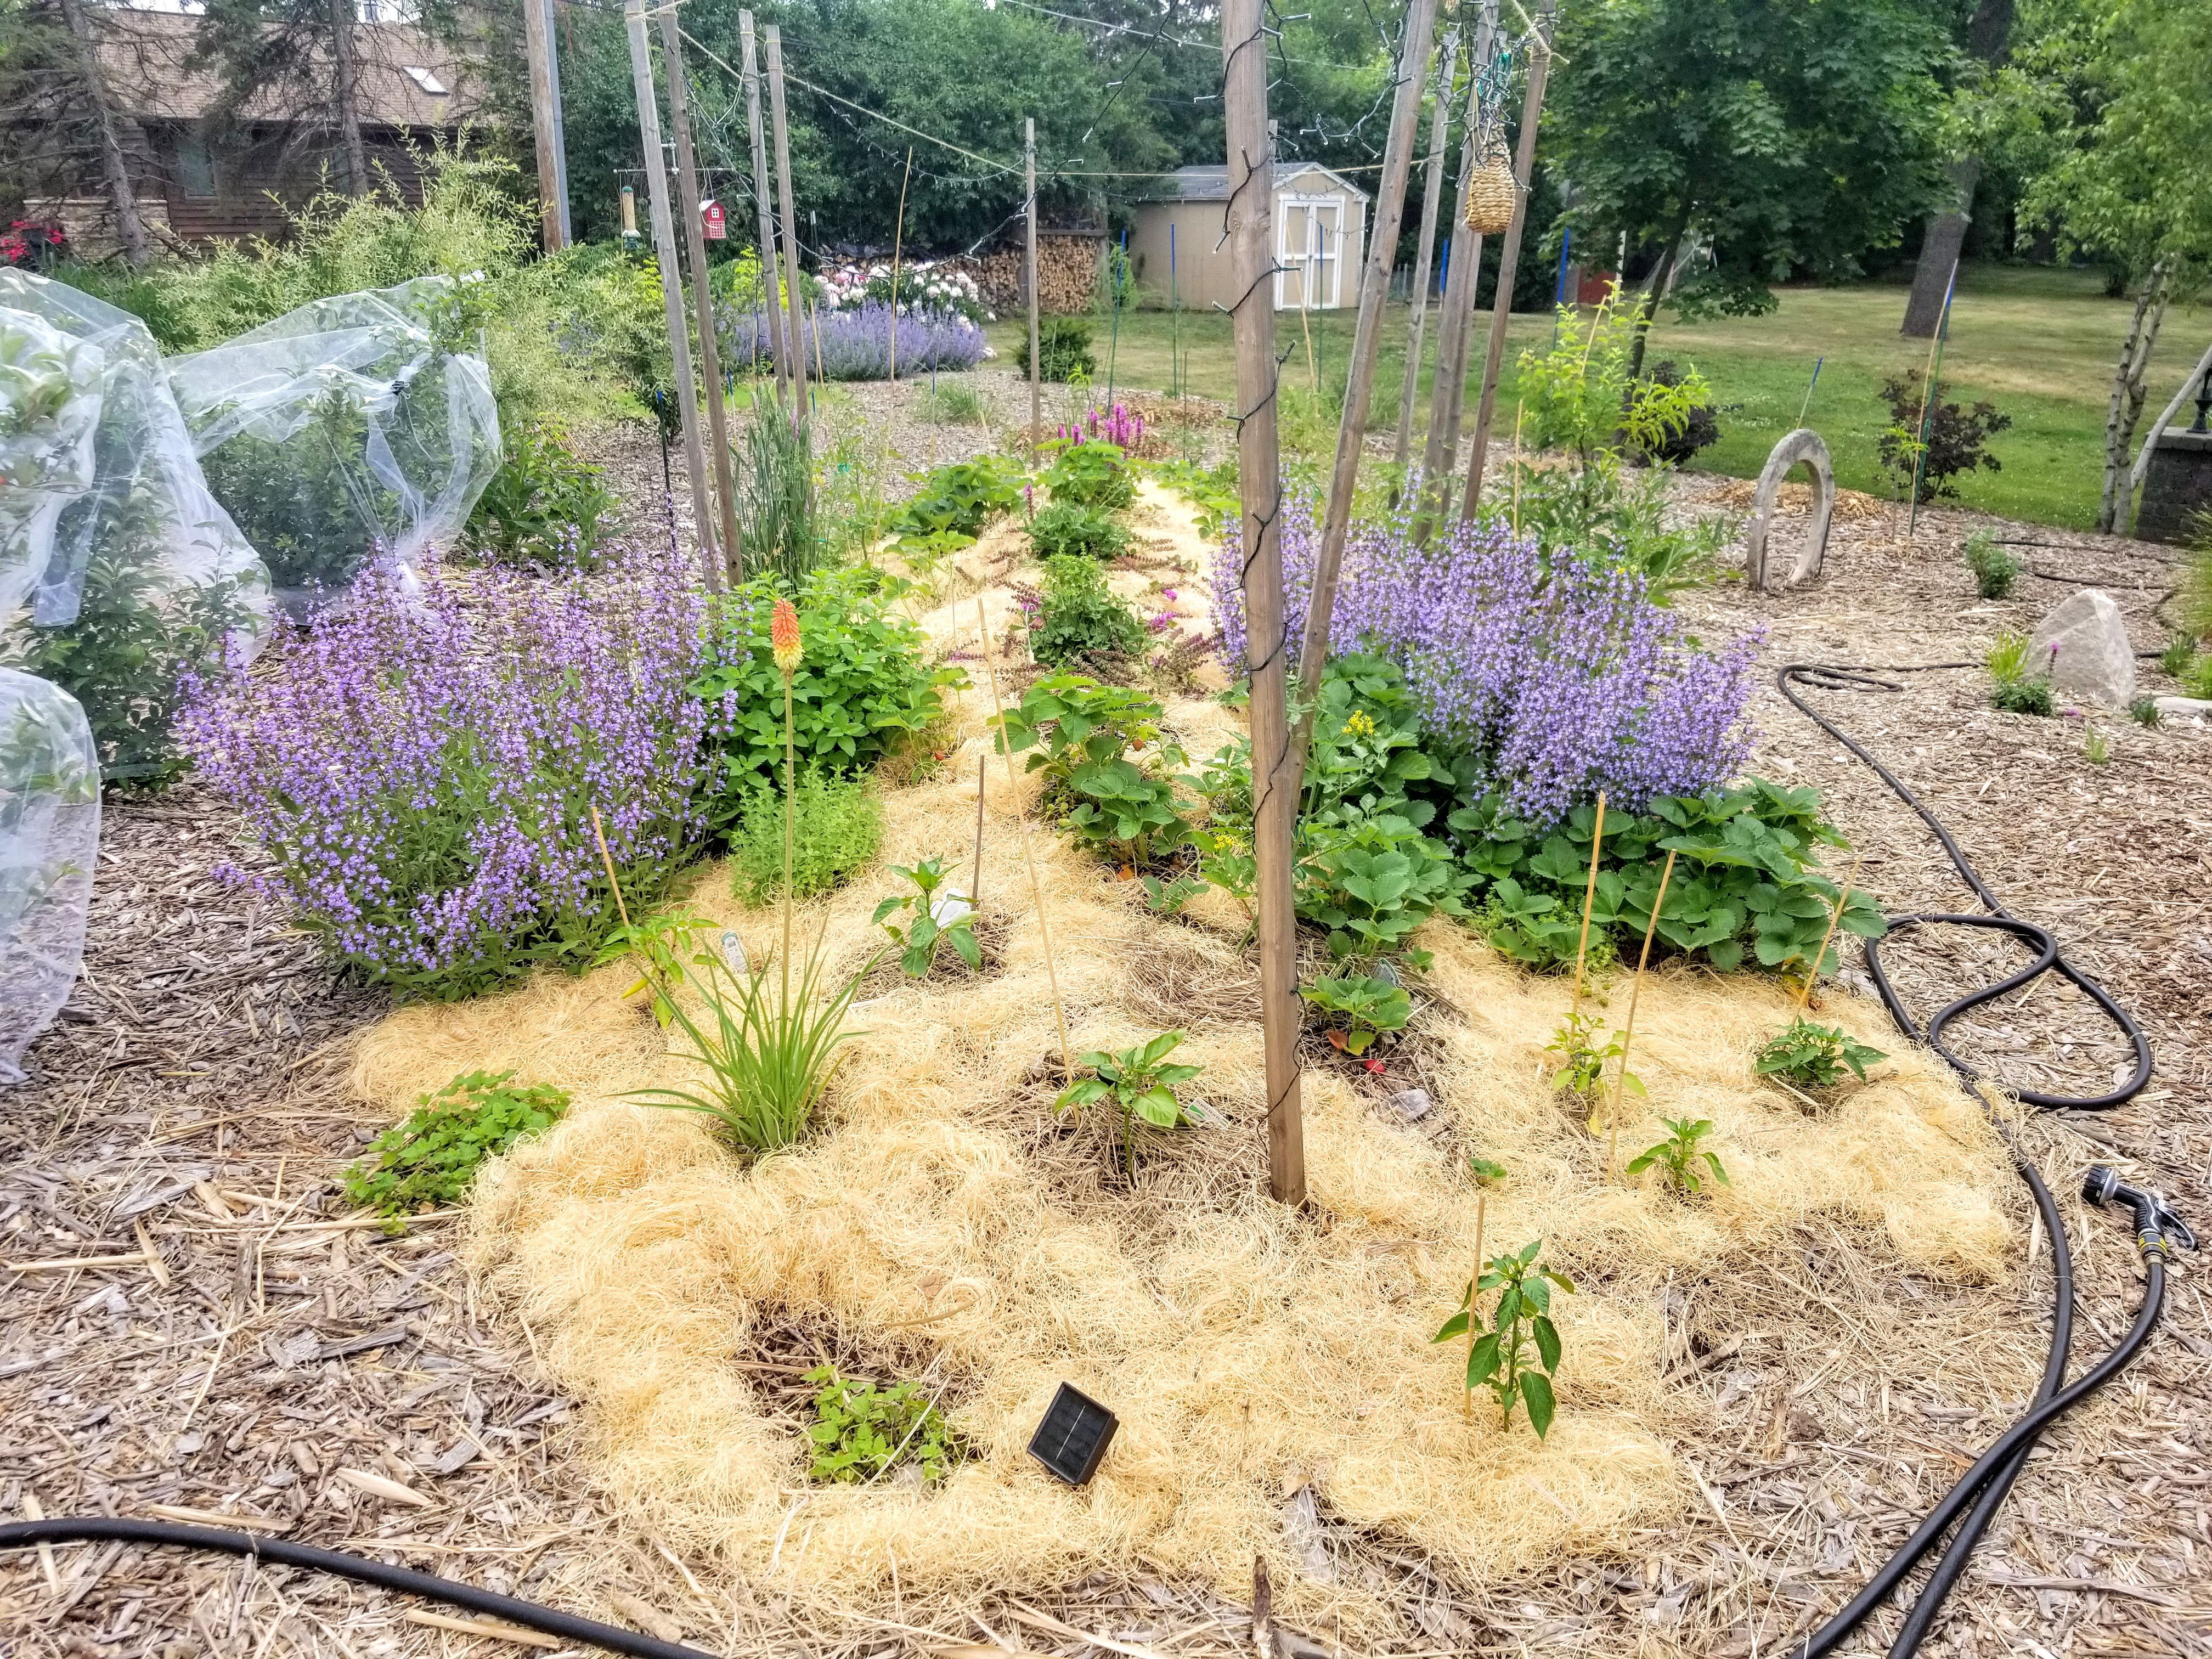

In addition to various kinds of tomatoes, basils, and peppers each year, the perennial anchors include herbs like sage, lemon balm, and oregano, along with strawberries, kniphofia, salvias, and several echinaceas along an outside edge.
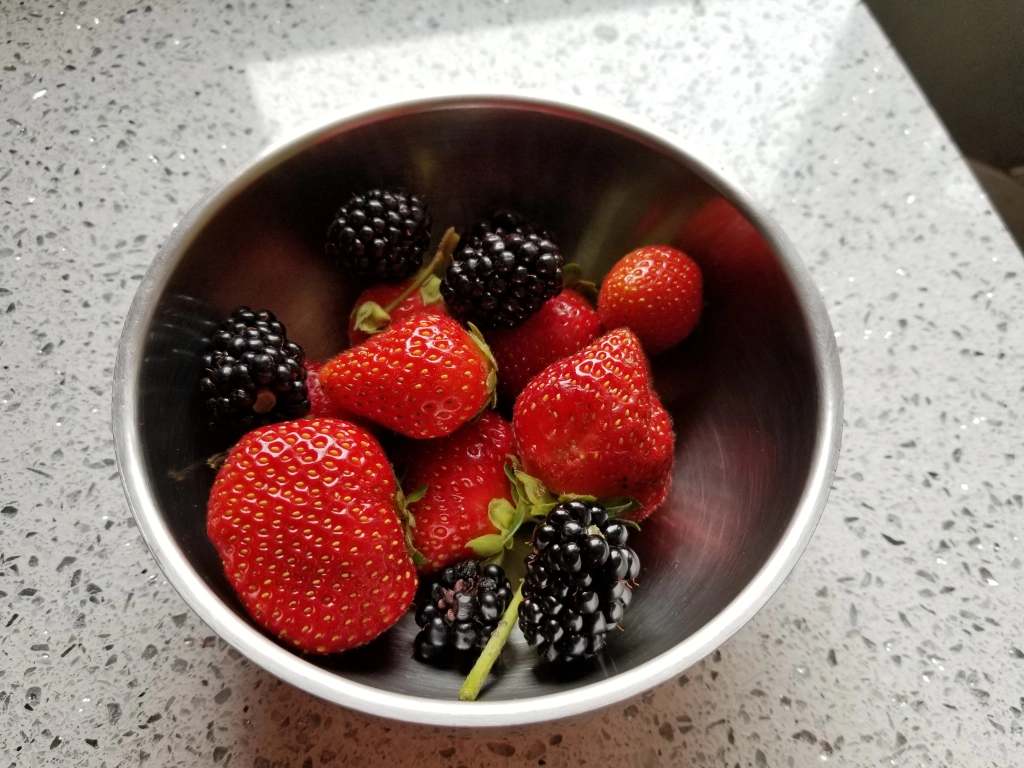
One of the many bowls of fresh fruit we enjoyed over the course of the summer:
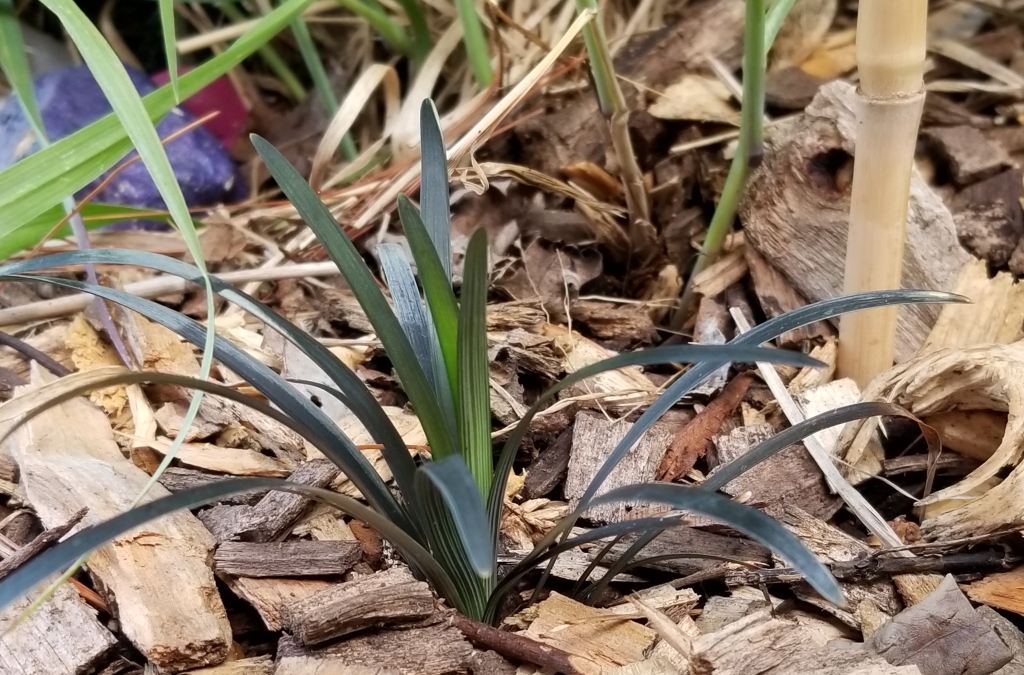
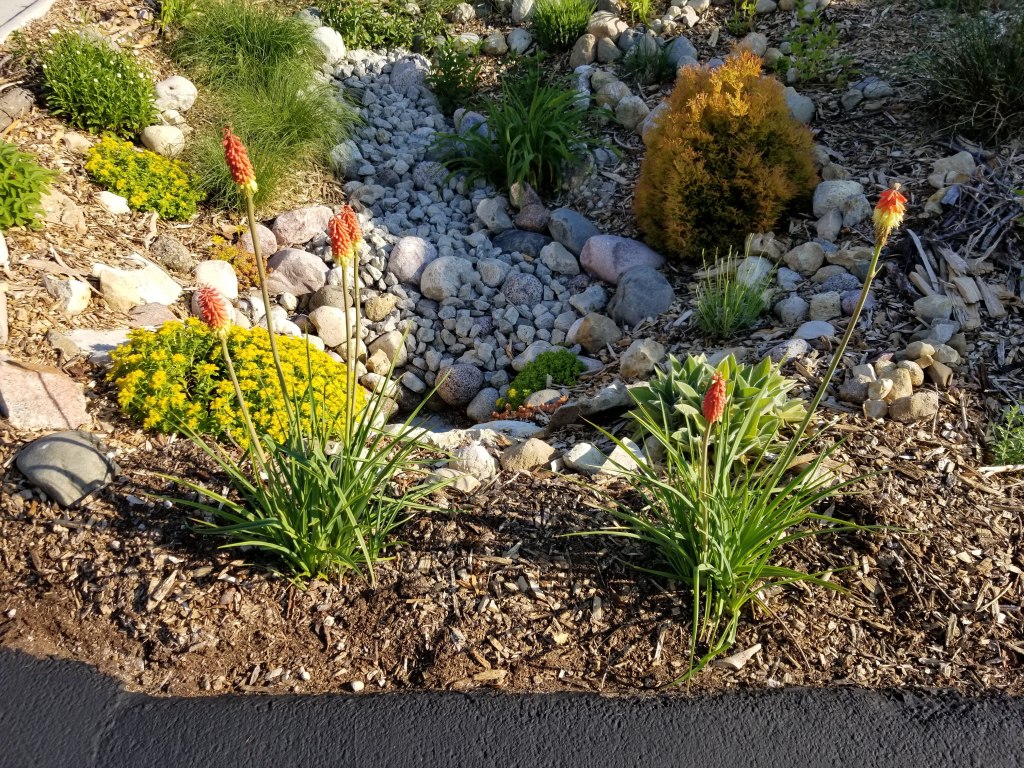
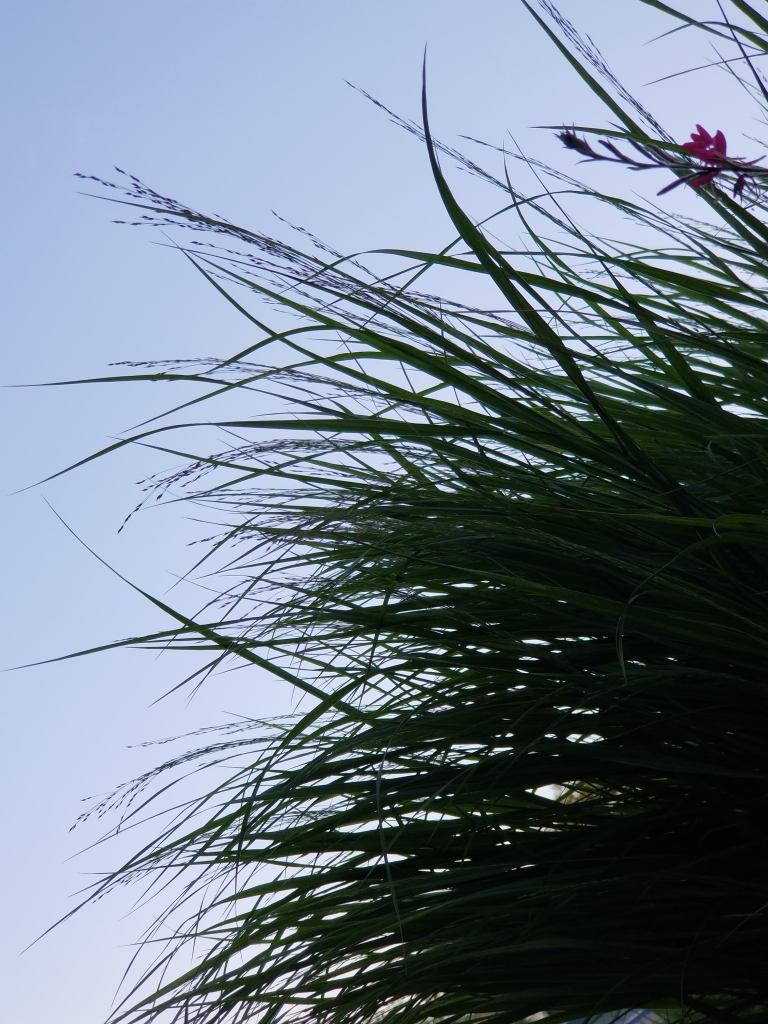
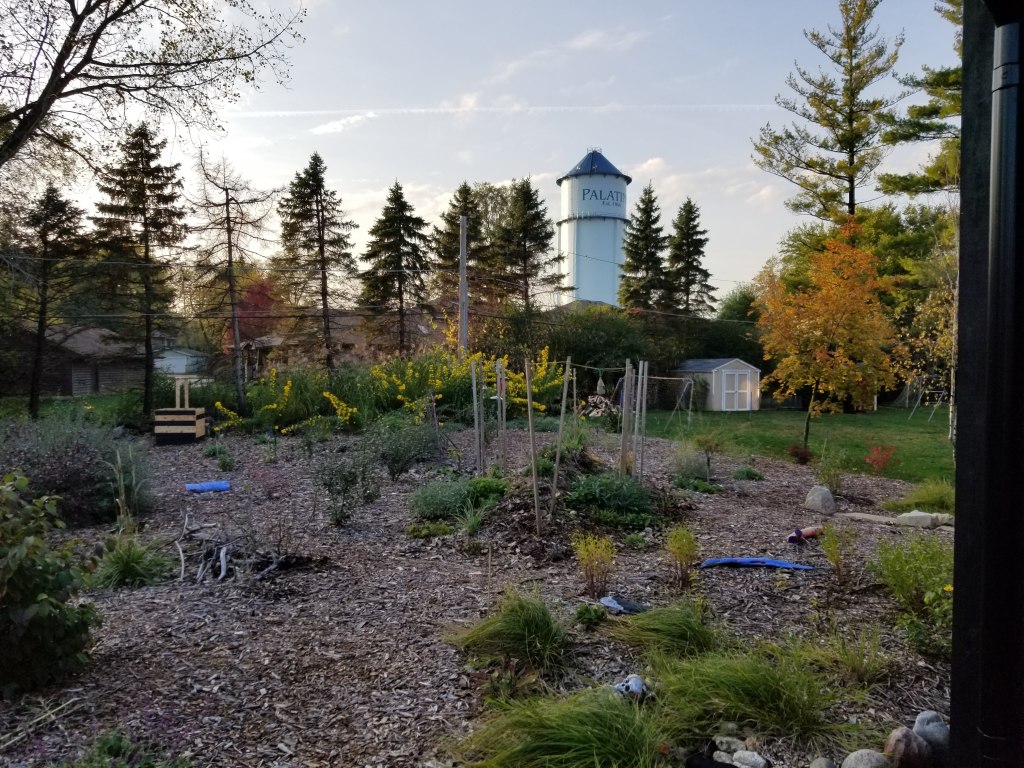
A view of the far northwest corner of the yard. The tall grass and perennial sunflowers serve as a backdrop for the catmint and bird feeders in front. While the Rudbeckia Maxima are thriving, several ornamental native grasses are struggling to keep up. In this case, it’s a variety that’s known for taking up to several years to reach its full development:
“Grow grasses, mosses, bushes, flowers, and trees in a way which comes close to the way that they occur in nature: intermingled, without barriers between them, without bare earth, without formal flower beds, and with all the boundaries and edges made in rough stone and brick and wood which become a part of the natural growth.”
— Christopher Alexander, et al., A Pattern Language
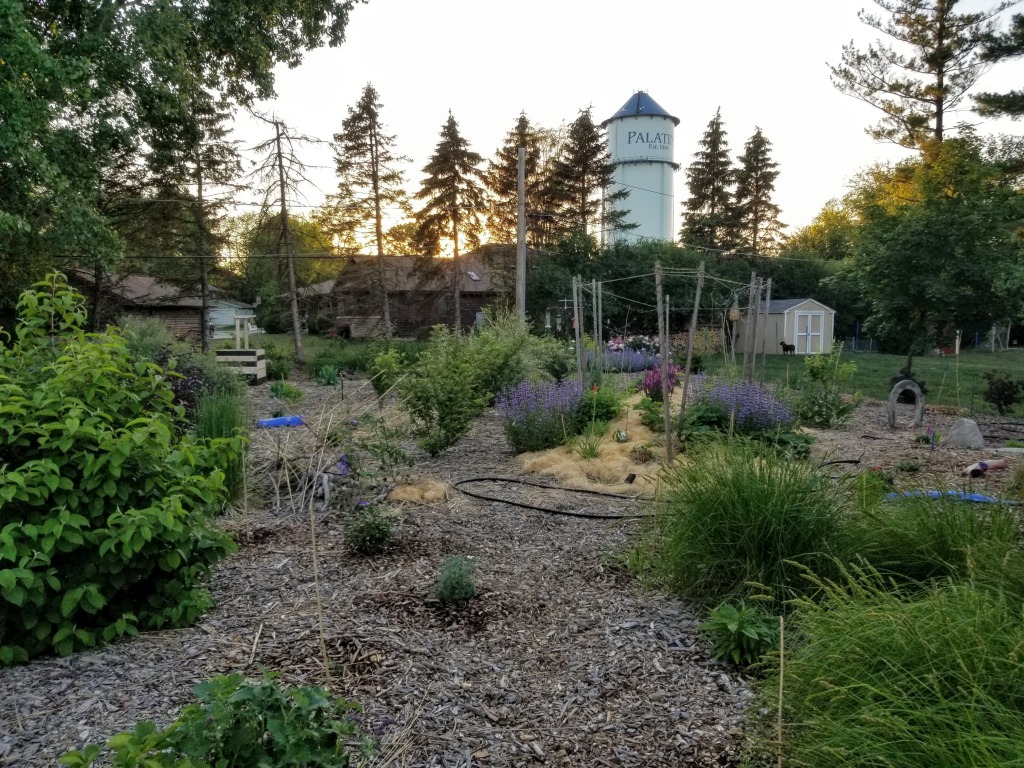
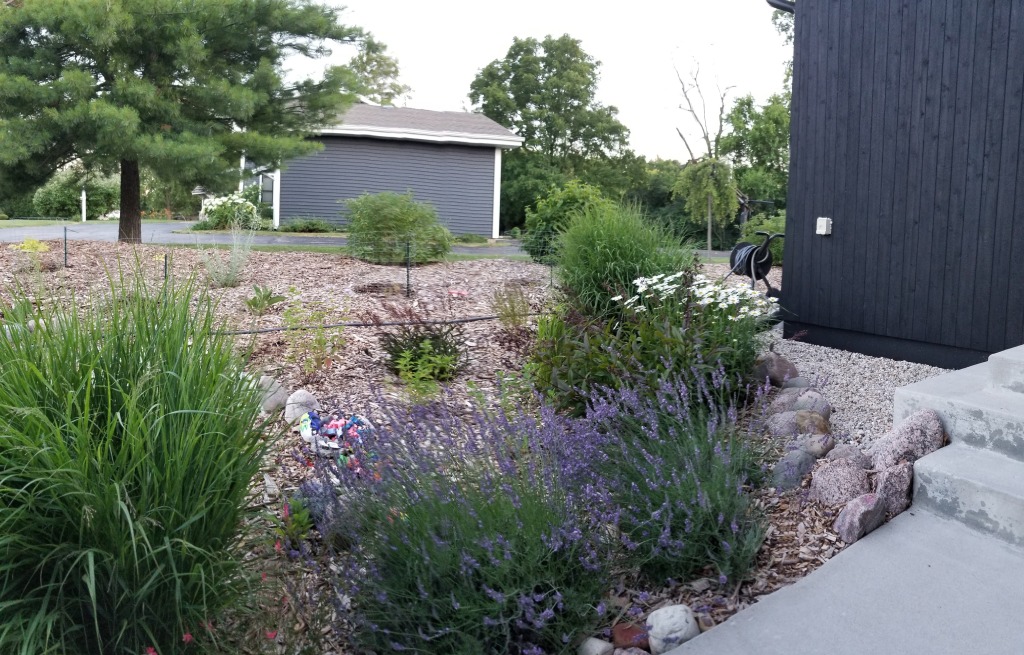
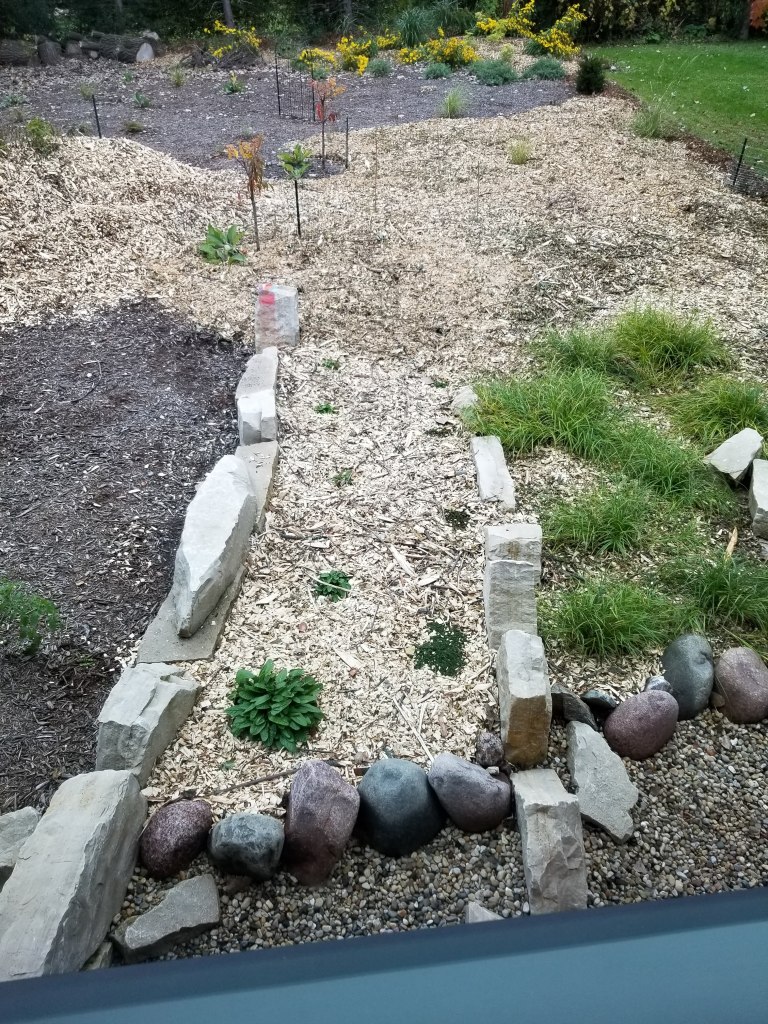
Below is a view from the southeast corner of the house, heading into the front yard. As the vegetation fills in and begins to reach maturity, knitting itself together, the wide open footpaths that we once used to haul mulch around the yard are slowly disappearing:
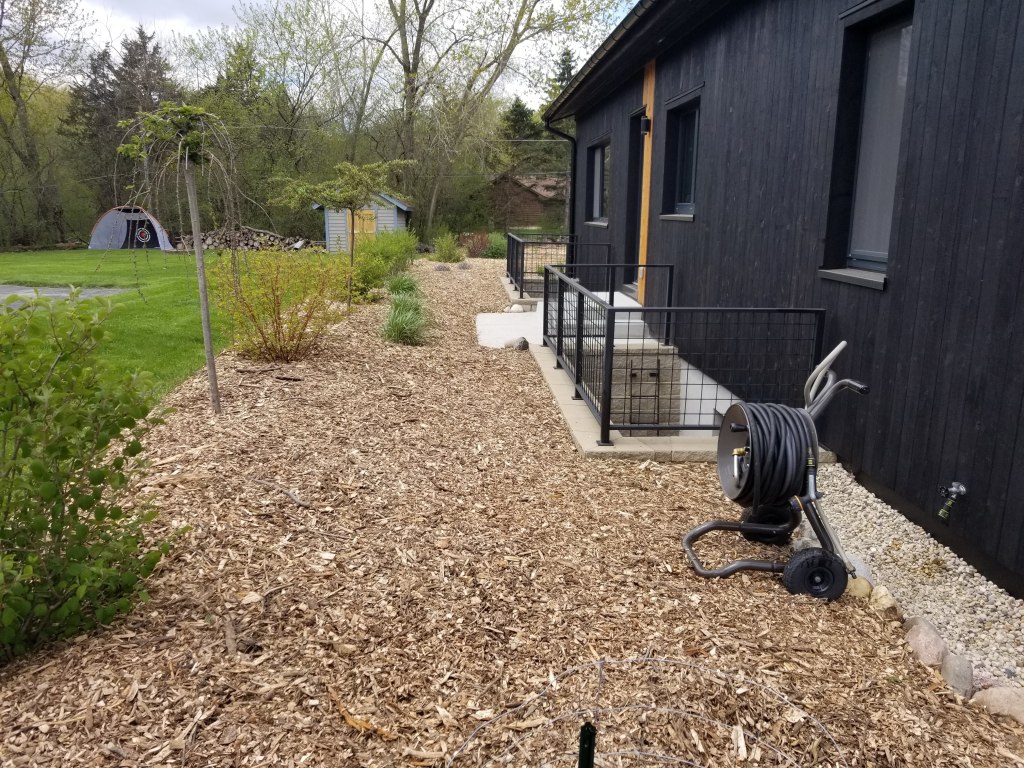
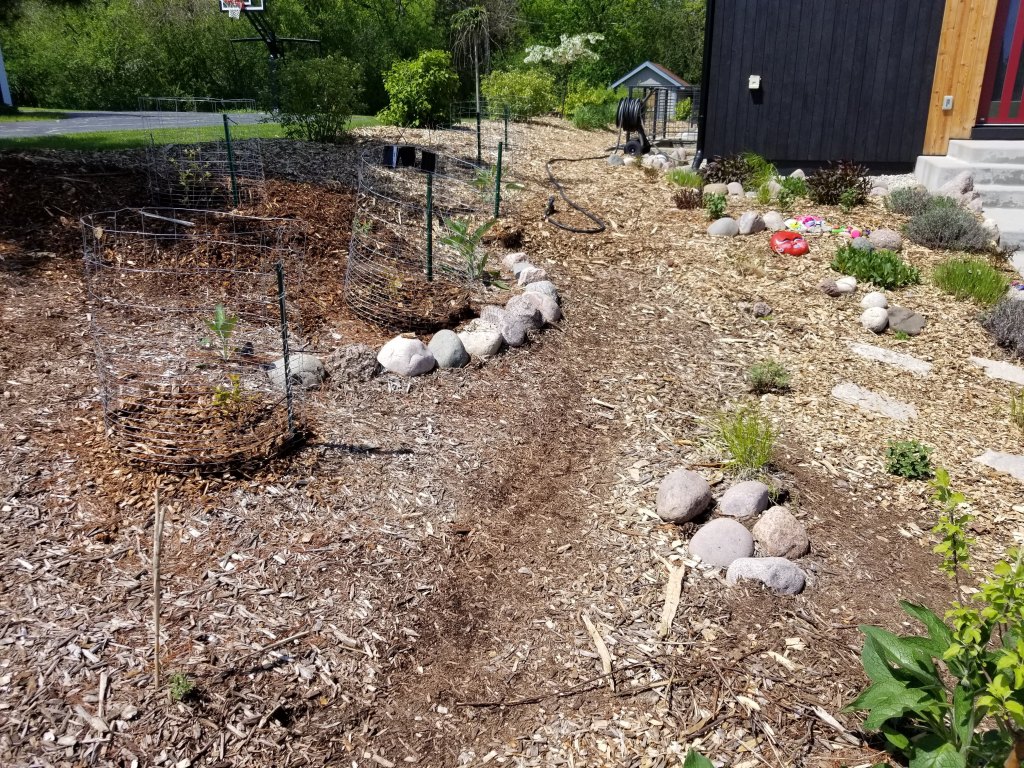
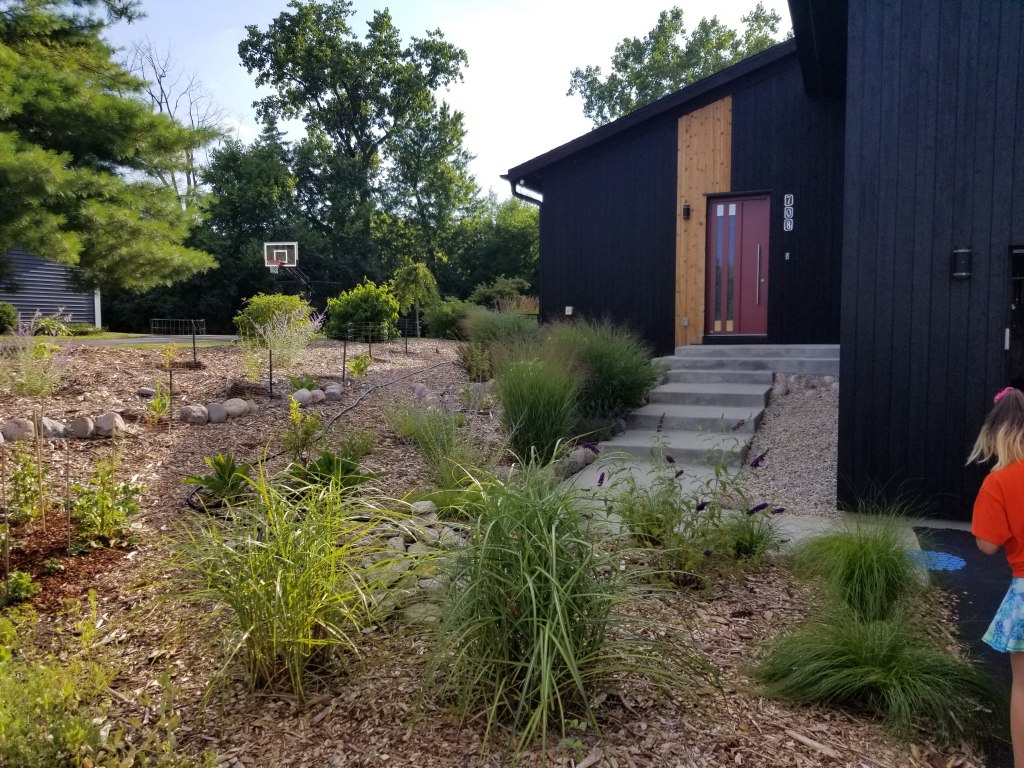
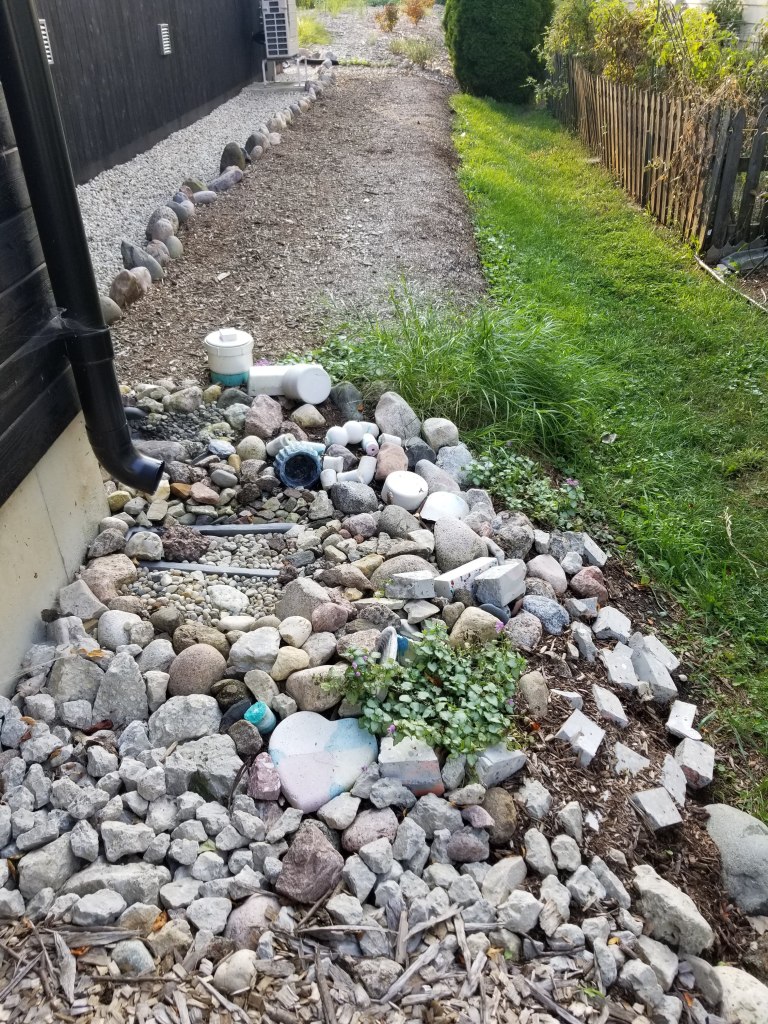
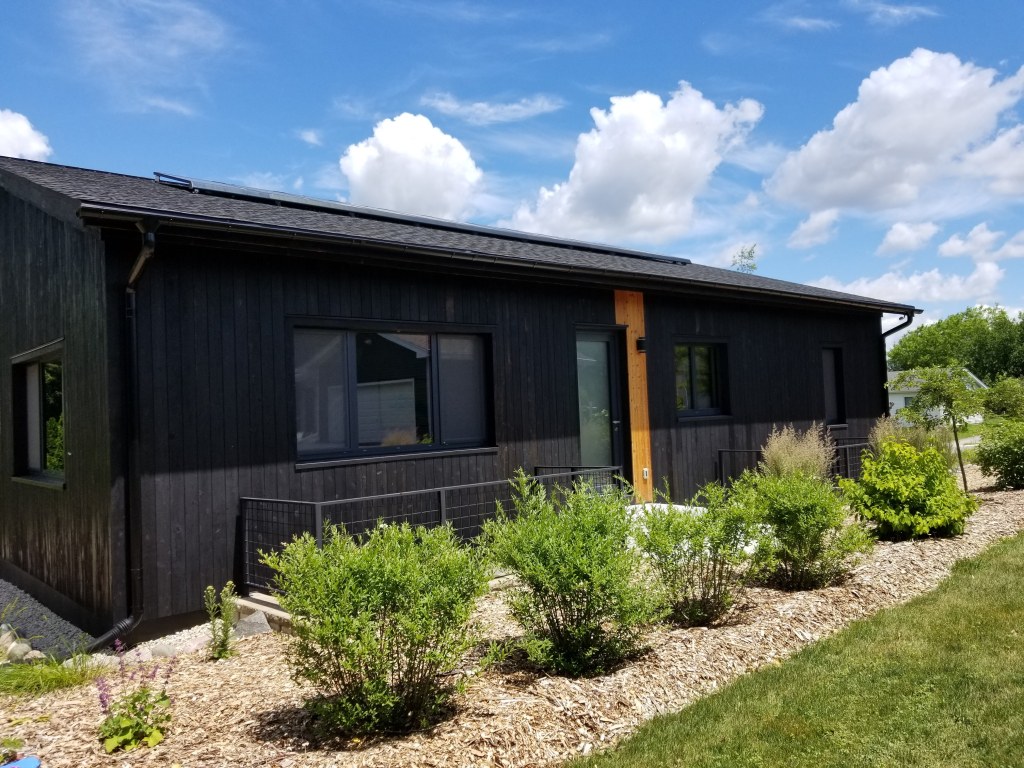
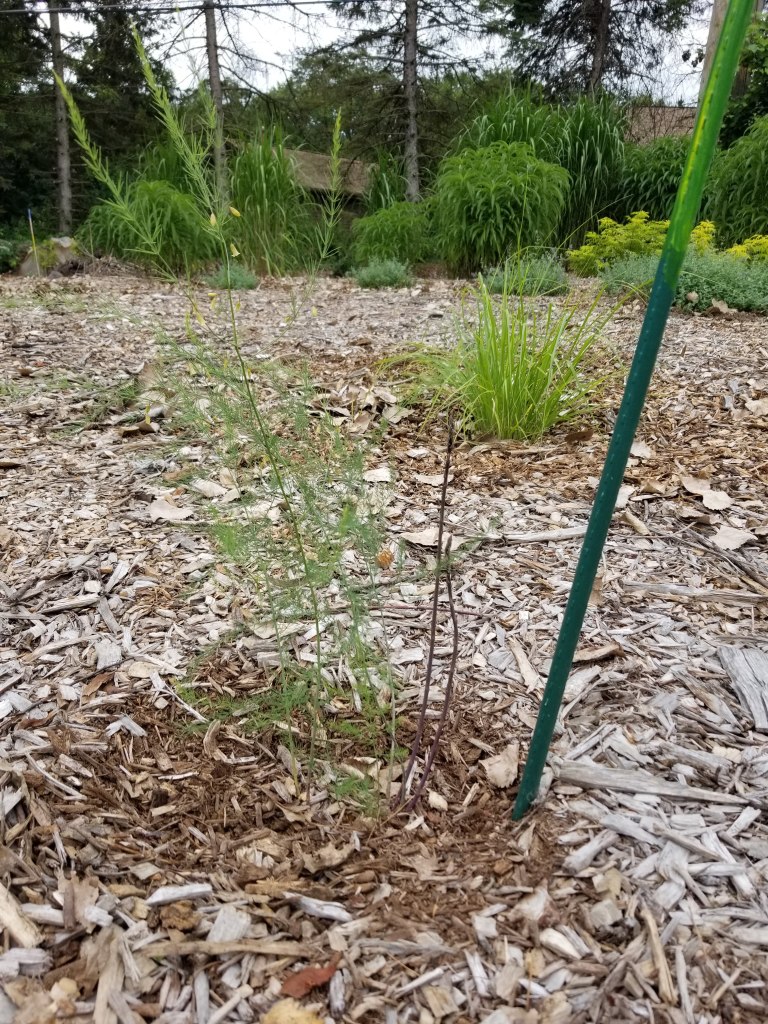
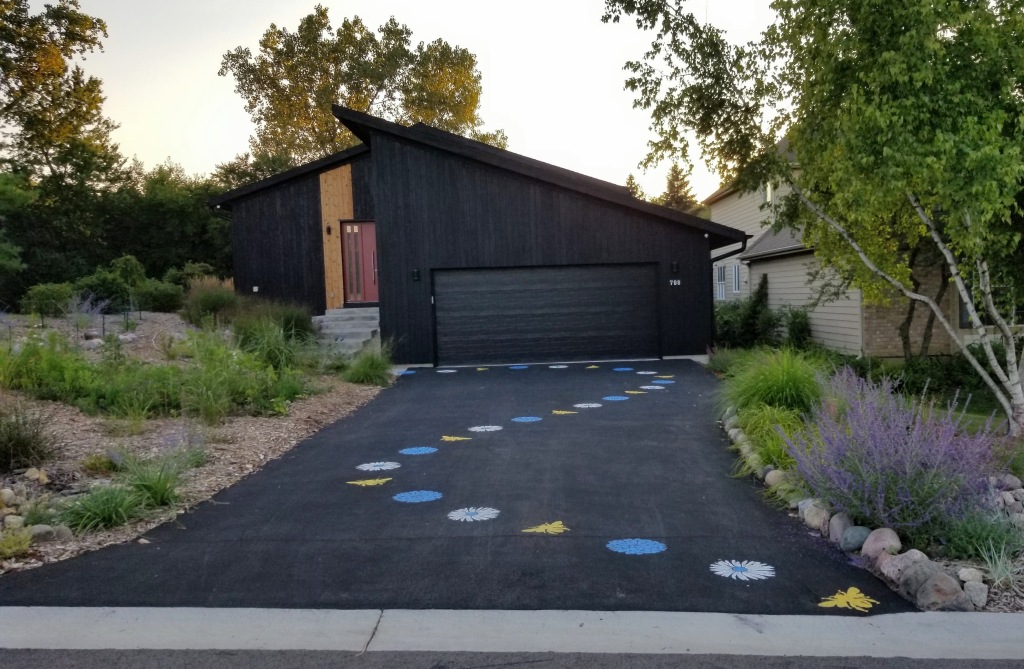
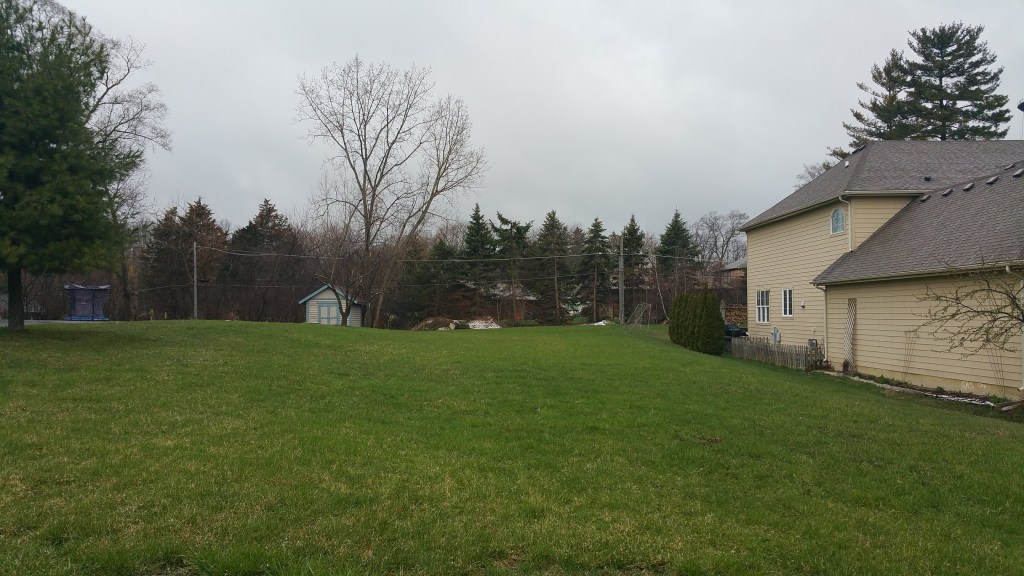
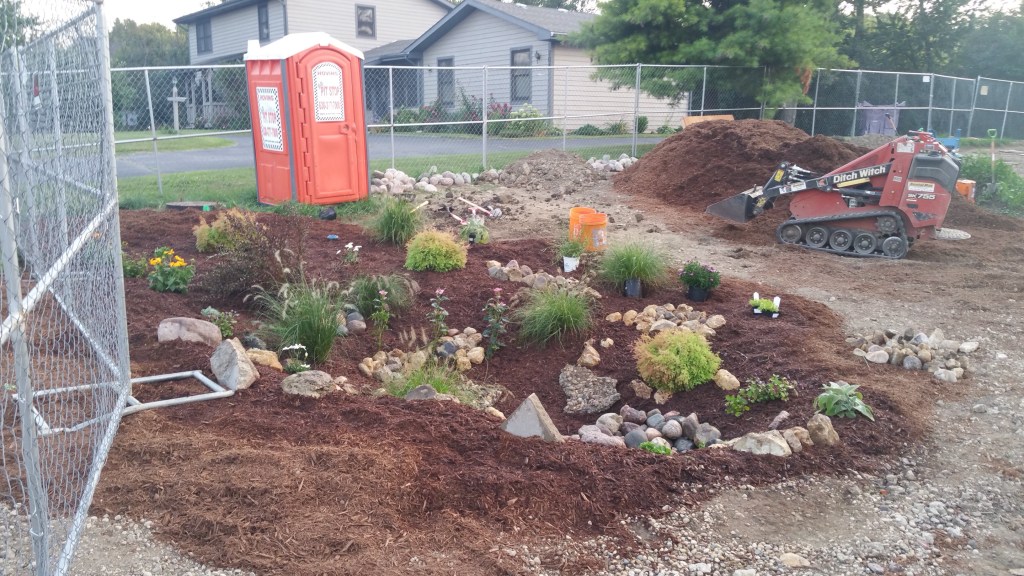
This year we were finally able to begin addressing the north side of the house. In previous years, apart from some plantings along the driveway, we were limited to just establishing the downspout rain gardens, which, initially, utilized mainly rocks.
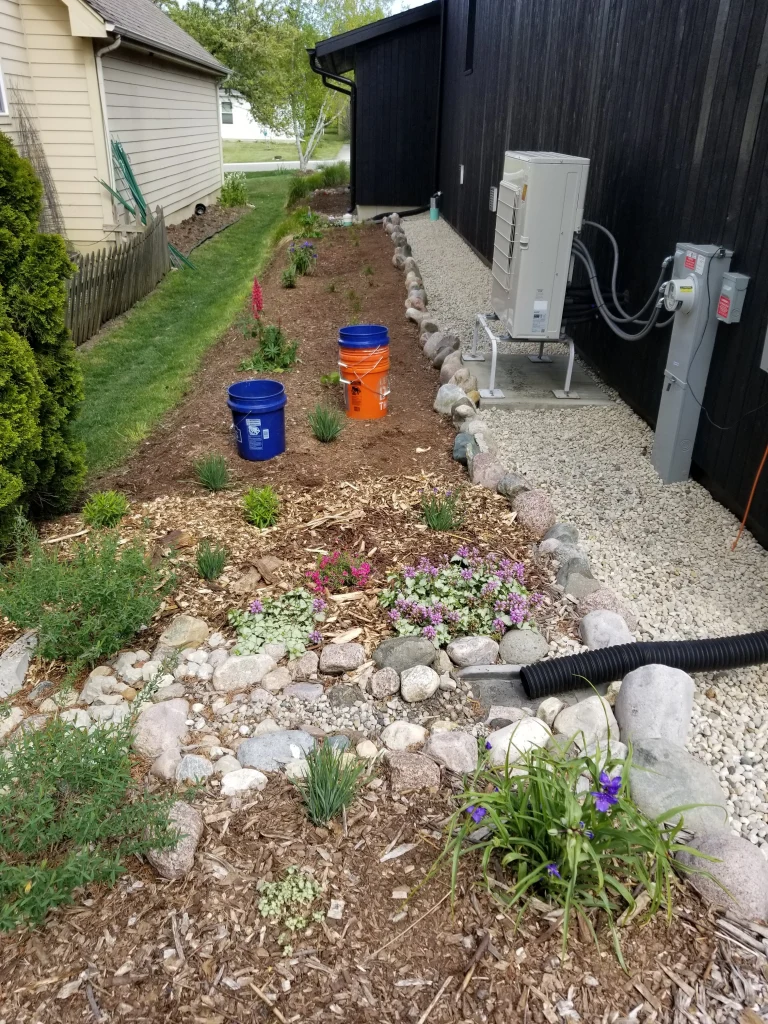
Here on the north side we planted a variety of native grasses, along with spiderwort, lupines, phlox, blue-eyed grasses, and some hot lips.
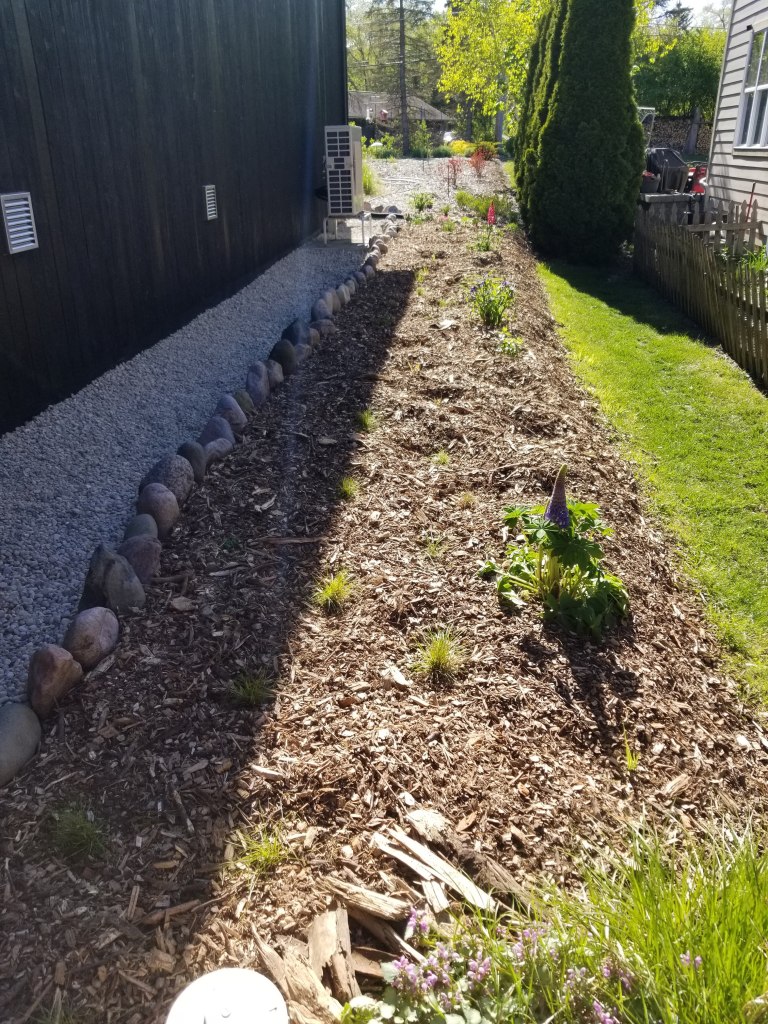
Even in this first year, the plants were able to take on a decent amount of growth:
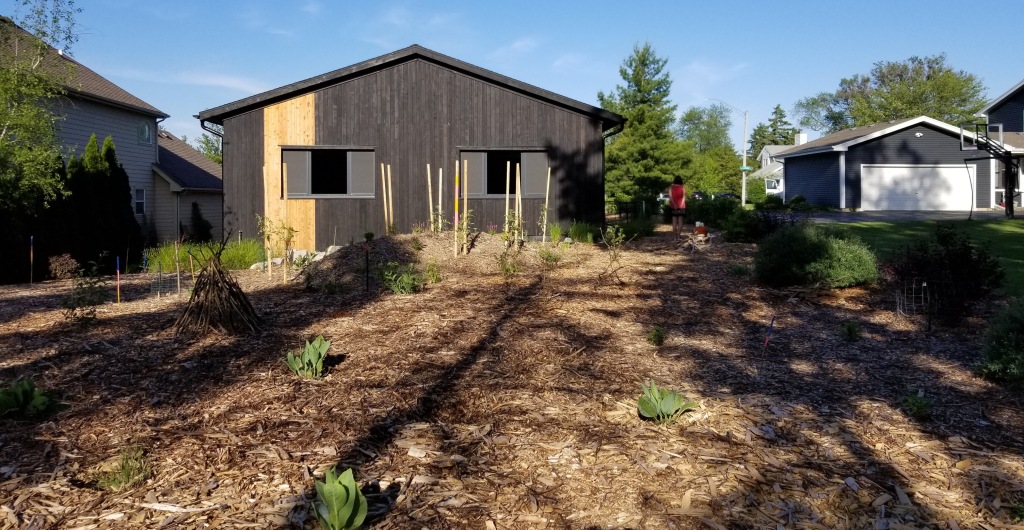
This photo below, taken on the northwest corner of the house, looking into the backyard, reveals just how much things have developed in these first few years. At this point, apart from the hügel bed, which is out view, and an evergreen (our future Christmas tree covered in solar LED lights), only the sheet mulching is complete:
After a few growing seasons, a fair amount of work, and some good weather, the backyard has been able to develop and settle in:
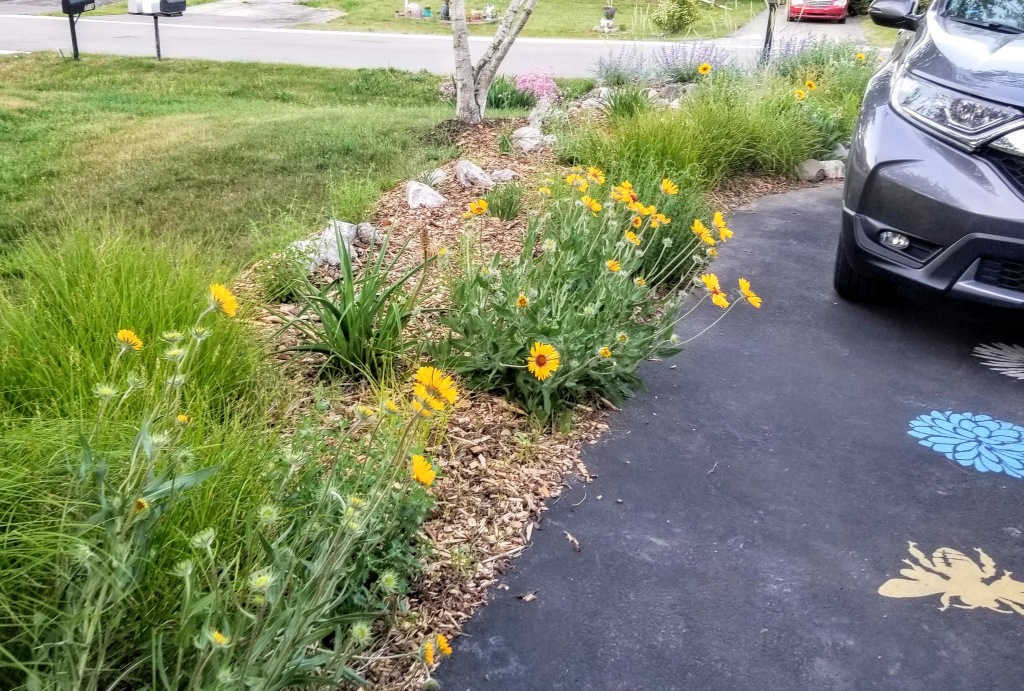
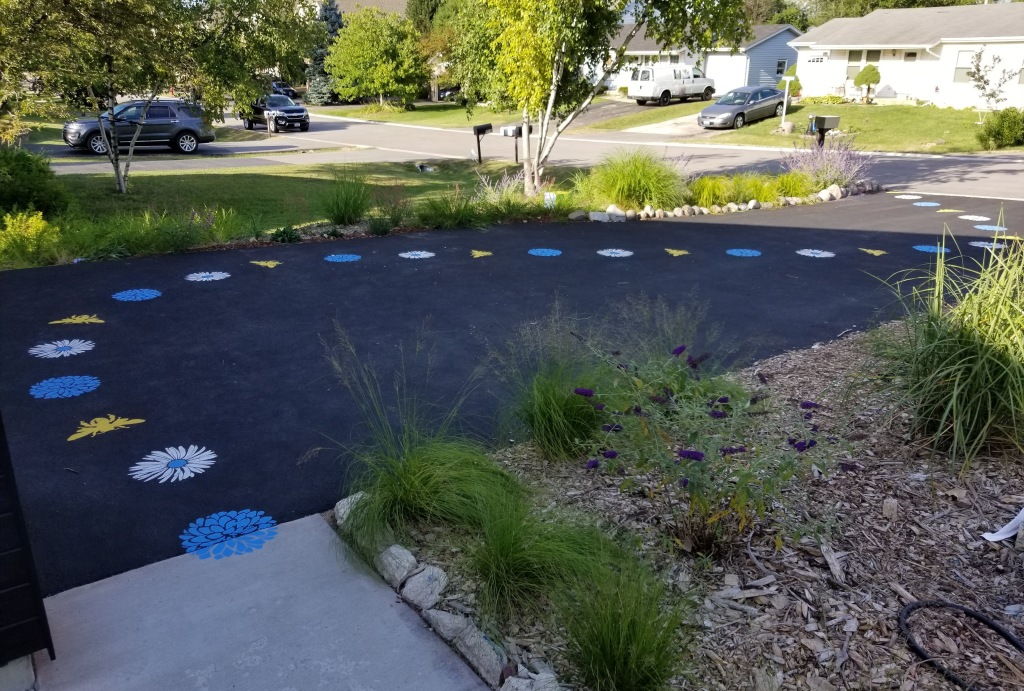
Along the north side of our driveway, the various native grasses and flowers all did well this year, and they’re finally spreading out and filling in together, especially any number of Gaillardias, which really took off this year.
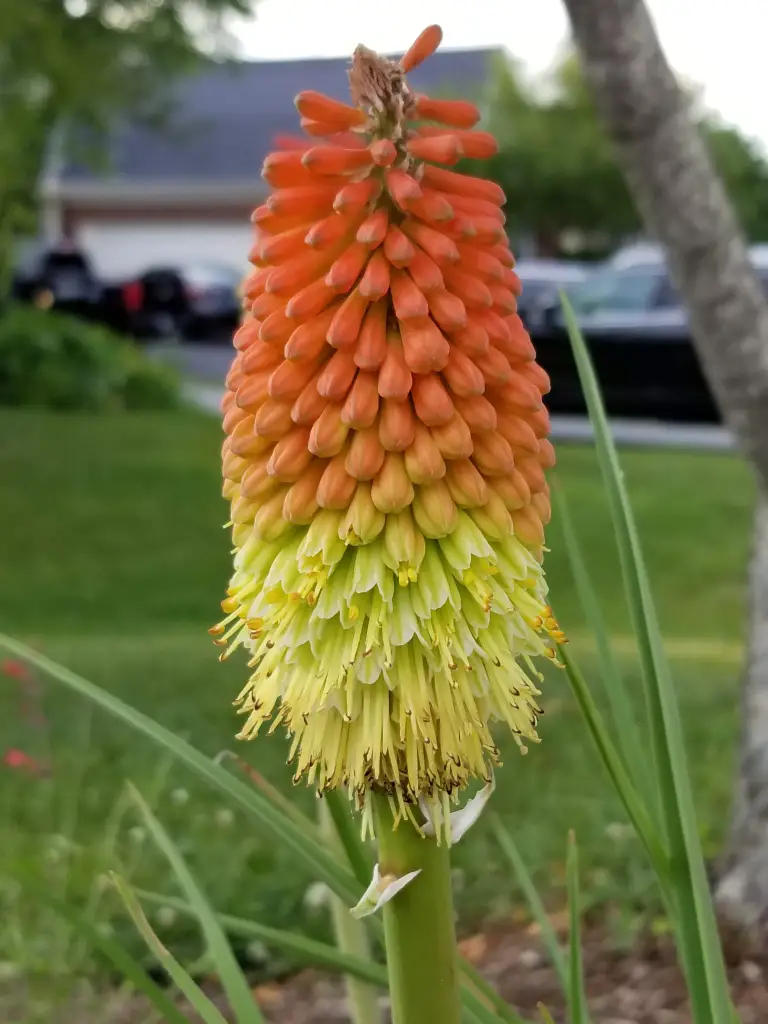
One of our favorite plant combinations is native grasses (e.g., Palm Sedge and Beak Grass) with Kniphofia, further mixed with Gaillardia, Agastache ‘Ava’, Echinacea, and Hyssop officinalis.
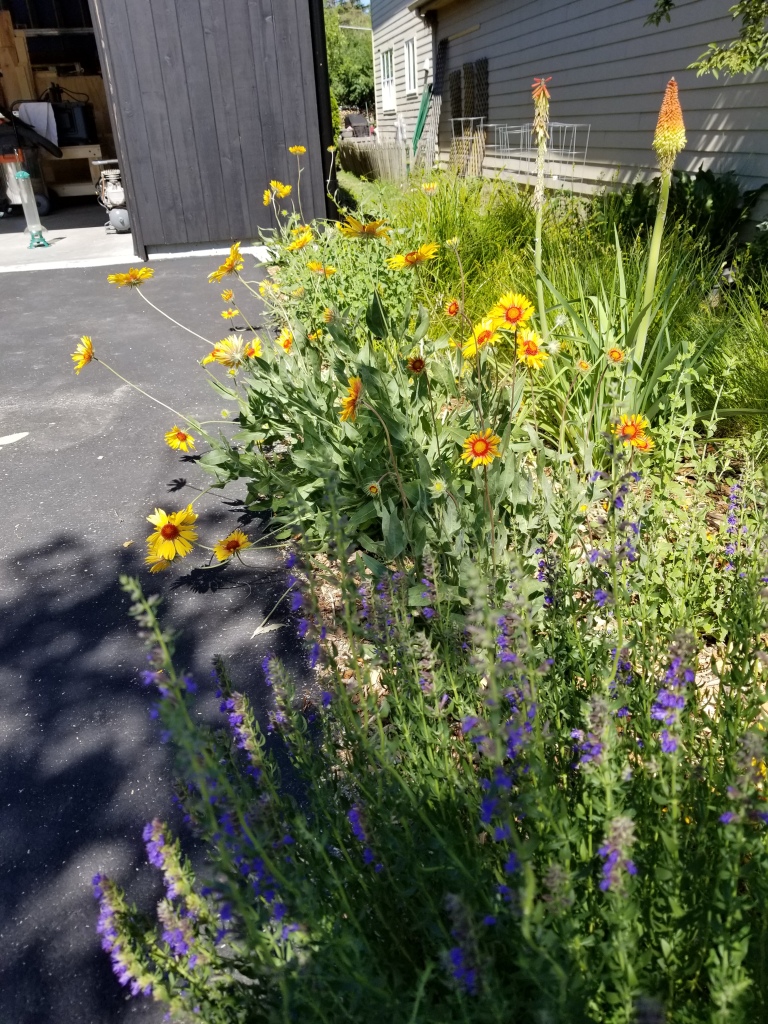
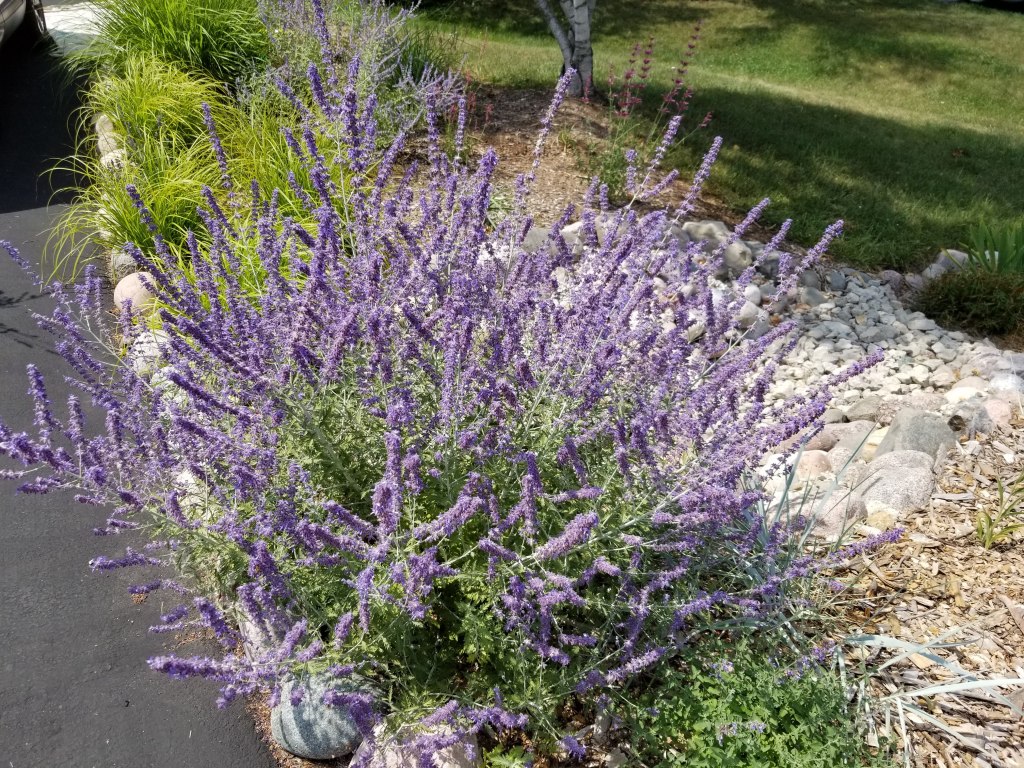
In effect, we’ve created an alleyway of pollen and nectar so insects and hummingbirds can flit and bounce their way up and down the side of the driveway, jumping from Gaillardia to Hyssop to Echinacea to hummingbird mint to Russian sage and catmint.
Across the driveway, the green manure bed has been thickening up, flourishing this year with Daikon radish and annual flowers:
Still predominantly green manure plants, we hope to transition this area to flowers, fruiting vines and shrubs, and maybe even a couple more fruit trees in the coming years.
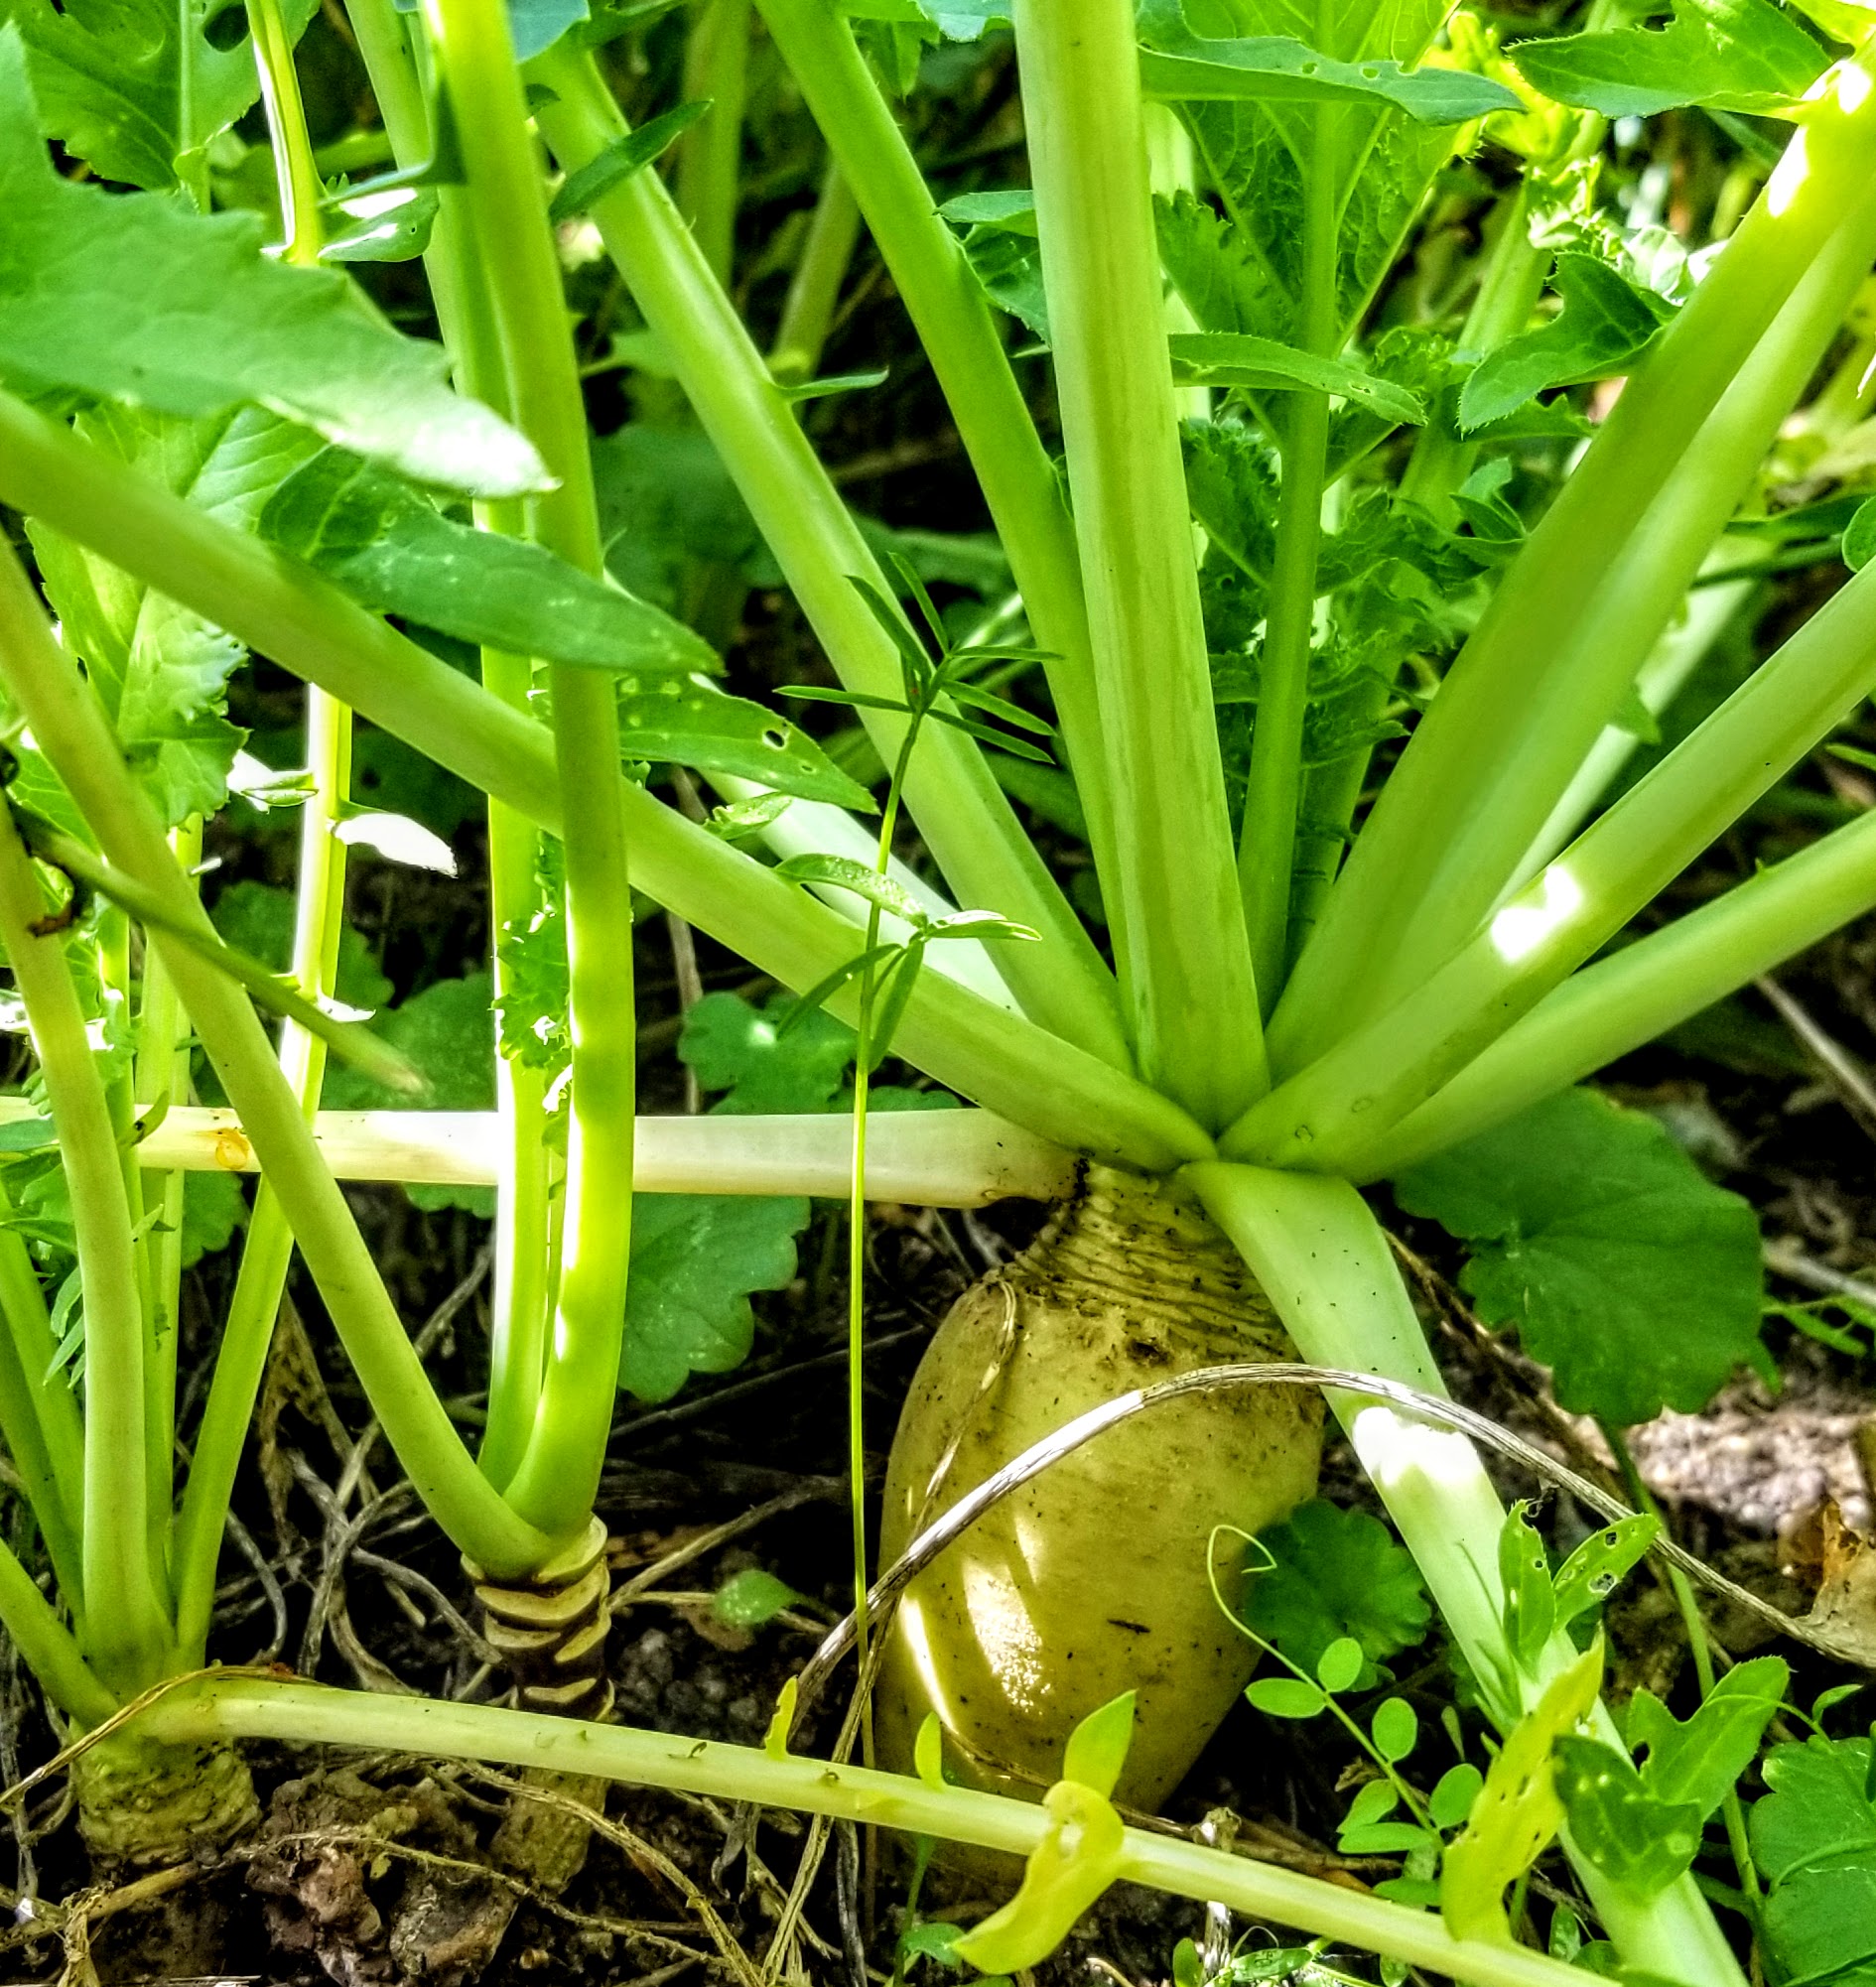

It looks like the worst of the soil compaction that occurred in this area during construction has been mostly alleviated, replaced with a thick layer of humus, ready for whatever we decide comes next.
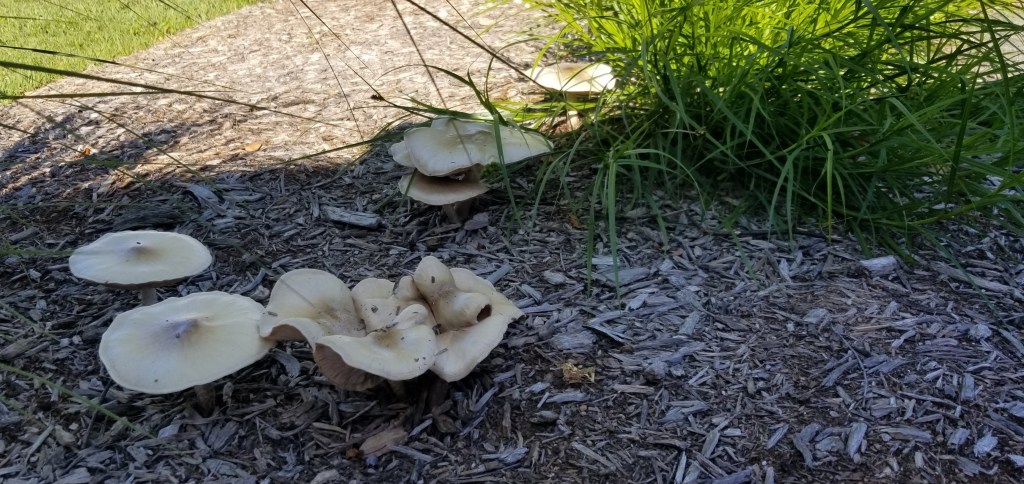
Mushrooms
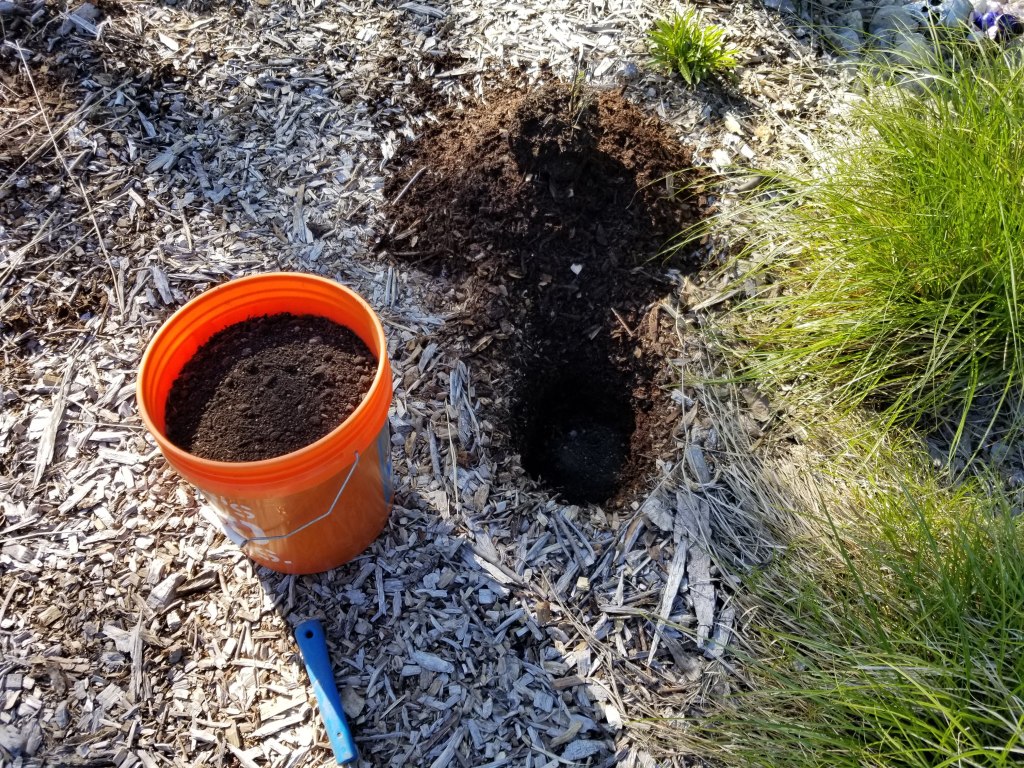
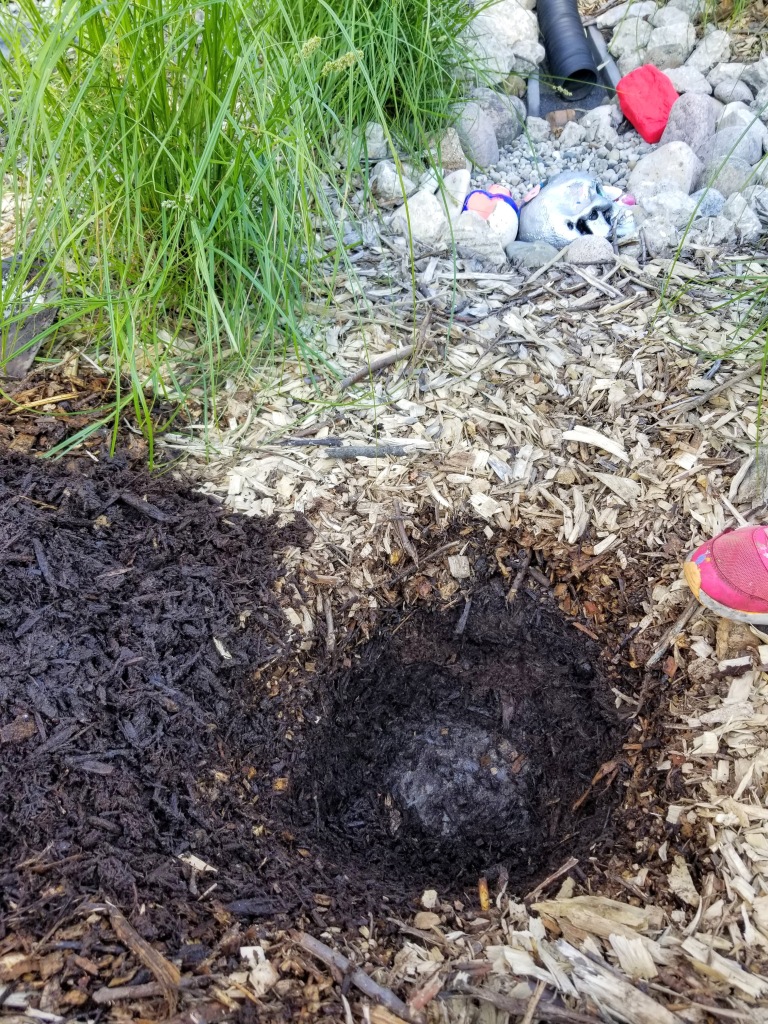
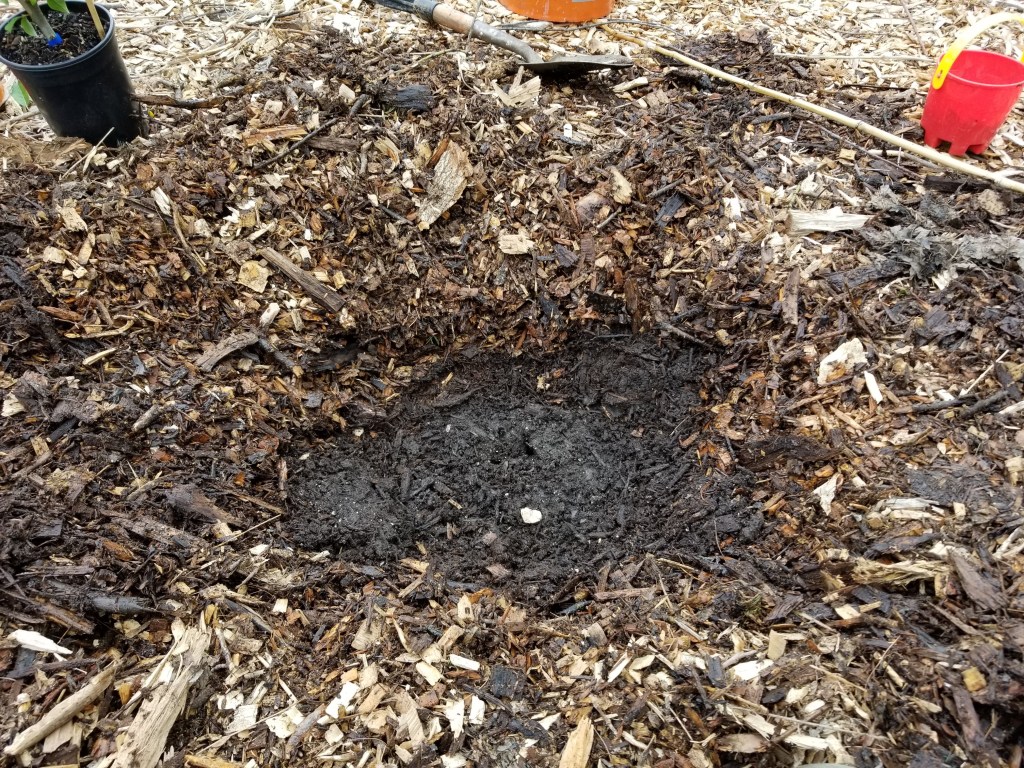
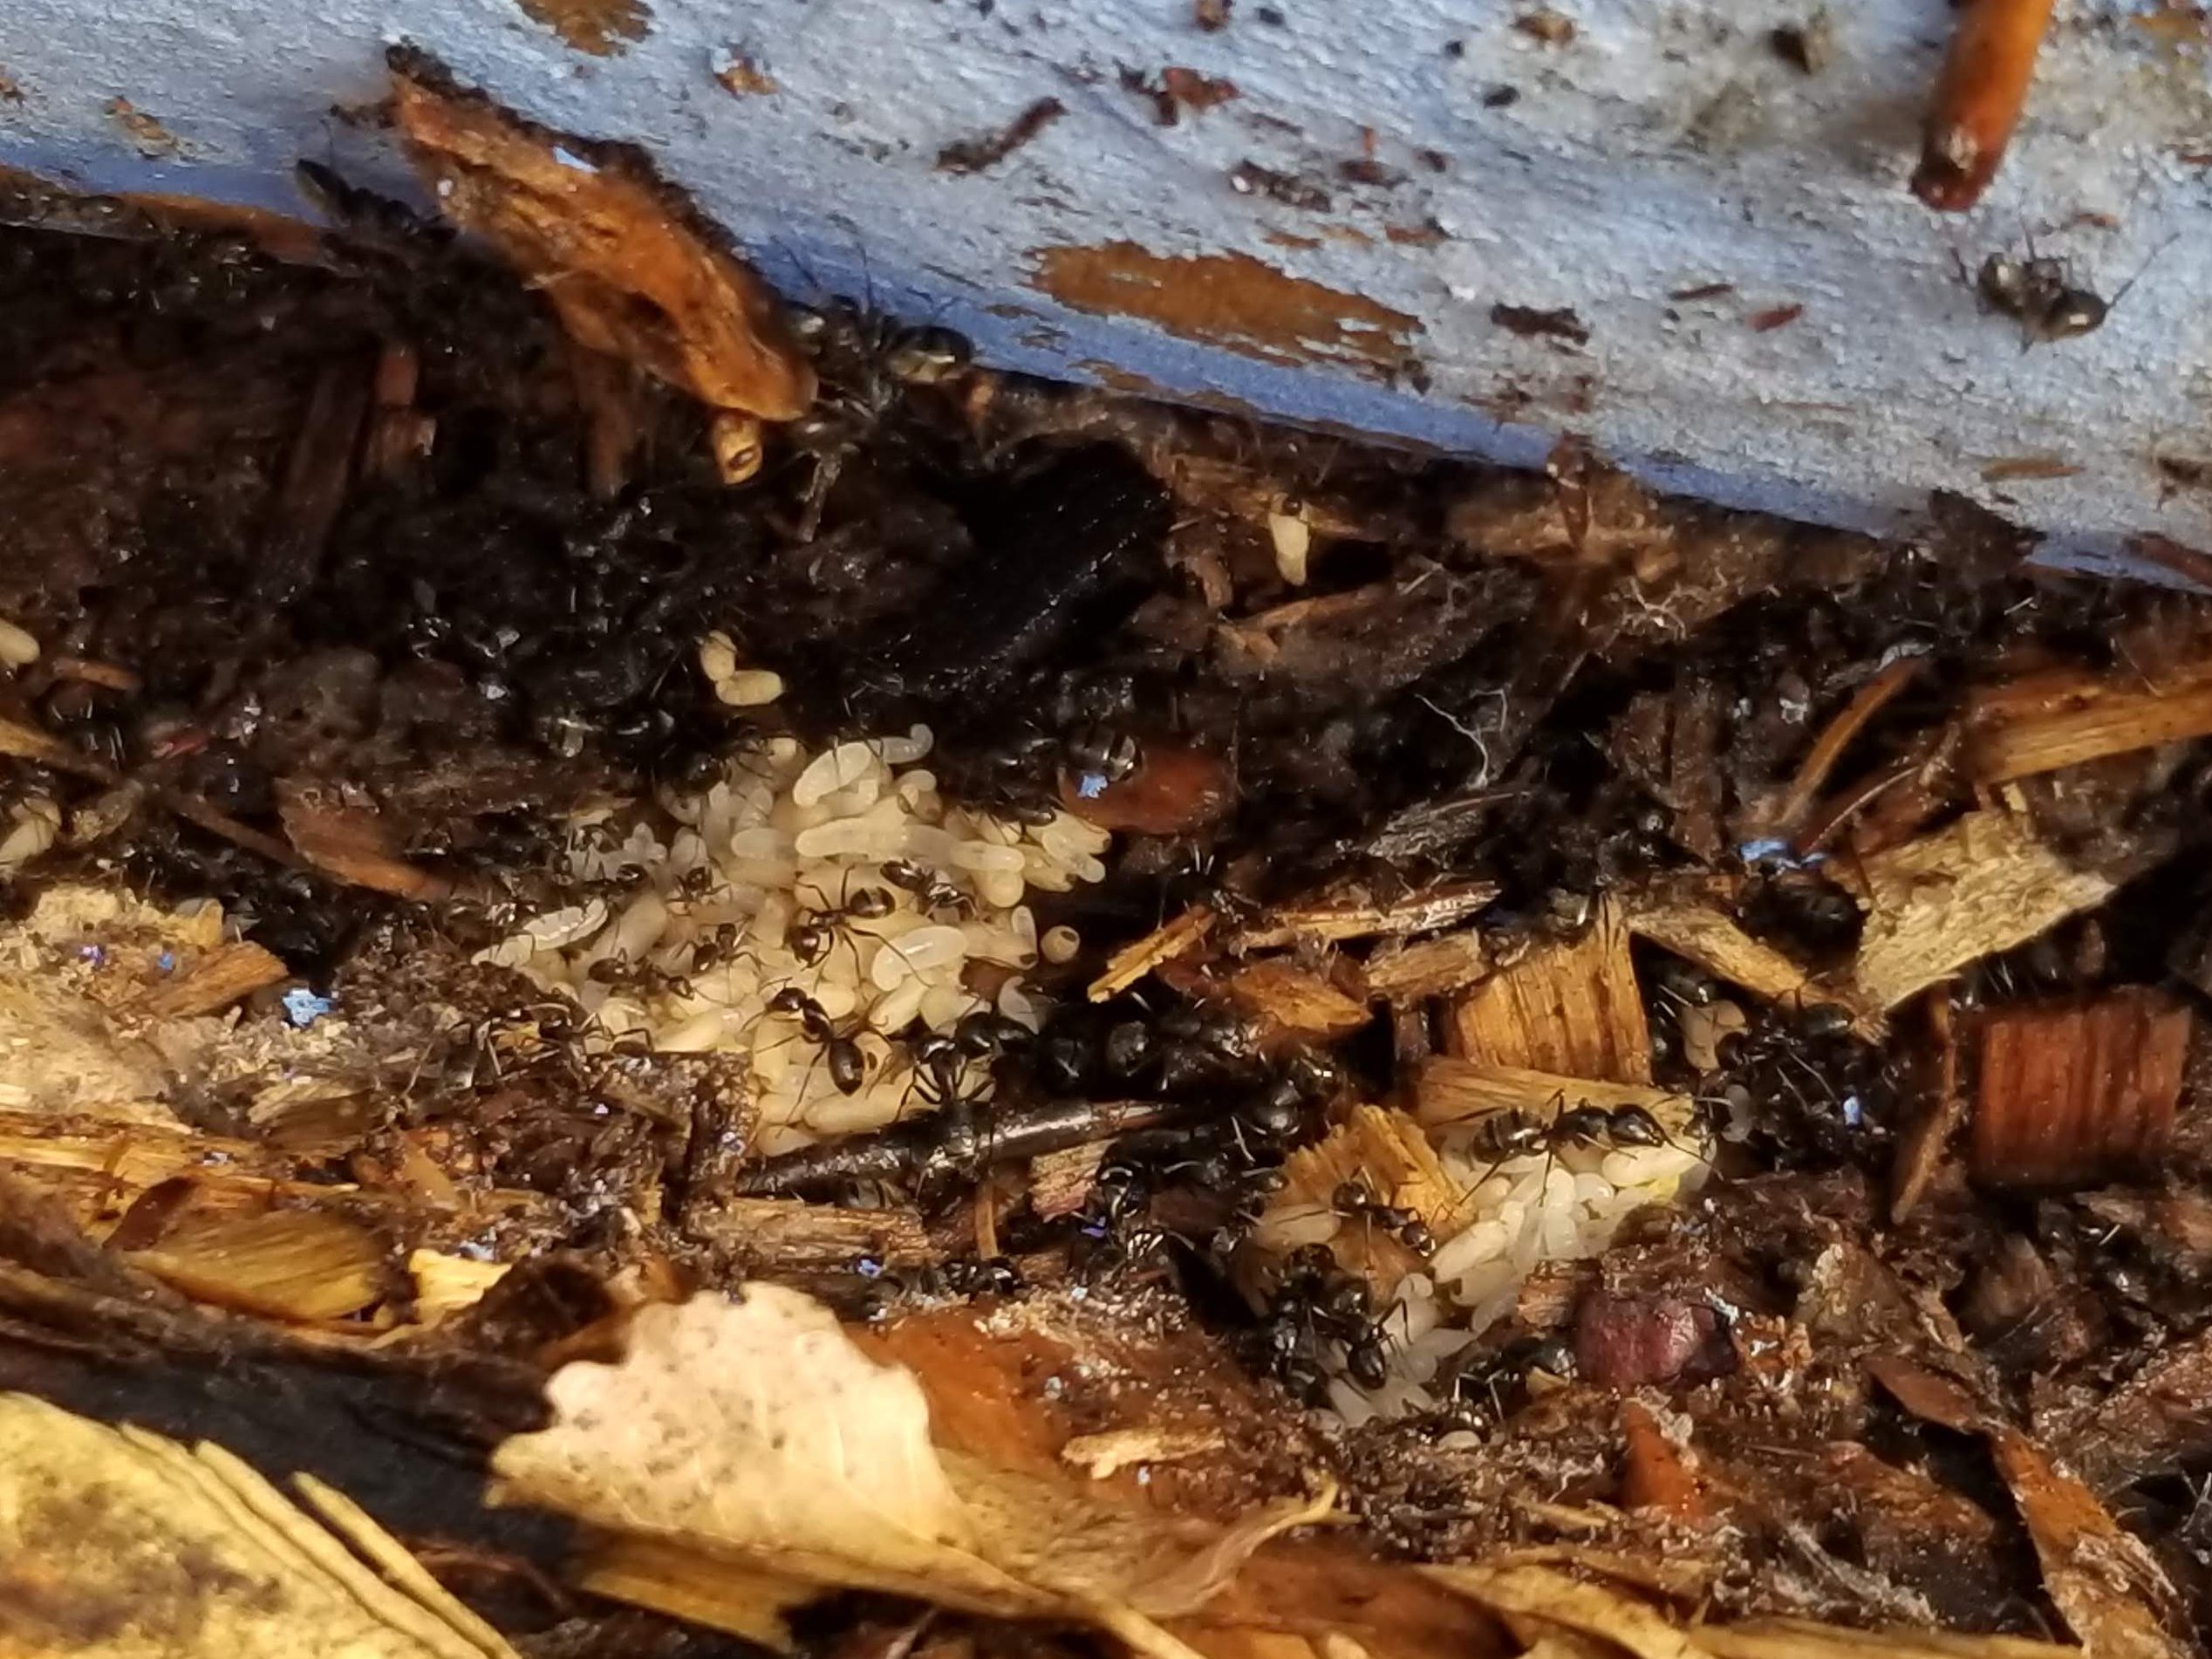
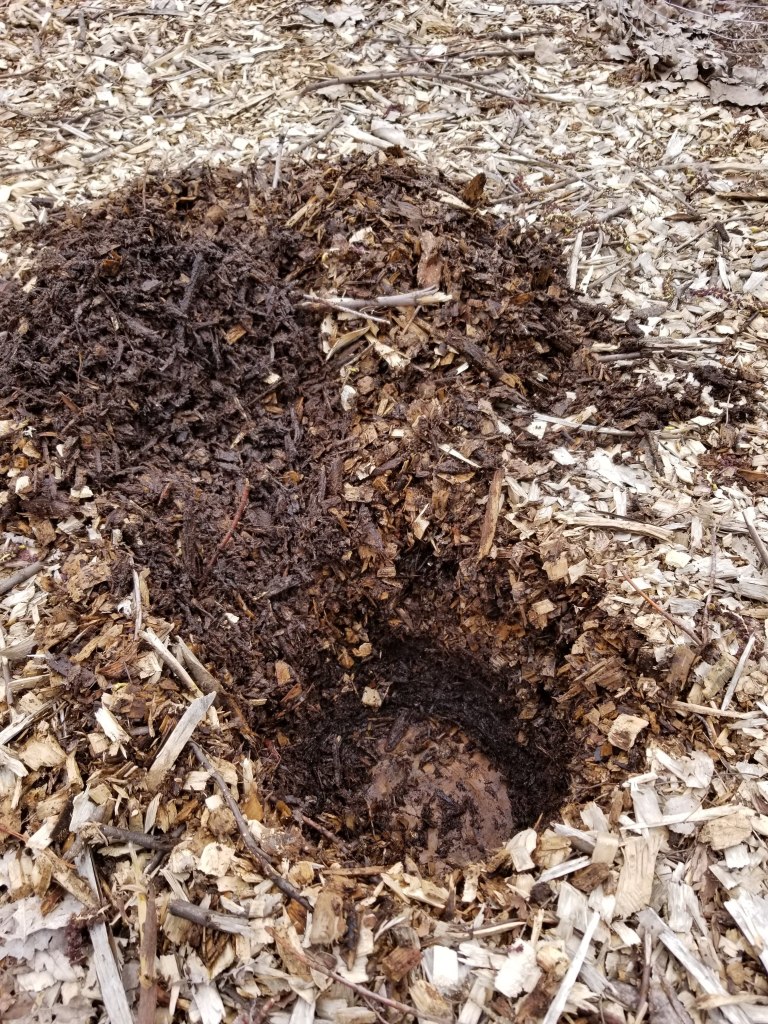
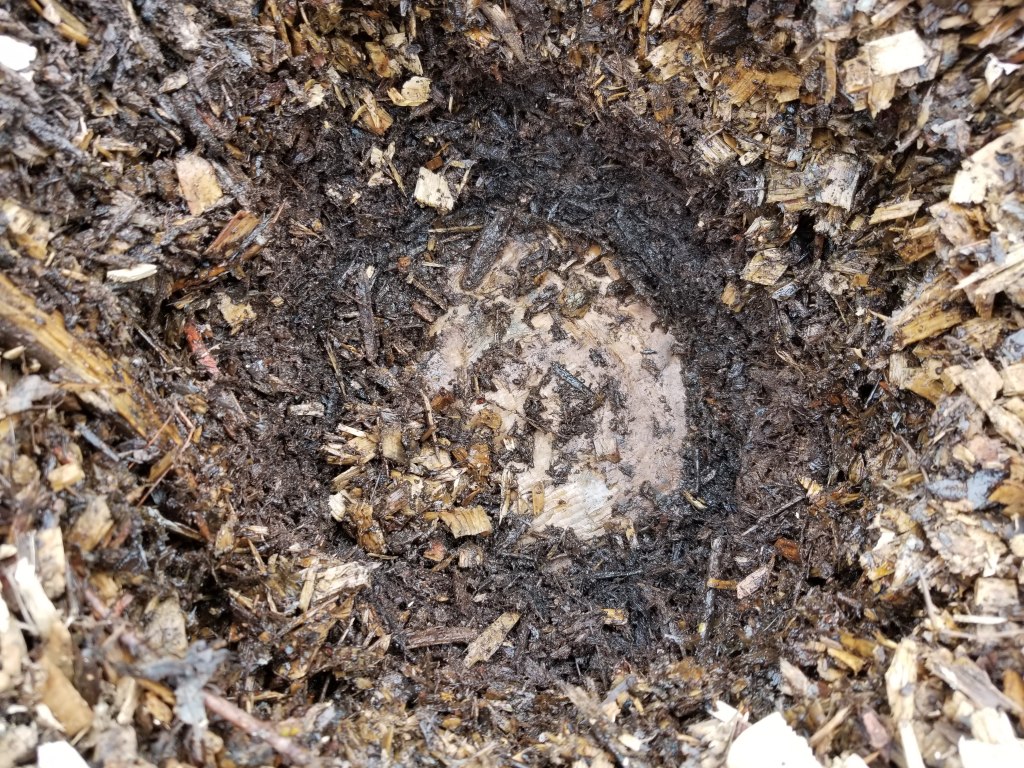
As our deep layer of sheet mulch continues to break down, we’re able to monitor, to some degree, the process each time we dig a hole for a new plant. The network of mycelium that is present is abundant, and frankly kind of magical to observe:
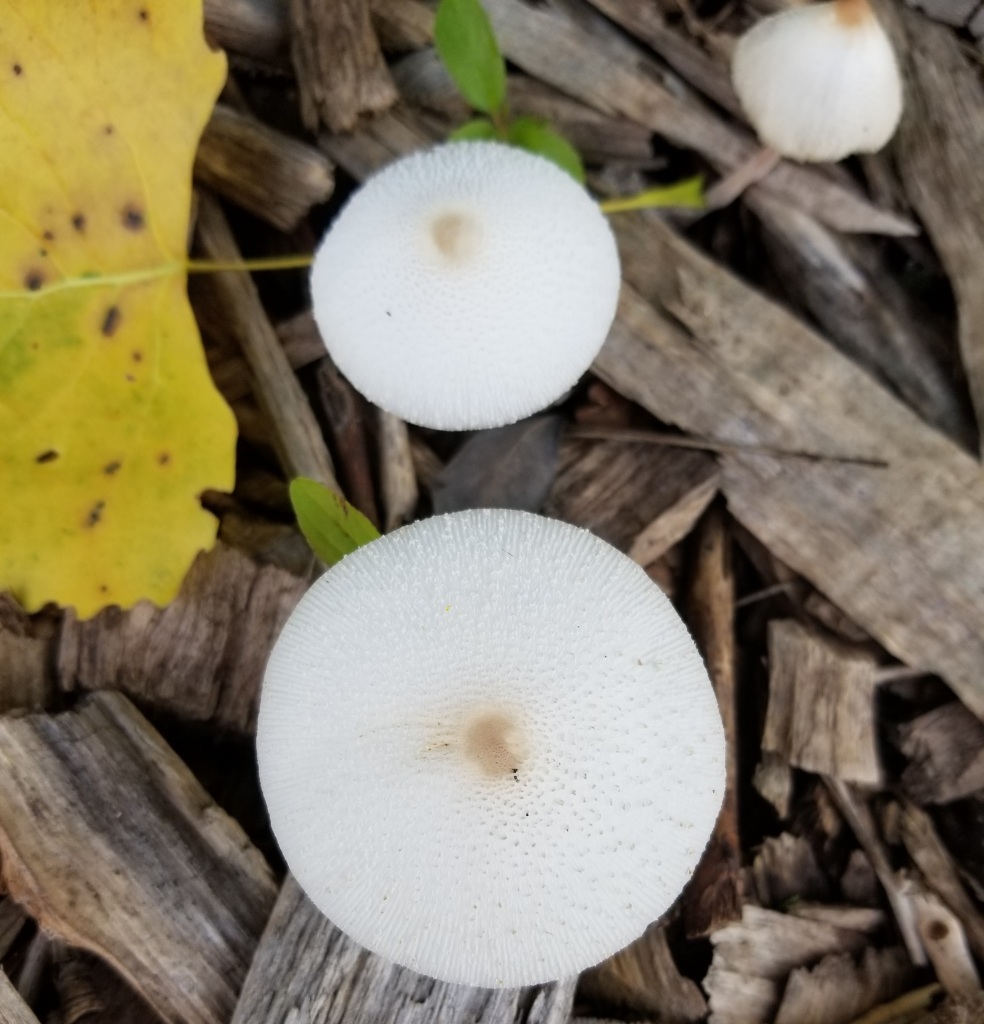
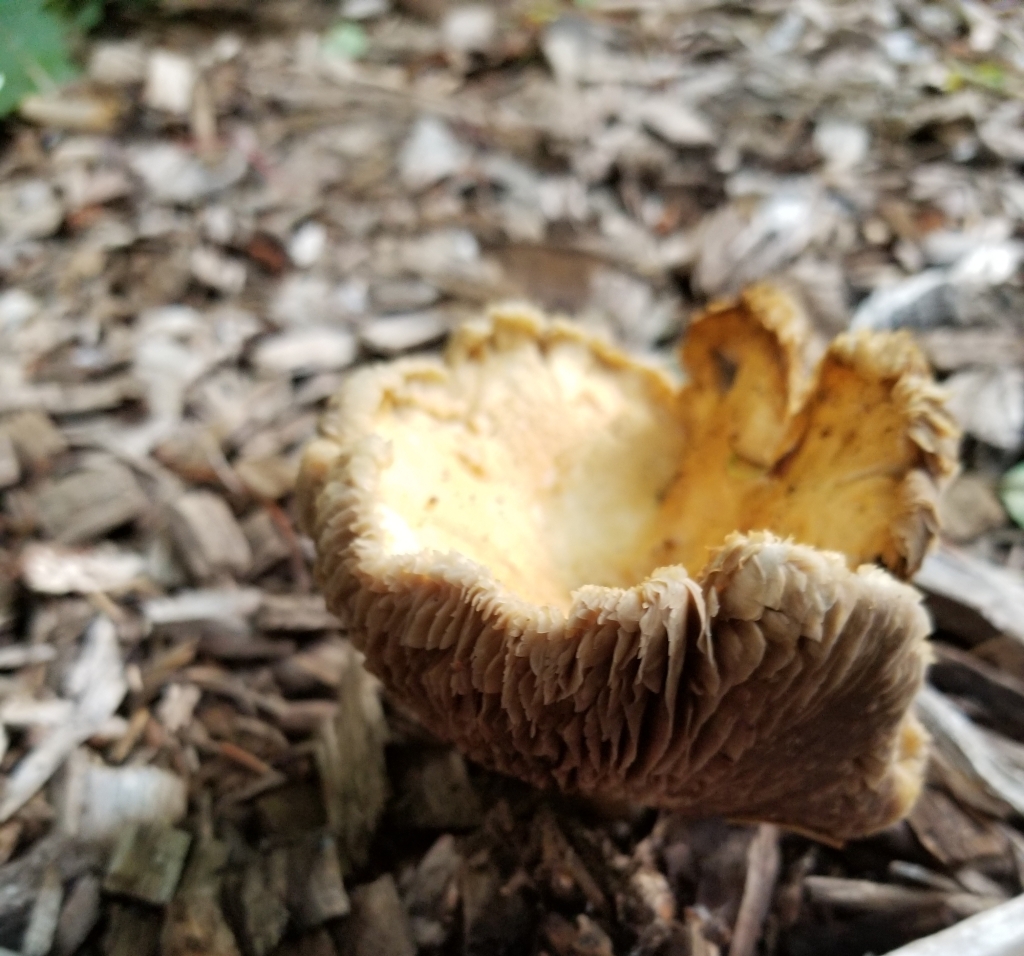
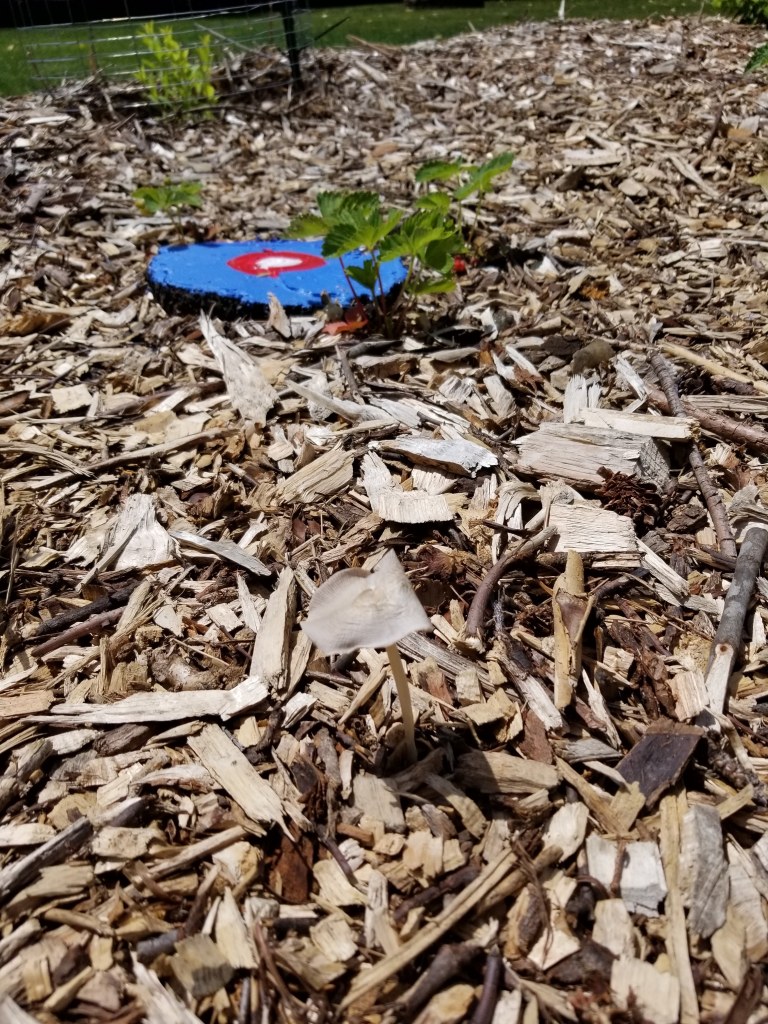
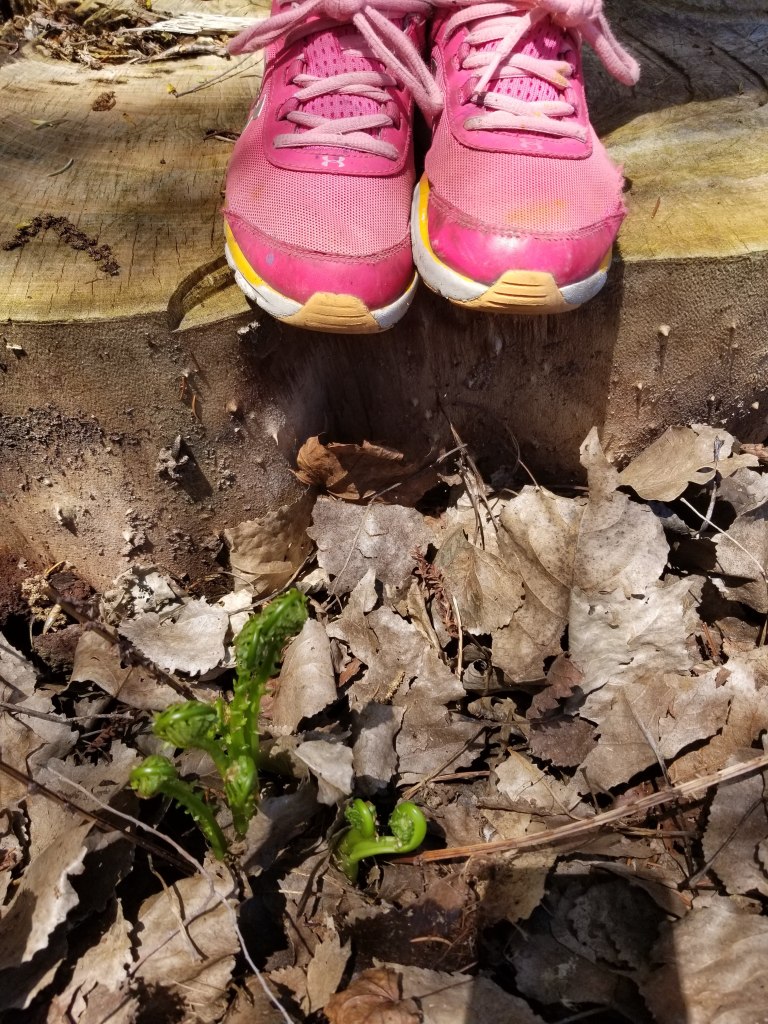
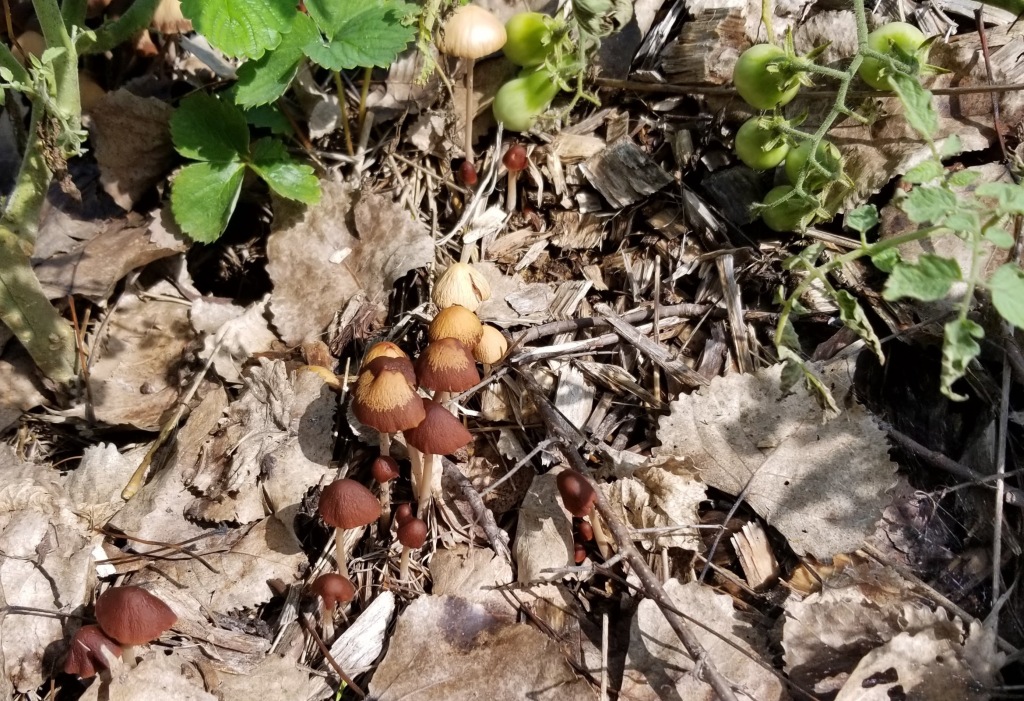
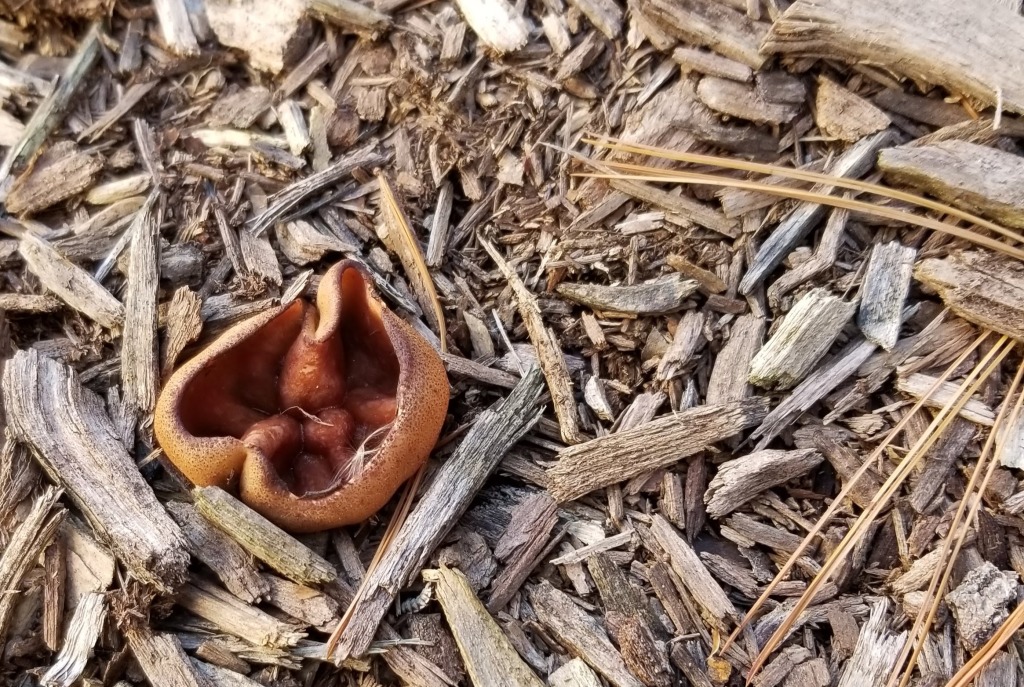
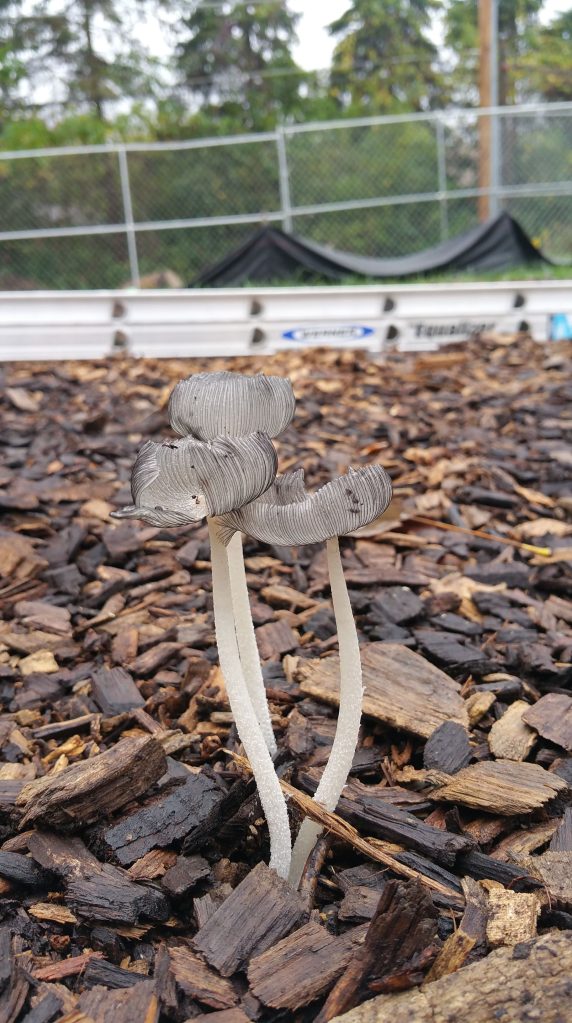
With so much life in the landscape, we had another good season of unique mushrooms popping up throughout the yard. My daughter and I enjoy hunting for them after it rains. Because we’ve already had such a wide variety of mushrooms show up, it’s always fun to go looking for something we’ve never seen before.
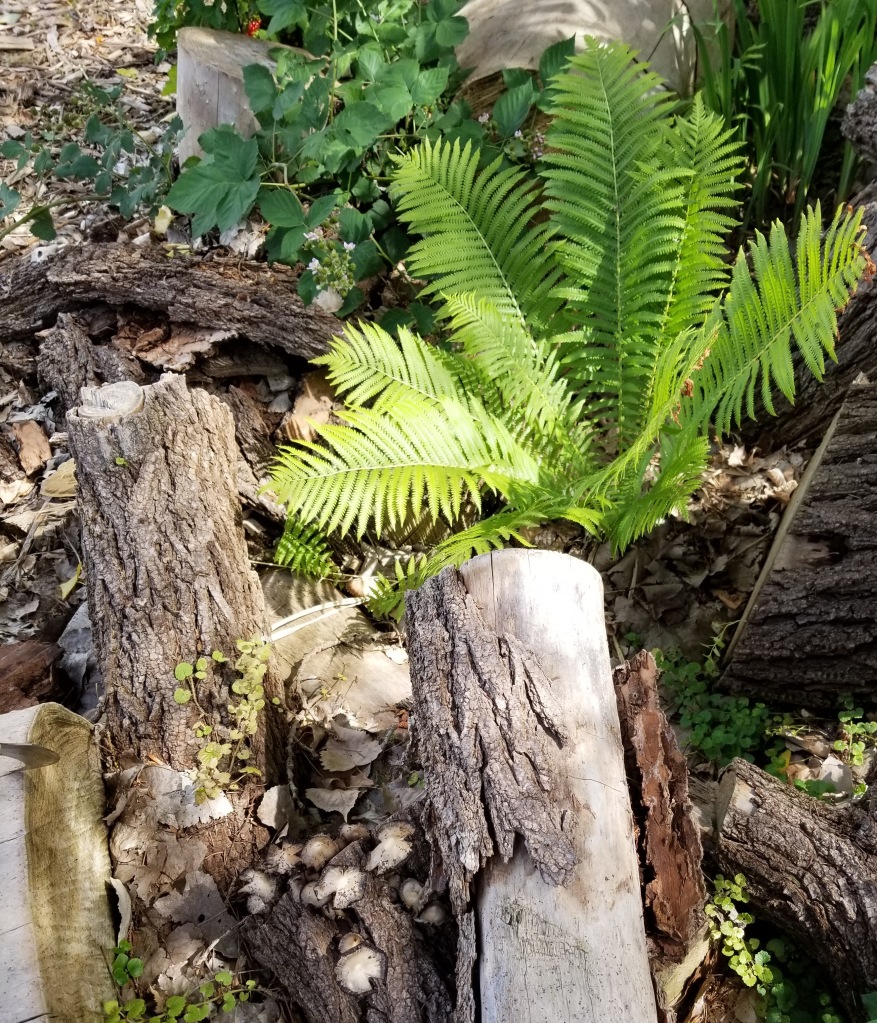
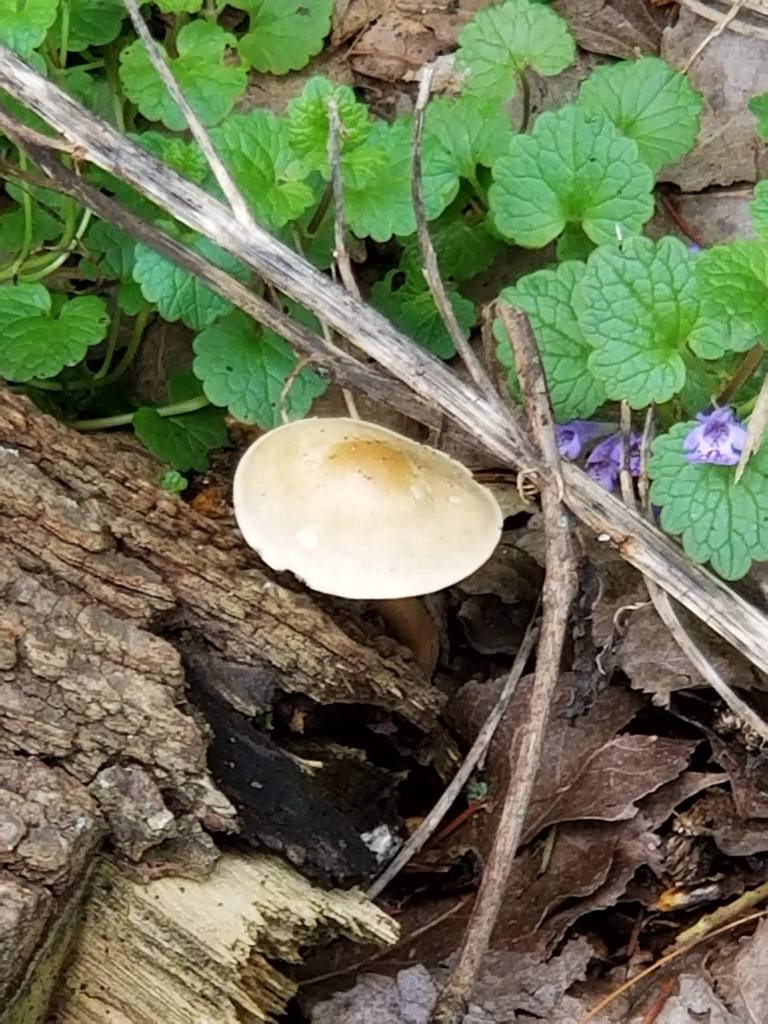
Below, this beauty came up in a grouping around our ferns in the dappled shade of the far southwest corner of our yard:
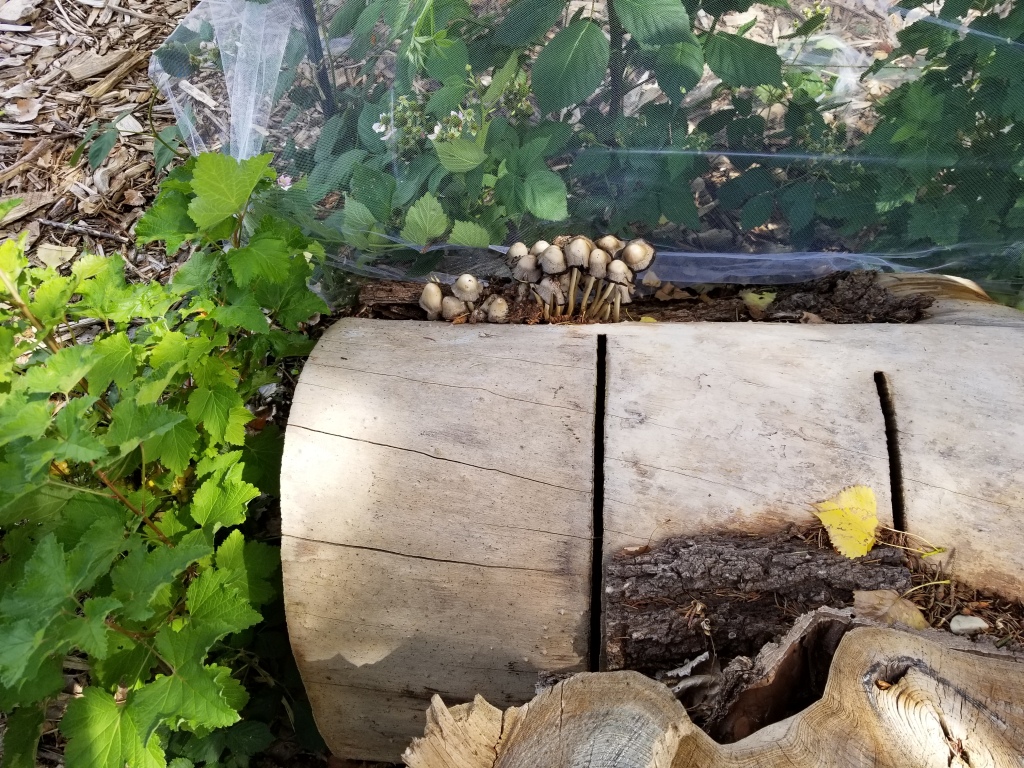
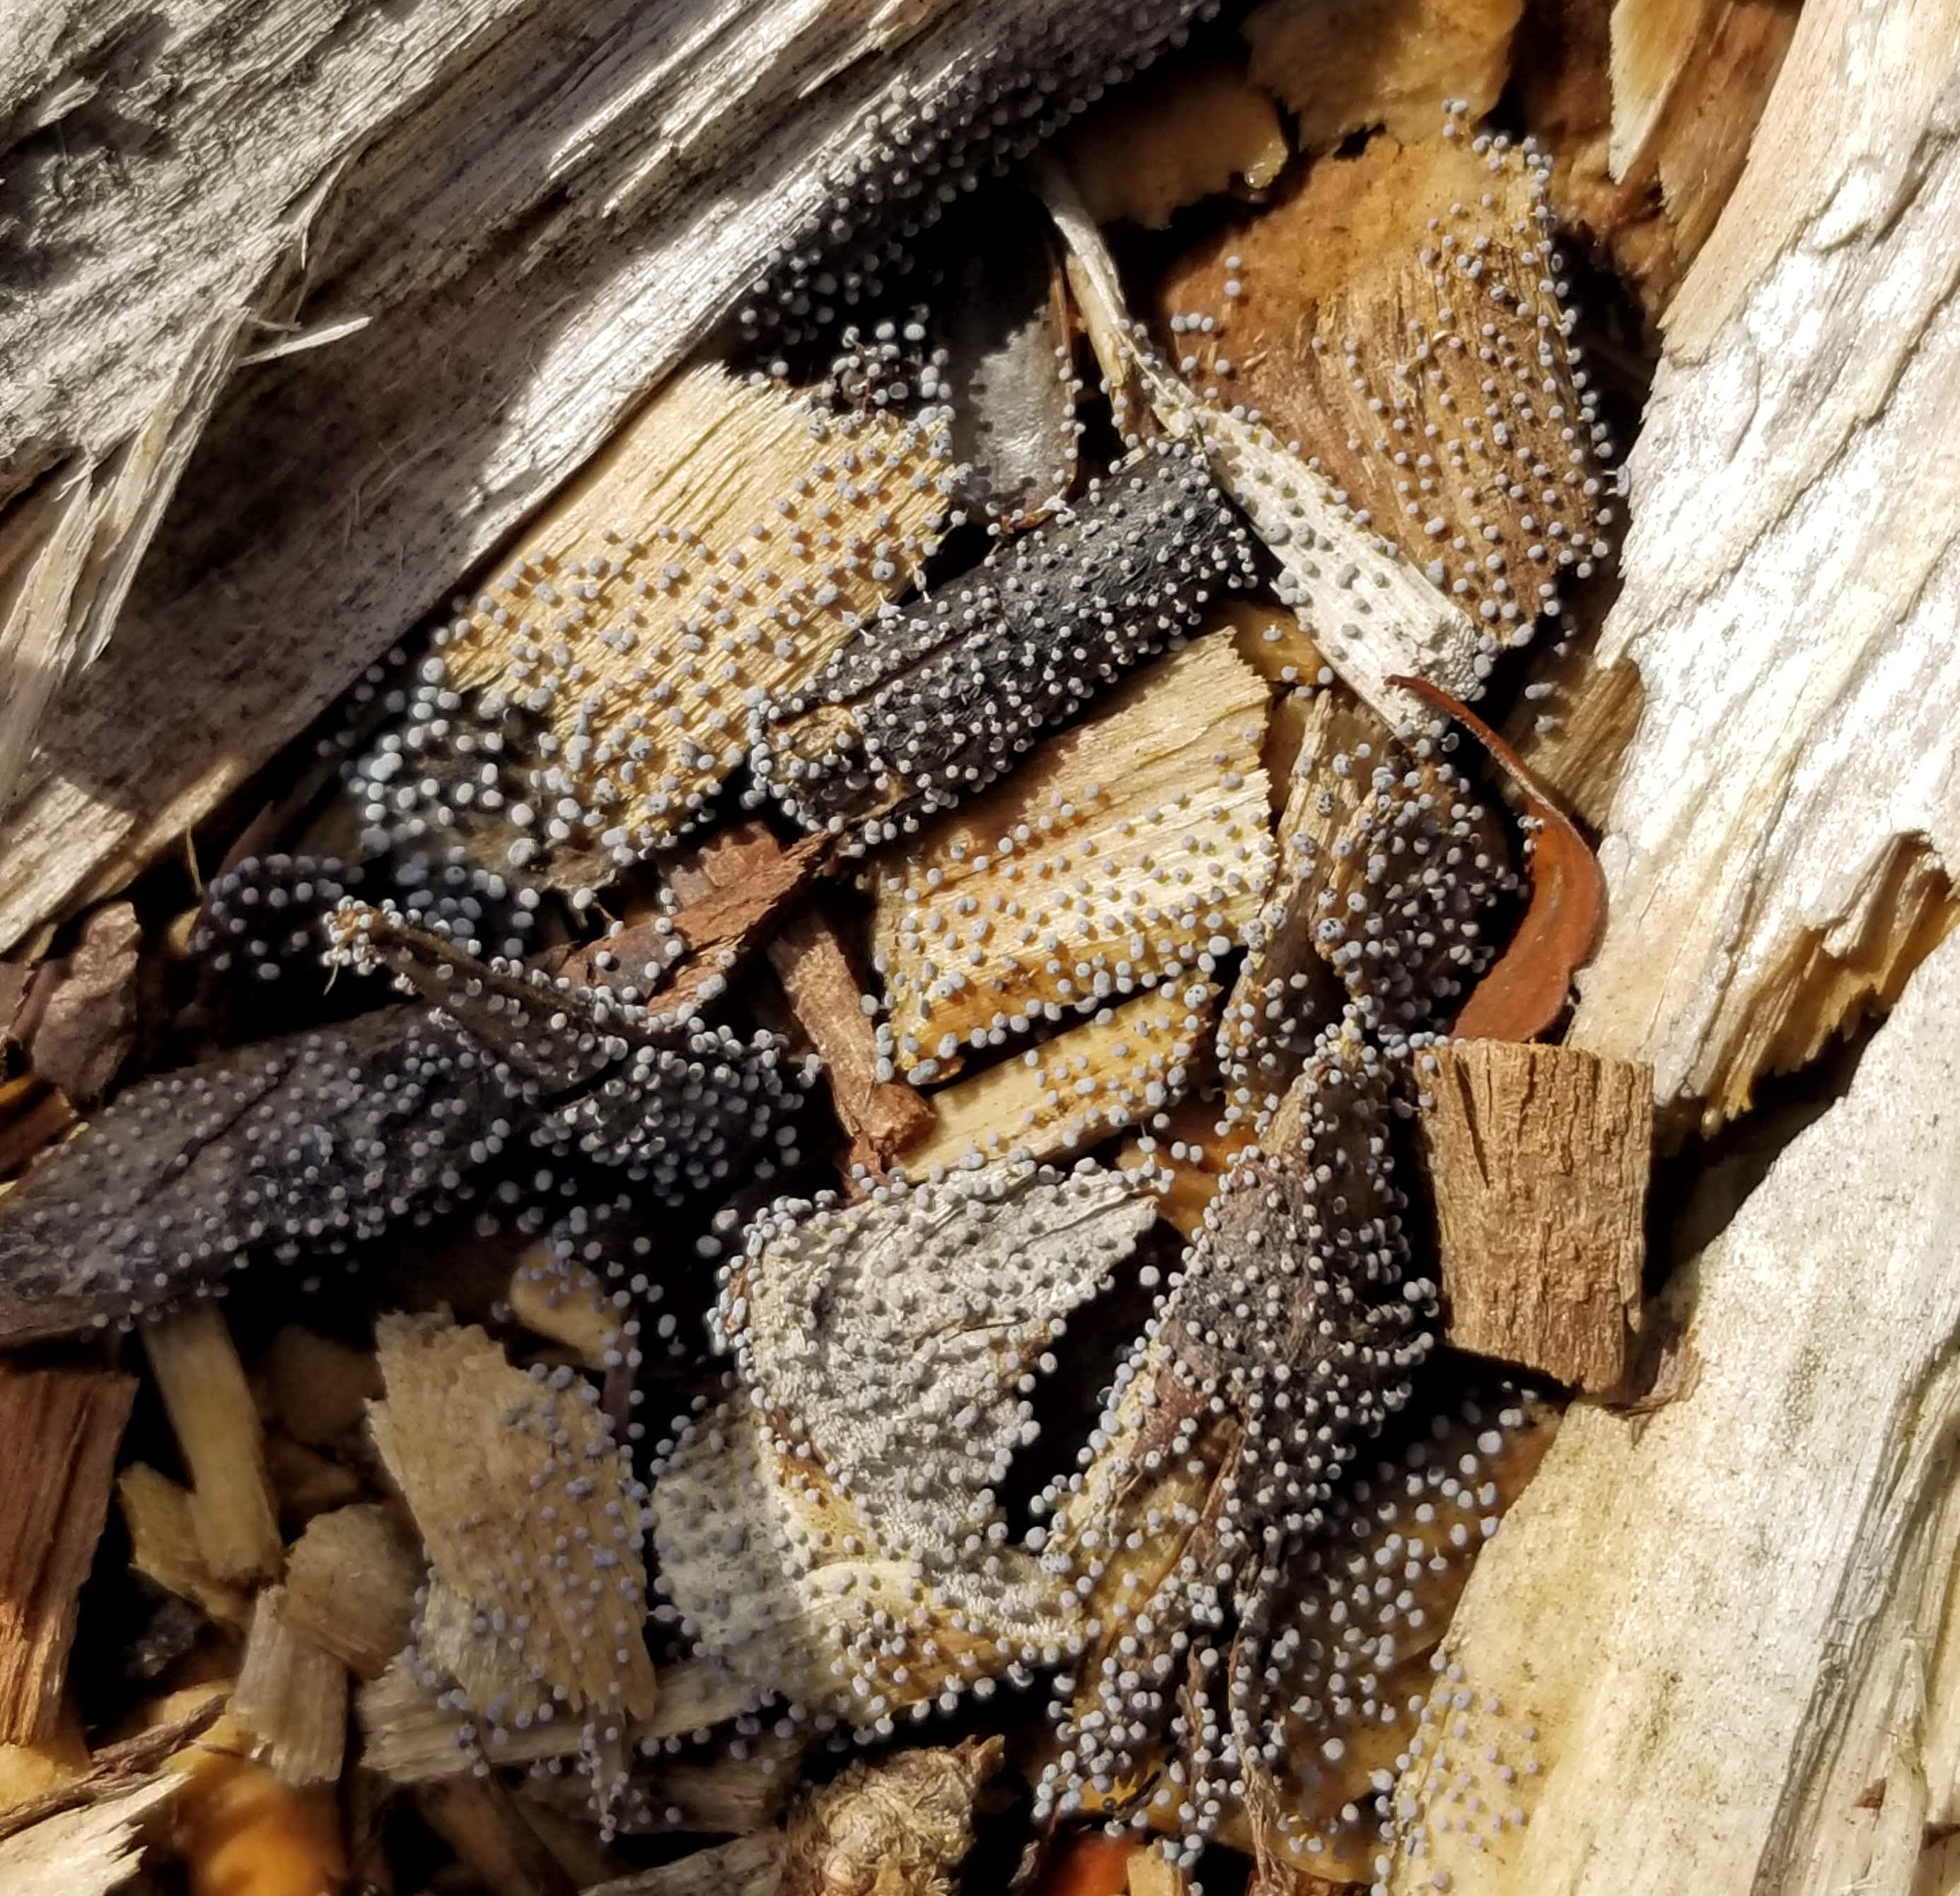
Over time, a variety of mushrooms have shown up around the large logs that were donated by a neighbor when they lost a tree to a storm:
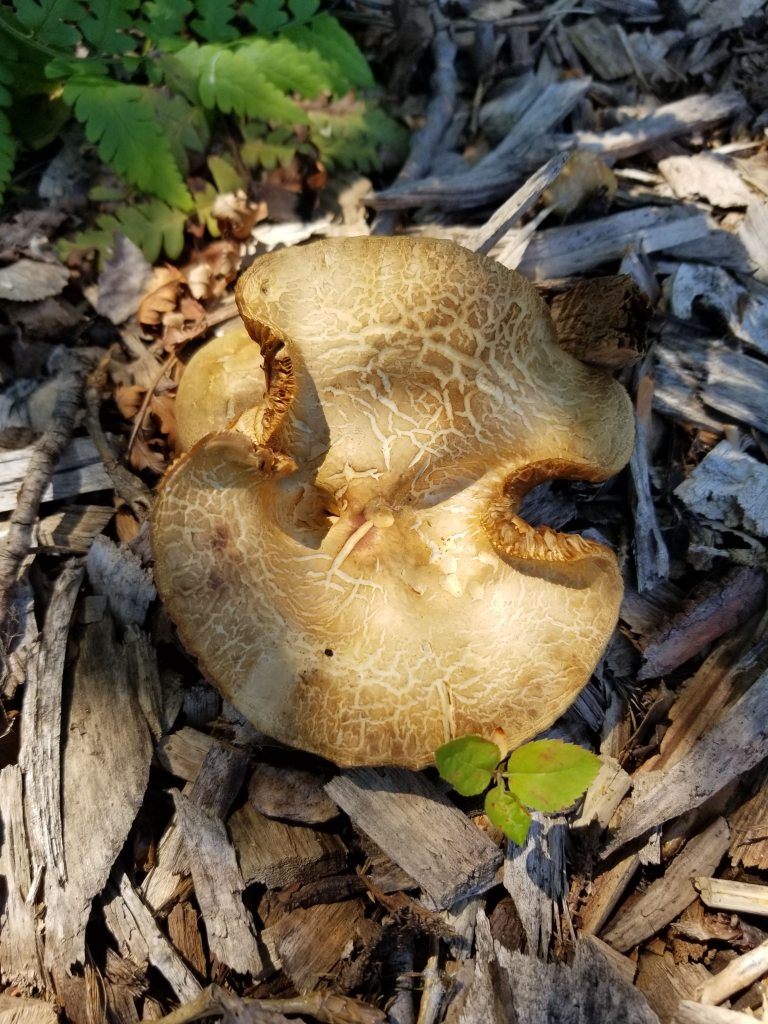
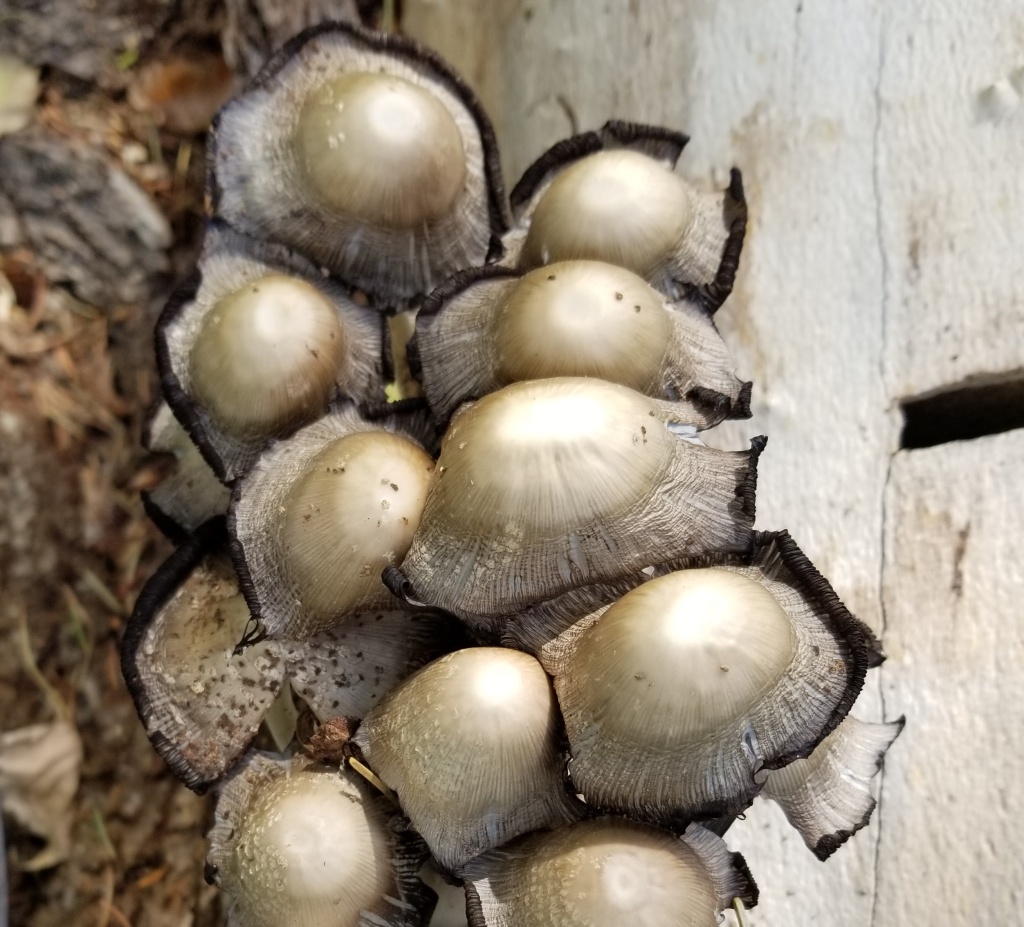
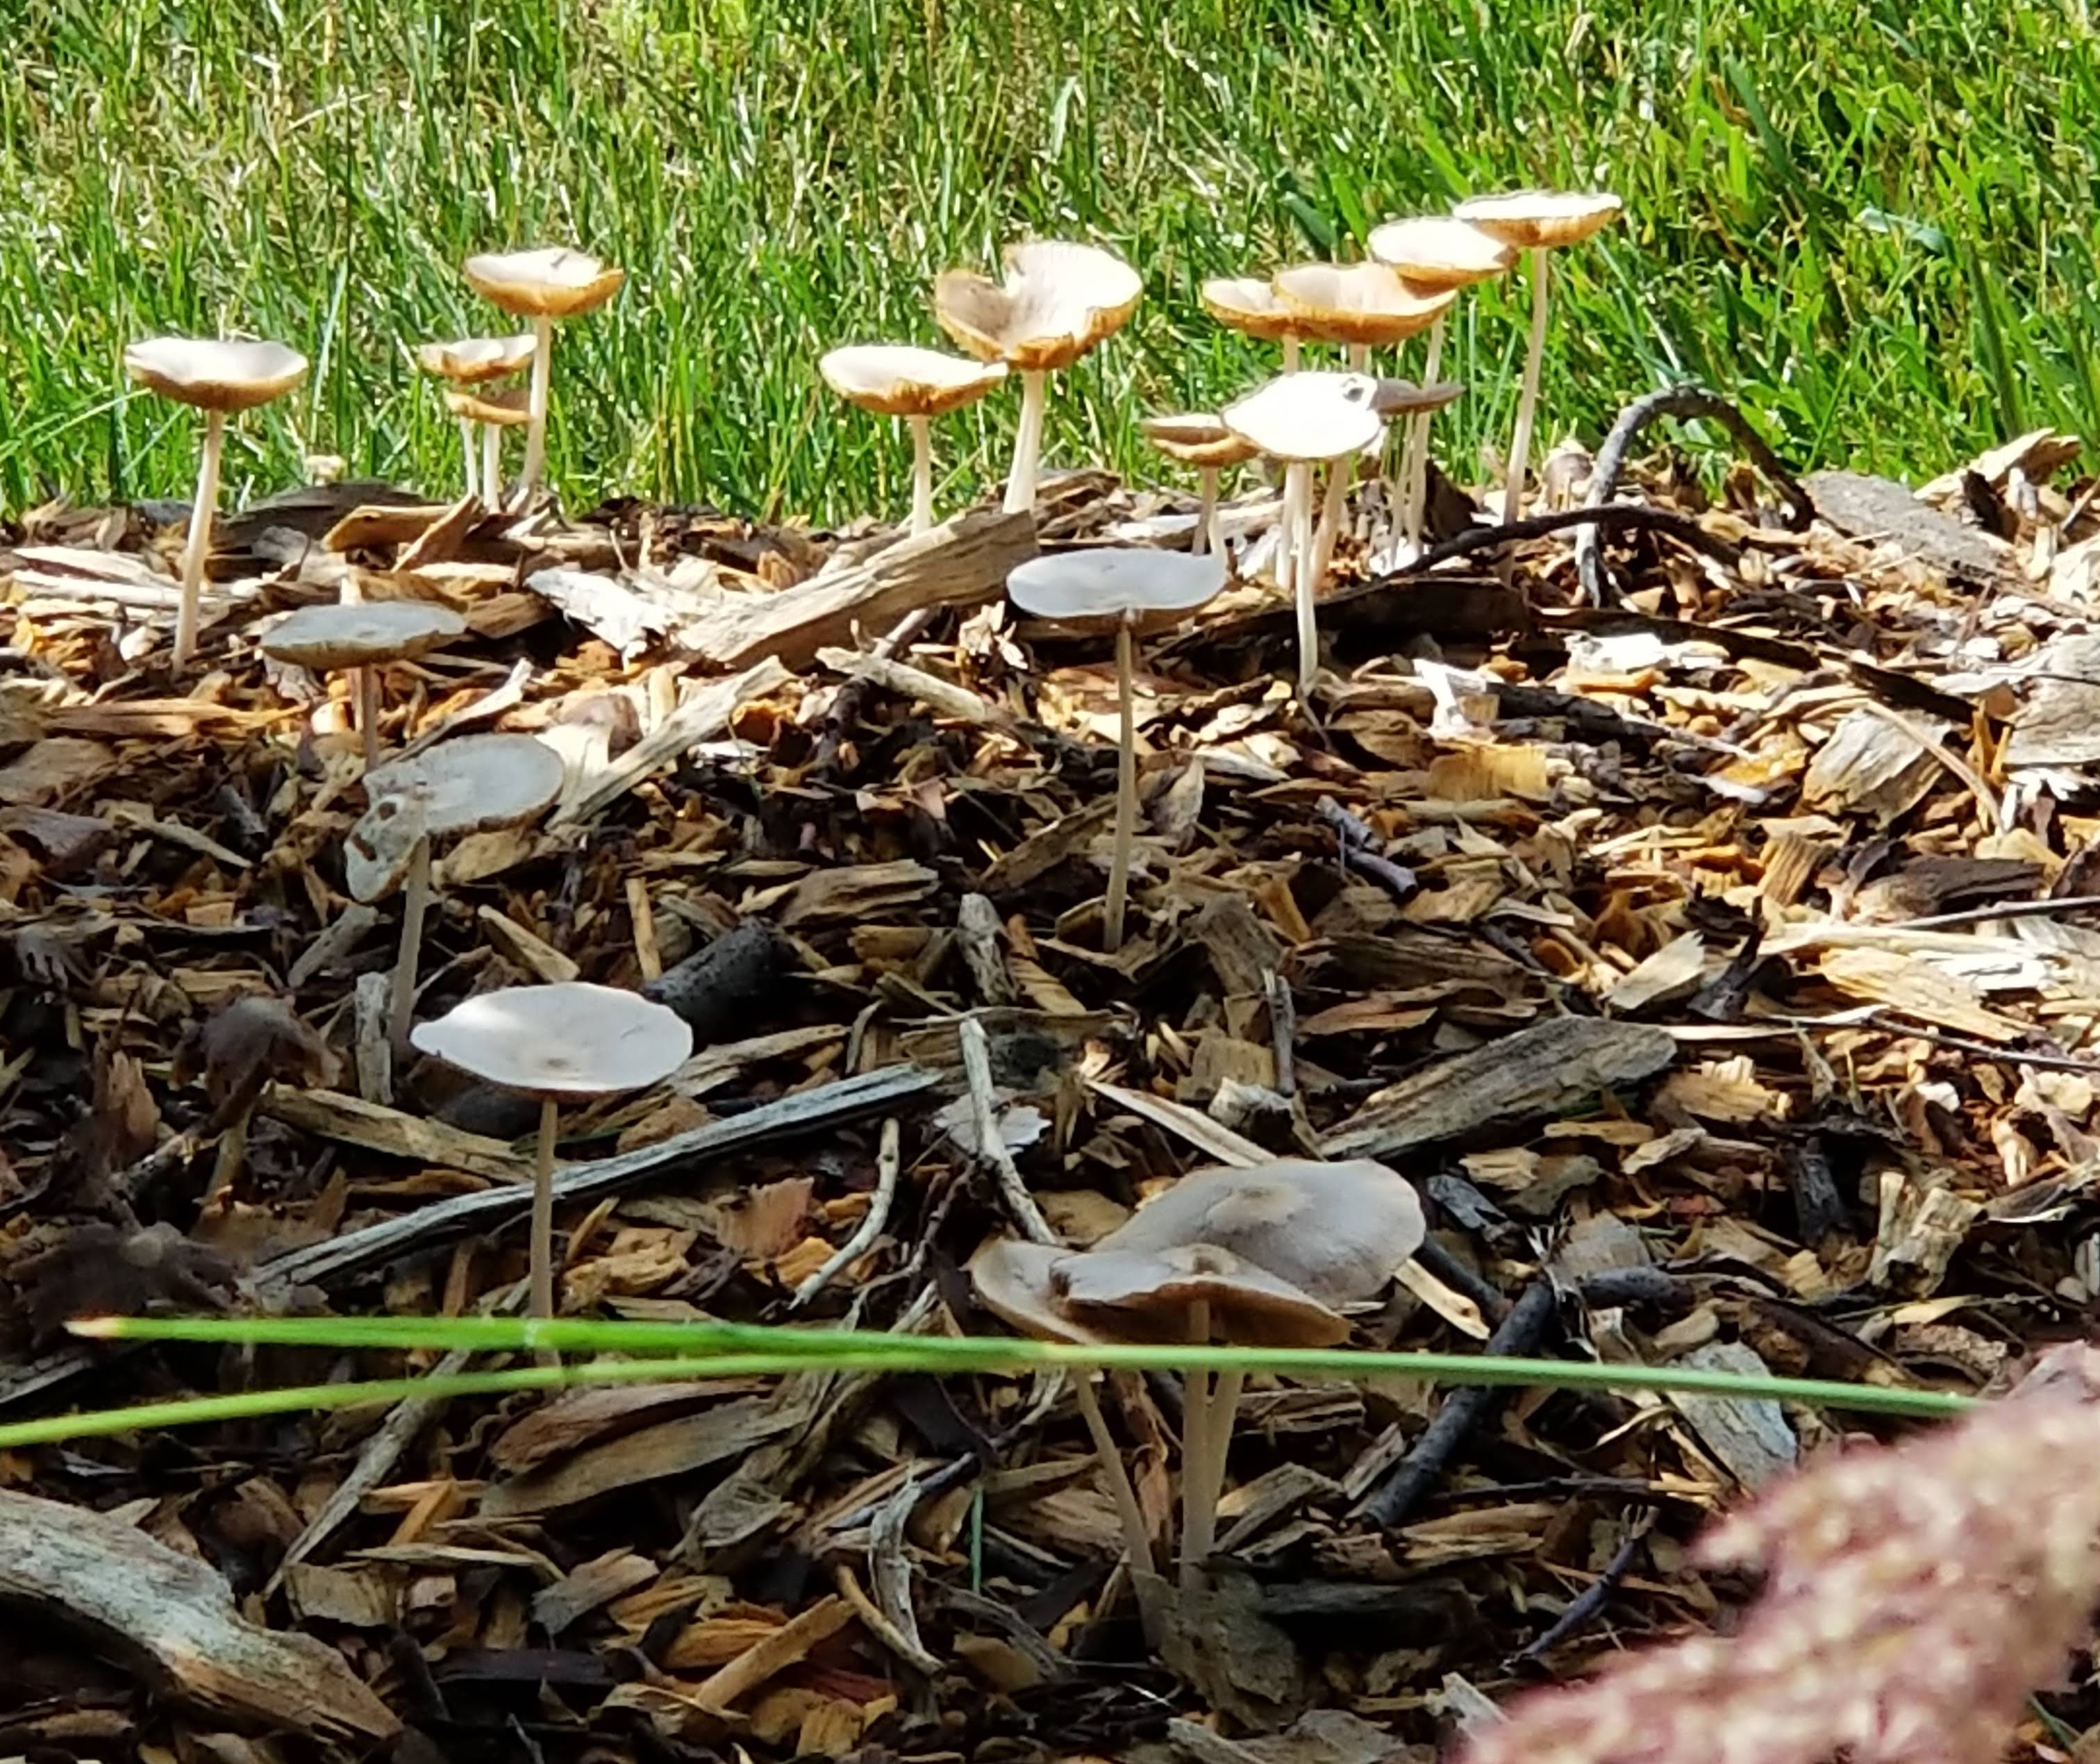
In this southwest corner, there’s a decent amount of leaf litter produced from several trees along the edge of our yard. In amongst this leaf litter, these large, meaty mushrooms showed up late in the season:
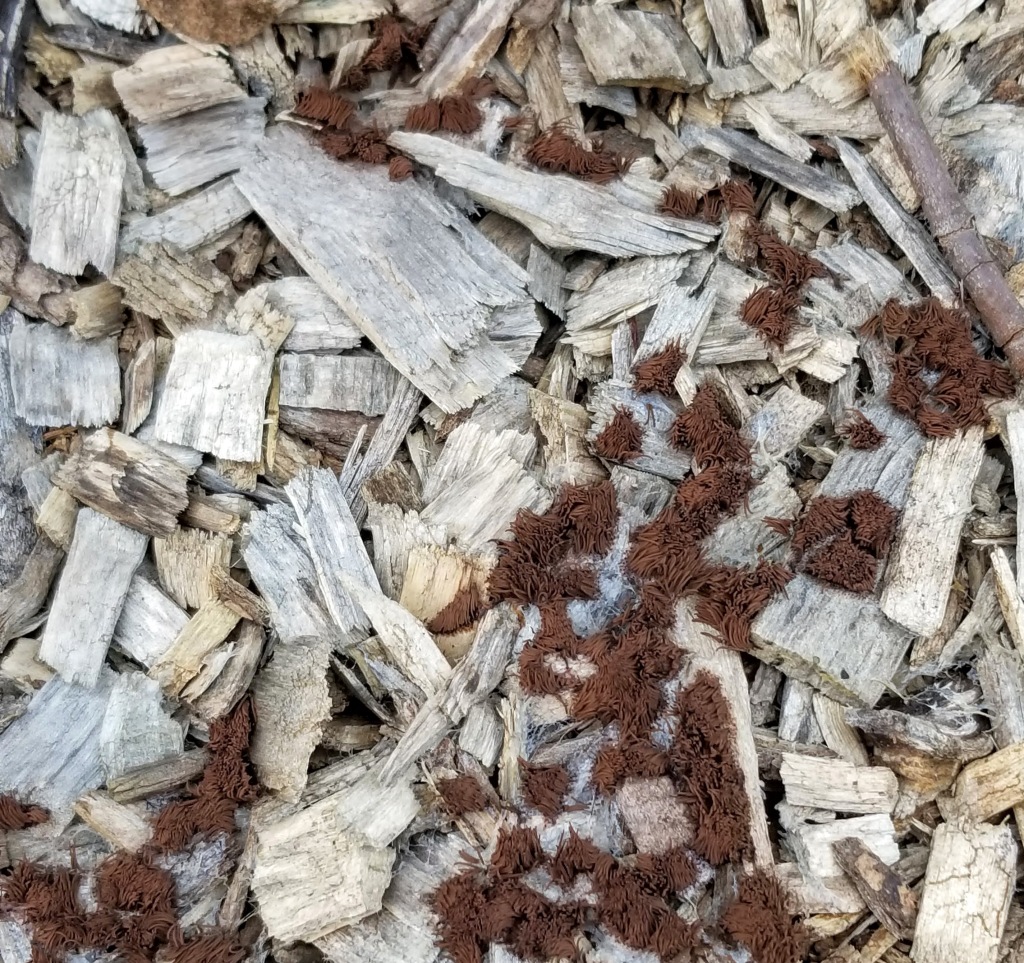
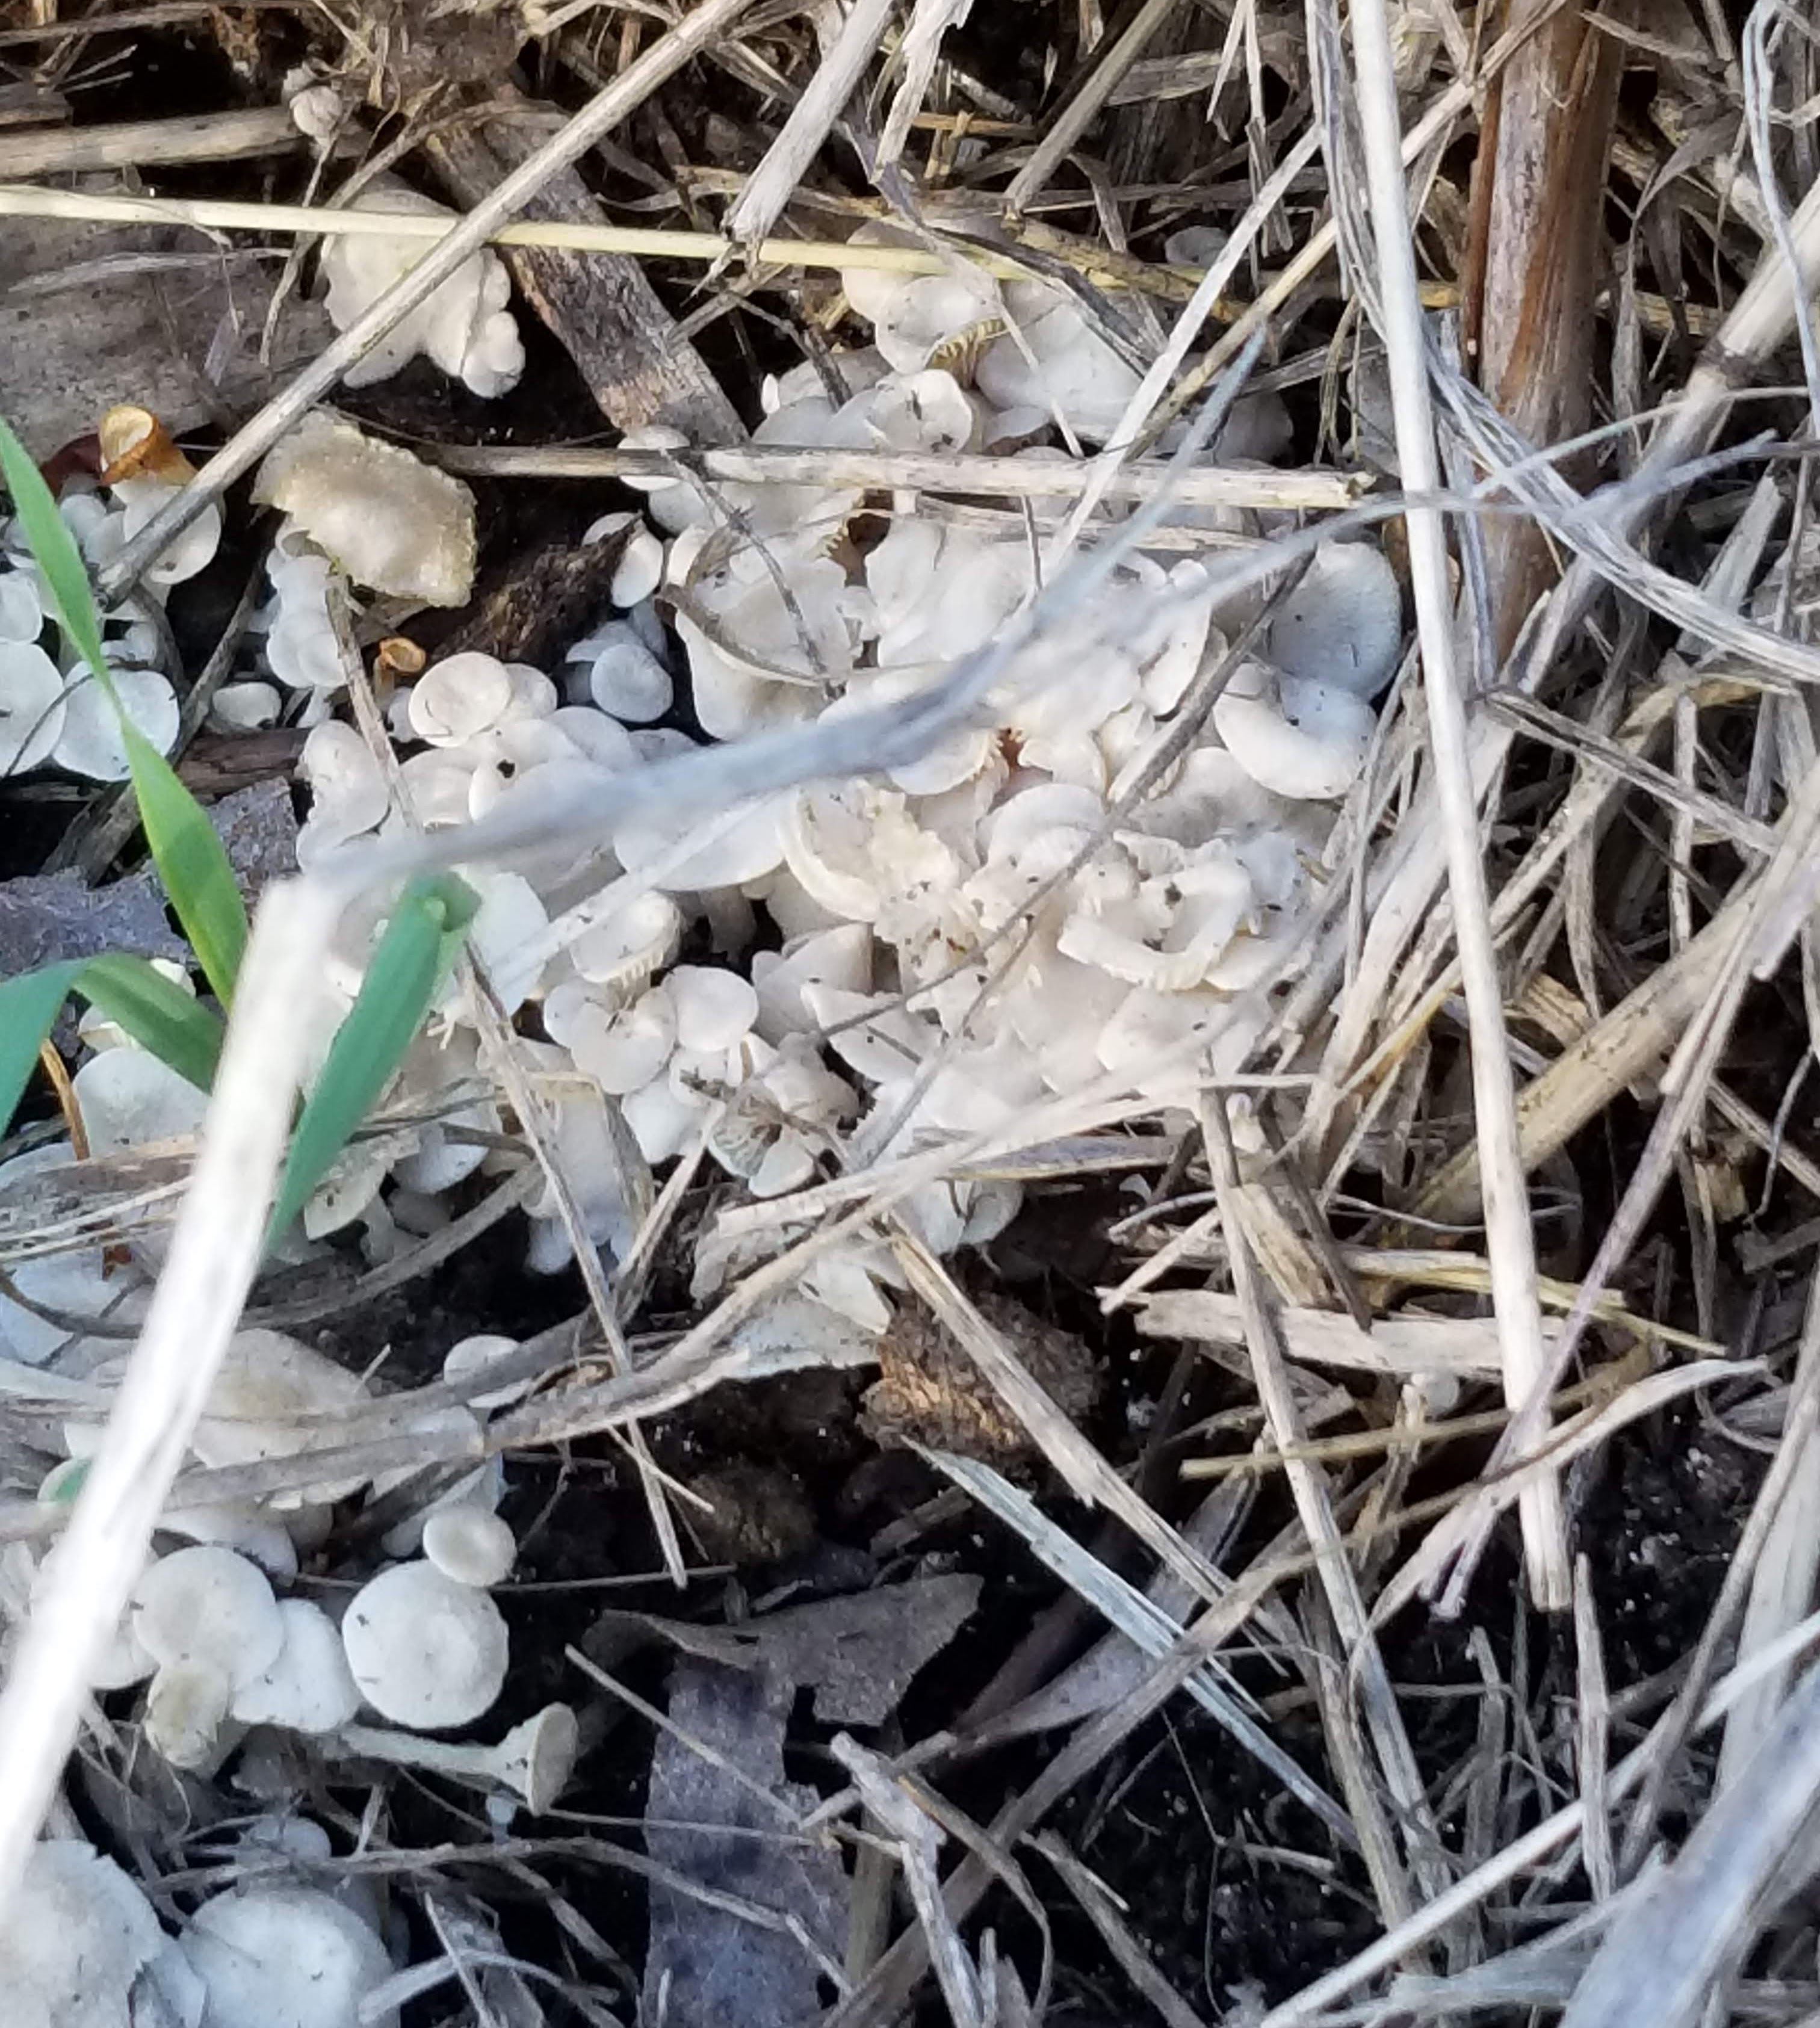
This smaller, dainty variety popped up throughout the yard:
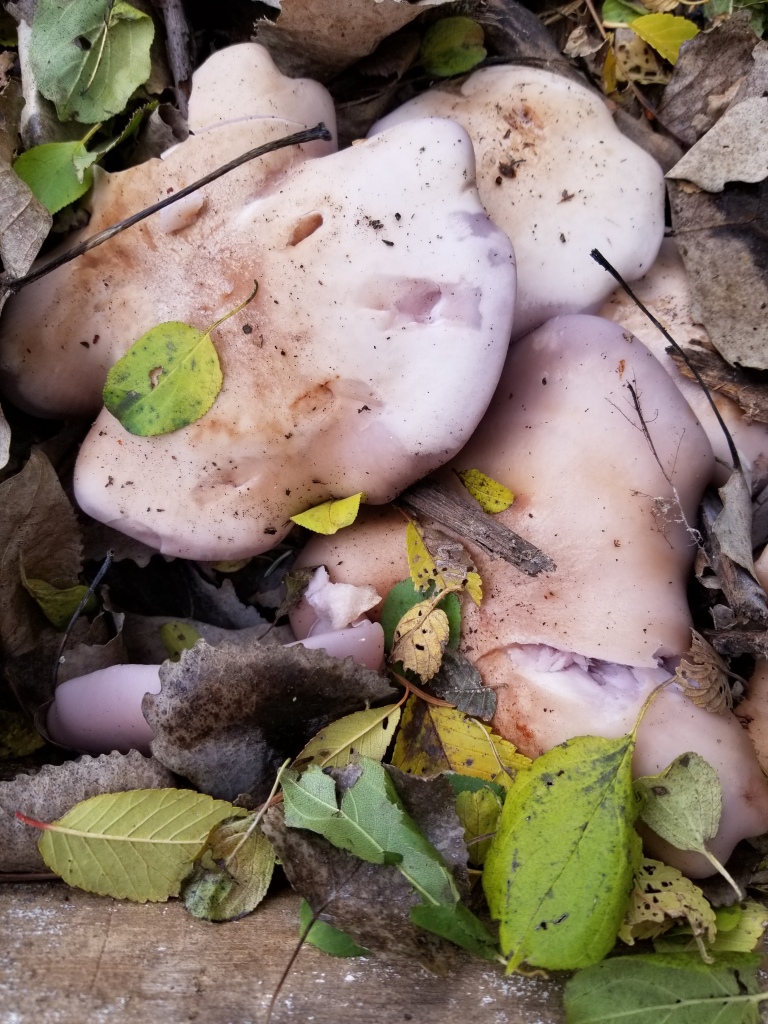
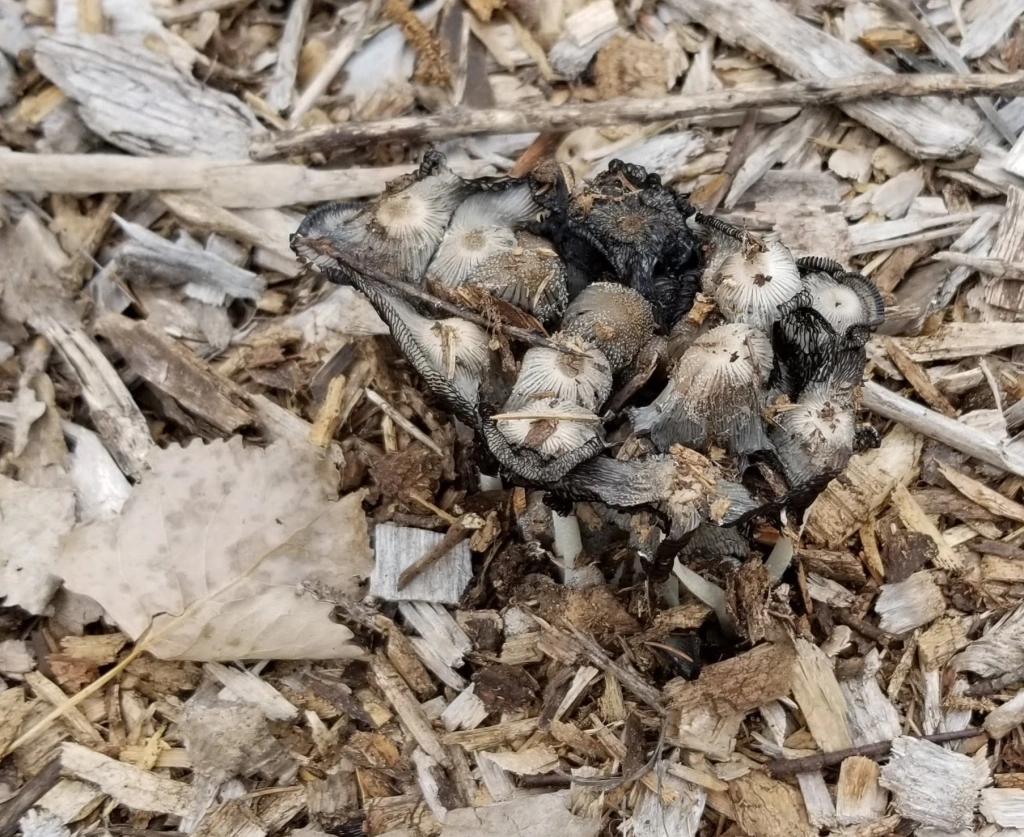
Here’s another view of some mushrooms taking over one of the larger logs next to our blackberry and red currant plants:
“… an appreciation of the minor details of everyday life and insights into the beauty of the inconspicuous and overlooked aspects of nature.”
— Leonard Koren, Wabi-Sabi
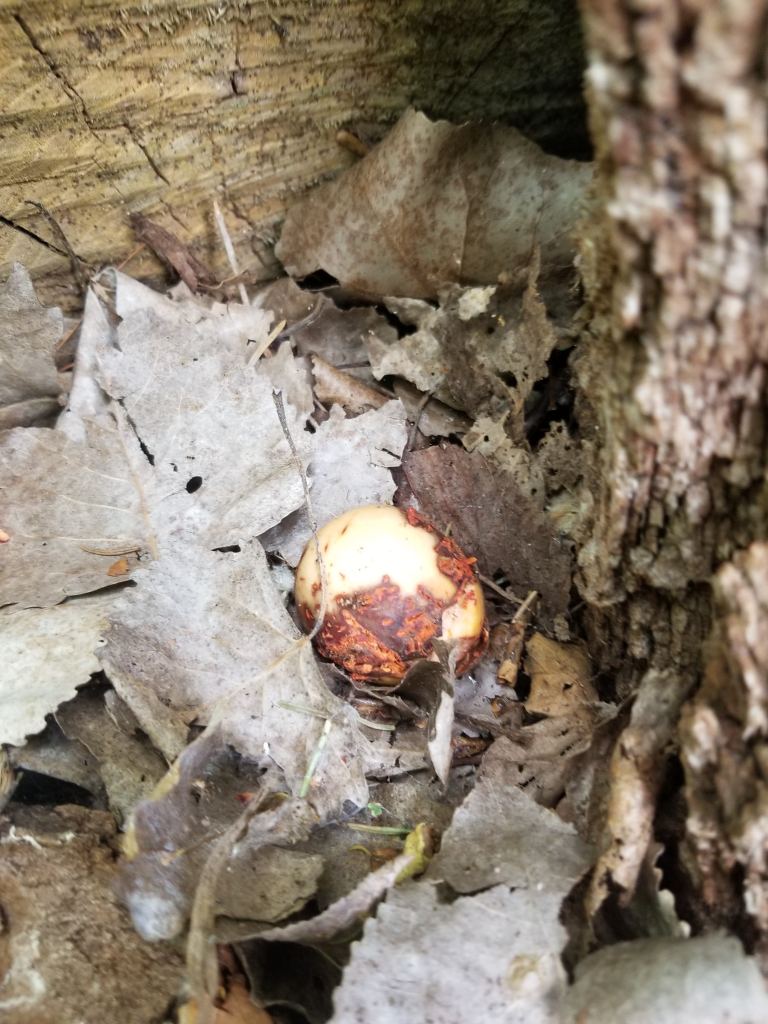
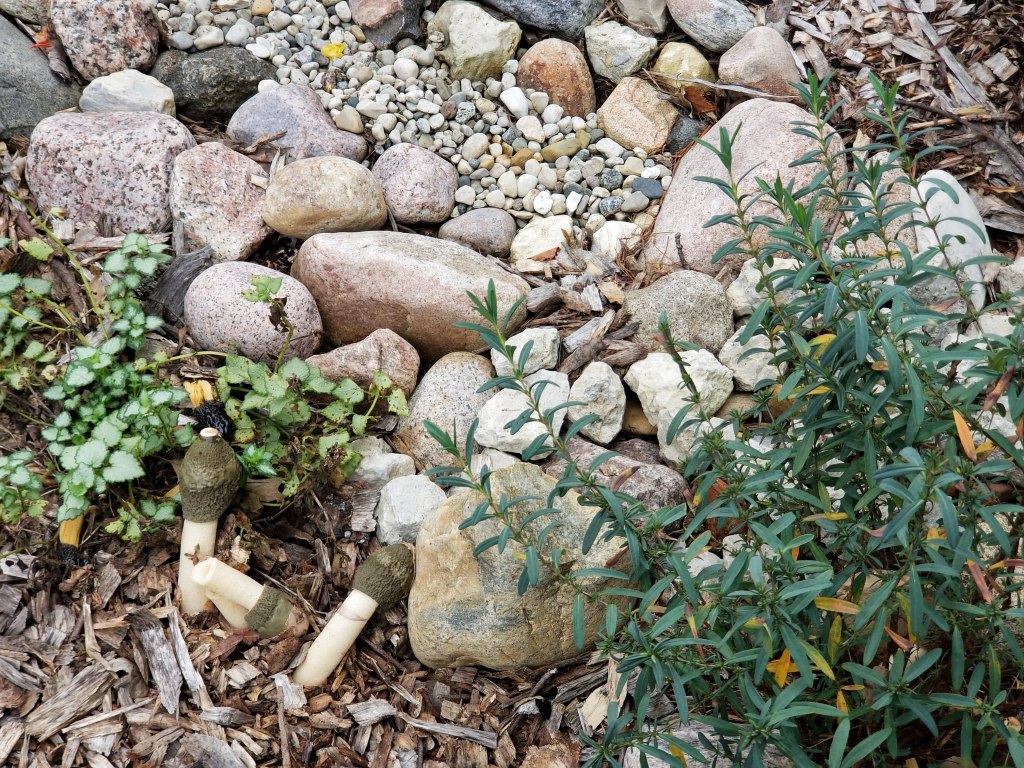
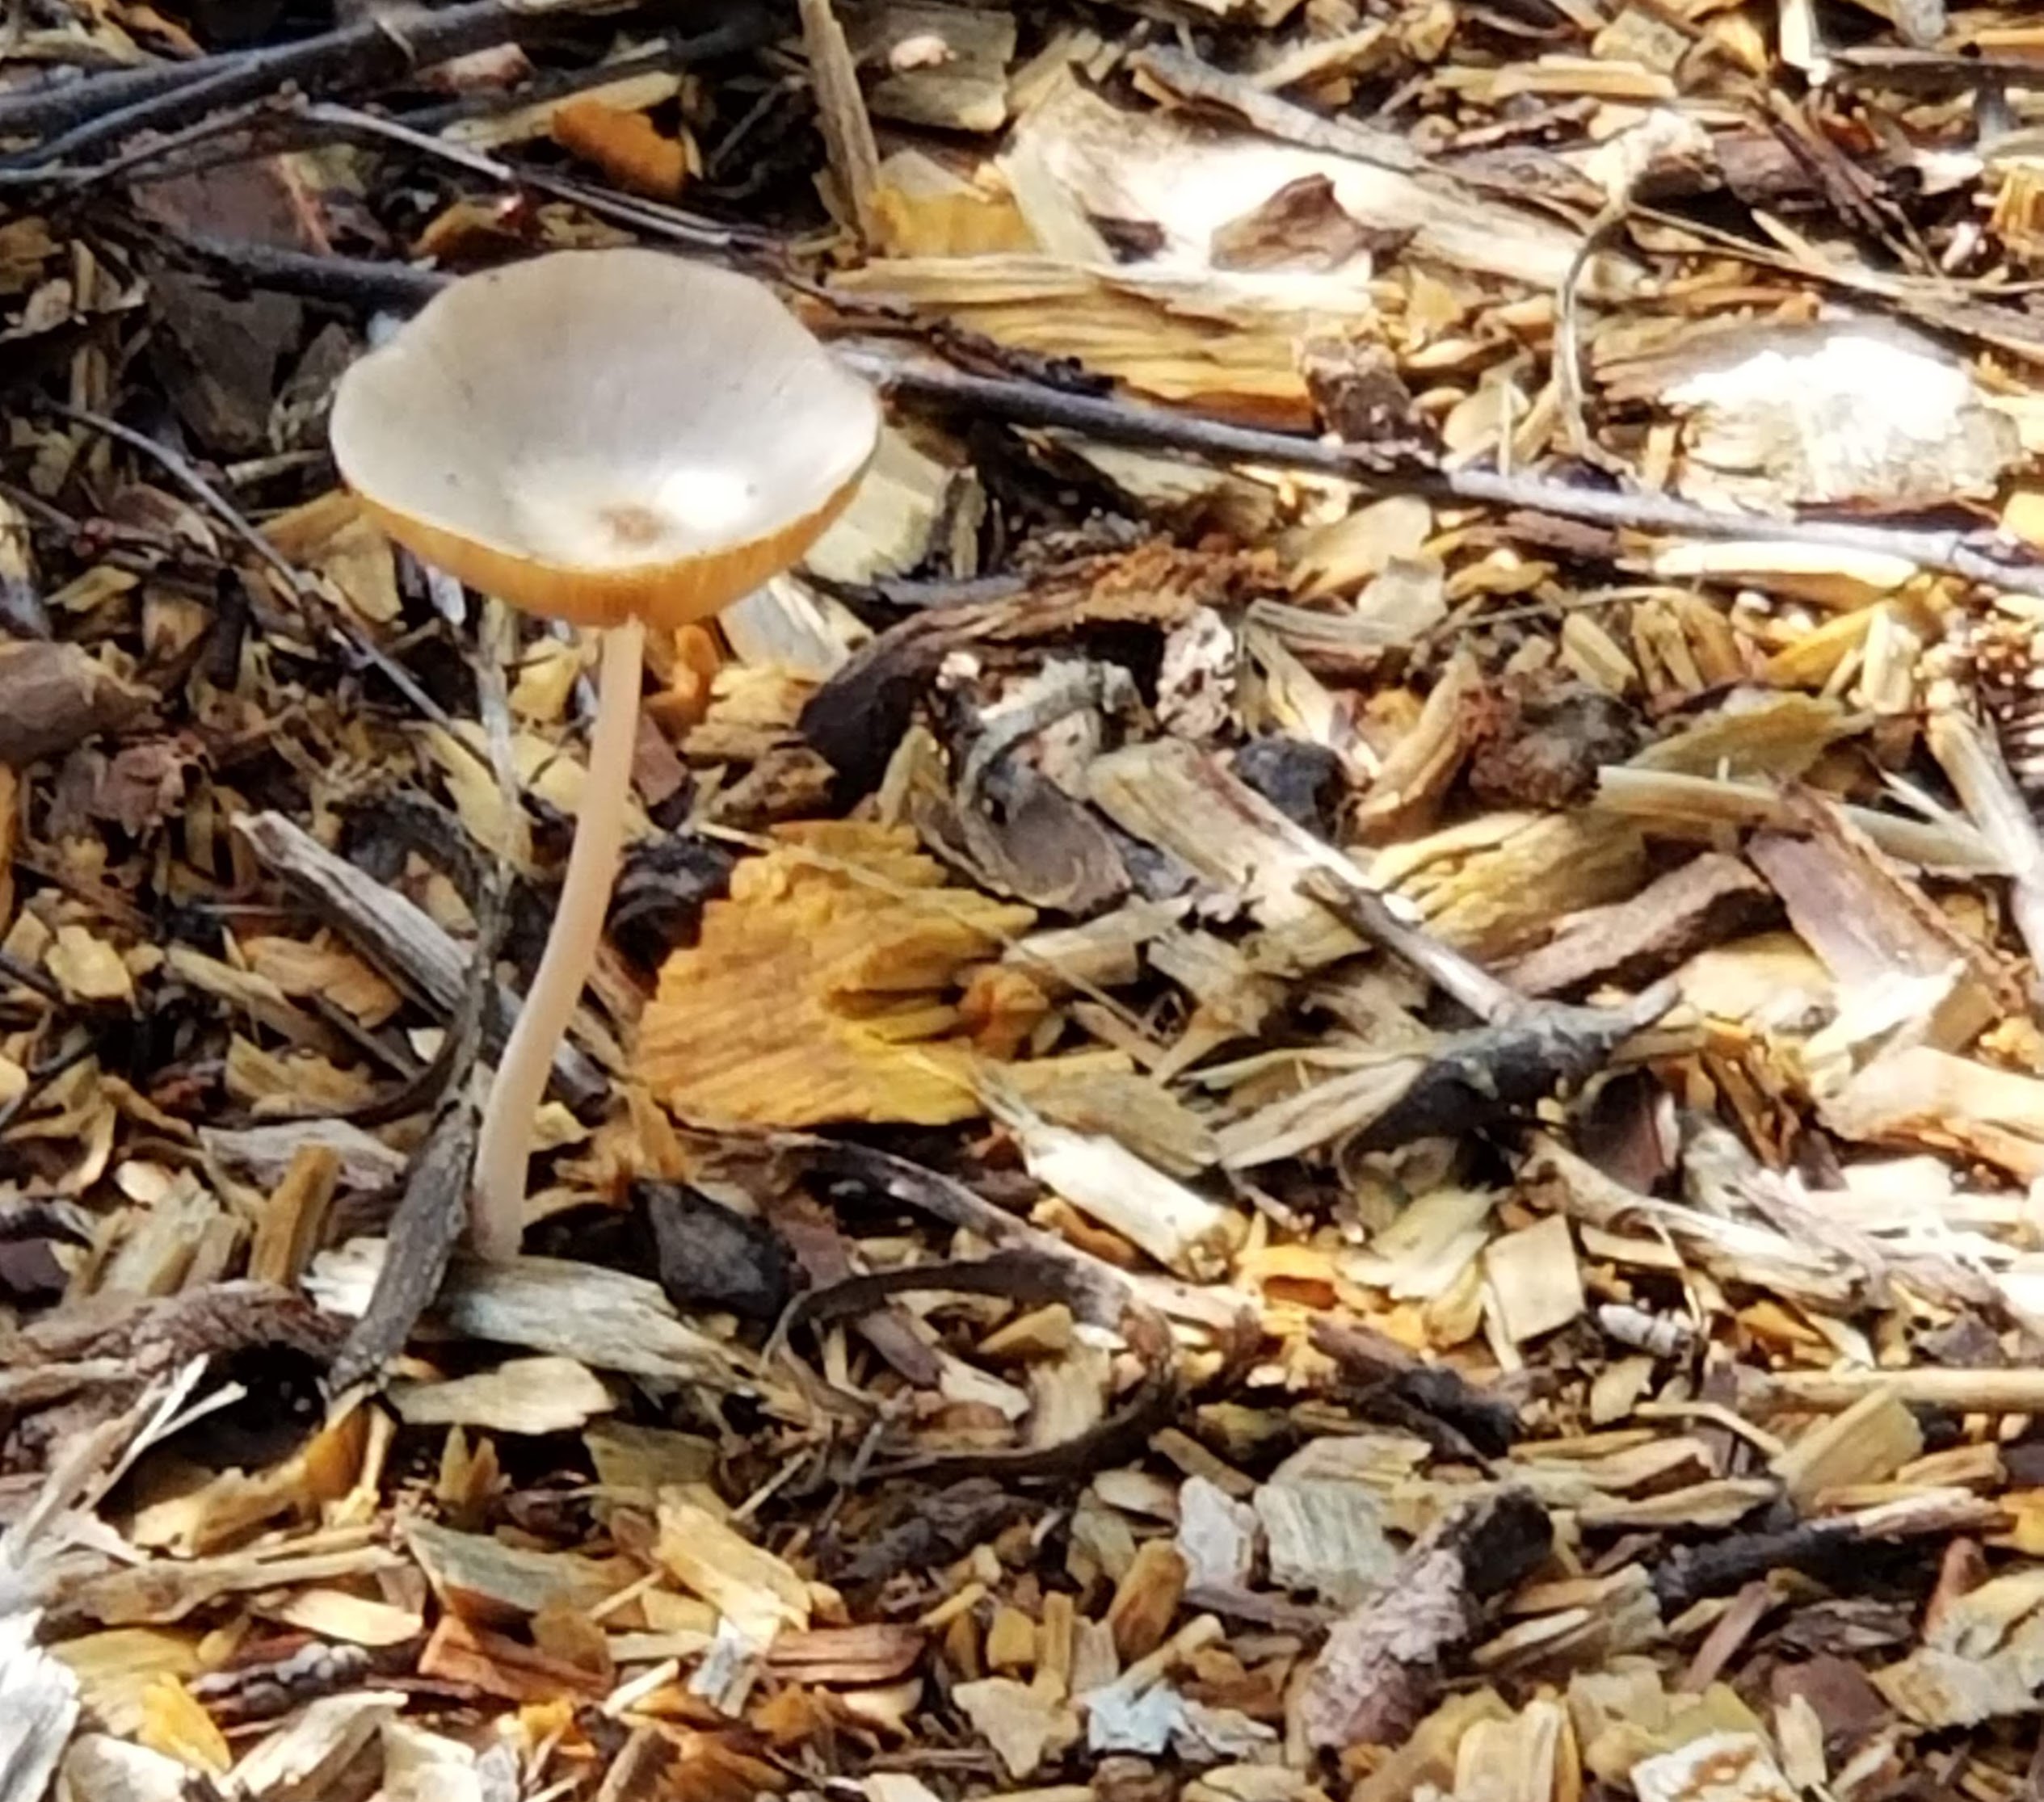
Taking our time while on the hunt for mushrooms can really pay off, as it did with this one, just barely emerging above the leaf litter:
It’s difficult to pick a favorite variety, but it may be this one, based on its overall shape and structure. It’s also another one that would be easy to overlook:
“He saw the earth as one great living organism where everything was connected… he was driven by a sense of wonder… No one had looked at plants like this before… He found connections everywhere… he invented the web of life, the concept of nature as we know it today… If everything was connected, then it was important to examine the differences and similarities without ever losing sight of the whole.”
— Andrea Wulf, The Invention of Nature: Alexander von Humboldt’s New World

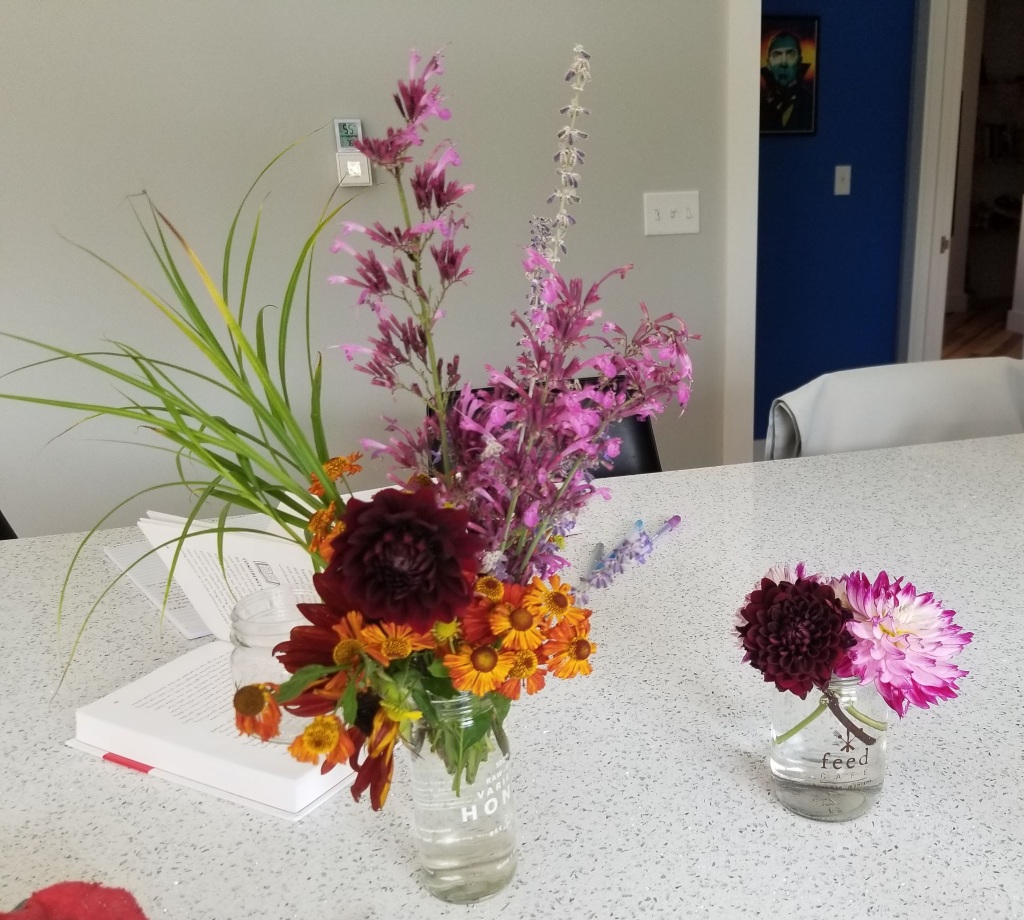
Blooms
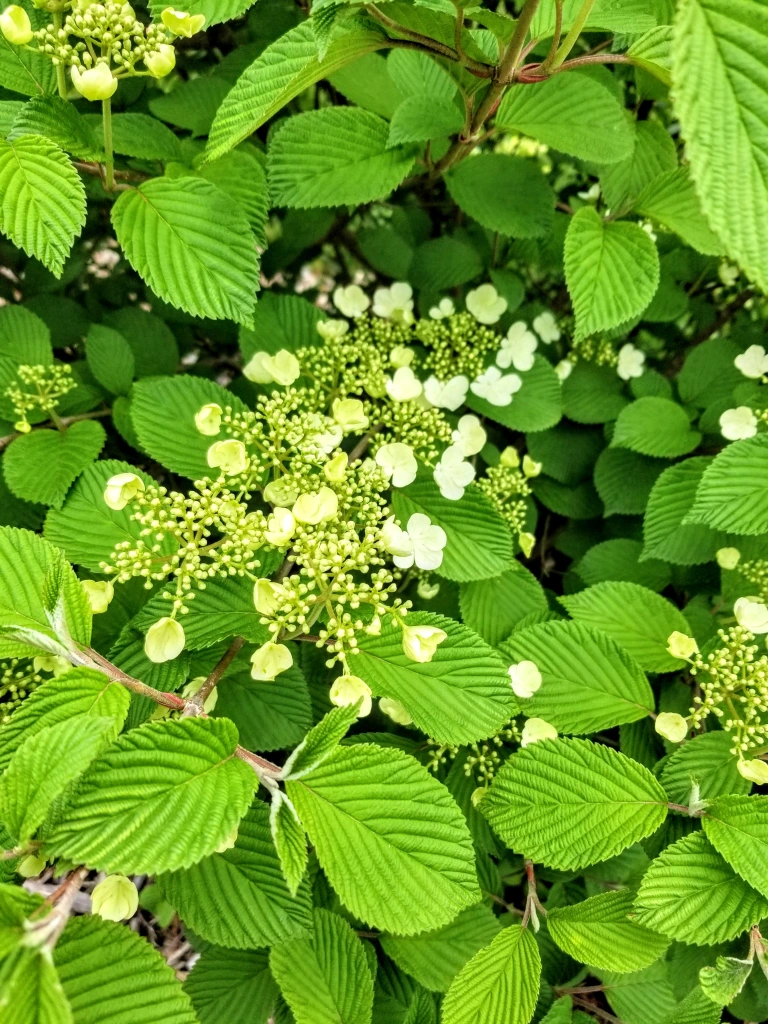
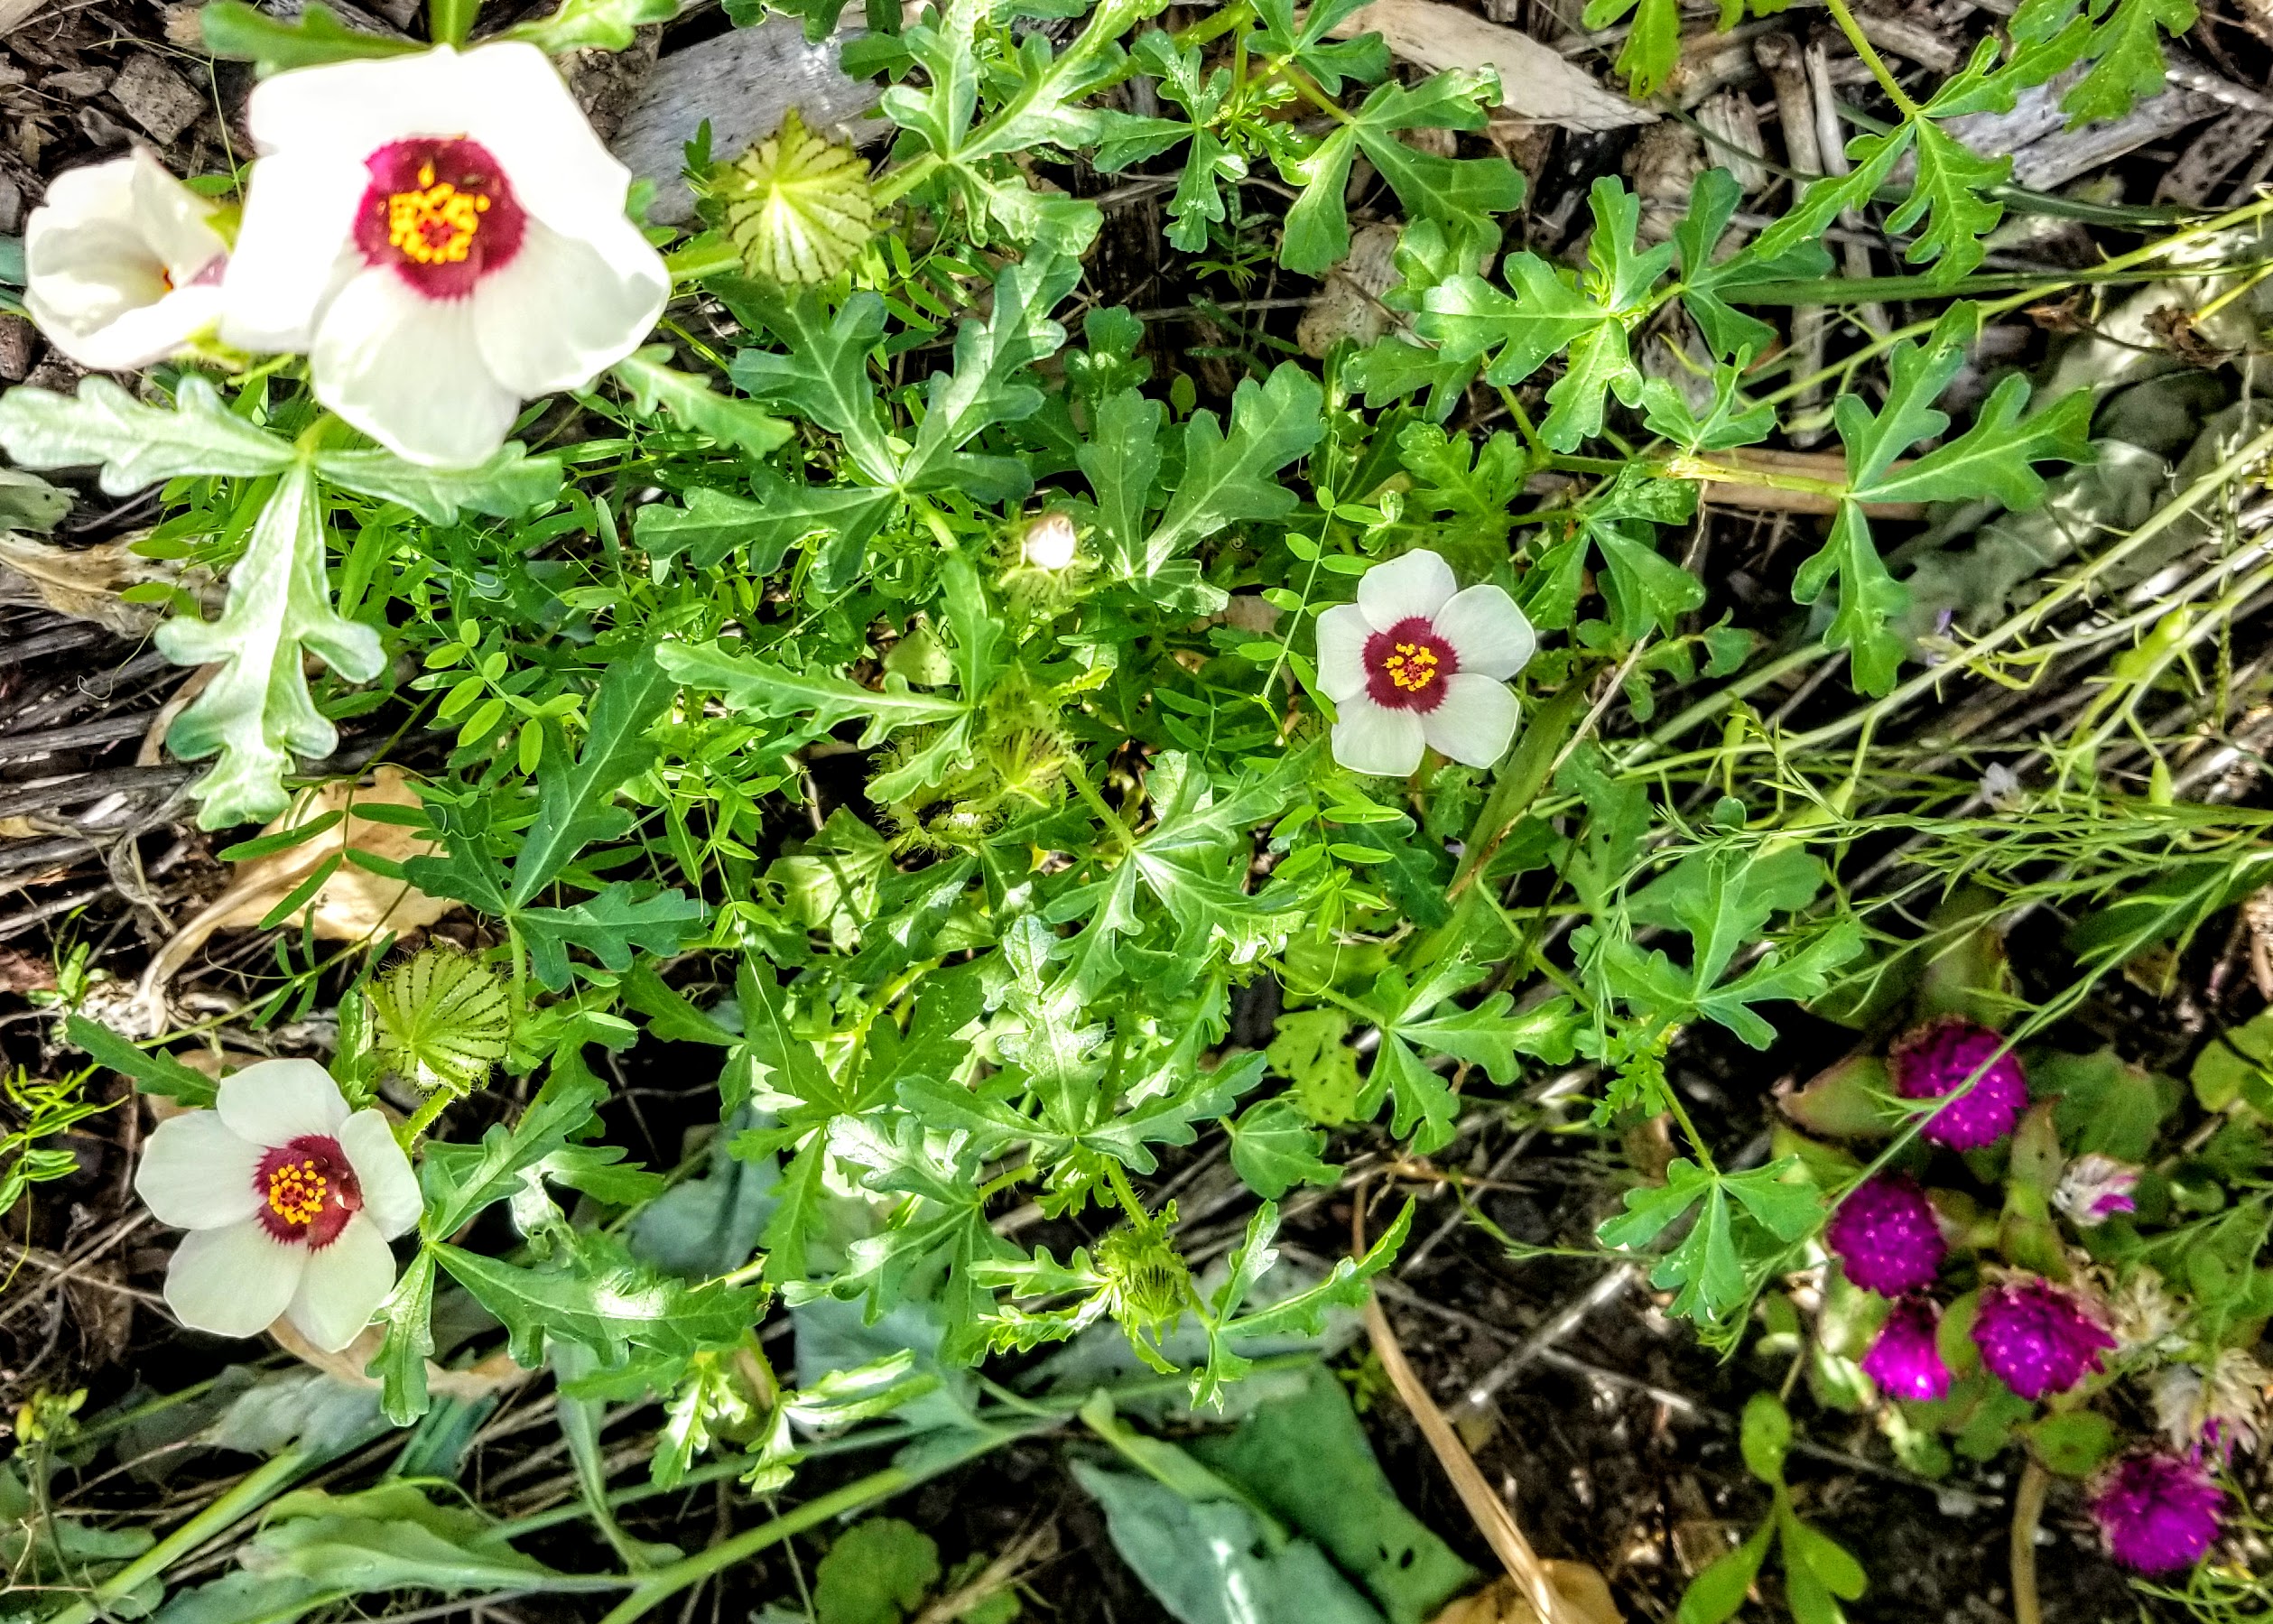
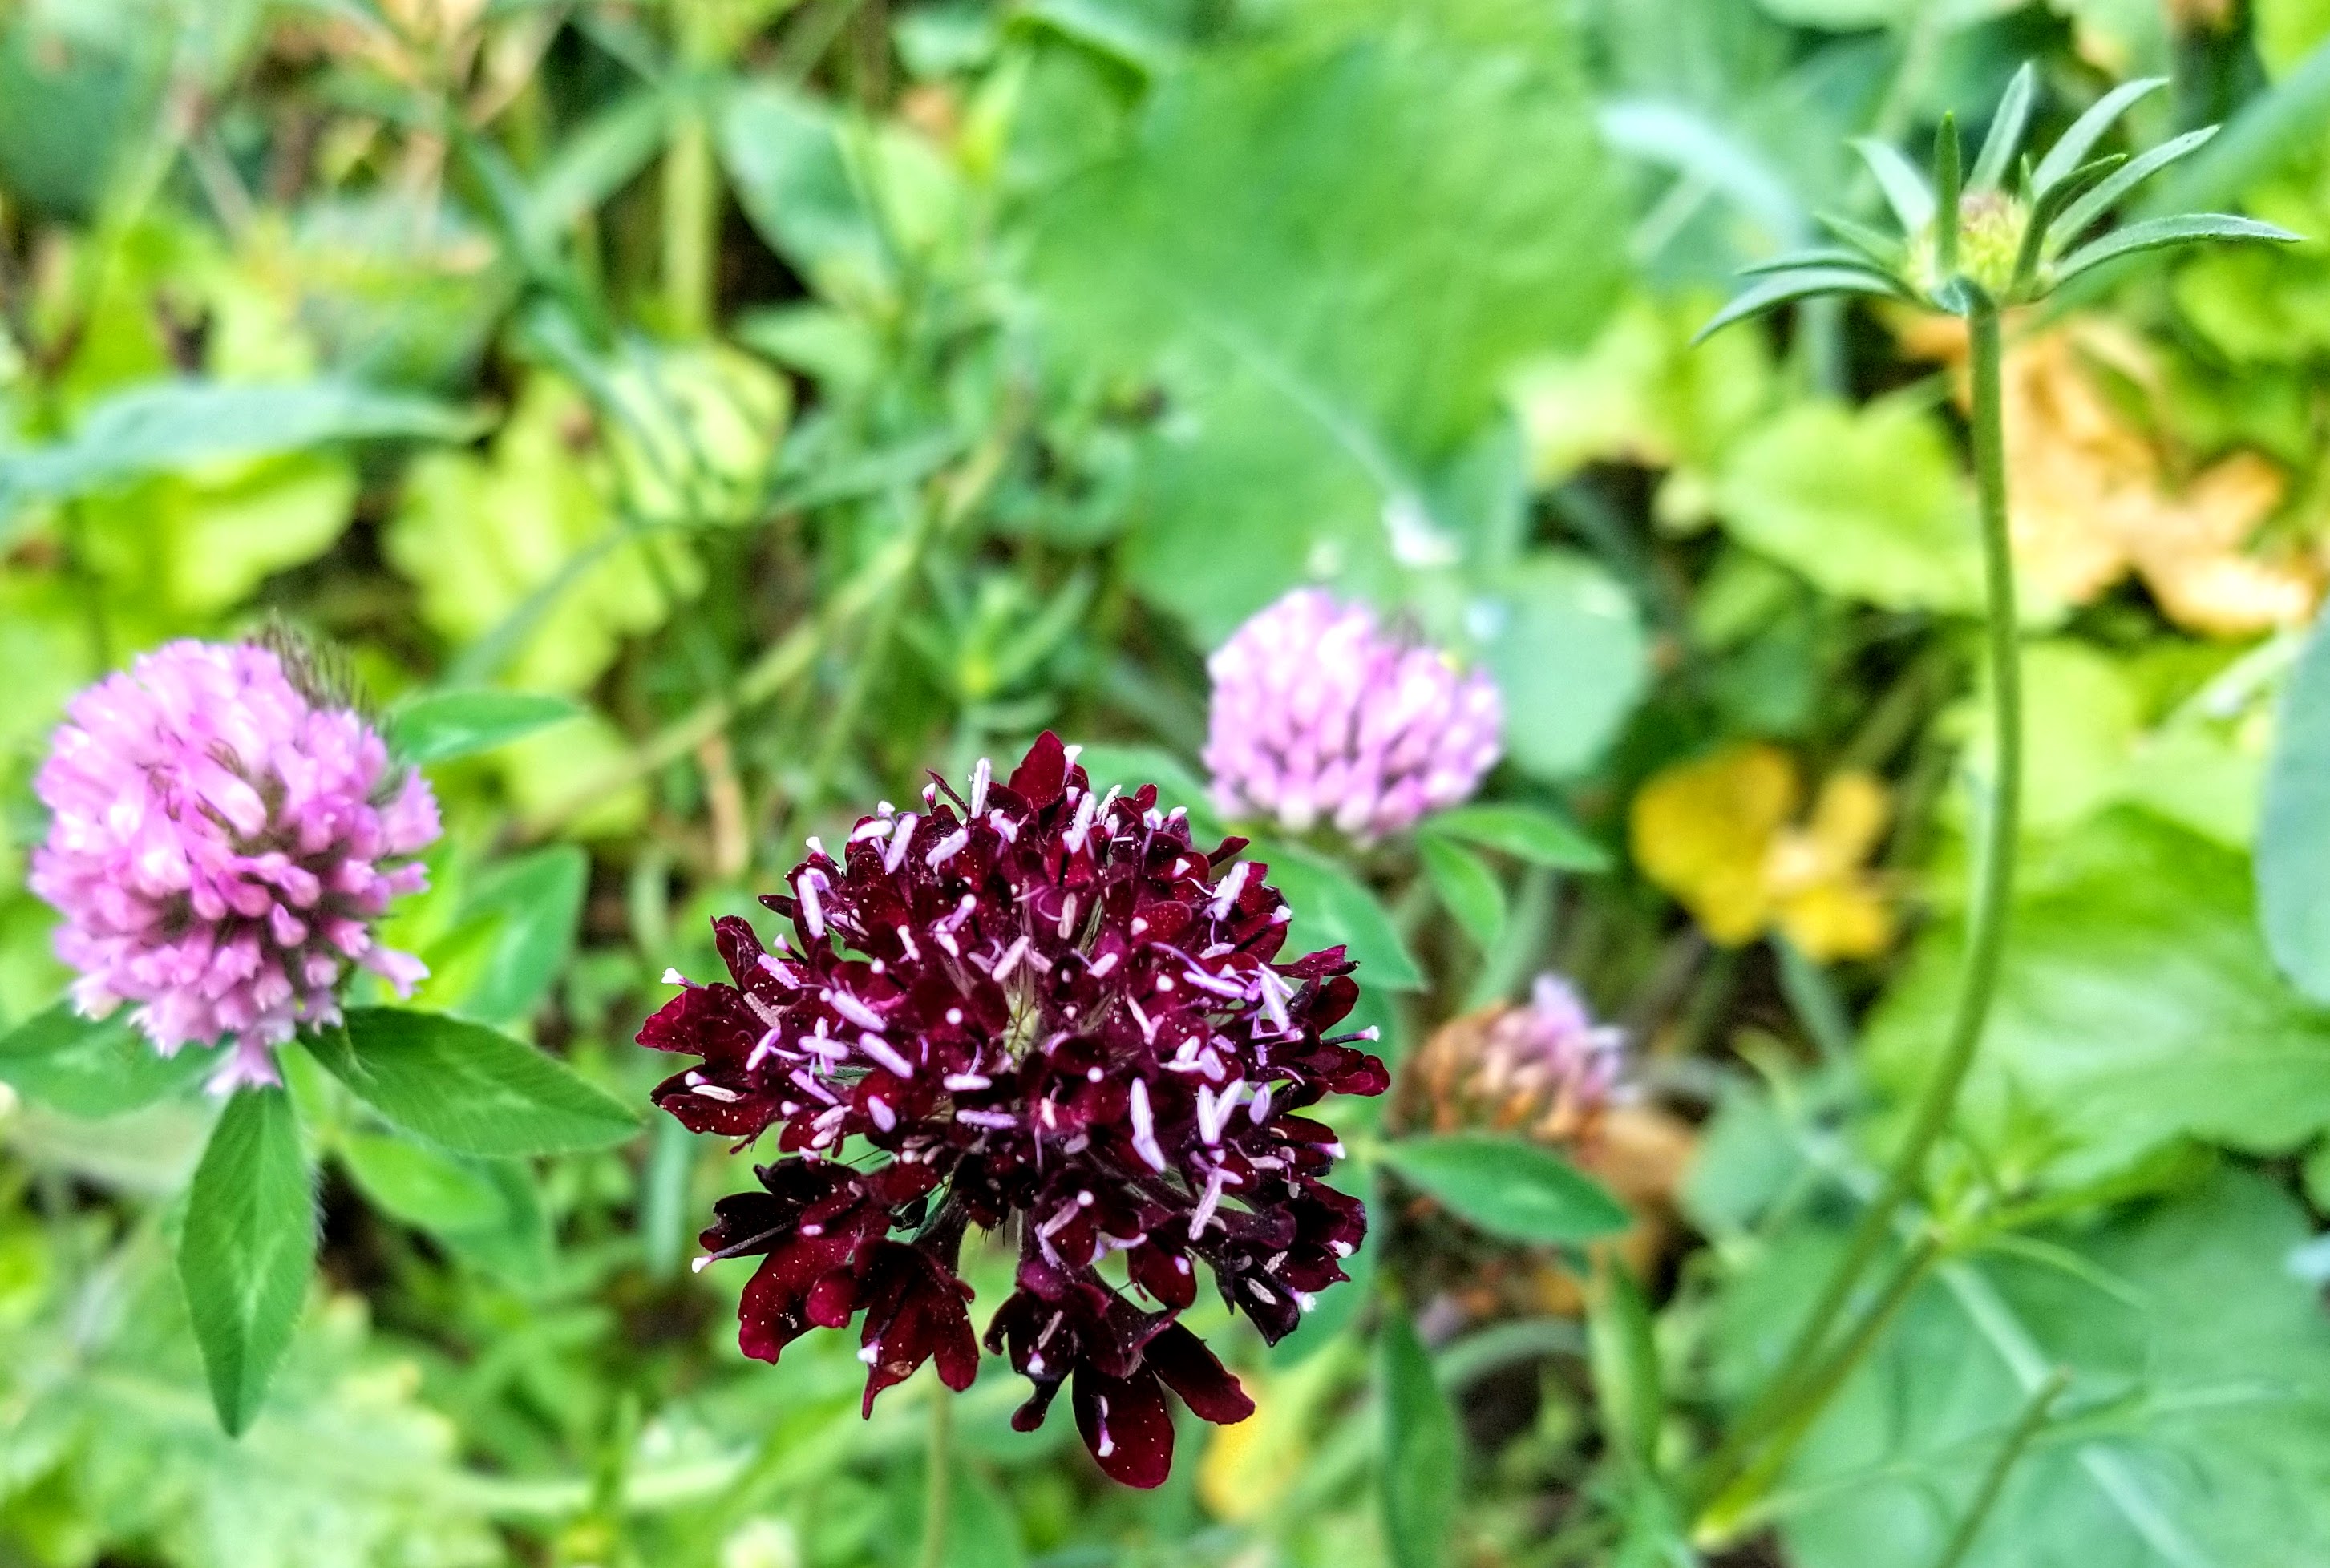
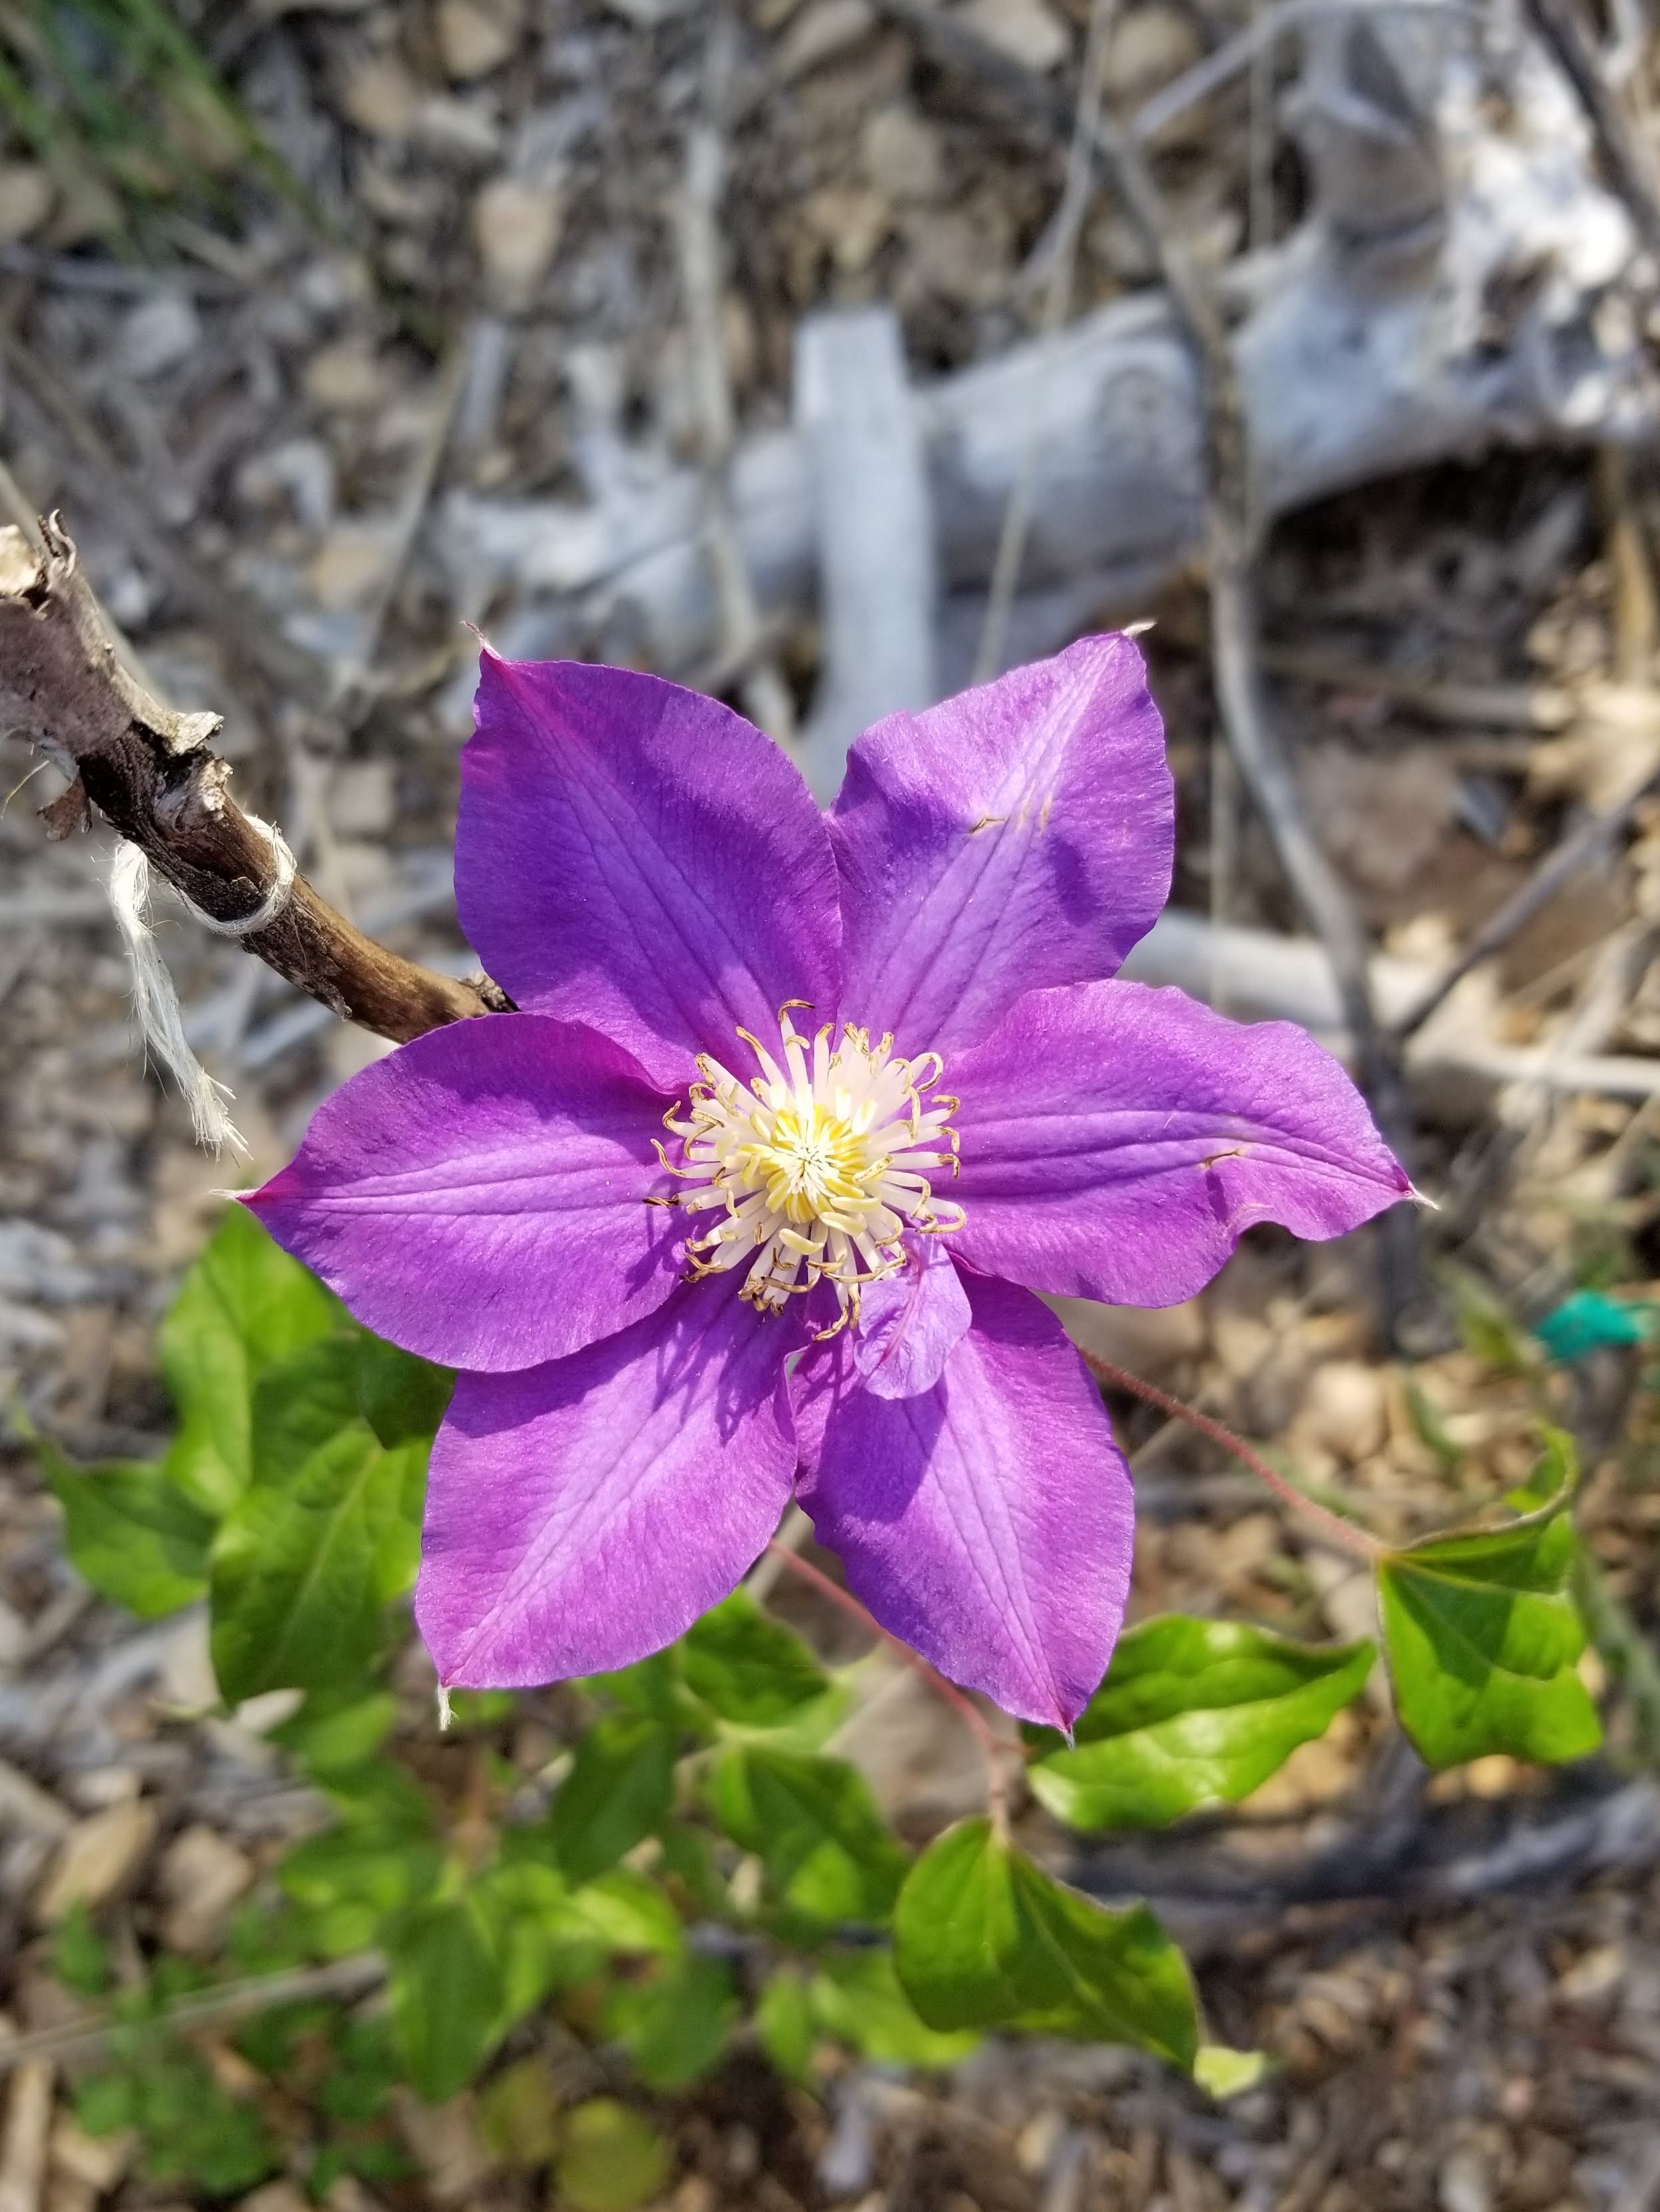
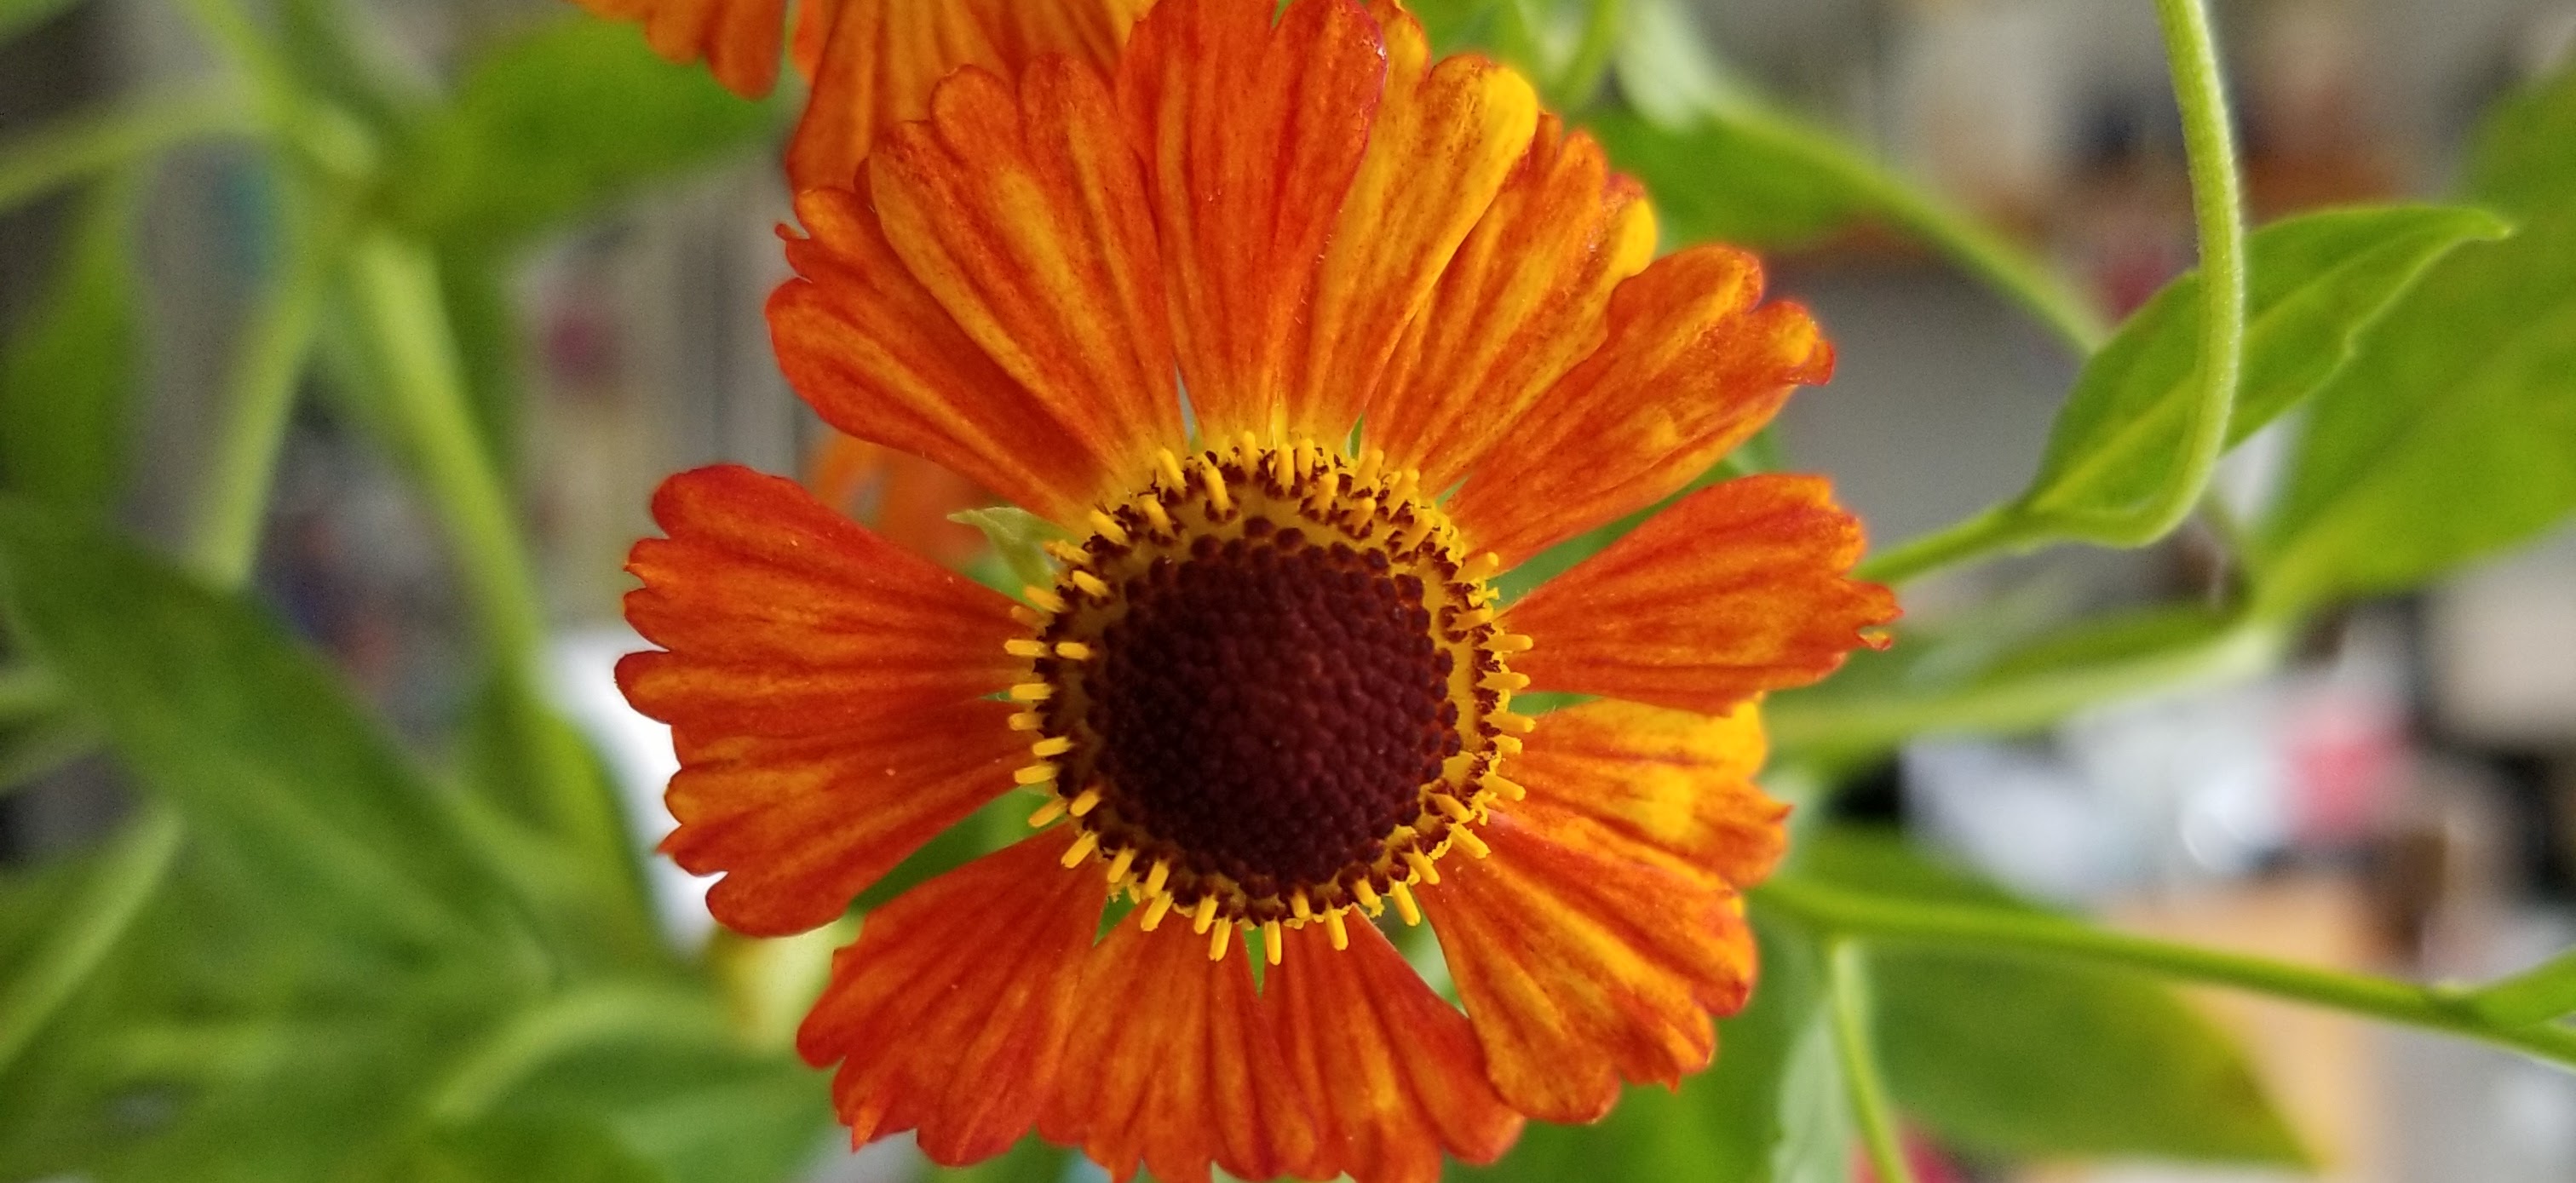
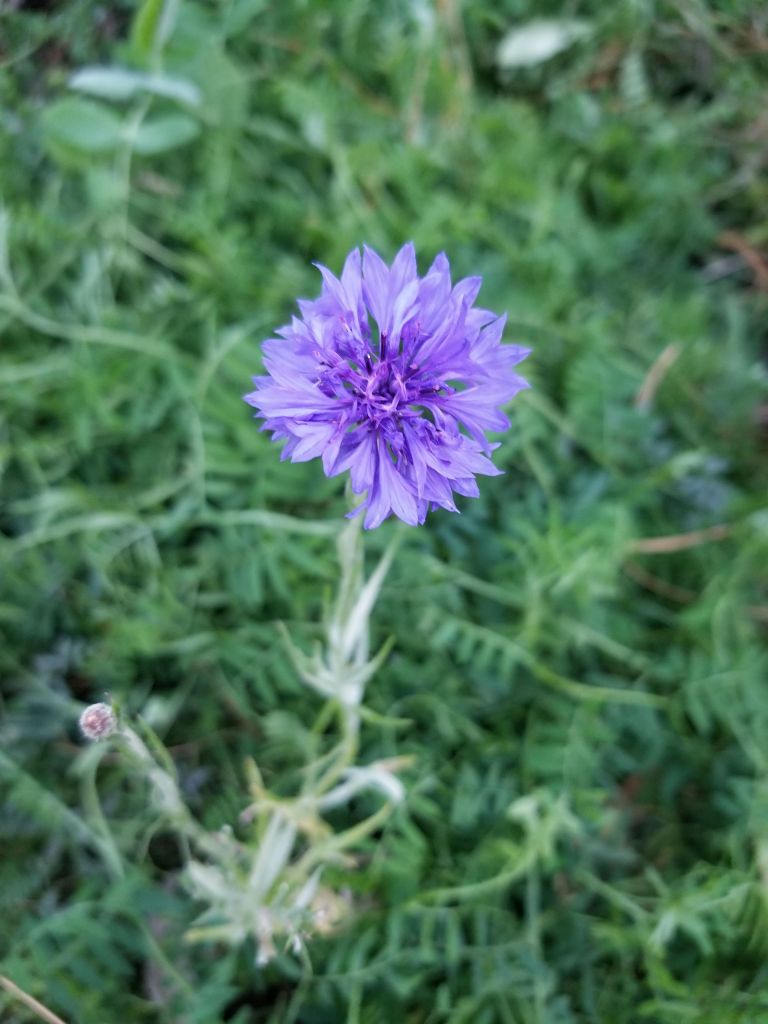
In addition to all of the mushrooms, it was a season full of bold colors as our many flowers and shrubs continued to develop.

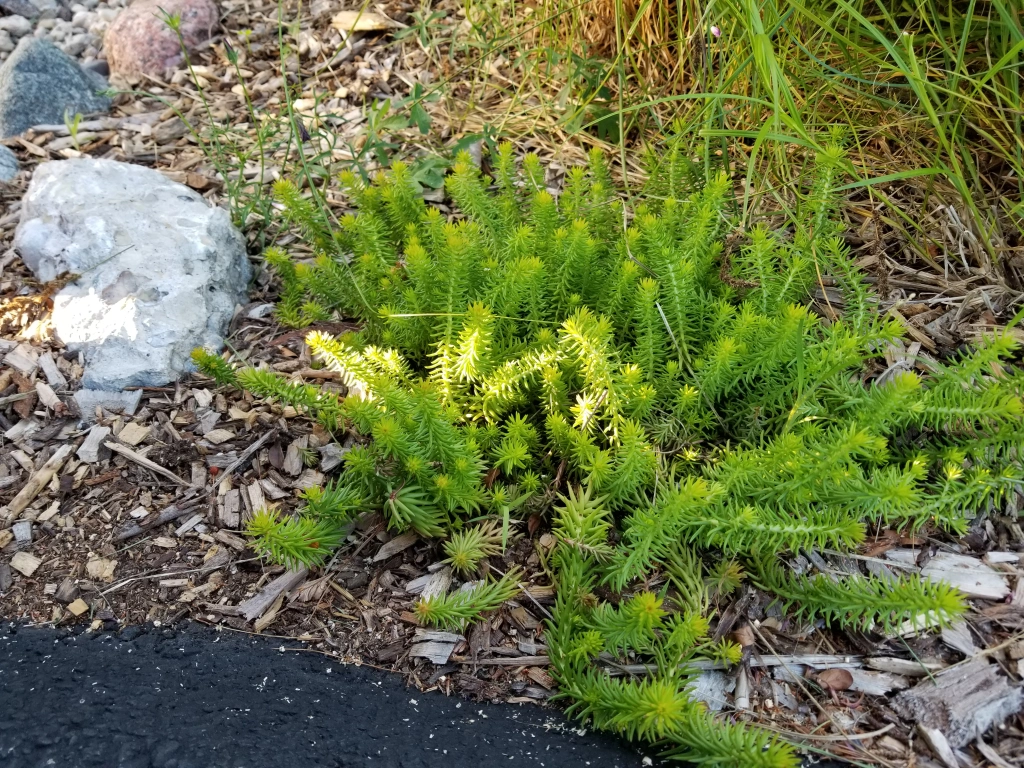
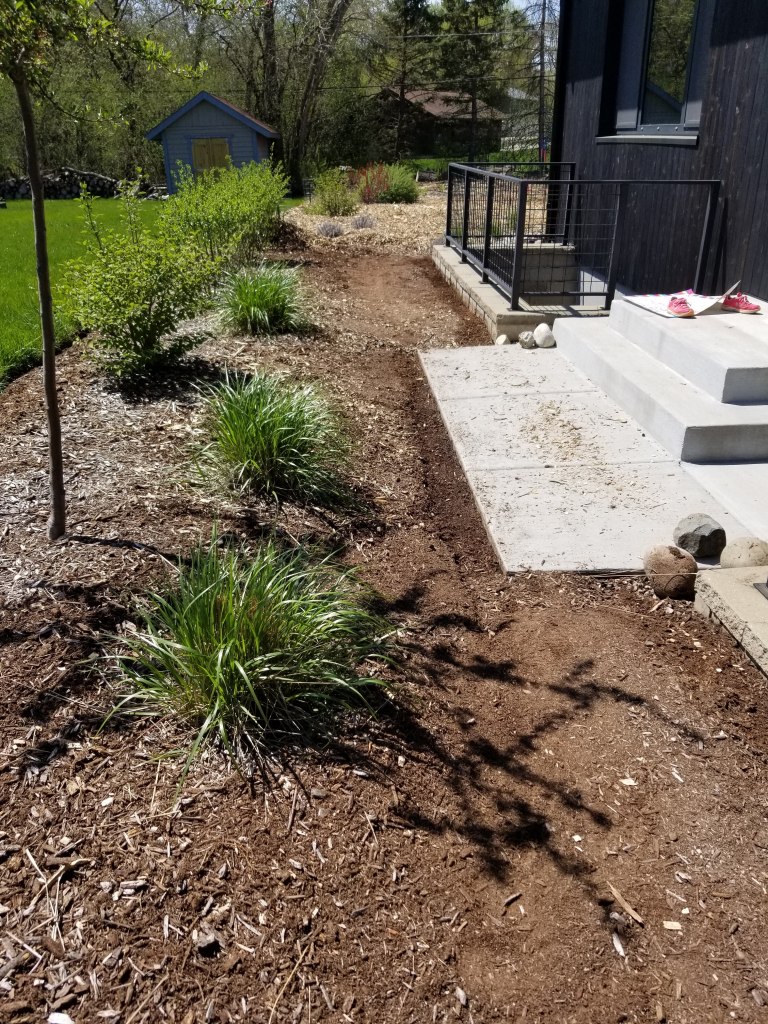
As the empty spots fill up, we’re turning our attention to a variety of groundcovers that can help fill the gaps while complementing the other flowers, shrubs, and grasses around them. In addition to the sedum Angelina below, we’ve also incorporated other sedums, ajugas, Carex varieties, lamiums, and lamb’s ears. In terms of total coverage, the strawberries are, by far, the clear winner, happily spreading in between and around other plants (the mix of weed suppression and sweet snack is hard to beat).
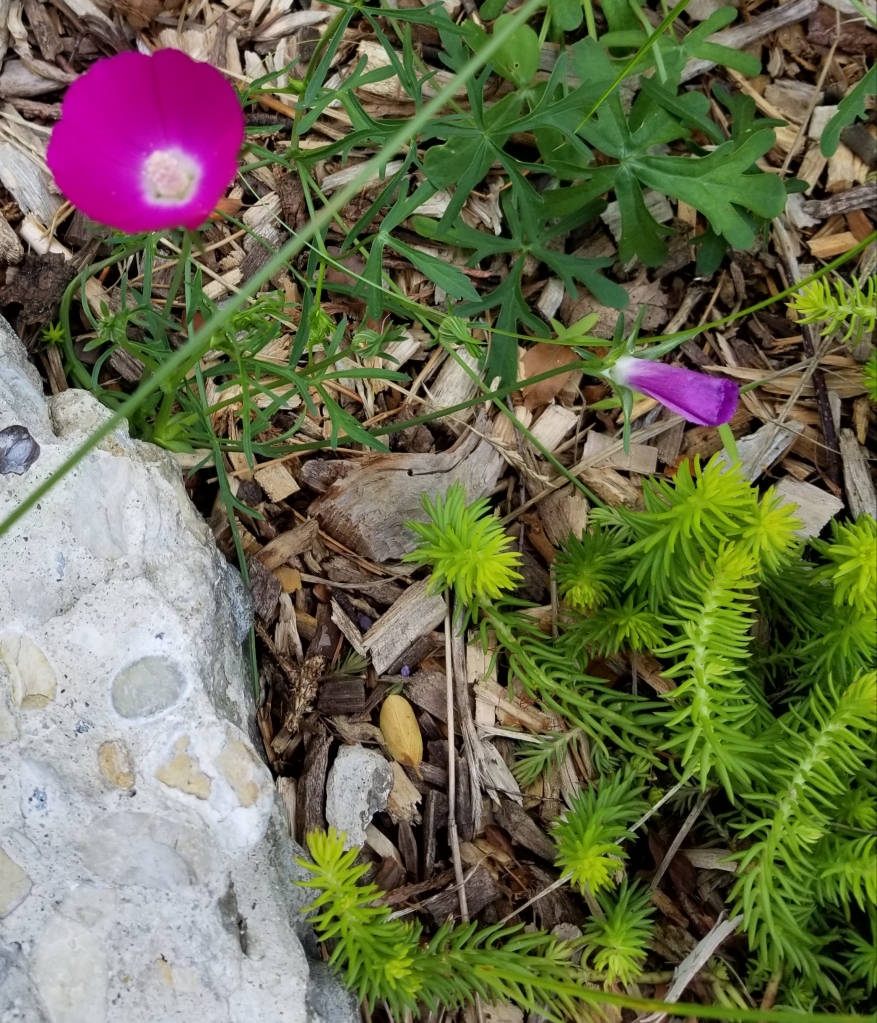
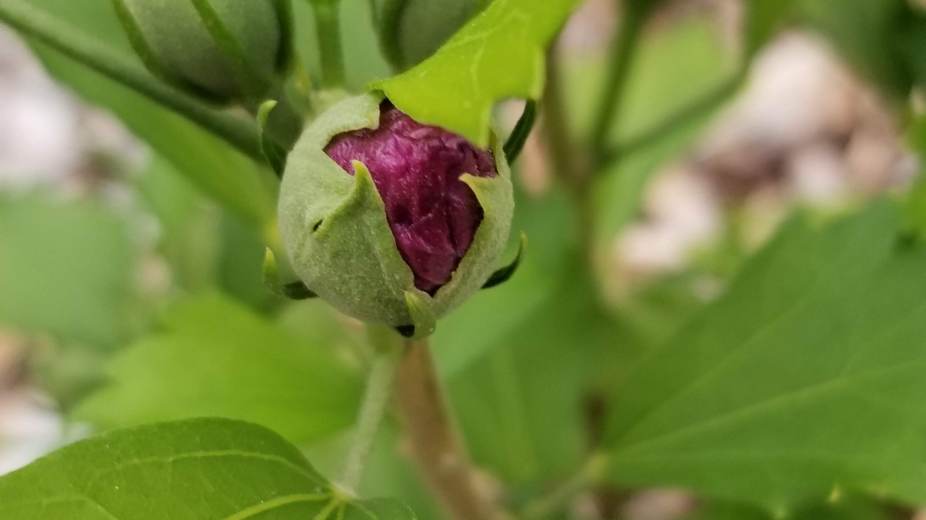
Below, a purple poppy mallow, showing off a first year bloom:
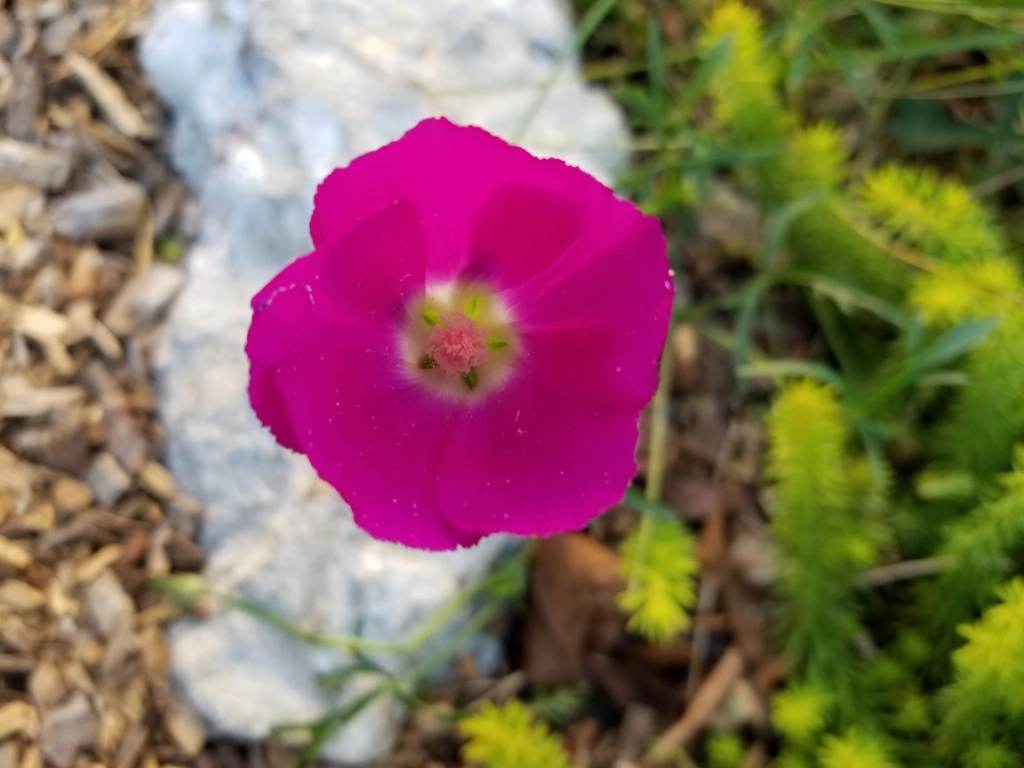
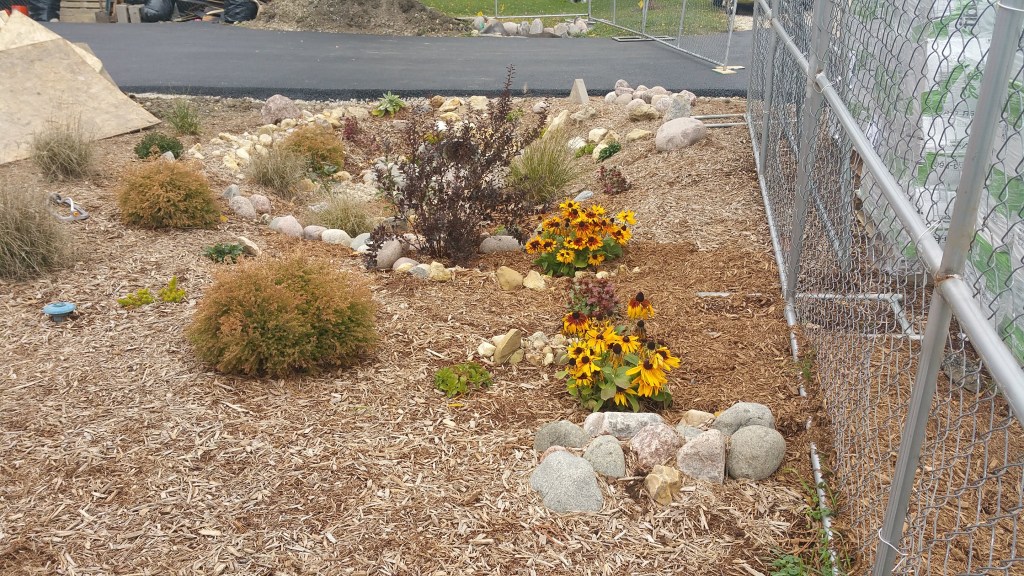
A small vignette in the yard, combining the hardscaping of urbanite with its exposed aggregate, with the deep mulch, a tough native beauty in the purple poppy mallow, and the equally tough and prolific sedum Angelina:
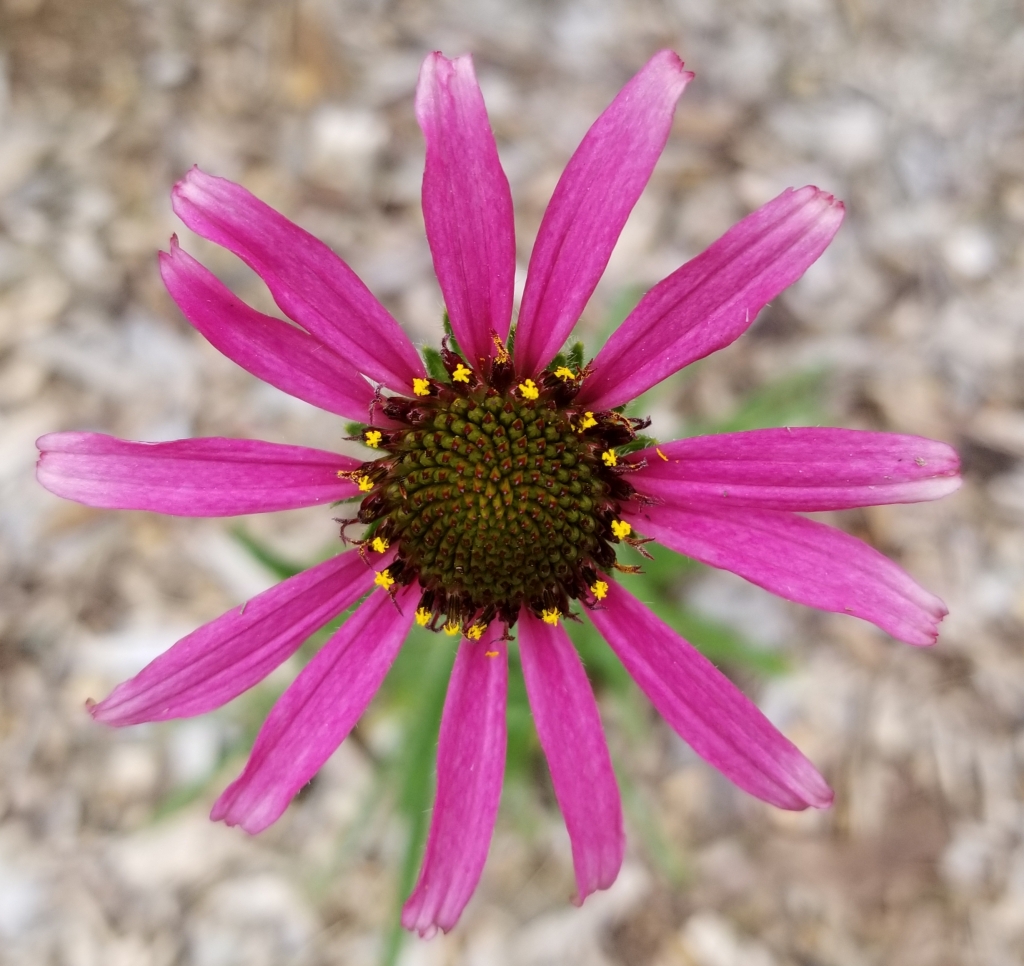
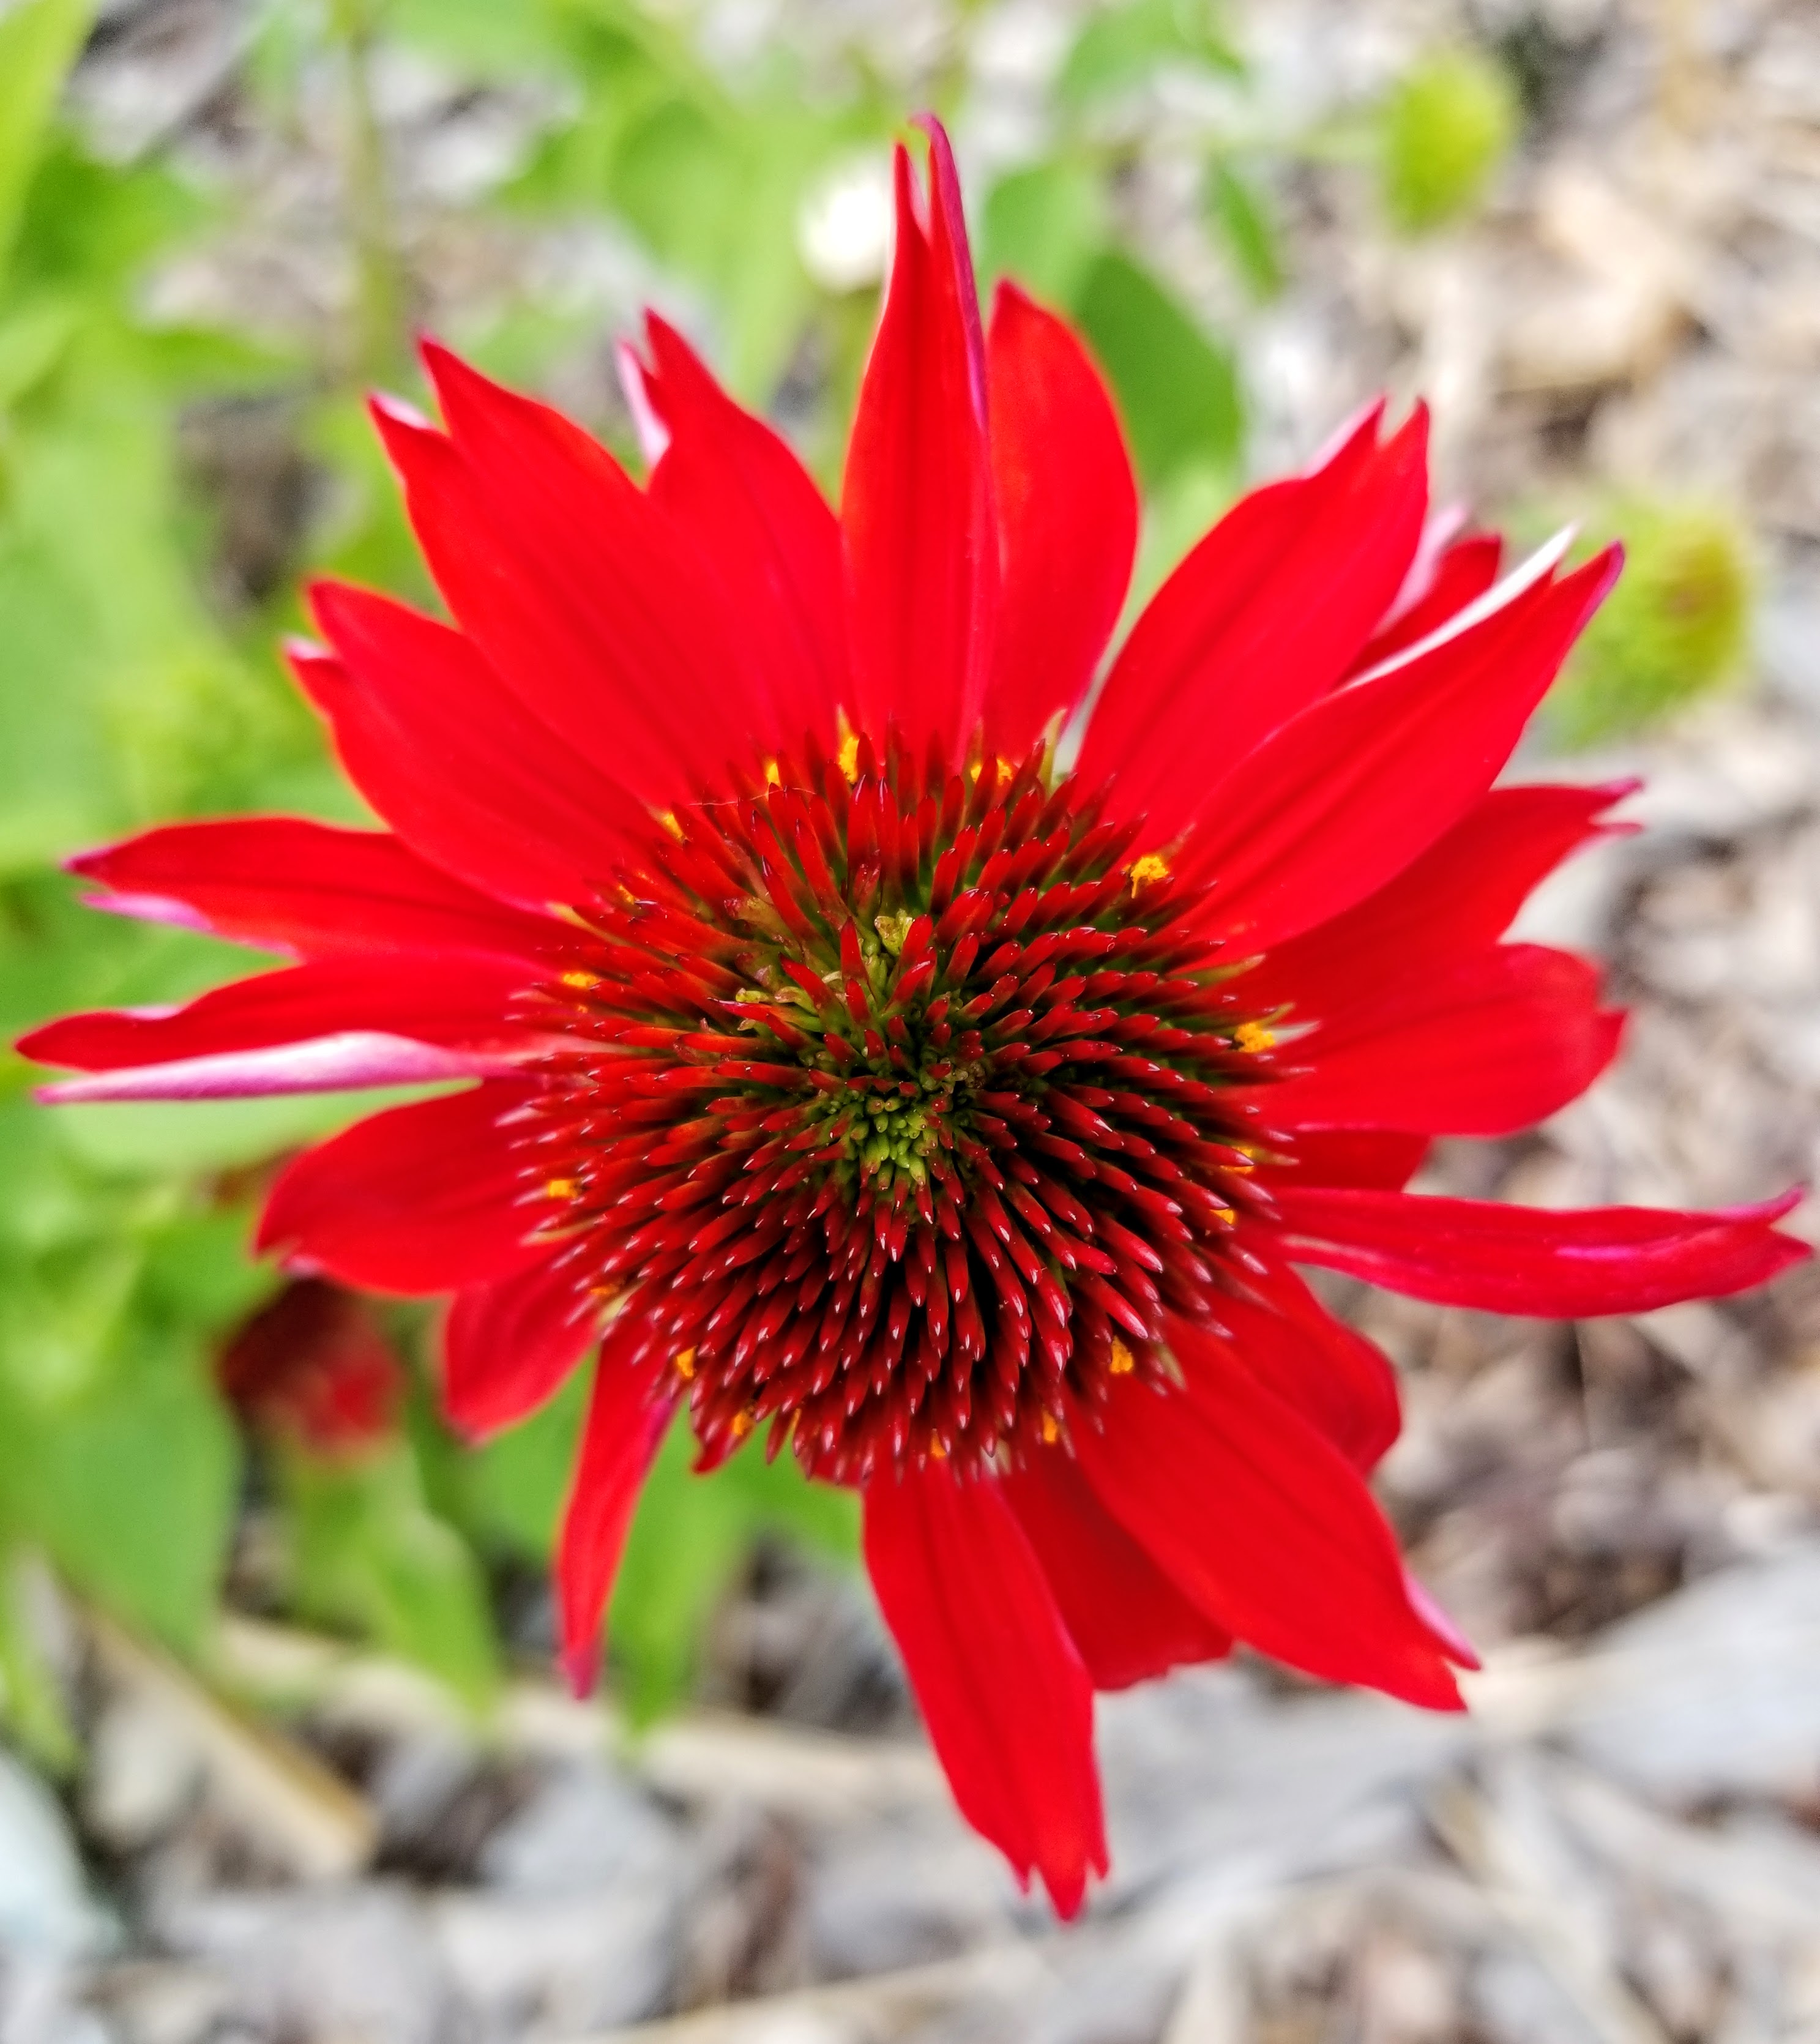
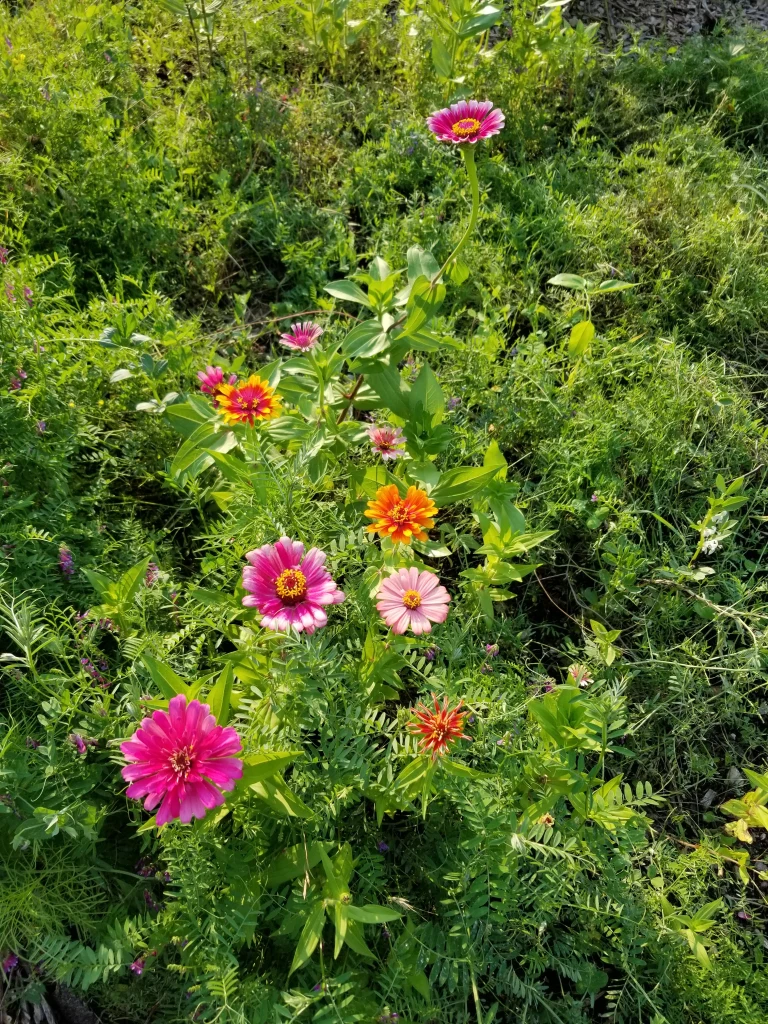
We’ve incorporated a wide color palette in our choice of flowers, reminiscent of a cottage garden. Perhaps my favorite flower, certainly my favorite echinacea, is the Rocky Top variety:
In addition to bright, colorful flowers, we also added some more subtle touches, such as black Mondo grasses around our front walk:
While hardly a native grass, it does have a lot to offer in terms of color — its initial bright green transitioning to black — and texture. With its modest size, it plays well tucked in and around lavender, prairie dropseed, and Echinaceas. An excellent example of something small having an outsized impact.
Now that the hügelkultur bed is maturing, we’ve been adding grasses and flowers around the perimeter. One of our favorites, and one that’s taken a couple of years to get going, is sneezeweed:

Below, a late summer view of the hügel bed and backyard as a storm rolls in. Note the new perennials planted between the hügel bed and the house — what we hope proves to be a vibrant mix of color and texture with a combination of ornamental grasses and flowers. The hügel bed has never looked so lush and full of life, so it feels like it’s reaching something close to its full potential.
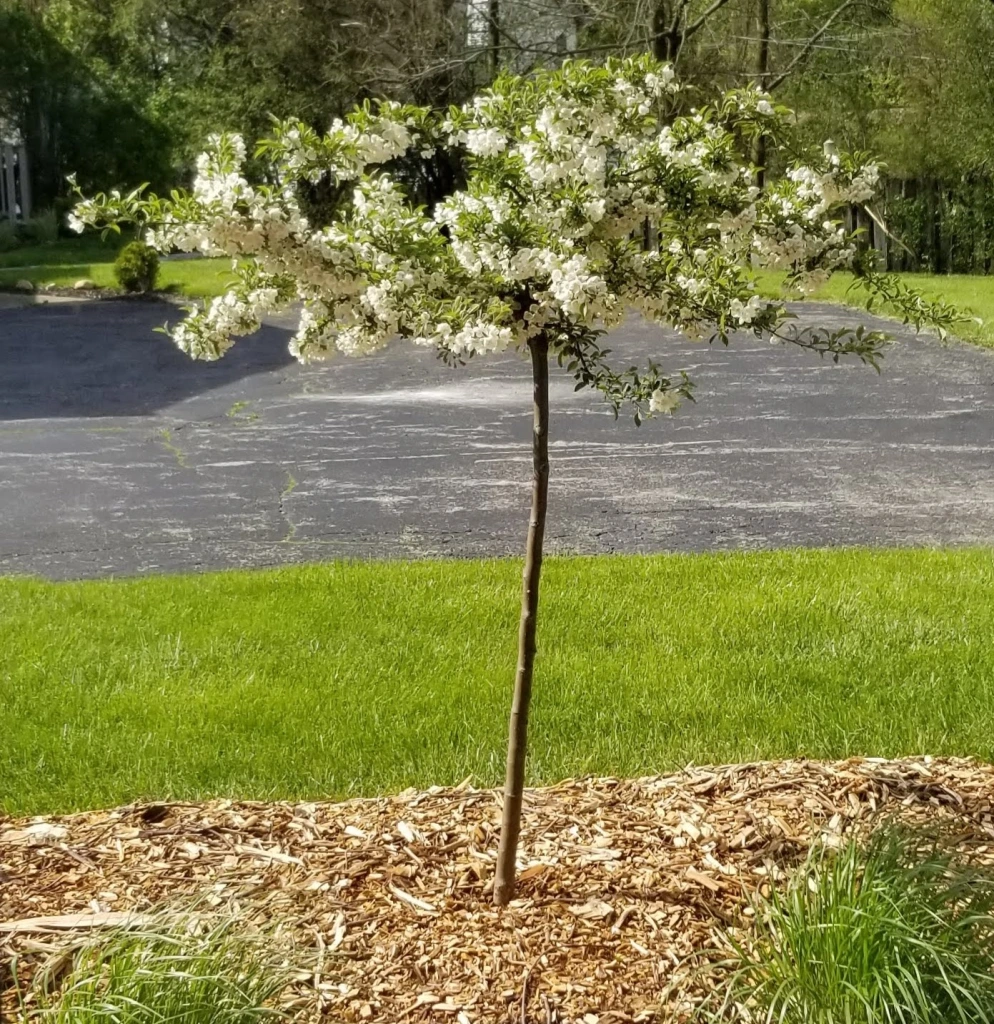
Our hard work, plus some time, was paying dividends around our front door area, too. These were some of the earliest plants we got in the ground back in 2017-18.
“…Schelling emphasized the vital force that connected nature and man, insisting that there was an organic bond between the Self and nature. Schelling suggested that the concept of an ‘organism’ should be the foundation of how to understand nature. Instead of regarding nature as a mechanical system it should be seen as a living organism. The difference was like that between a clock and an animal. Whereas a clock consisted of parts that could be dismantled and then assembled again, an animal couldn’t — nature was a unified whole, an organism in which the parts only worked in relation to each other. In a letter to Schelling, Humboldt wrote that he believed this was nothing less than a ‘revolution’ in the sciences, a turn away from the ‘dry compilation of facts’ and ‘crude empiricism’.”
— Andrea Wulf, The Invention of Nature: Alexander von Humboldt’s New World
Insects and Wildlife
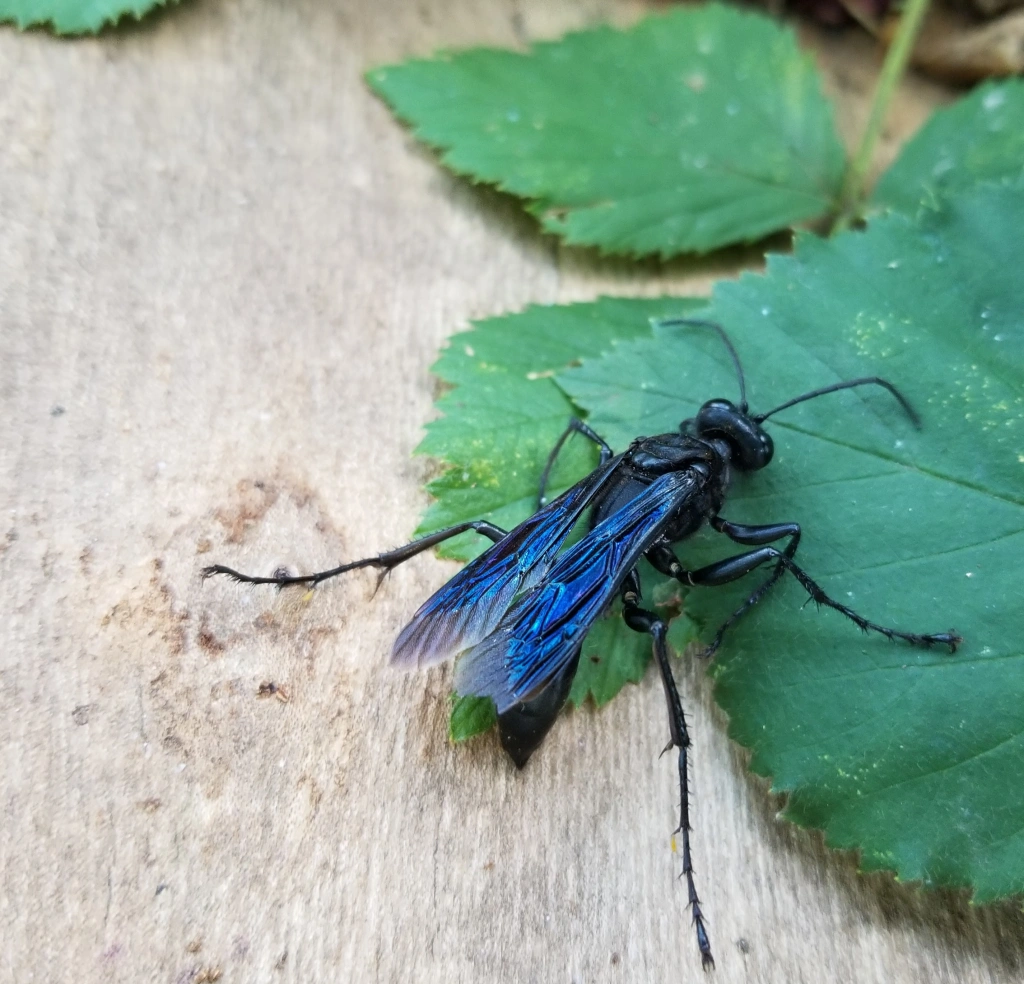
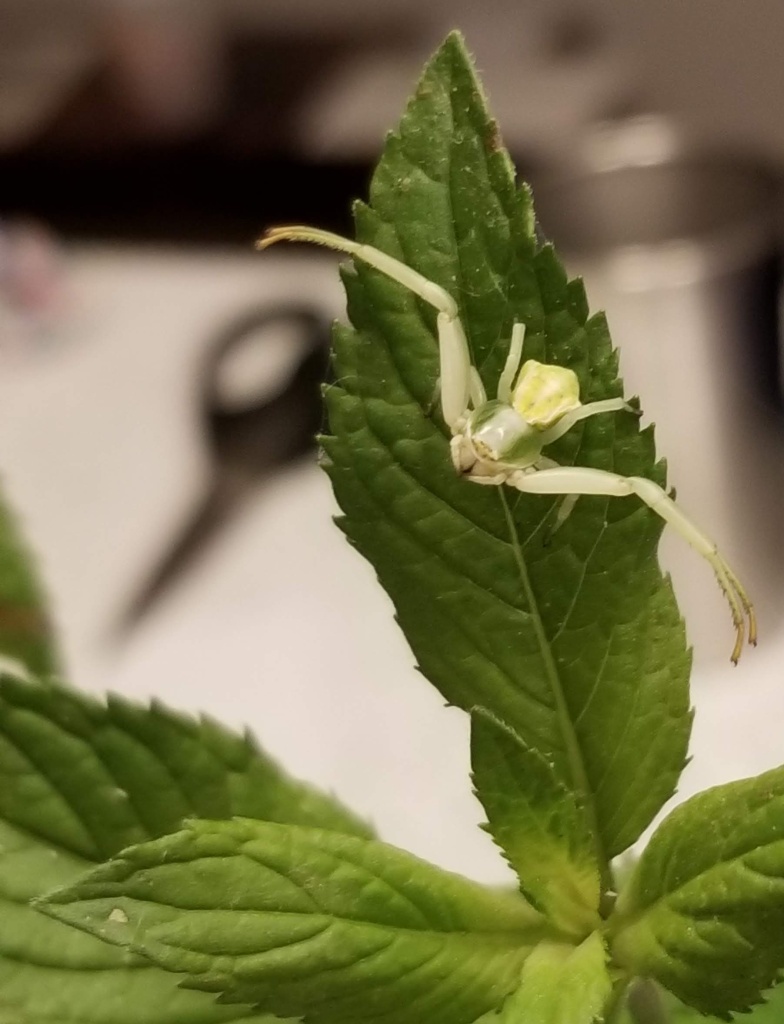
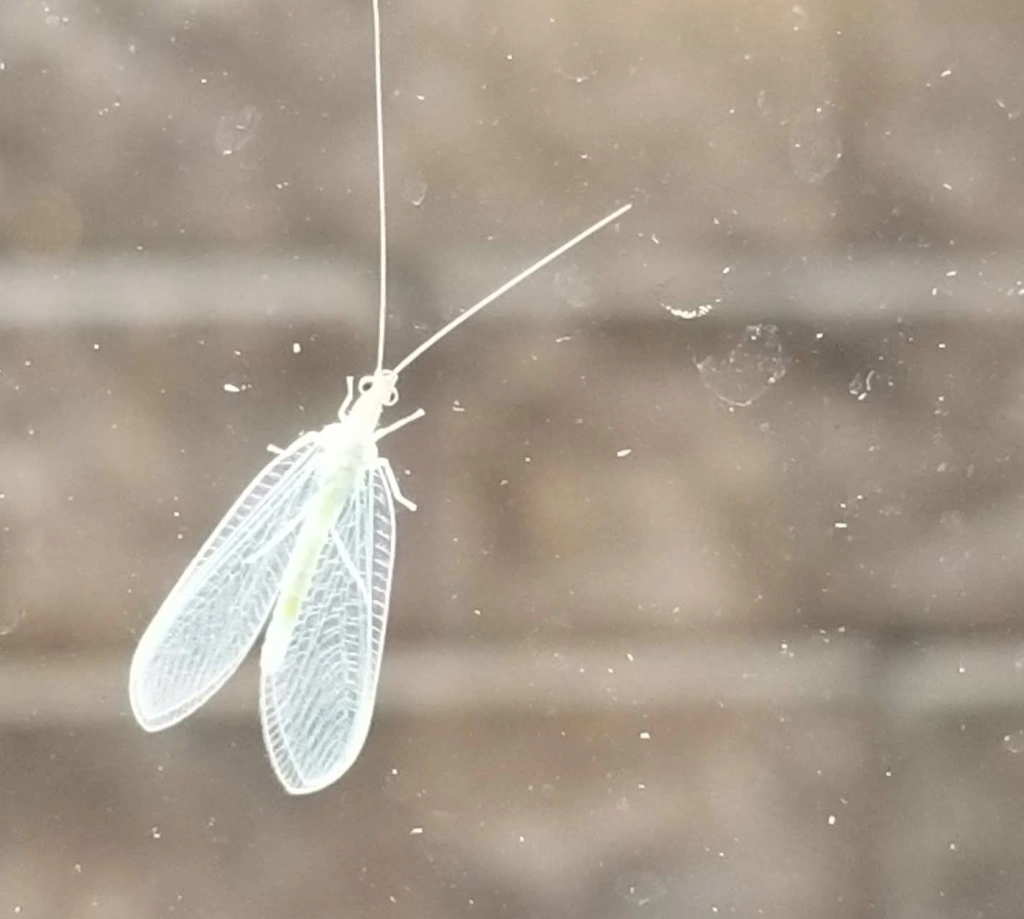
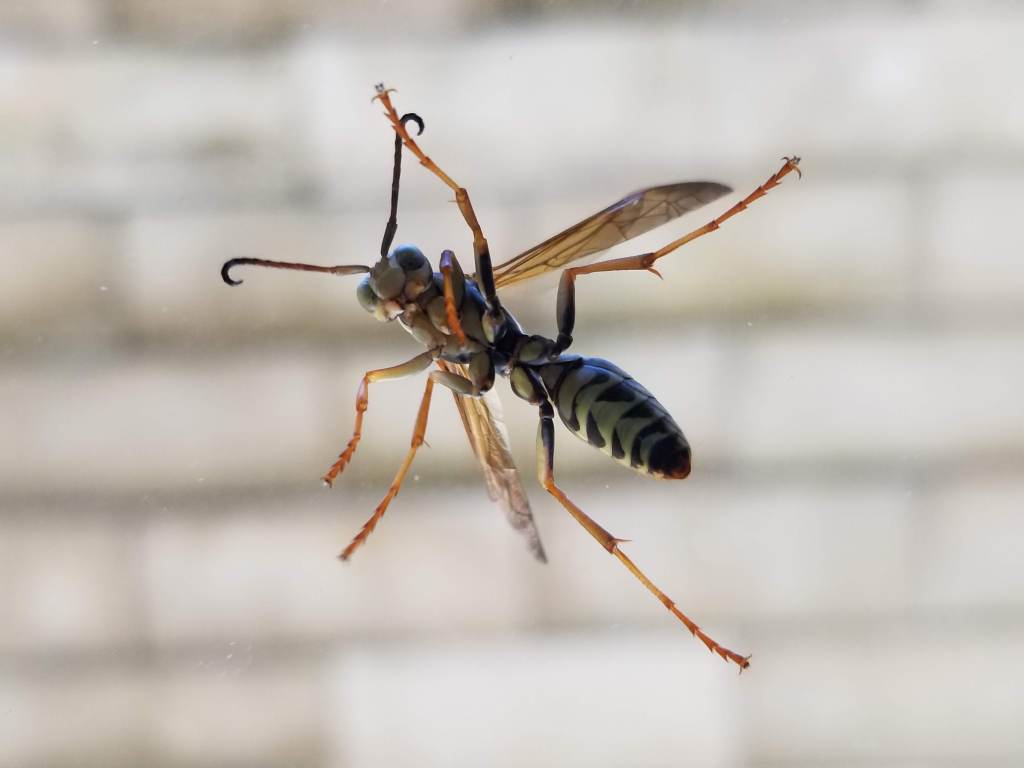
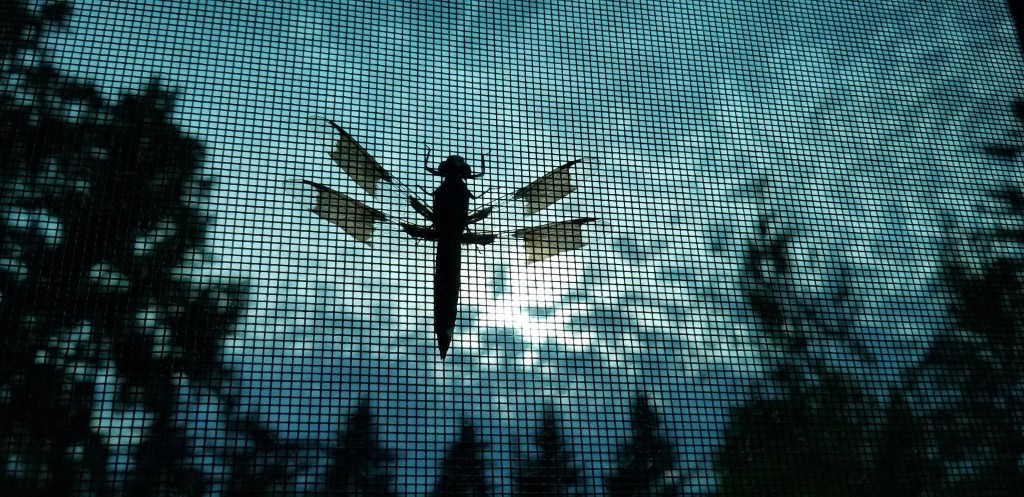
Besides the ‘shrooms and blooms, we’ve enjoyed a plethora of insect and wildlife sightings, which hopefully speaks to the overall health of our landscape.
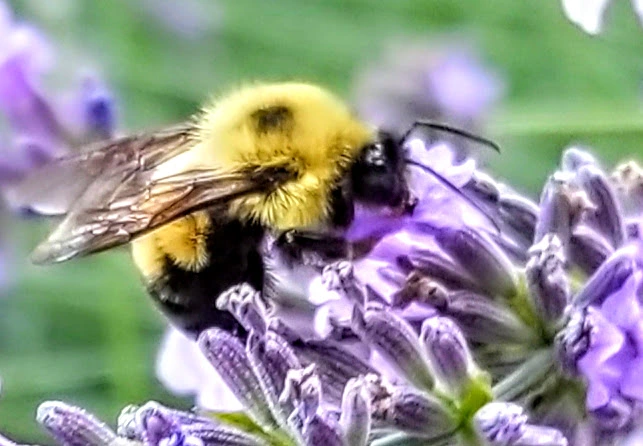
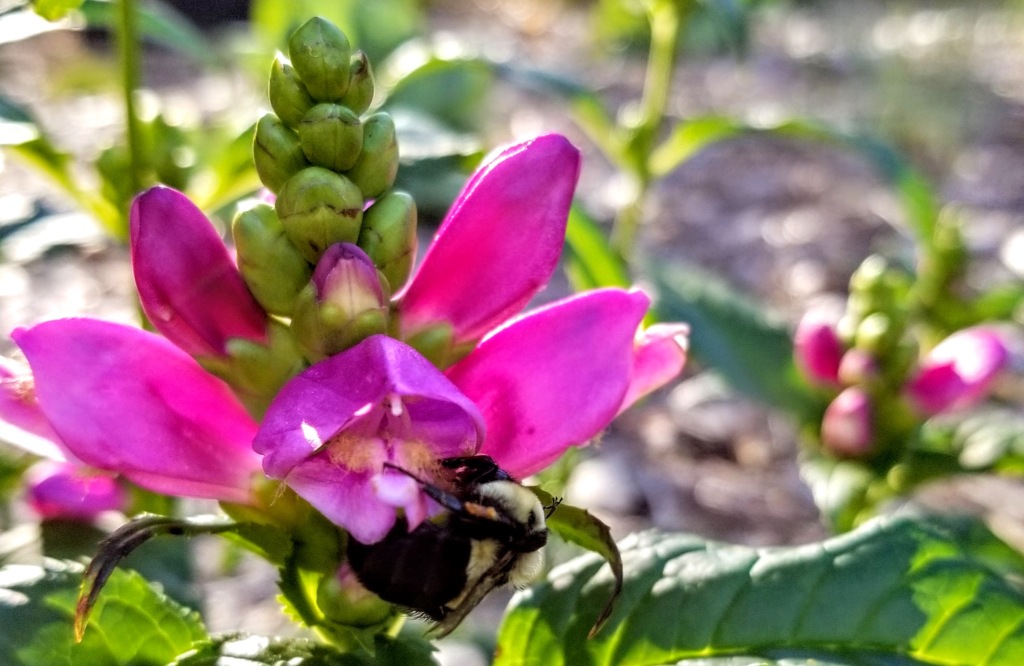
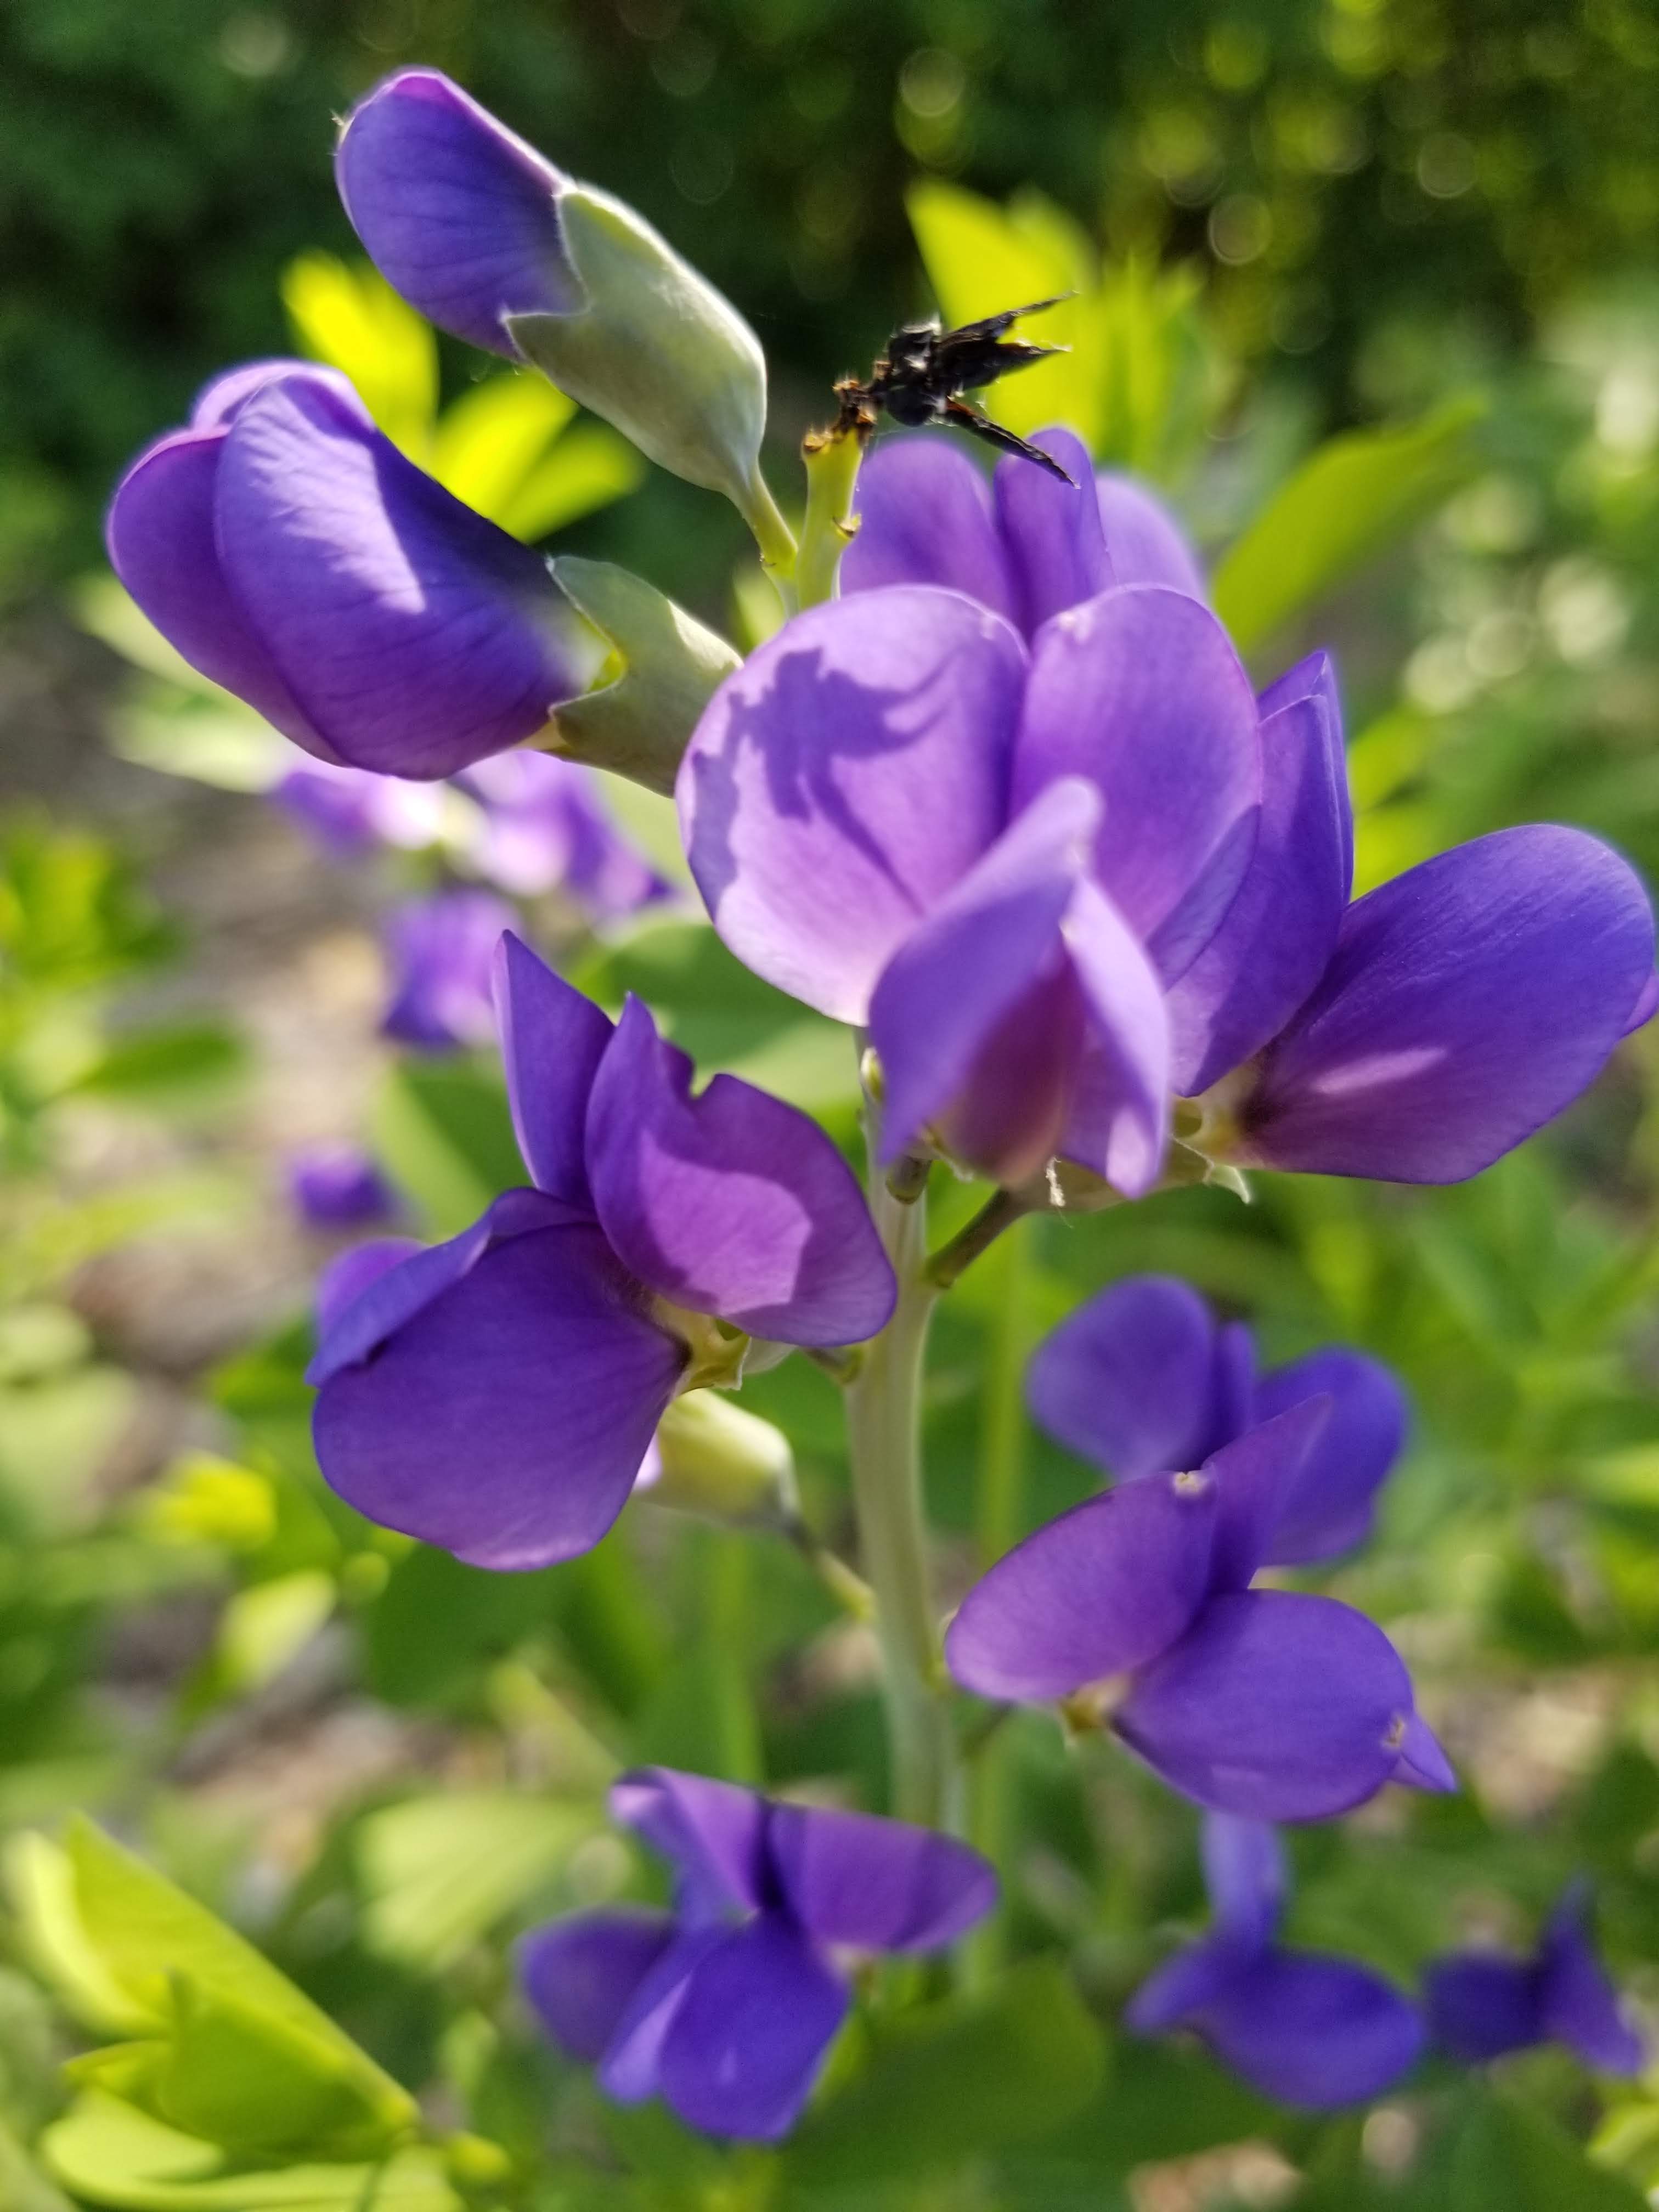
One of the more whimsical sites in the summer garden is watching chubby bumble bees fight their way in and out of individual ‘hot lips’ blooms:
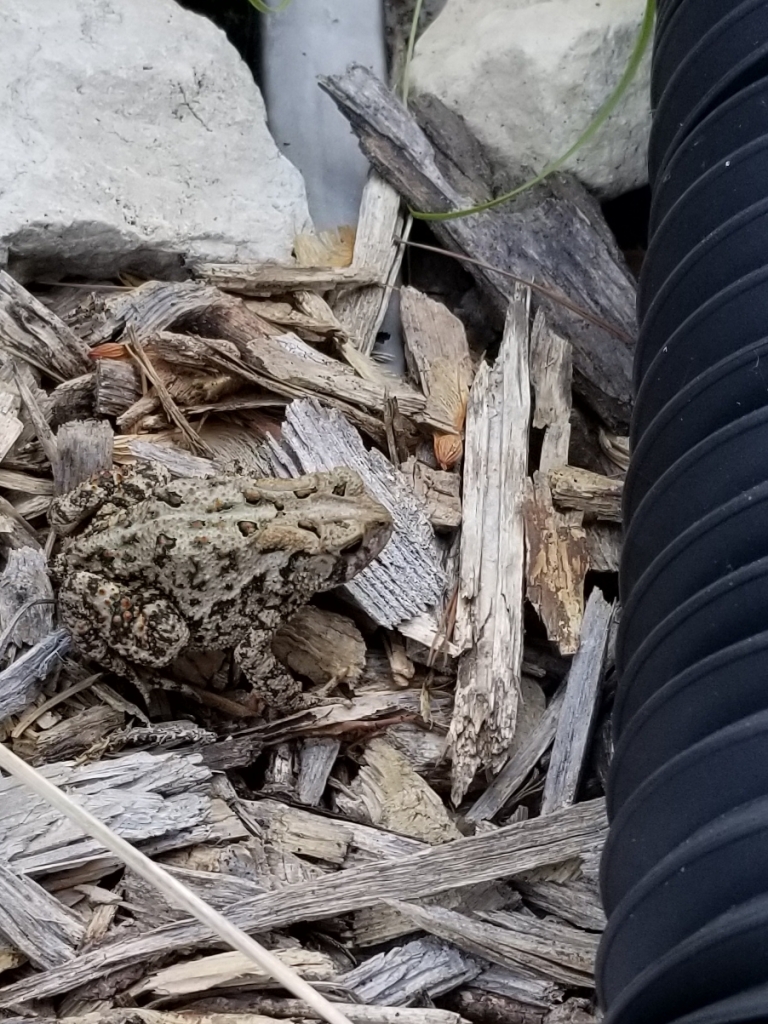
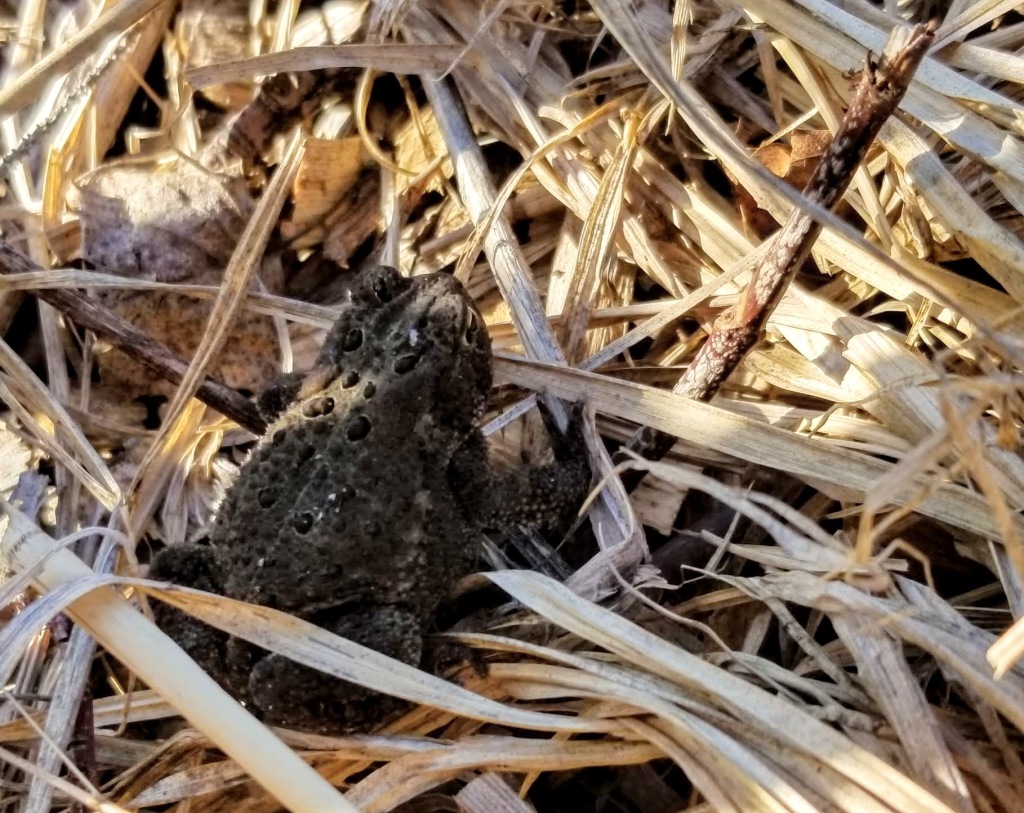
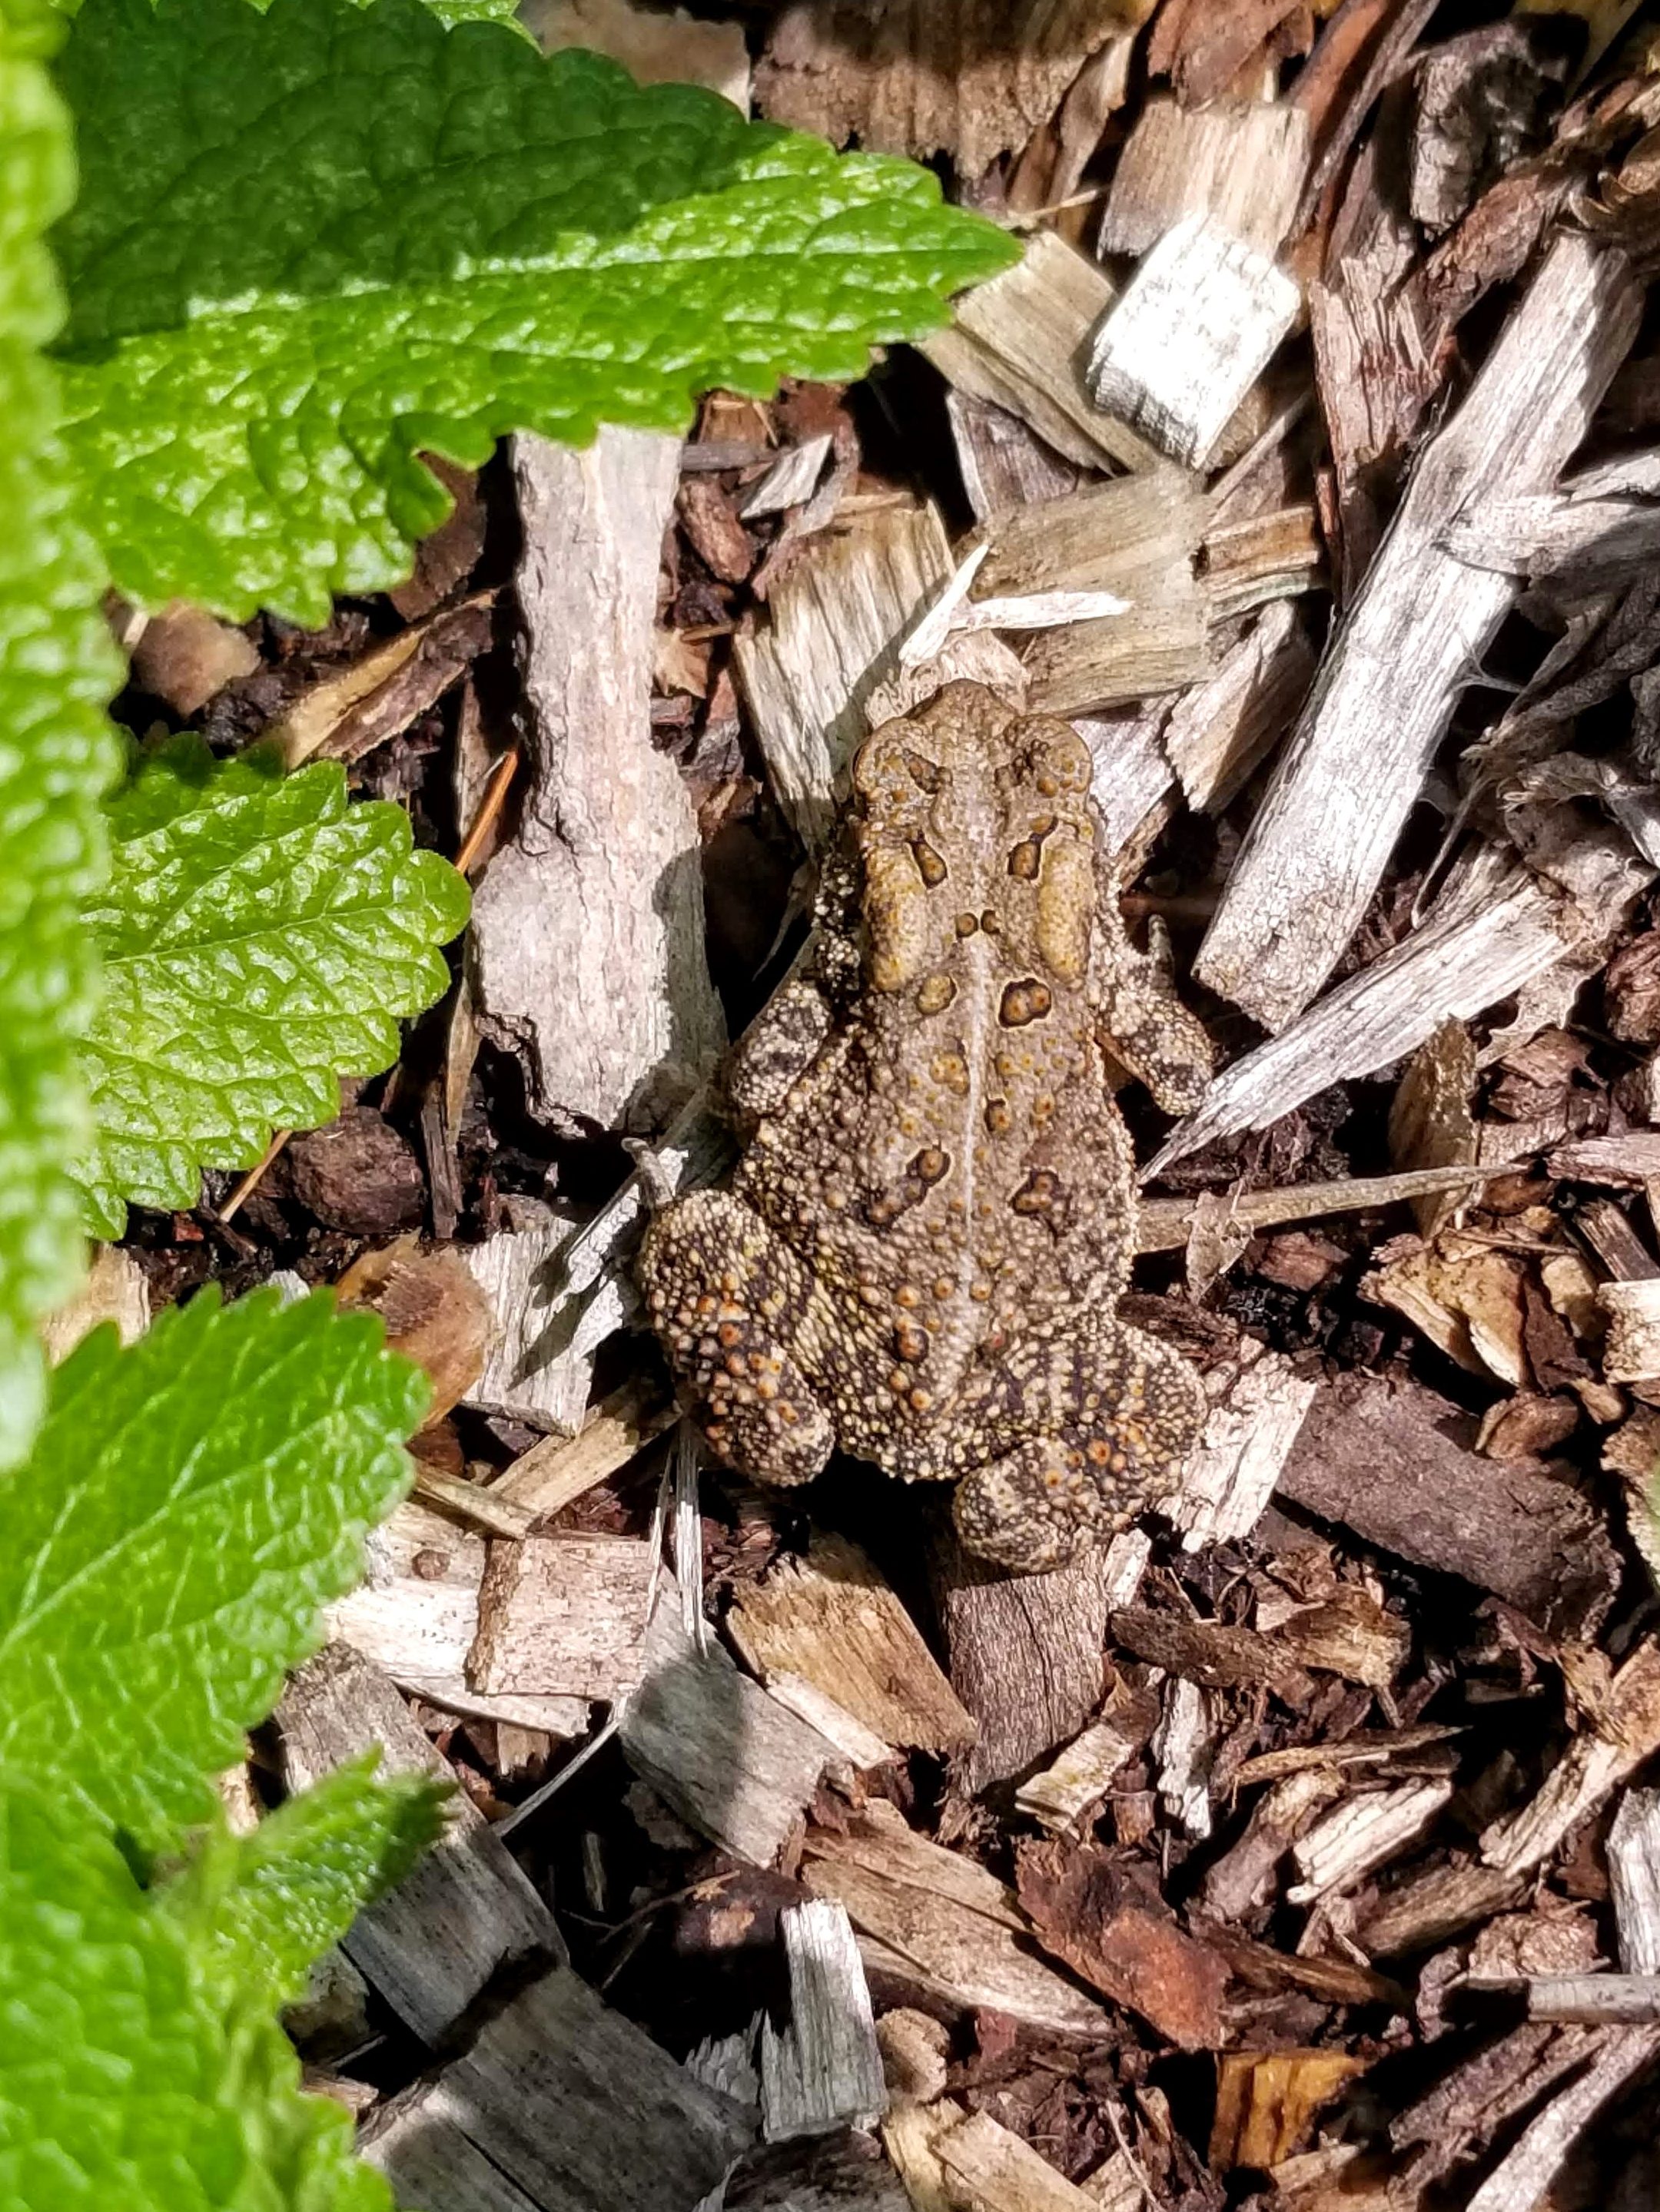
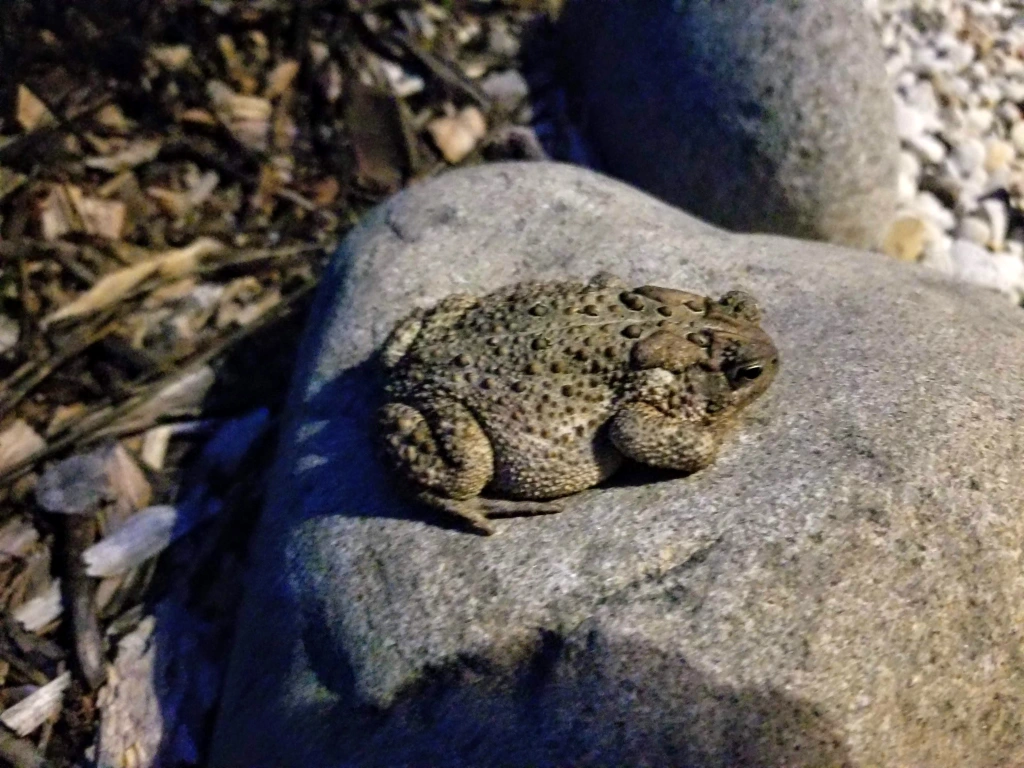
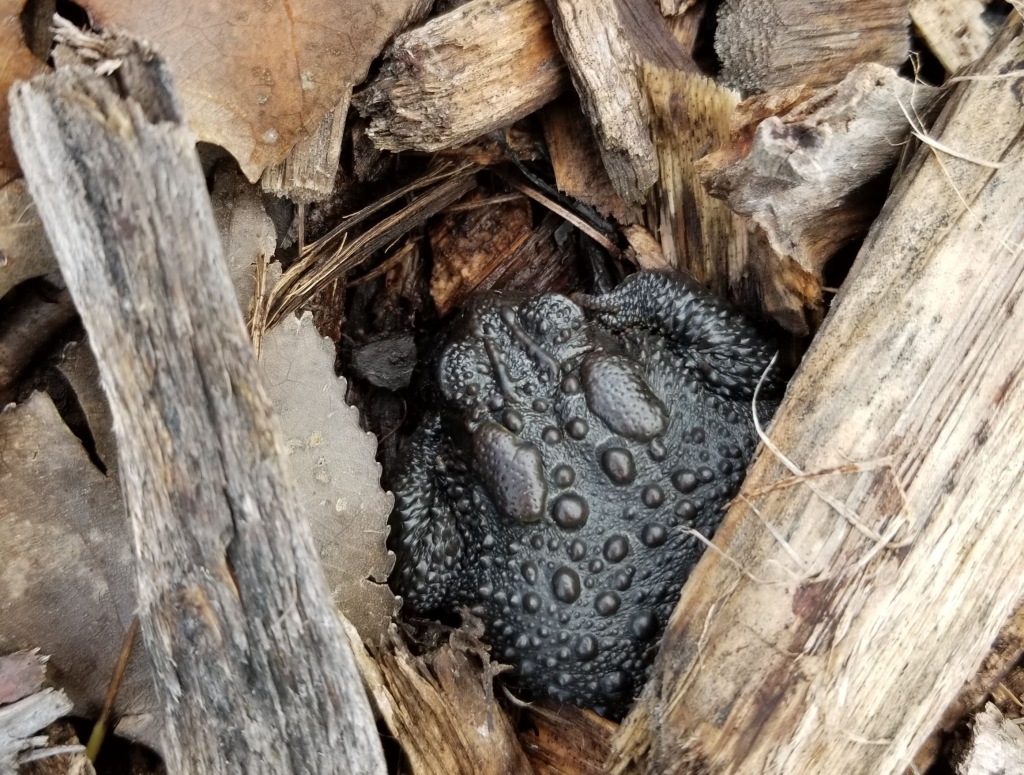
Toads enjoy hanging out by our downspout rain gardens, presumably because of the thick foliage and fairly consistent moisture:
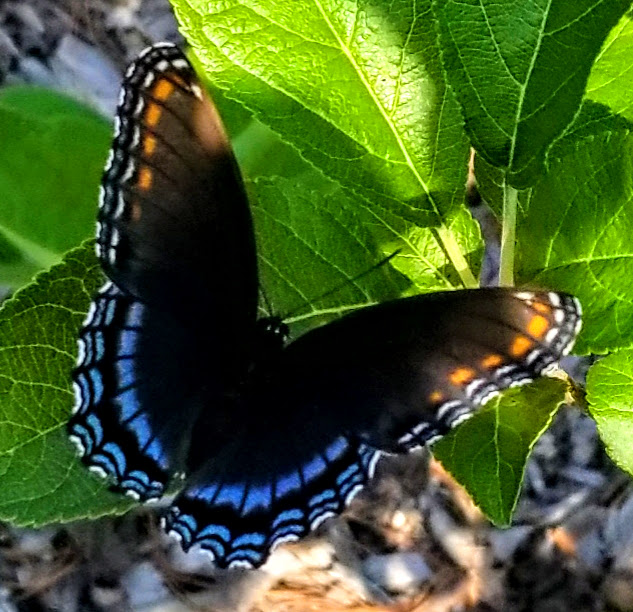
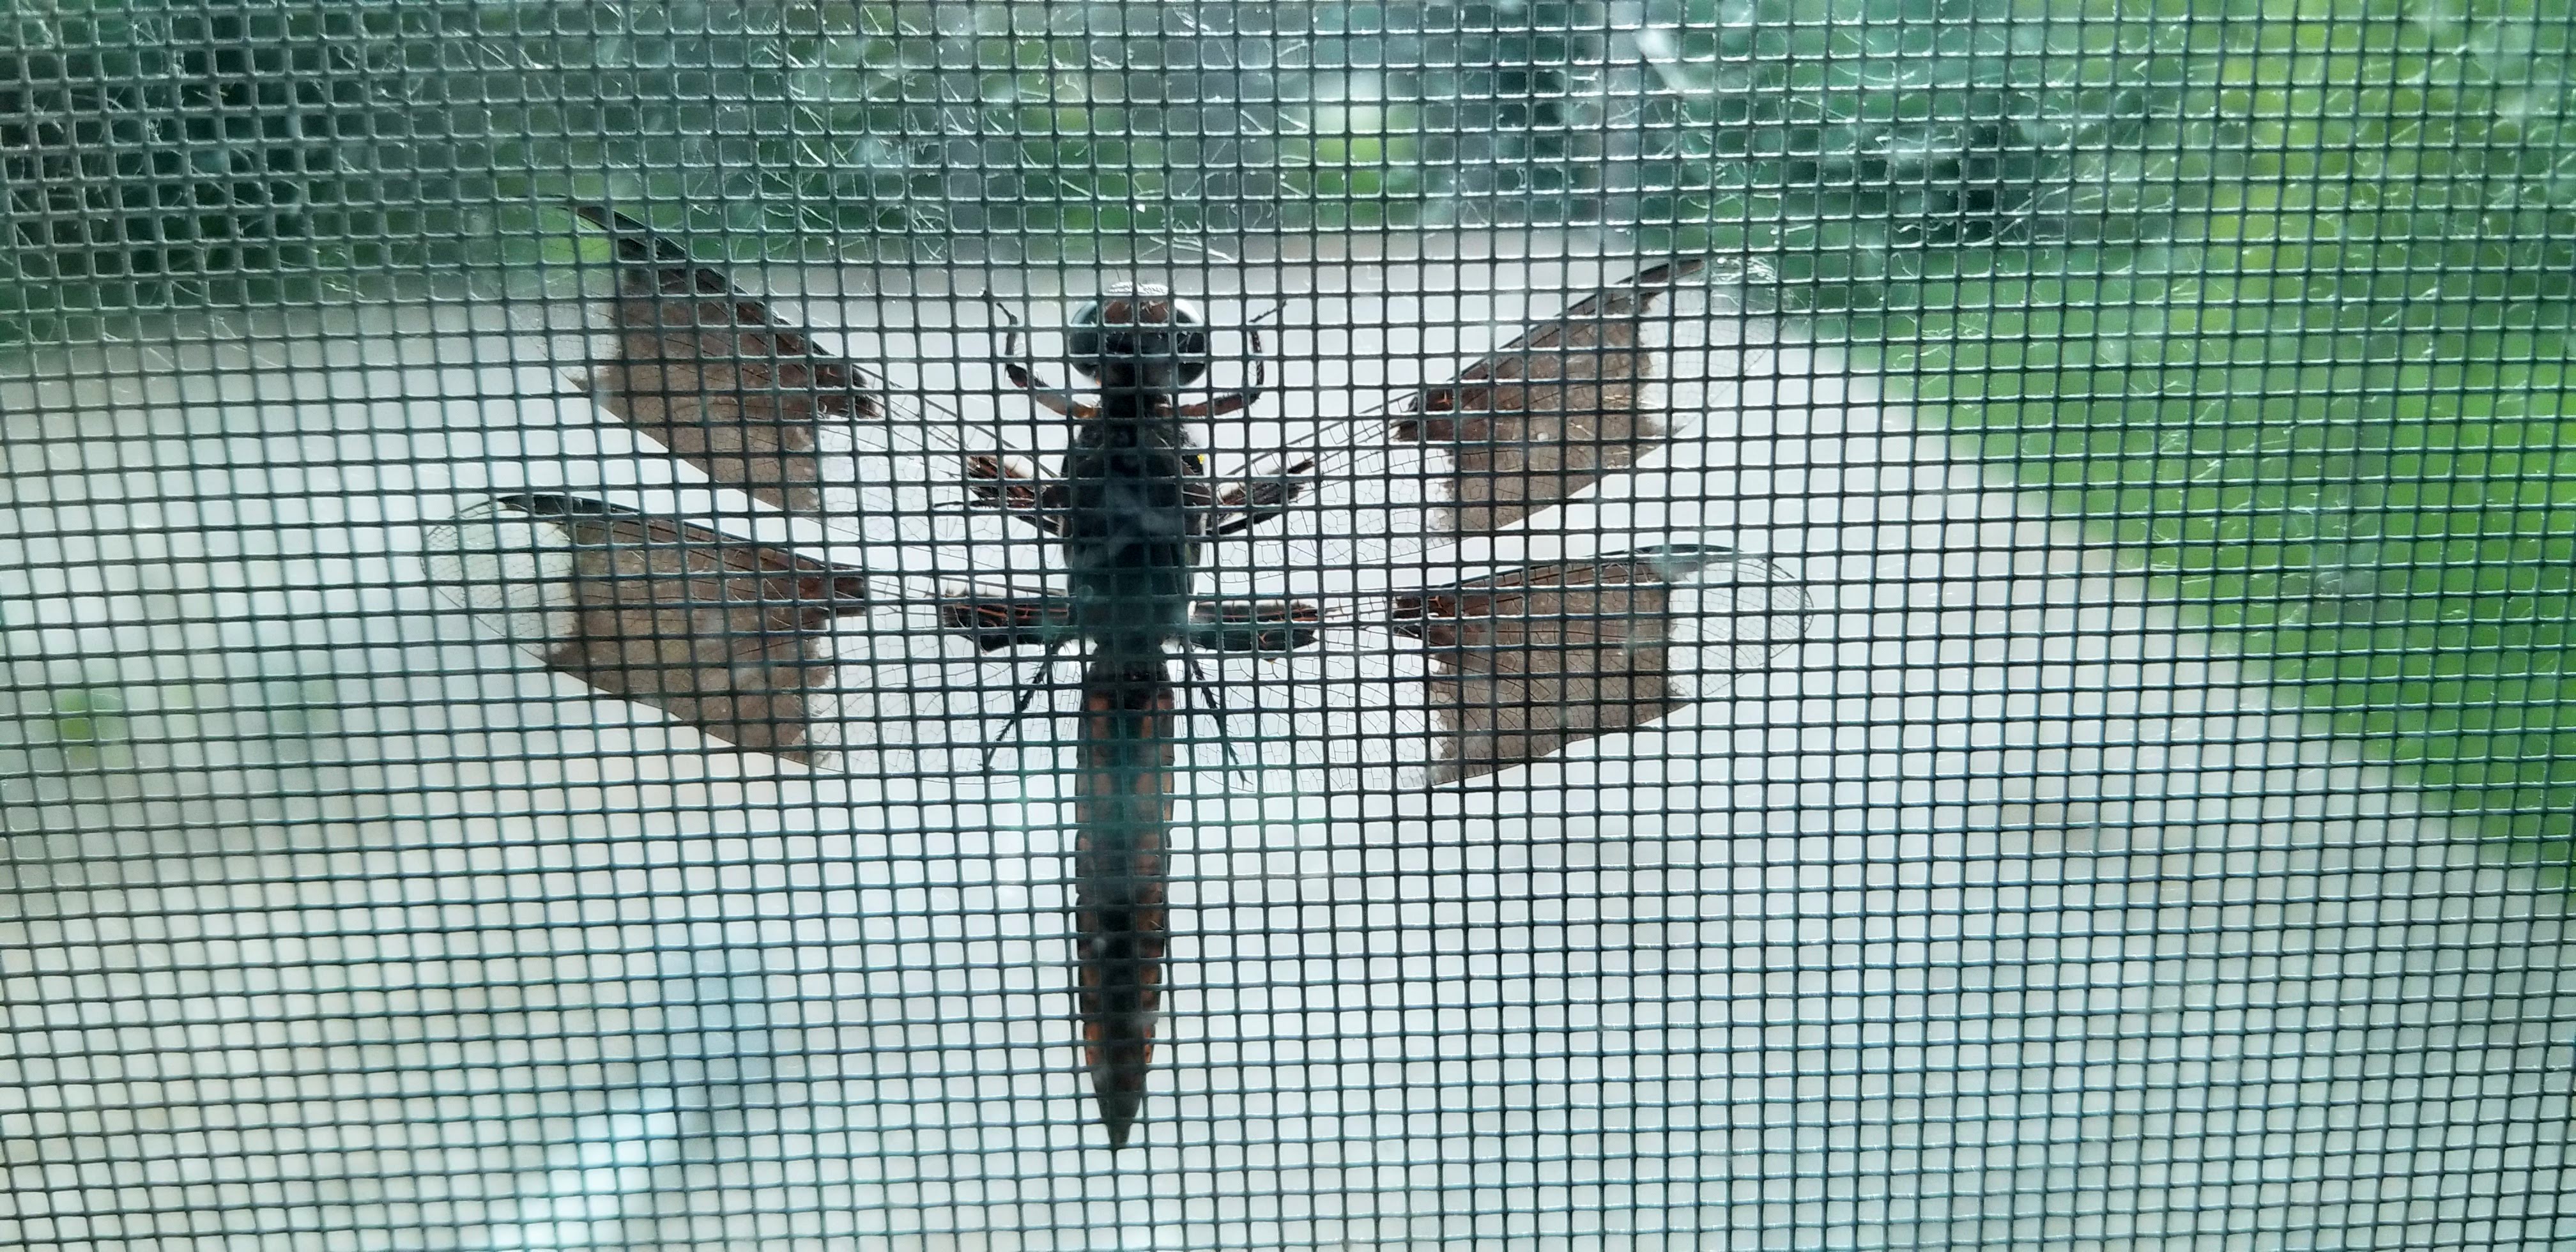
With each growing season, we see more butterflies, hummingbird moths, and hummingbirds showing up. At this point, they’re starting to show up in groups, even sometimes methodically making their way around the house over and over with enough nectar on offer in every corner of our landscape to keep them occupied.
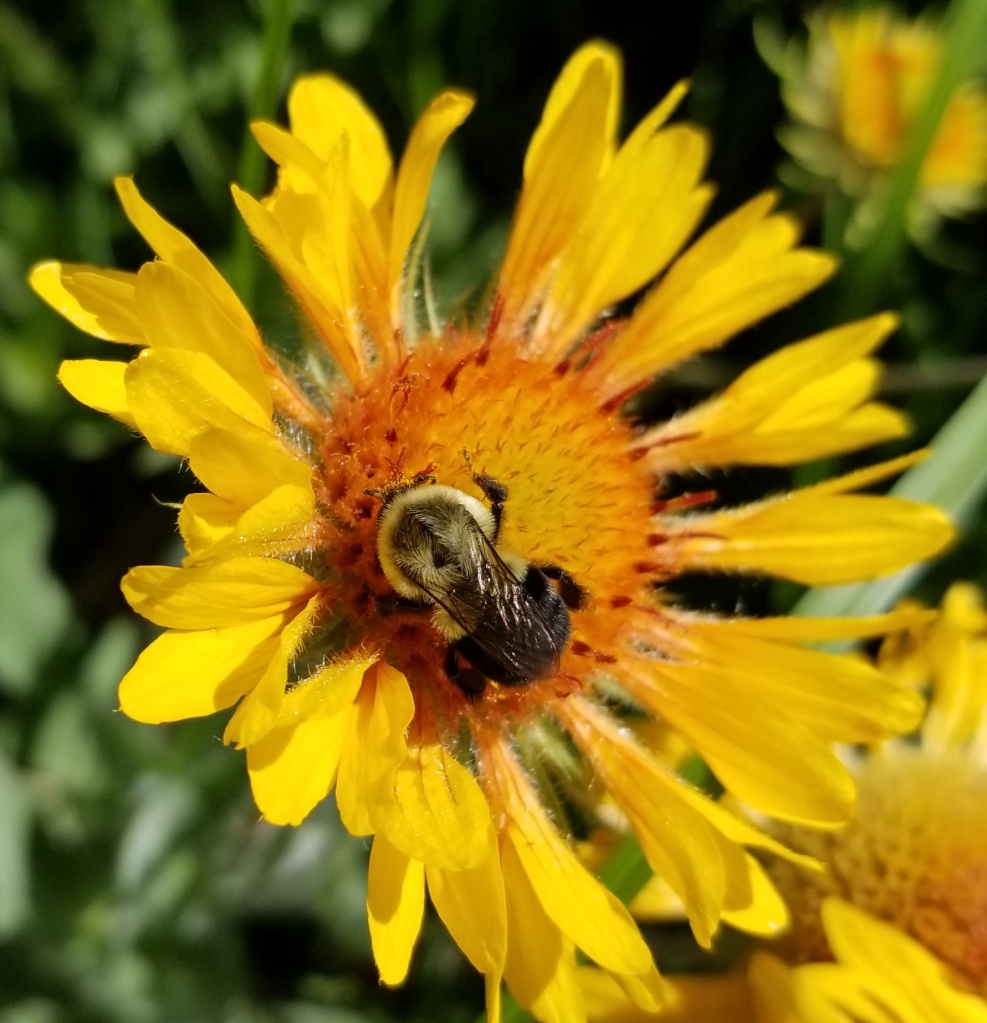
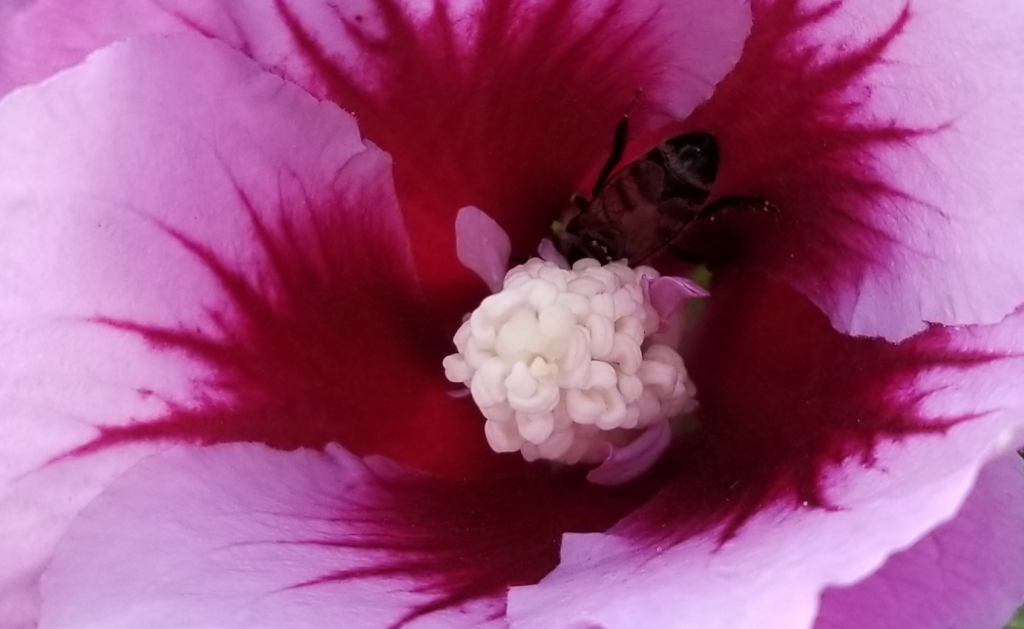
Part of the fun in trying to draw in the pollinators is watching the lengths to which they will bury themselves in blooms in order to retrieve pollen and nectar:
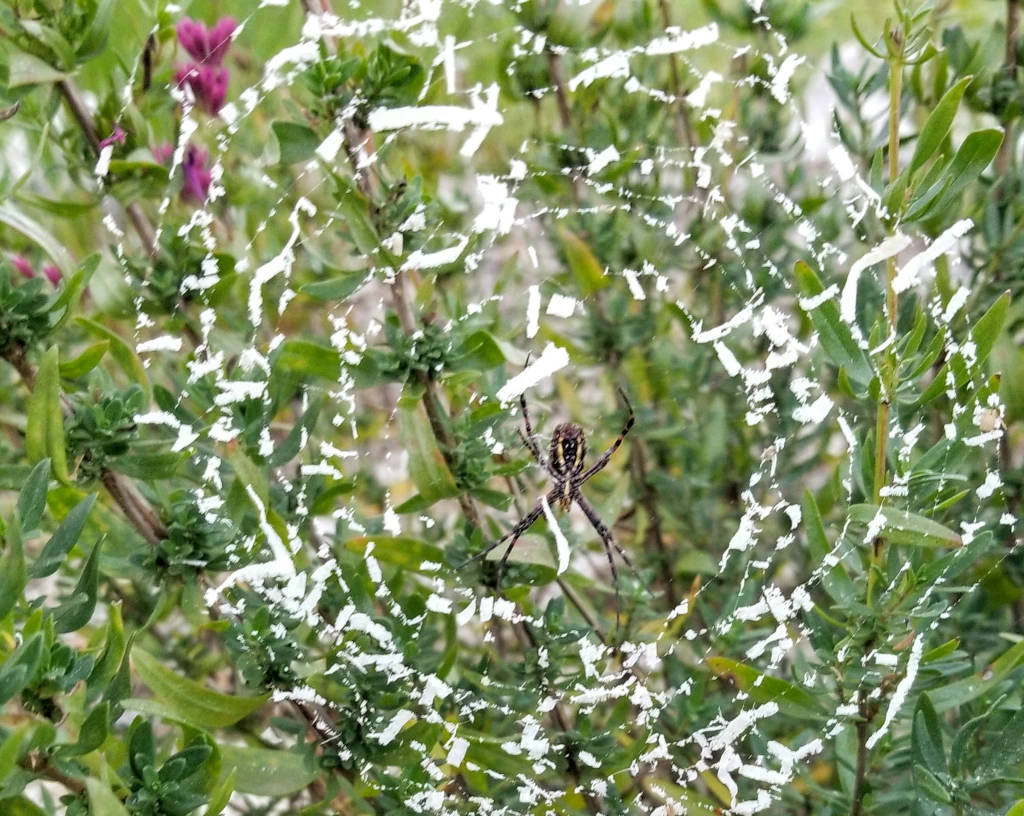
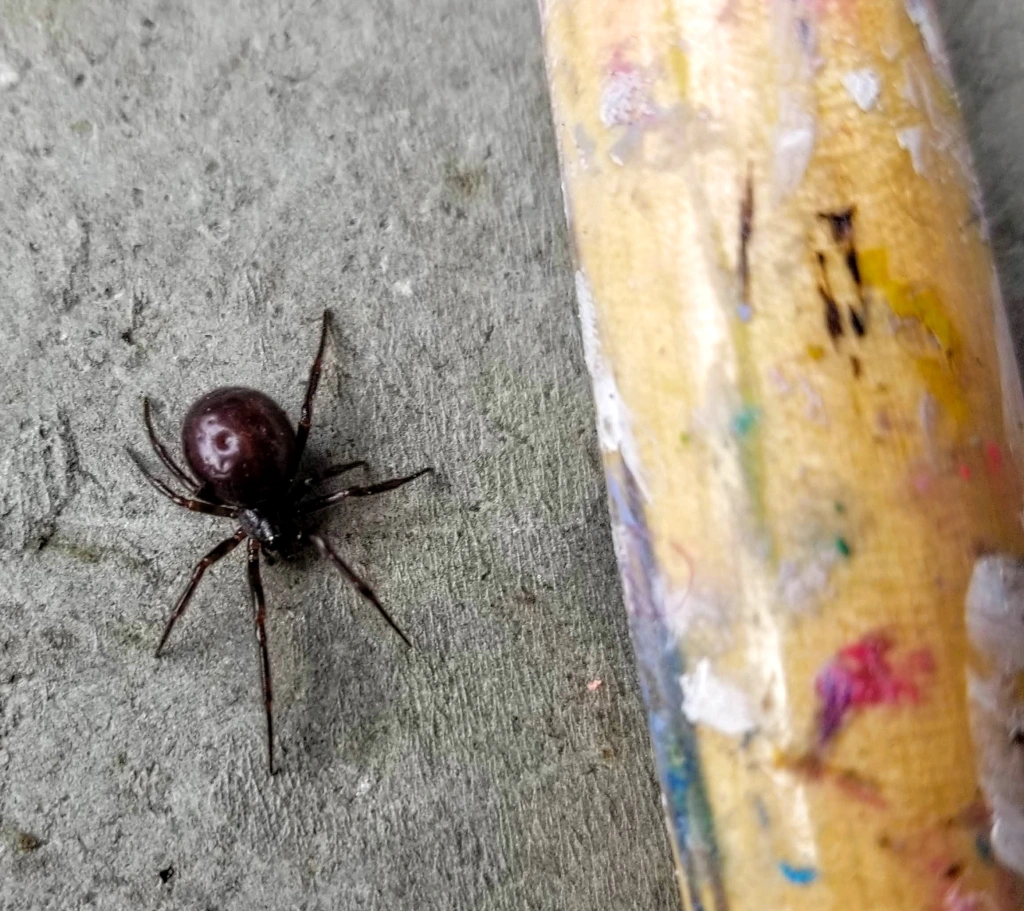
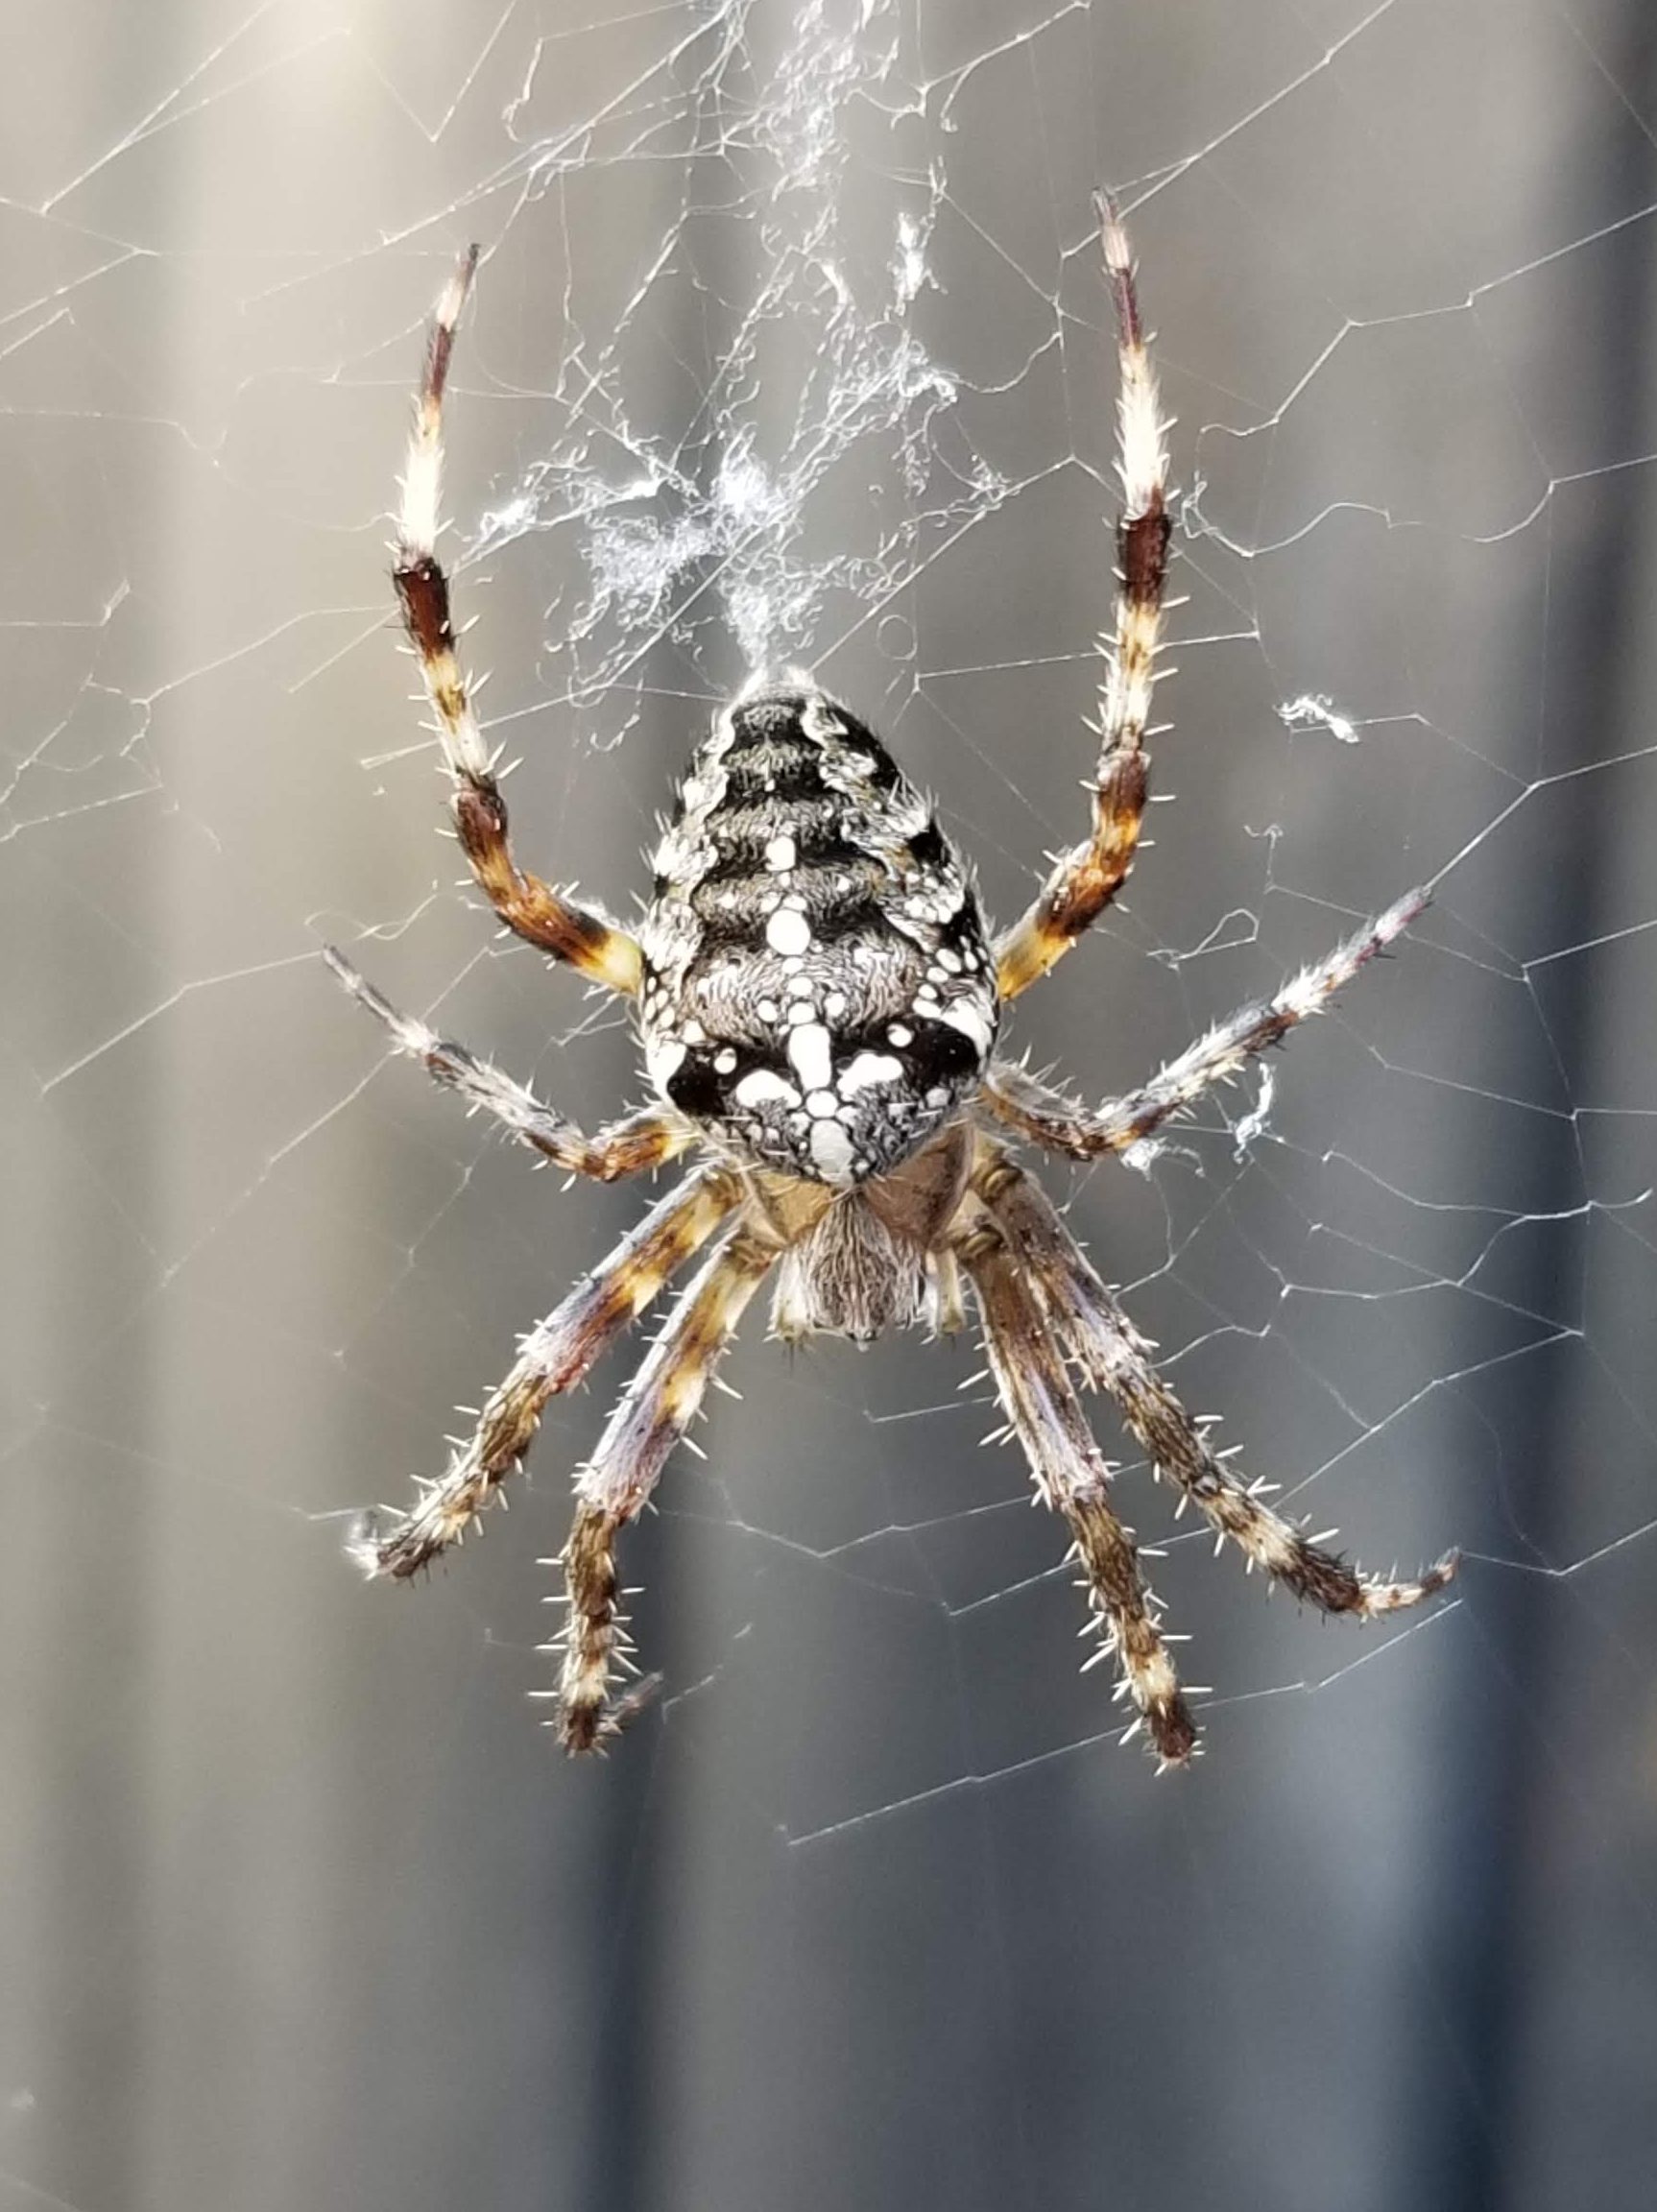
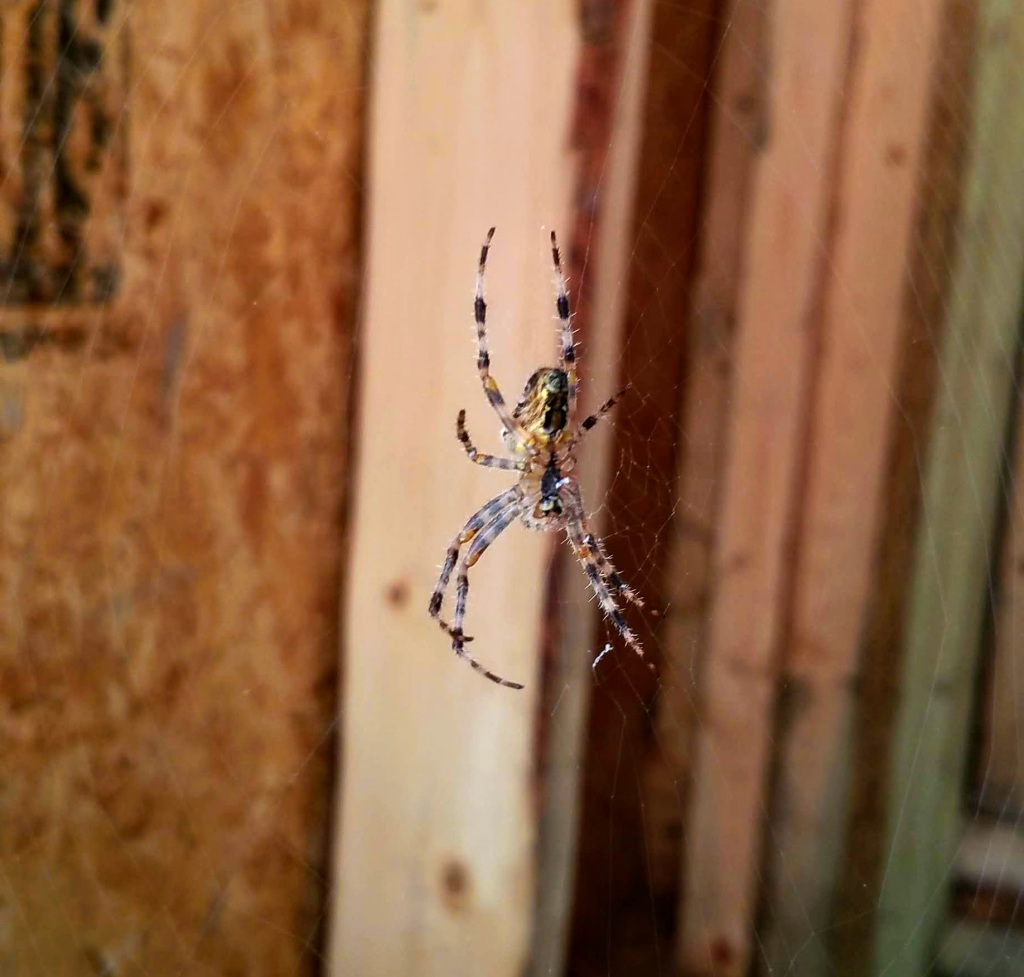
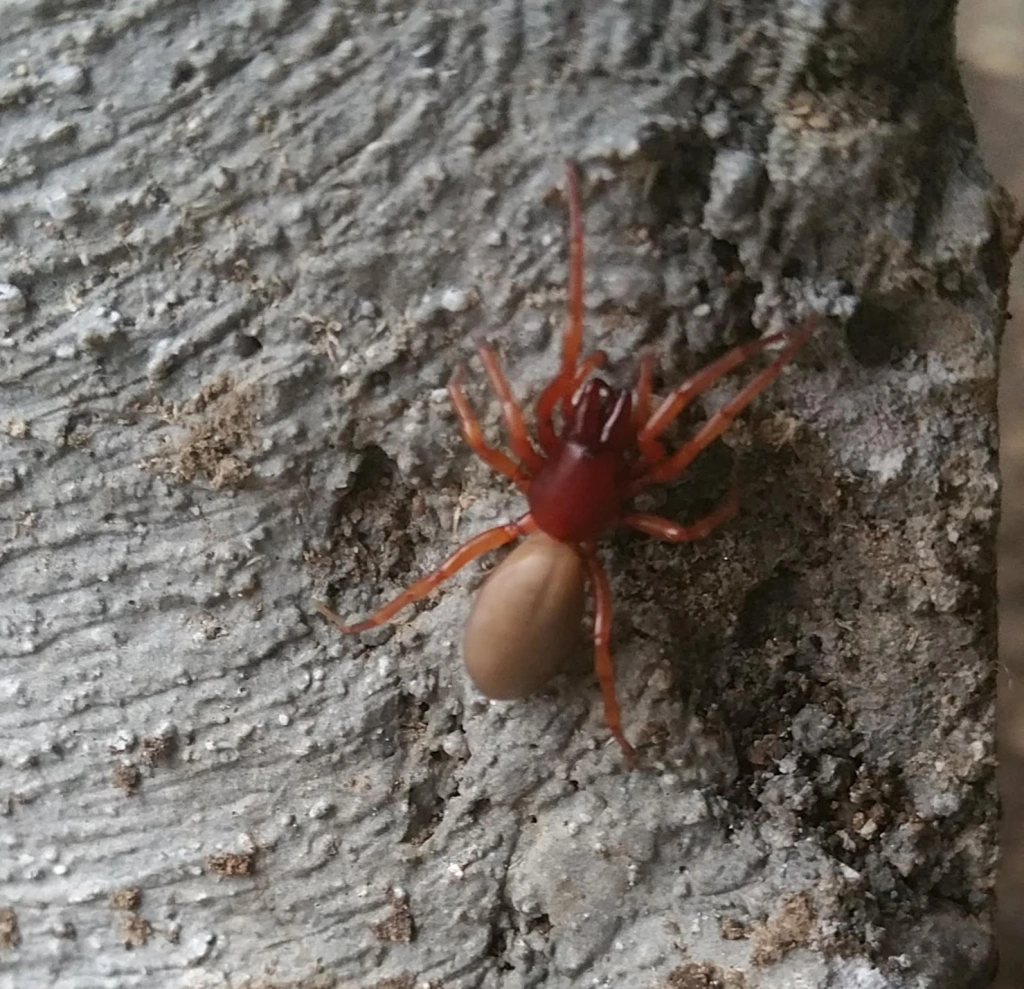
A yellow garden spider, or ‘corn’ spider, was safely hidden in amongst the branches of some Hyssop until some blown sawdust from woodworking revealed his otherwise carefully concealed redoubt:
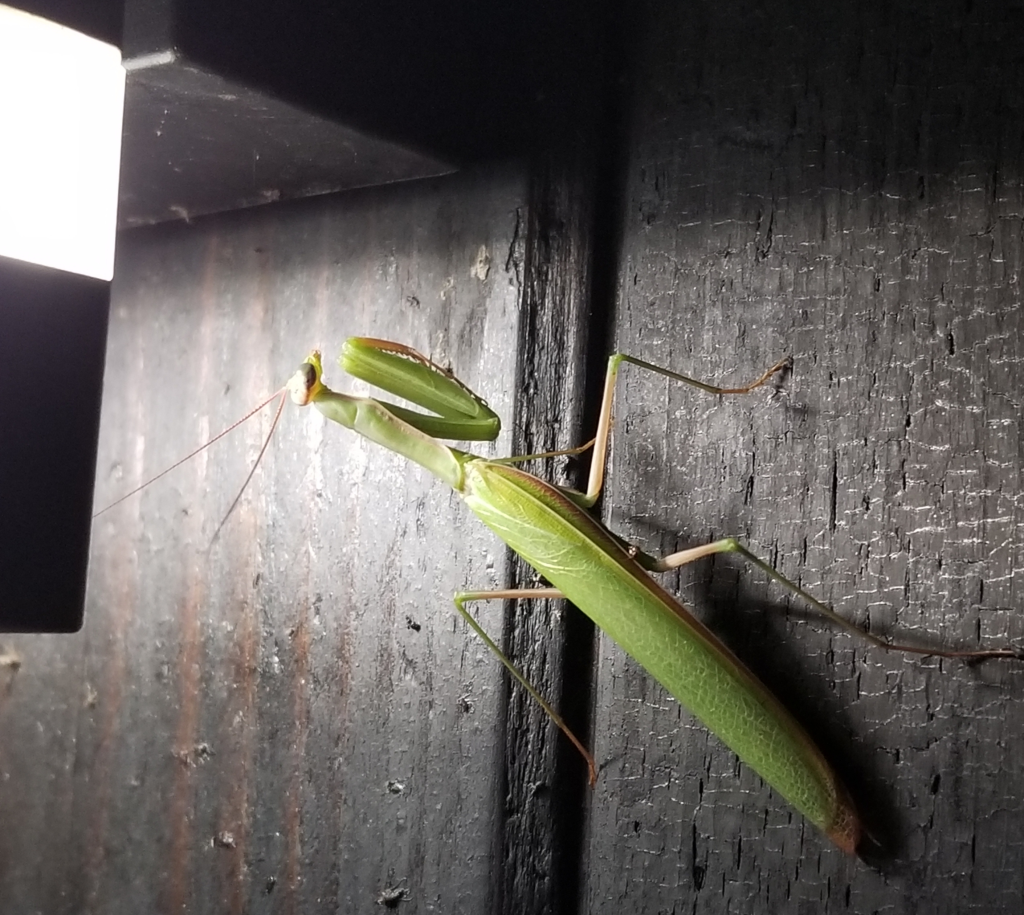
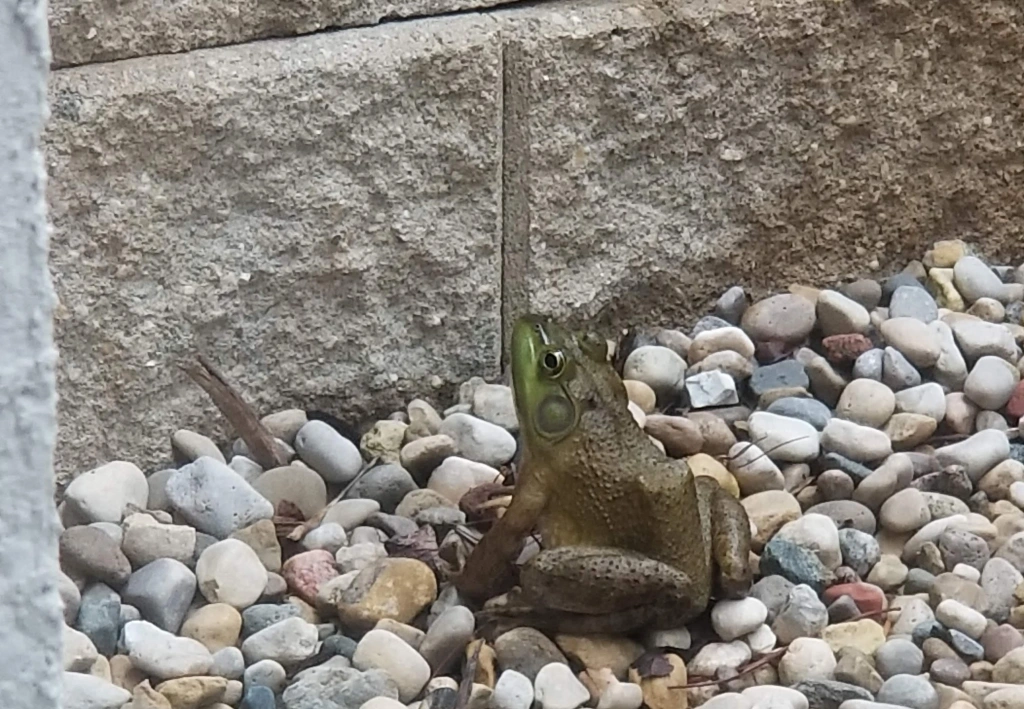
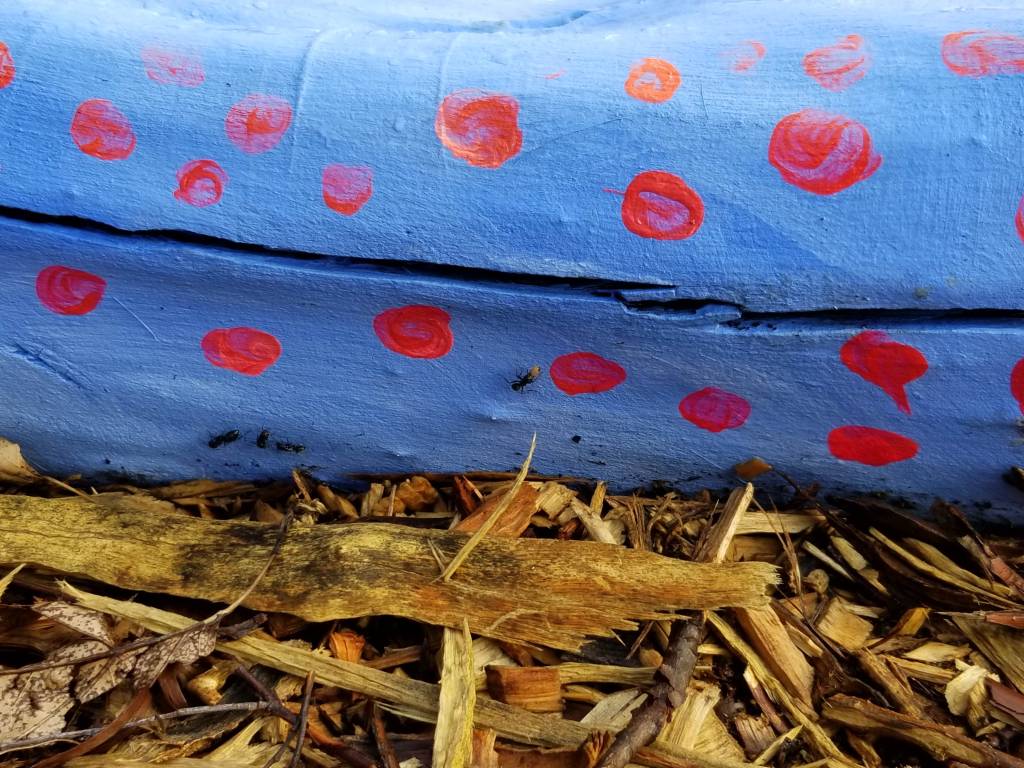
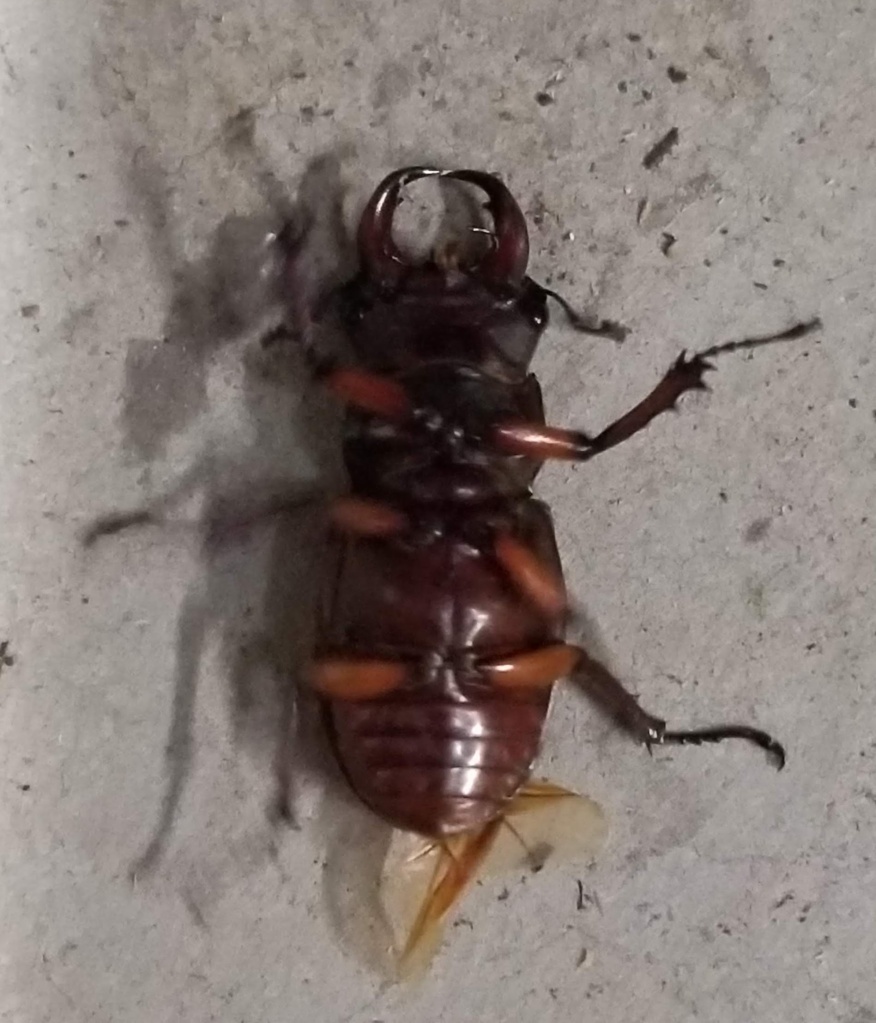
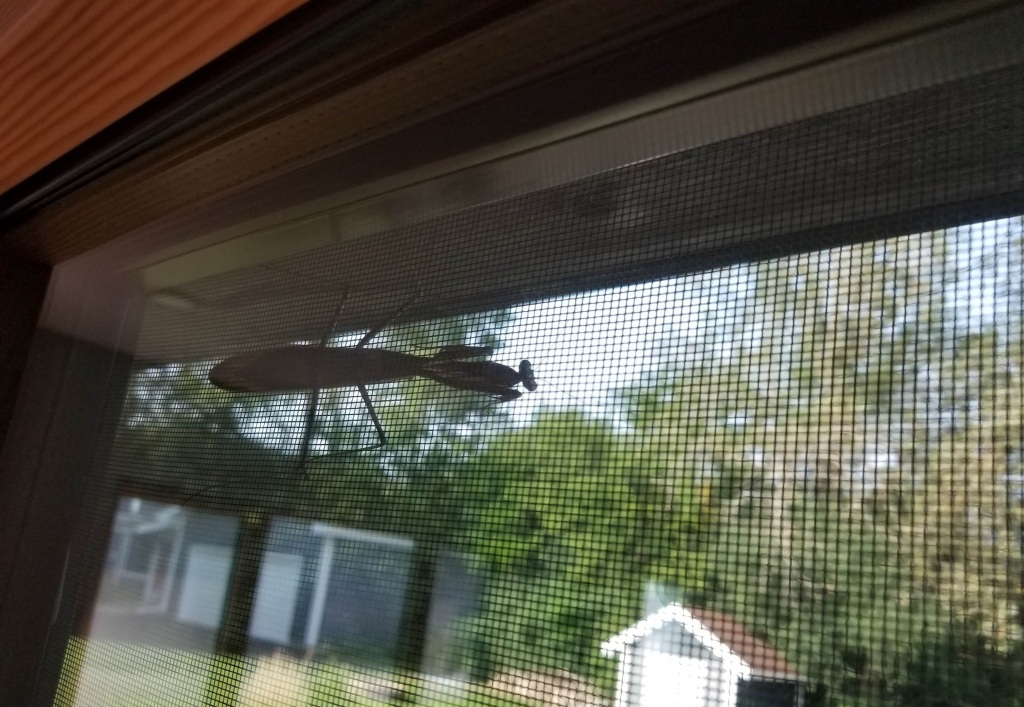
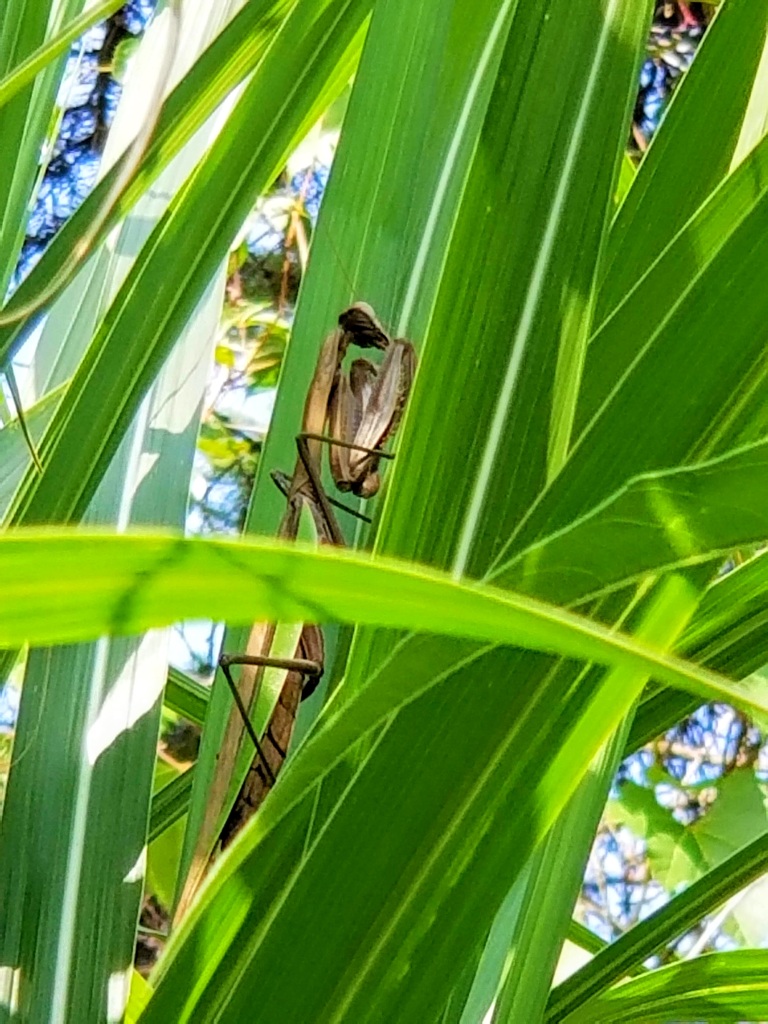
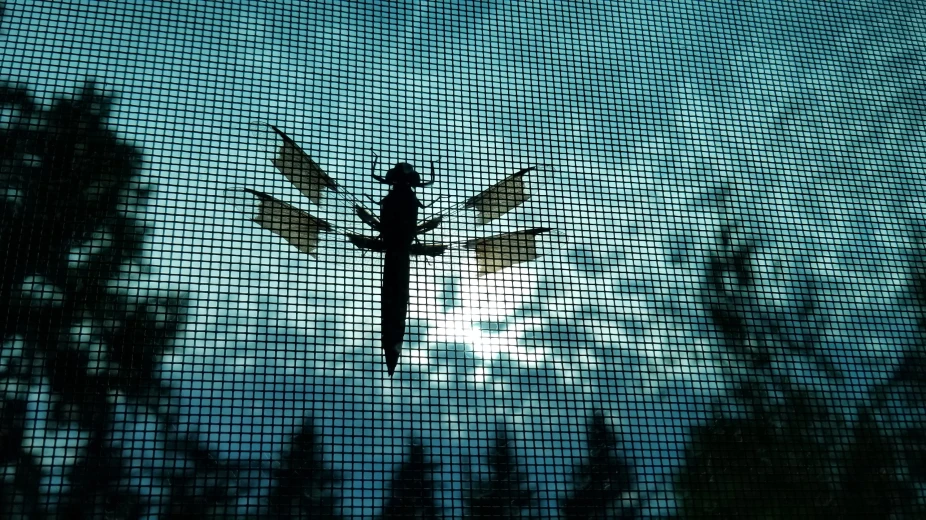
Our exterior lights are a beacon for clouds of insects, which draws in frogs, toads, any number of spiders, and even an occasional praying mantis, in this case below one of our garage lights, acting as nightwatchman:
With the help of all of our birds, our yard has been mostly pest free when it comes to destructive insects. These bug vacuums are also great fun to watch and listen to as they pass through each day.
Sometimes, as we come around the side of the house to enter the backyard, it’s not uncommon to see a couple hundred birds take off in a cloud of desperate motion. Once they realize it’s just us, they usually return within a matter of minutes. At first this was unsettling, especially for my daughter, but now it’s just part of the natural rhythm of working and playing in the backyard.
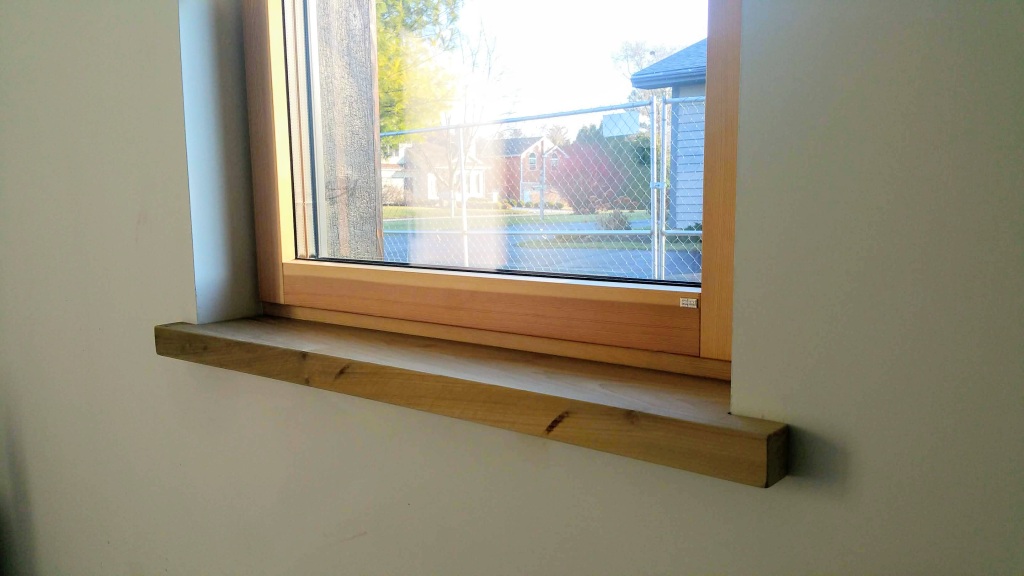
In addition, the birds make use of the house for resting spots, whether on the edge of the roof, our deep window sills, or even the railings around our basement window wells.
As the quantity of flowers has increased, we’ve also seen an uptick in the number of hummingbirds. This year we had 2-3 consistently stop by, even without a dedicated feeder for them. It was fun to watch them dive bomb each other, fighting over the many flowers in the yard.
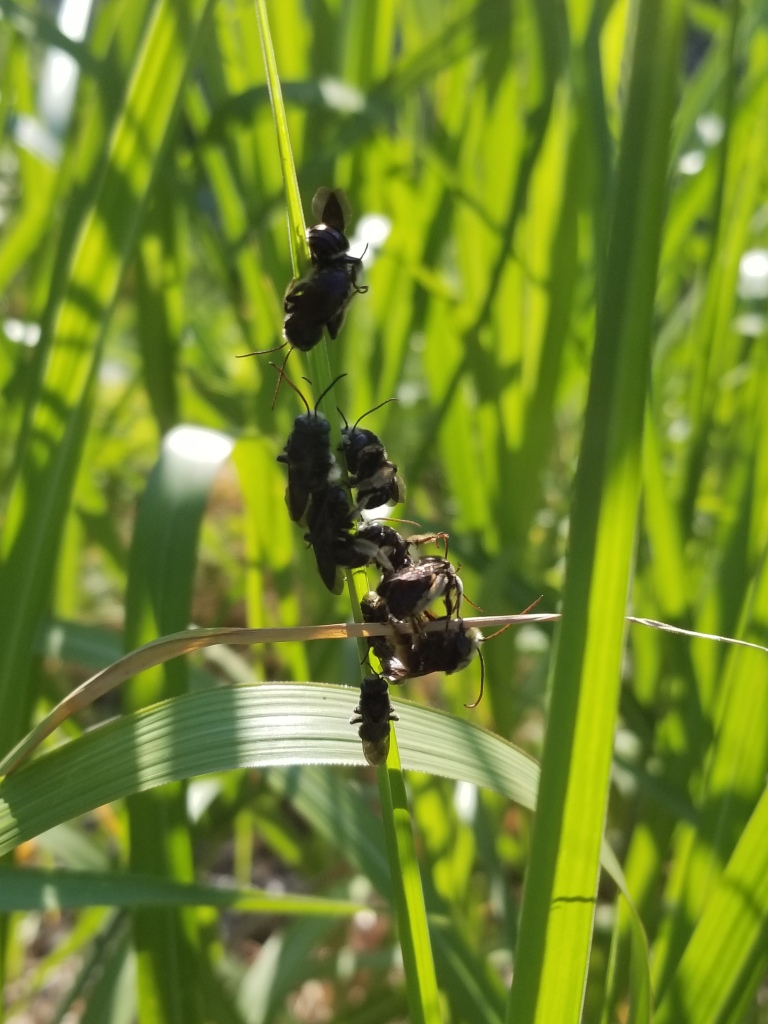
One of the stranger phenomenon we witnessed in the yard was a small congregation of bees showing up on our Miscanthus giganteus in the front yard. They were showing up in groupings on individual blades of grass, as many as 15-20 on each blade. This happened almost everyday during the heart of the summer, usually late in the afternoon or early evening. It wasn’t clear what they were doing, perhaps mating or sharing food? Regardless, they were mostly quiet and unaggressive, even when we approached and got close to observe. Based on their size and coloring, they may have been mason bees (?).
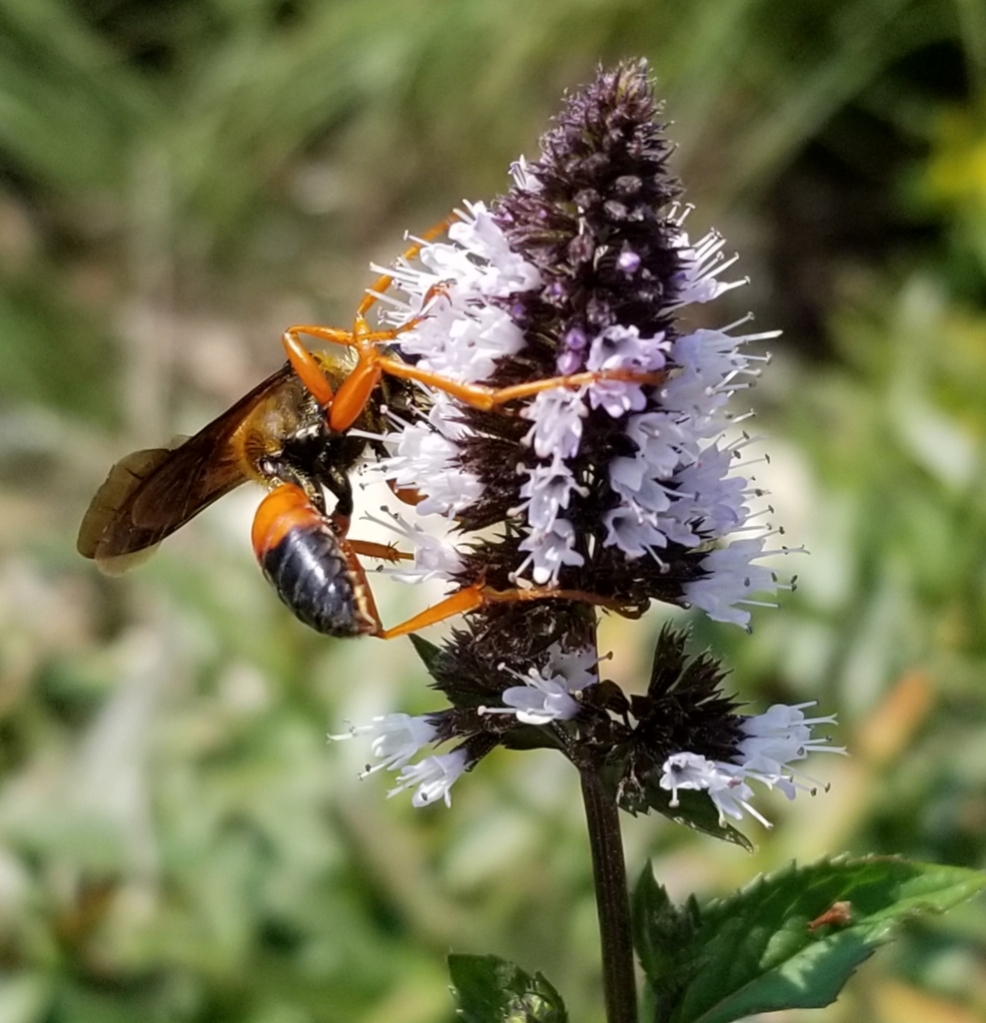
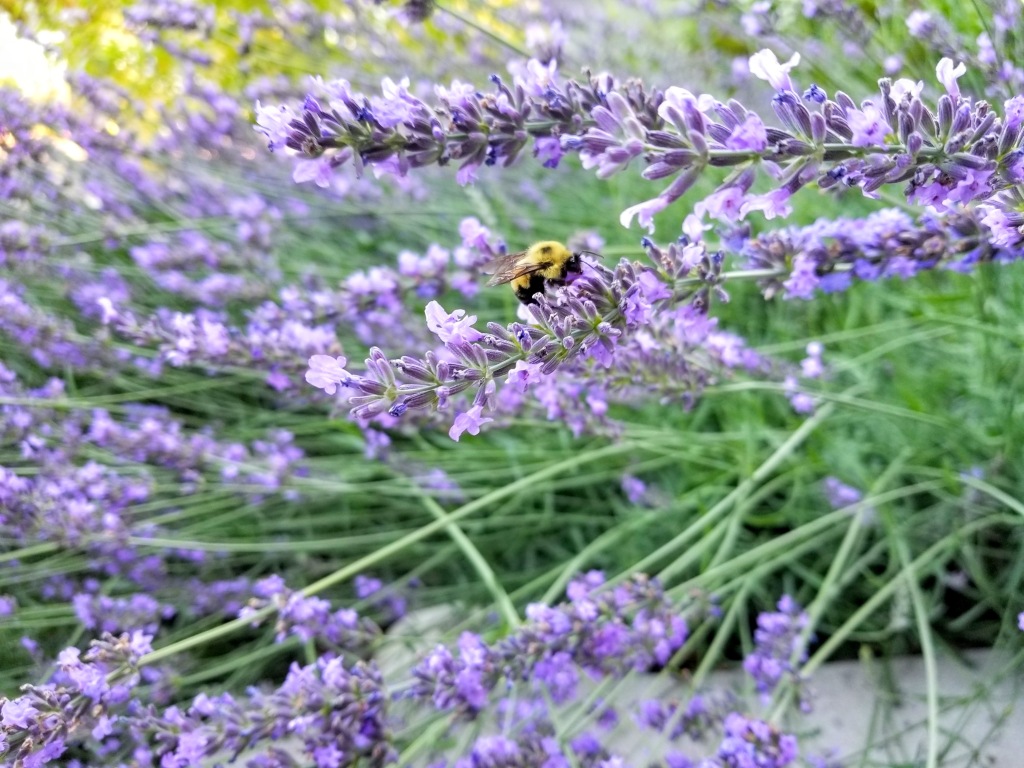
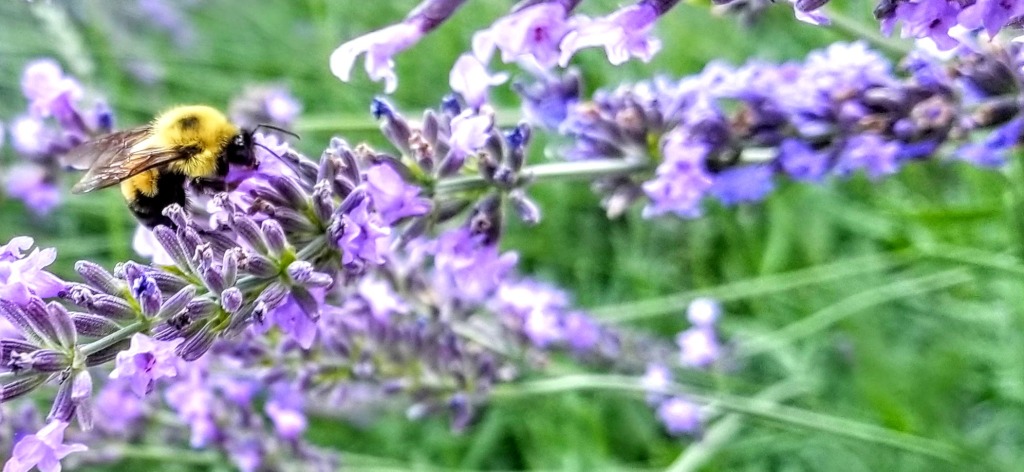
Peppermint, when it’s flowering, rivals even the Russian sage in terms of its ability to attract pollinators:
The yard is beginning to show signs of the ‘unity in diversity’ Alexander von Humboldt wrote about 200 years ago. From soil to sky, it’s the rich abundance of life celebrated by permaculture advocates even today.
Harvest, or: Produce a Yield
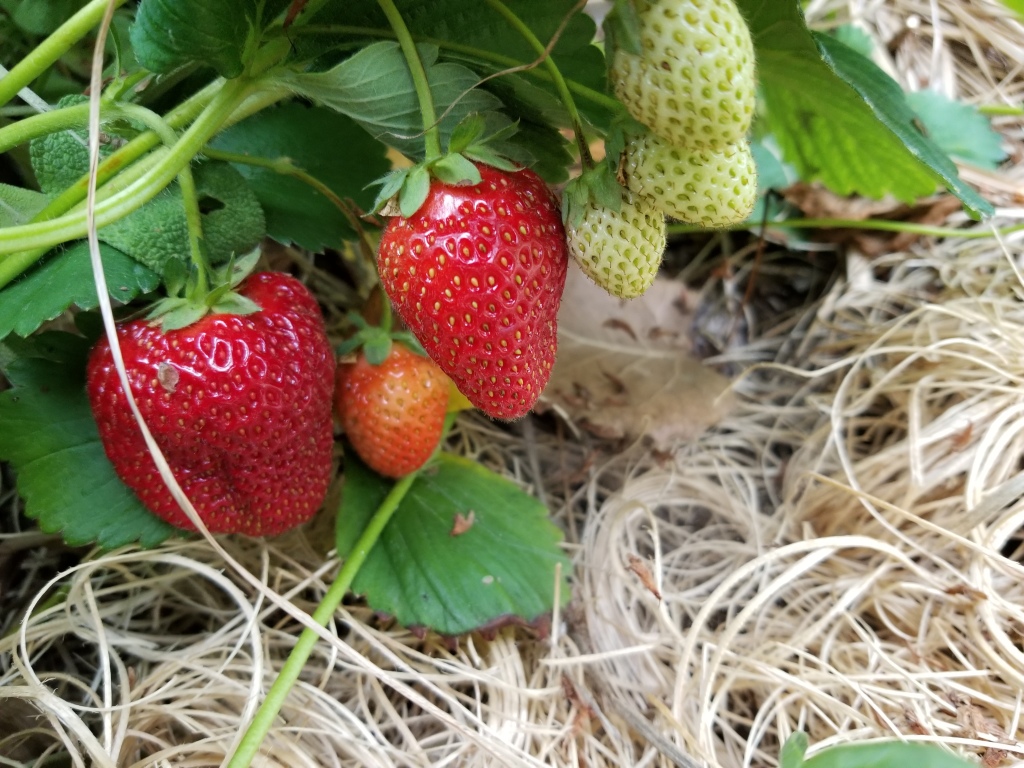
One of our biggest harvests of the year was the consistent fruiting of our many strawberry plants. Only during some drought in June and July did the flowering and fruiting slow down. There was some competition — as the robins, chipmunks, and squirrels took their share — but there was always plenty leftover for us.
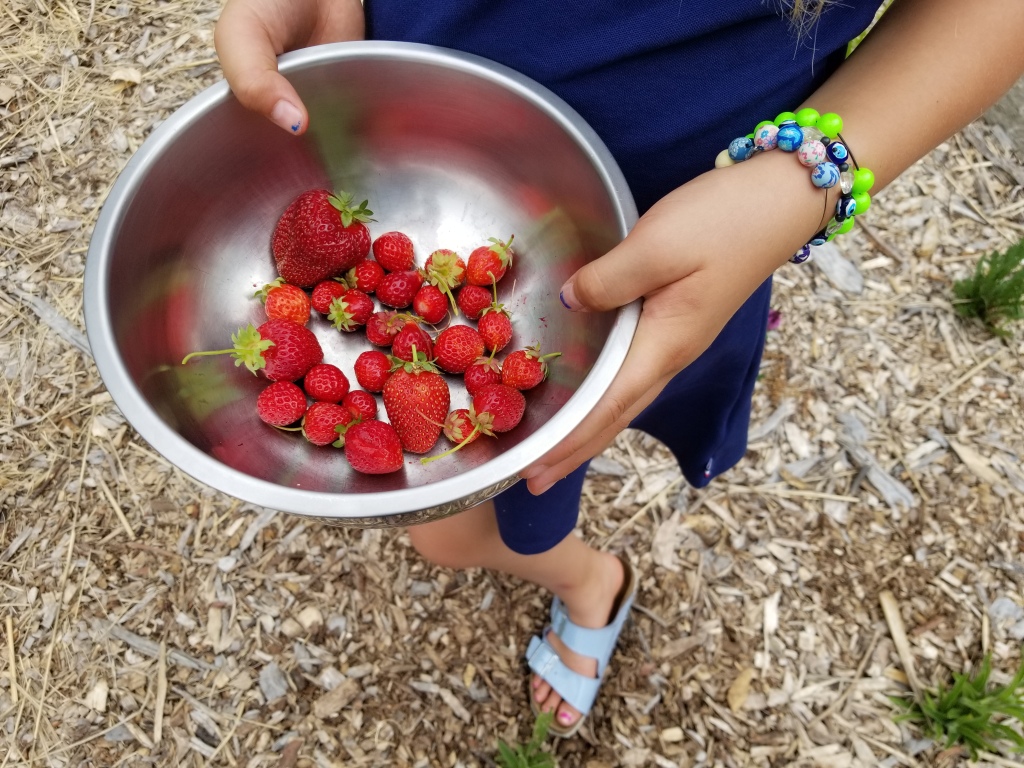
It took a couple of years for them to get going, but the strawberry plants are finally stretching out, weaving their way through the yard as an effective groundcover, all while producing consistently sweet fruit:

The hügelkultur bed kept us busy as well. For most of the summer, and into fall, there was always something worth picking on a daily basis:

“In a healthy town every family can grow vegetables for itself. The time is past to think of this as a hobby for enthusiasts; it is a fundamental part of human life.”
— Christopher Alexander, et al., A Pattern Language

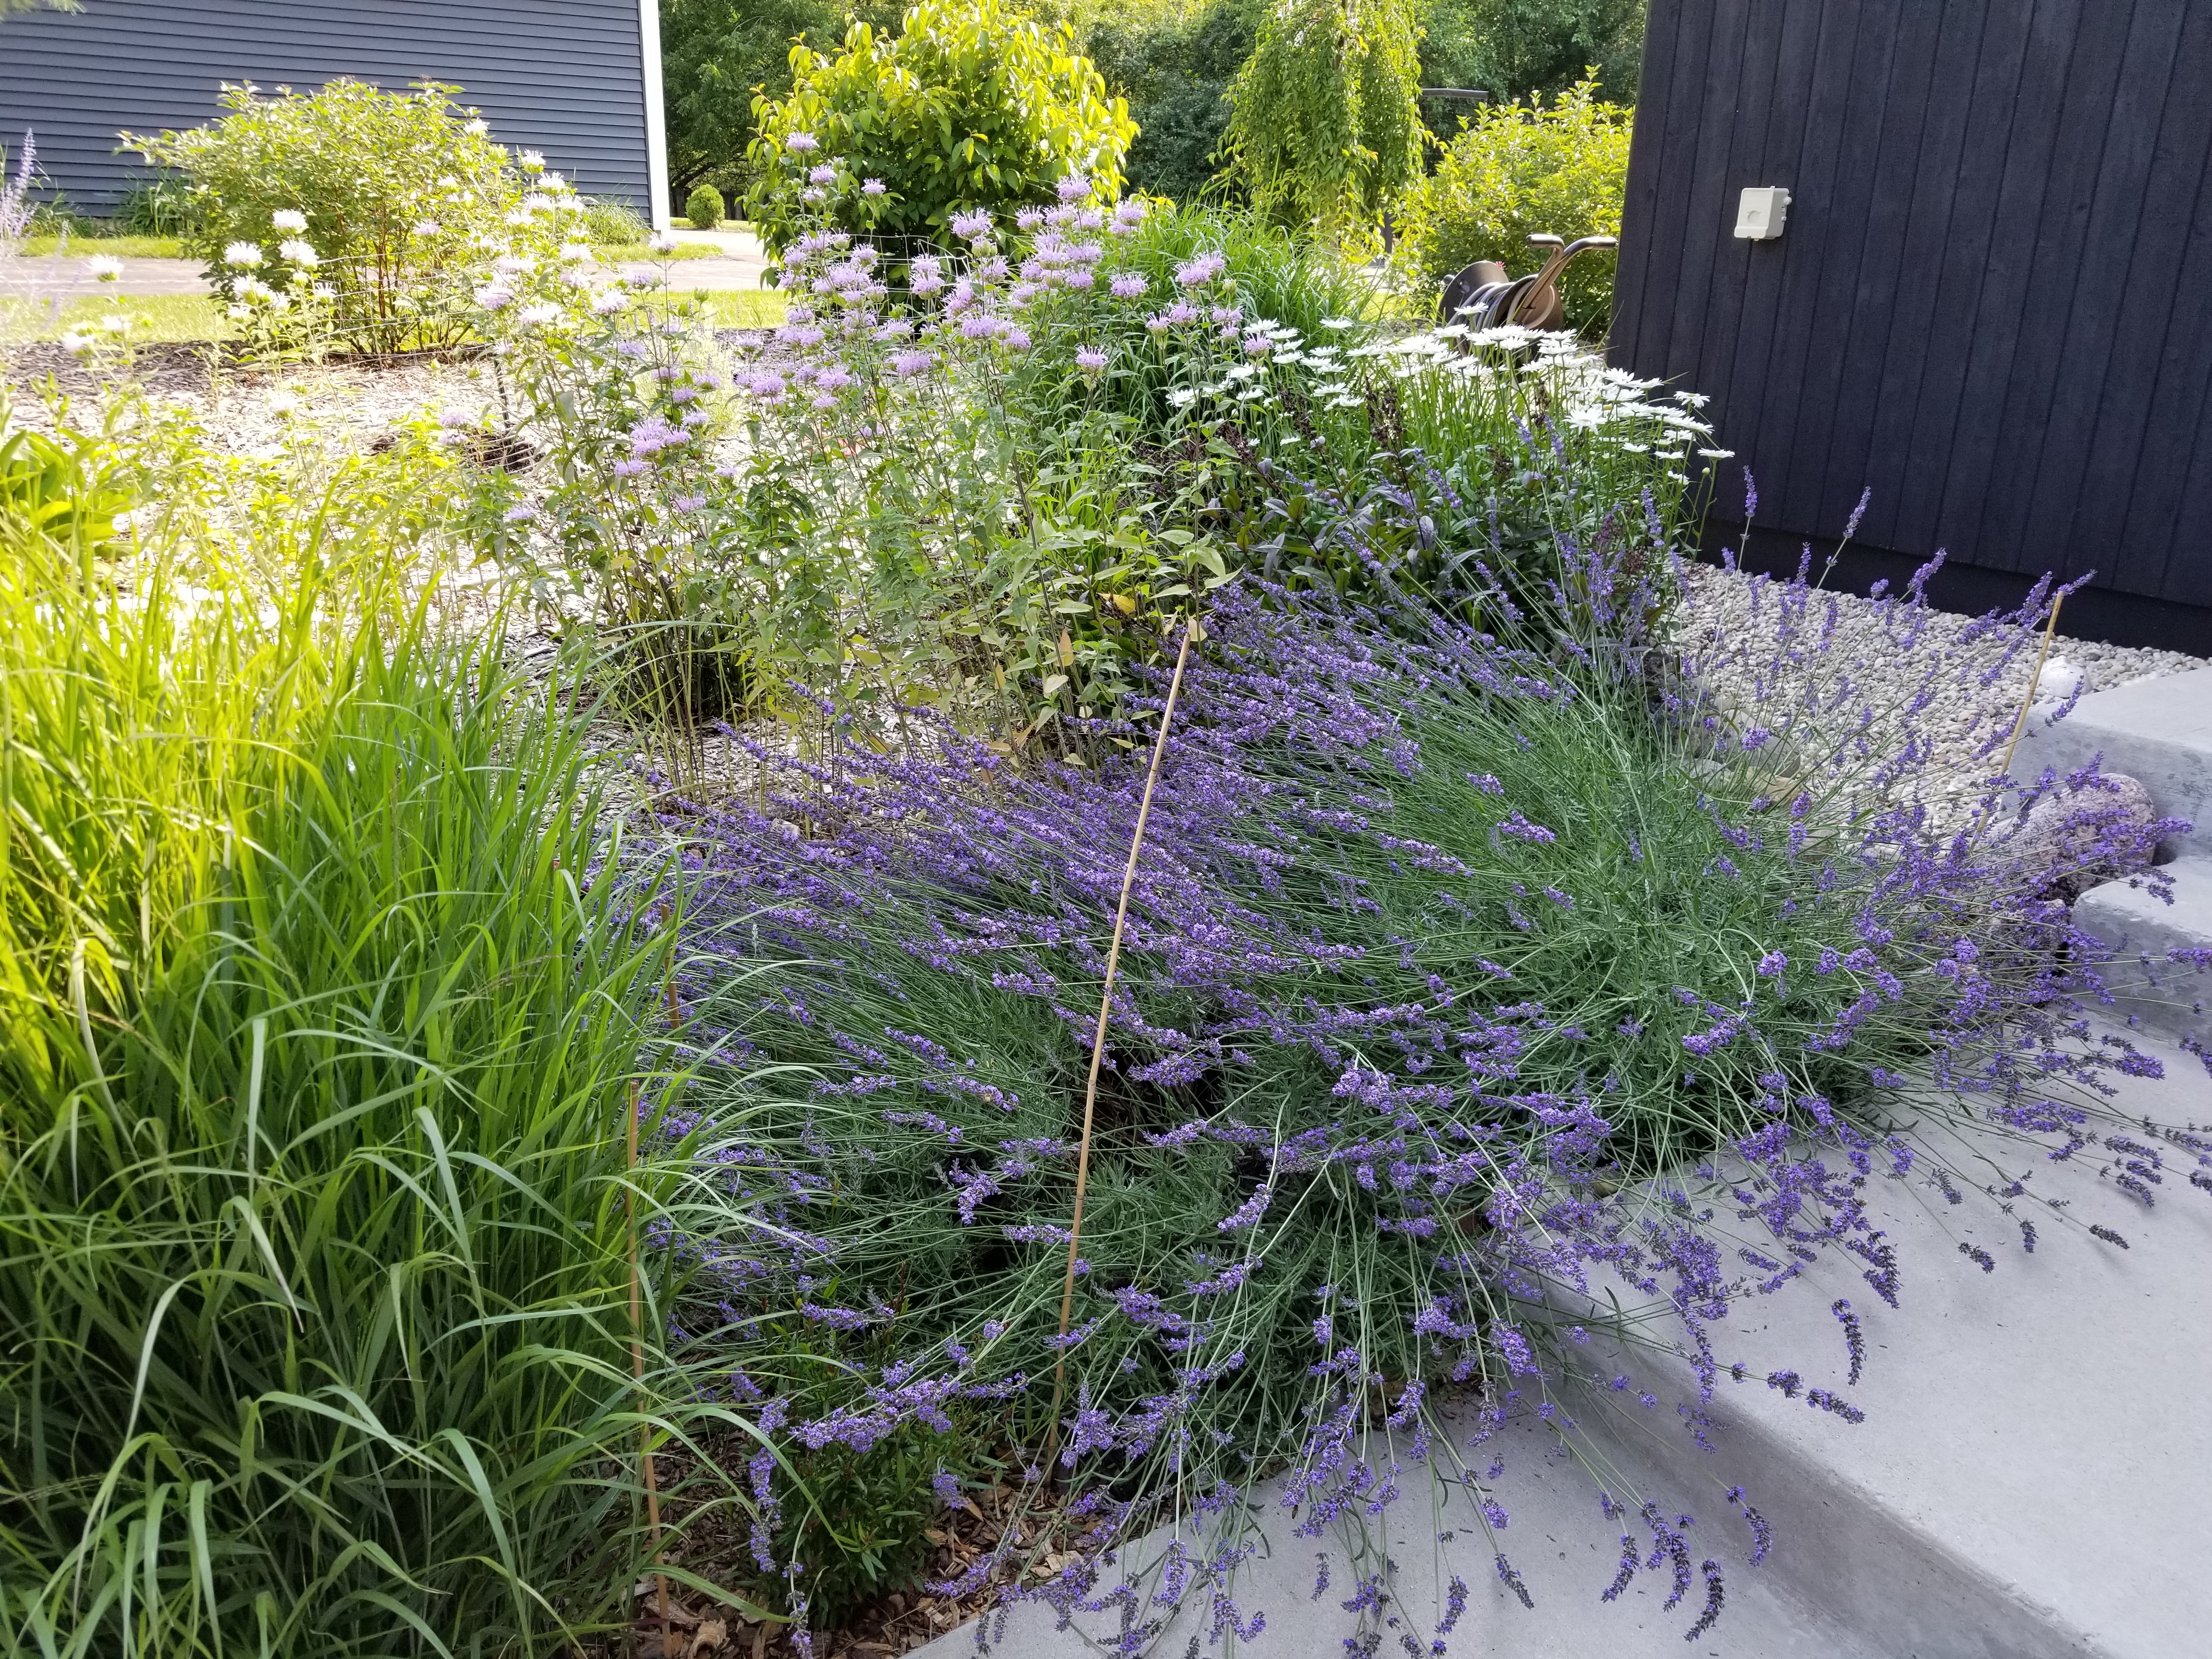
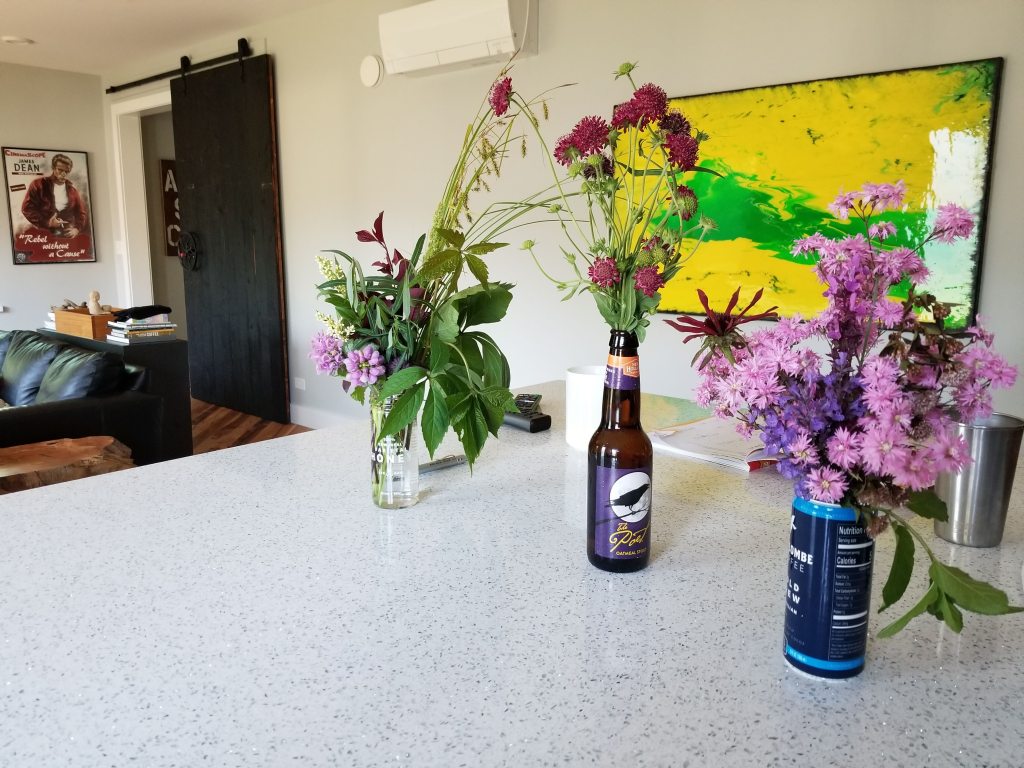
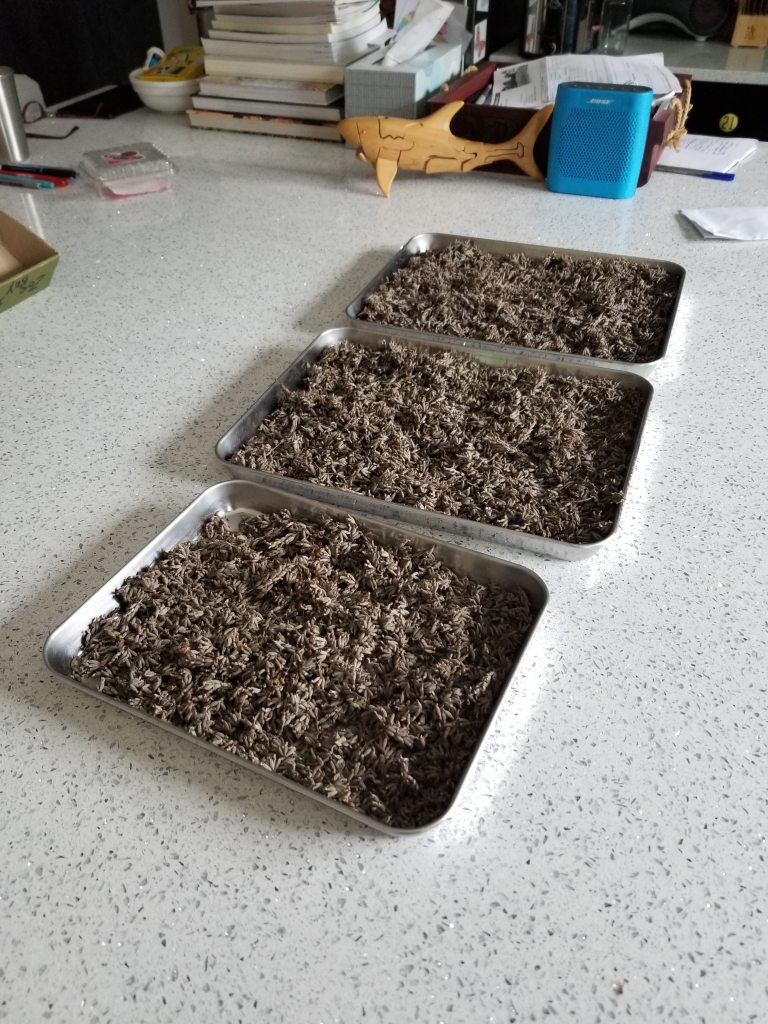
This summer produced a bumper crop of dried lavender, which we were able to give away to friends, family, and some coworkers in small cotton satchels:
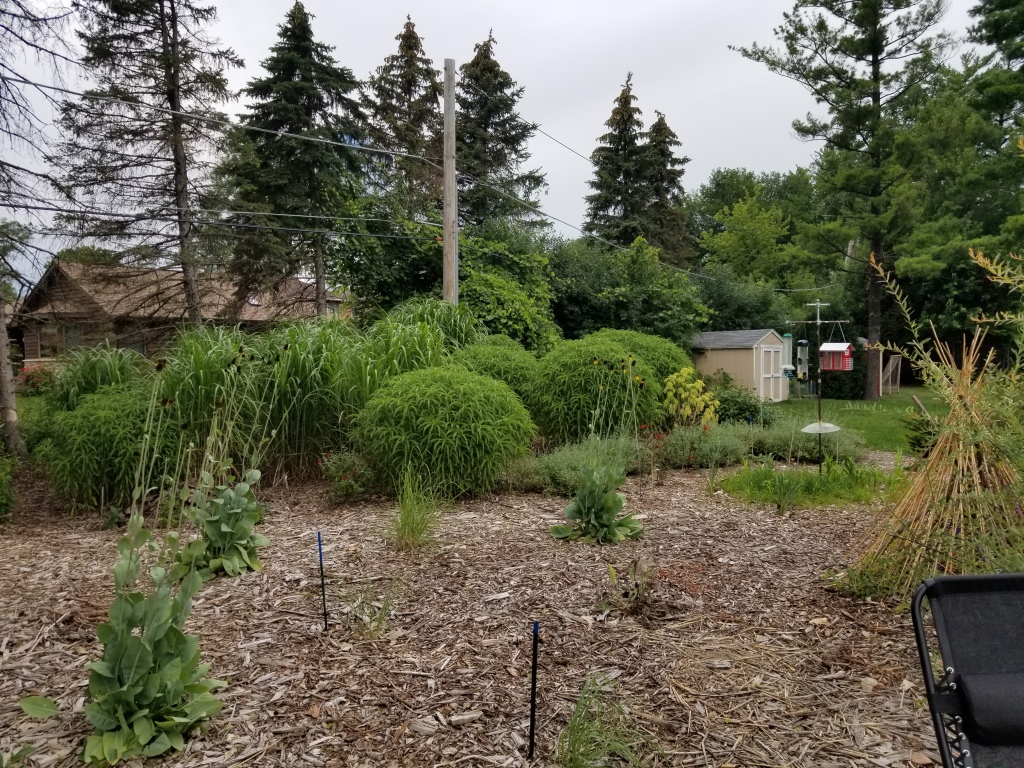
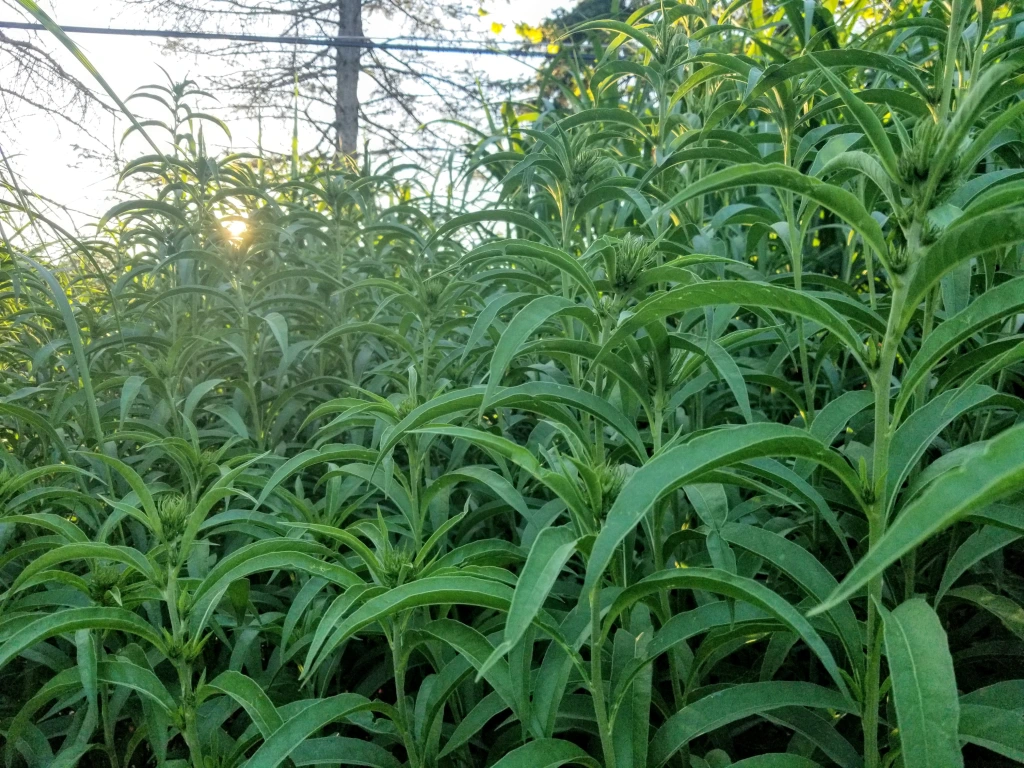
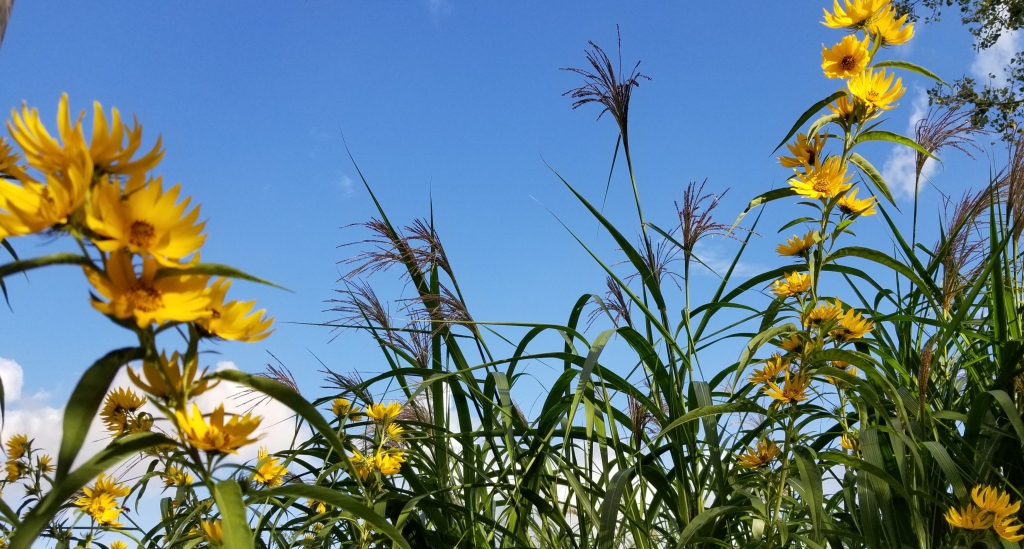
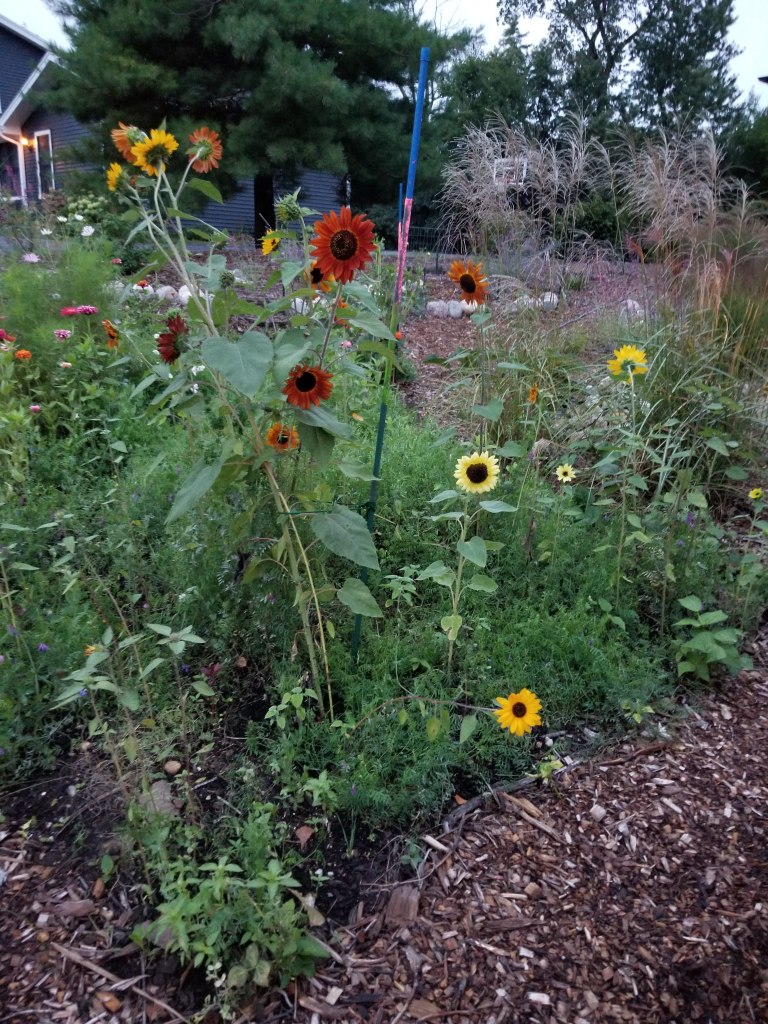
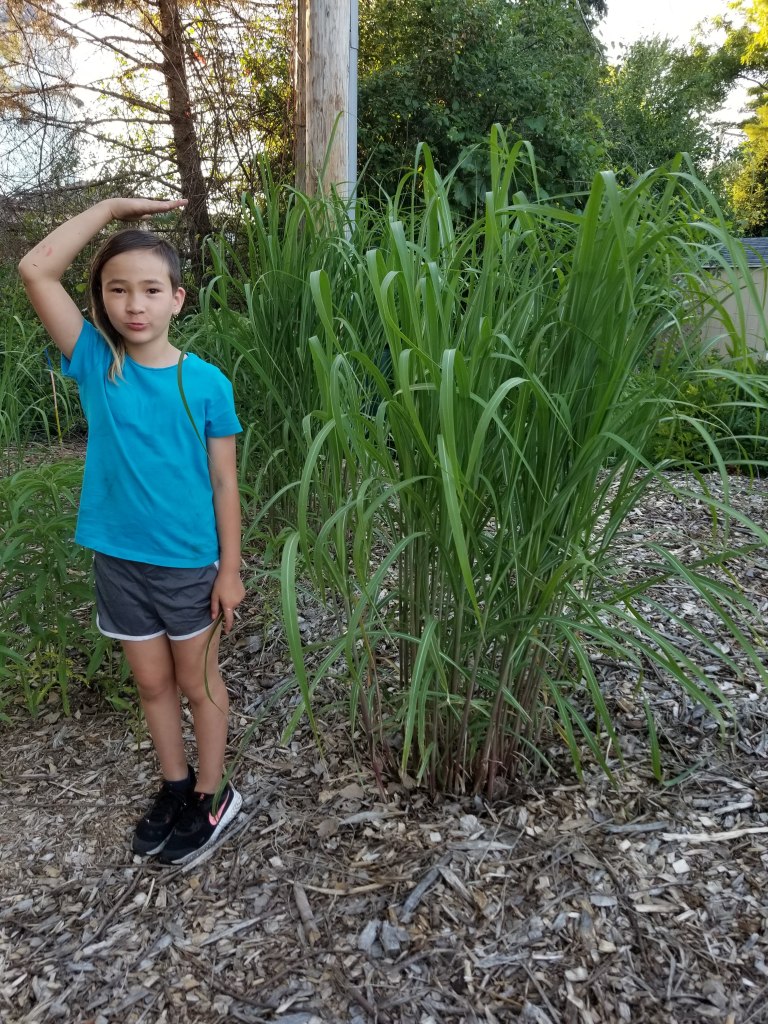
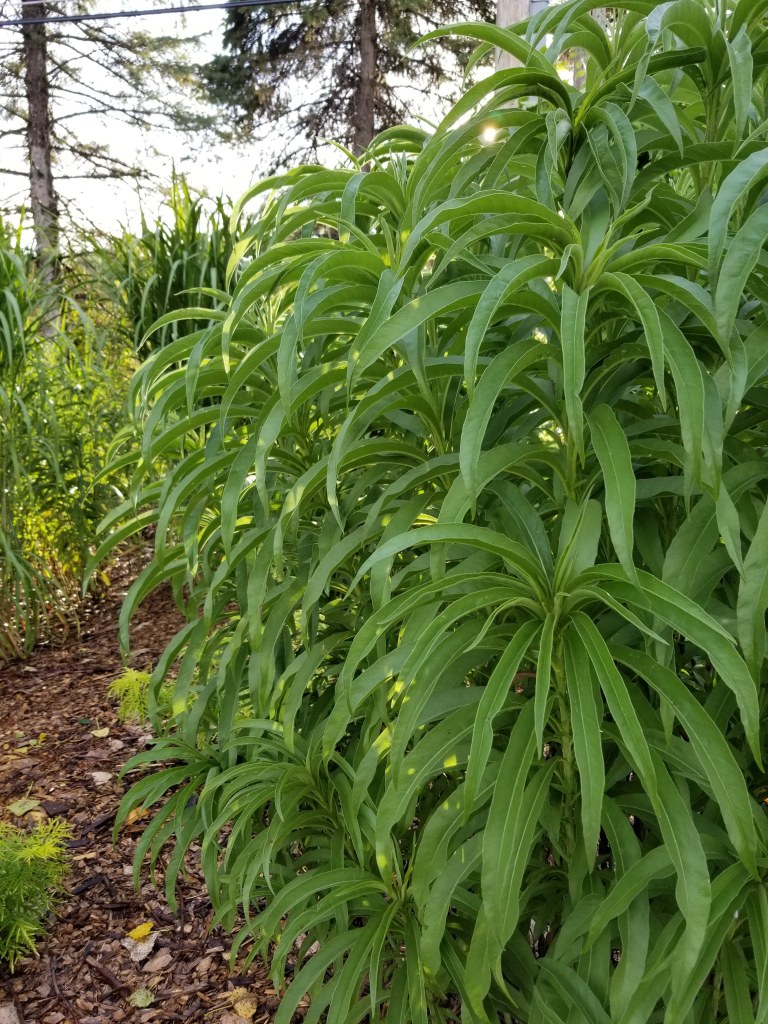
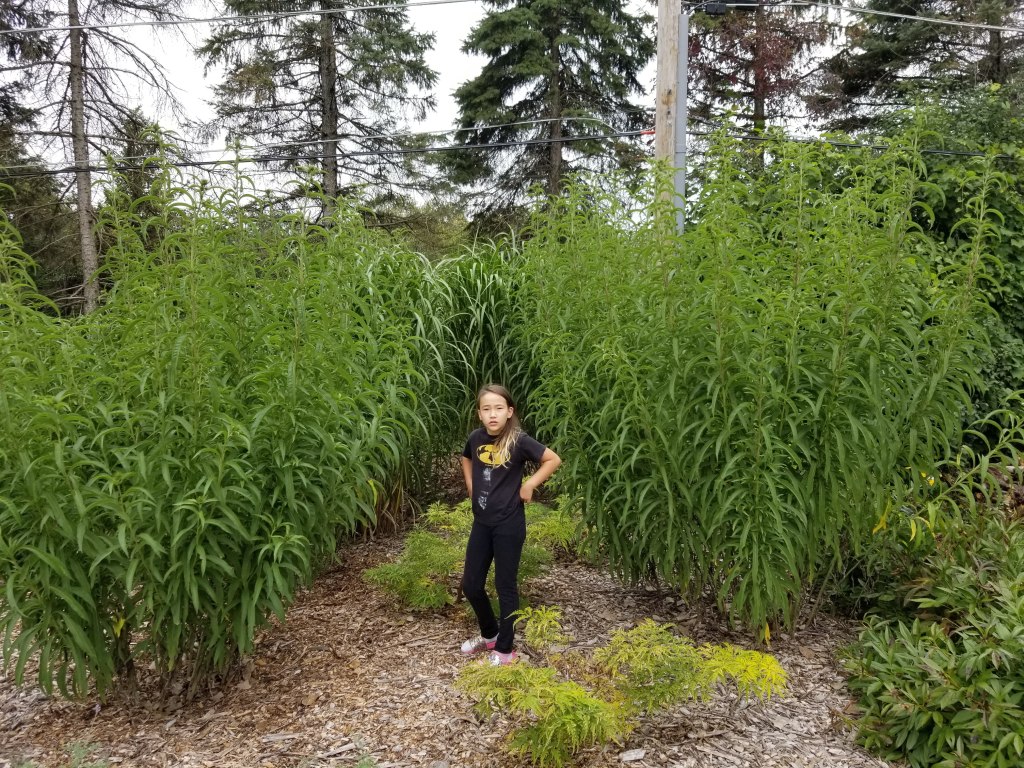
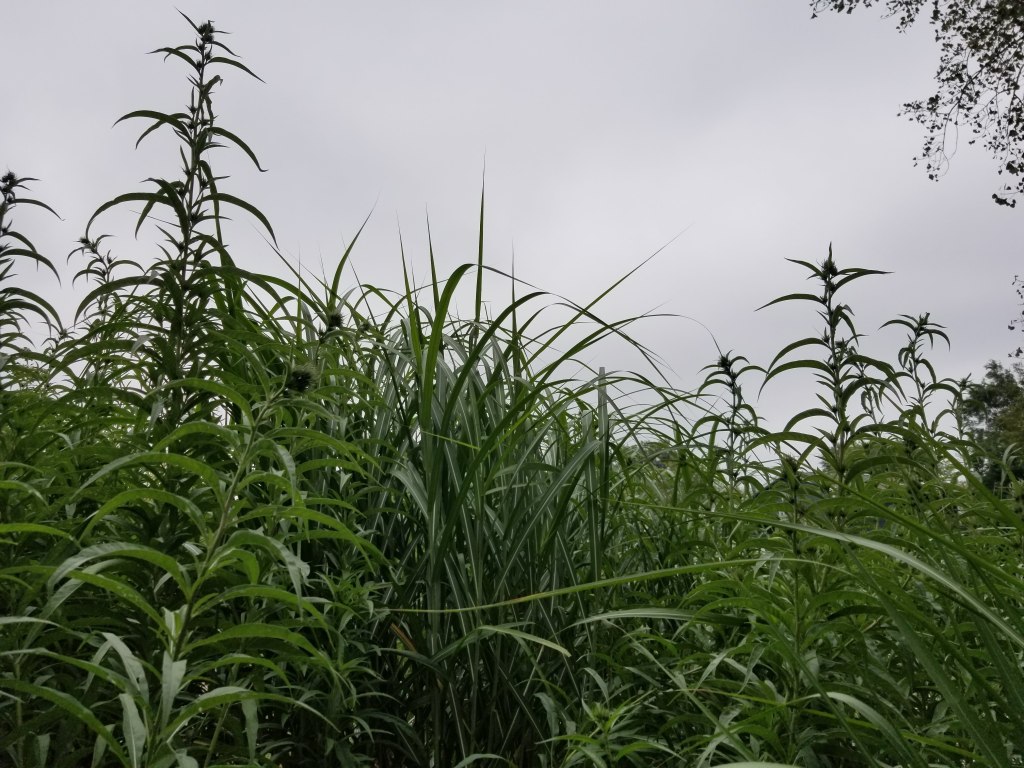
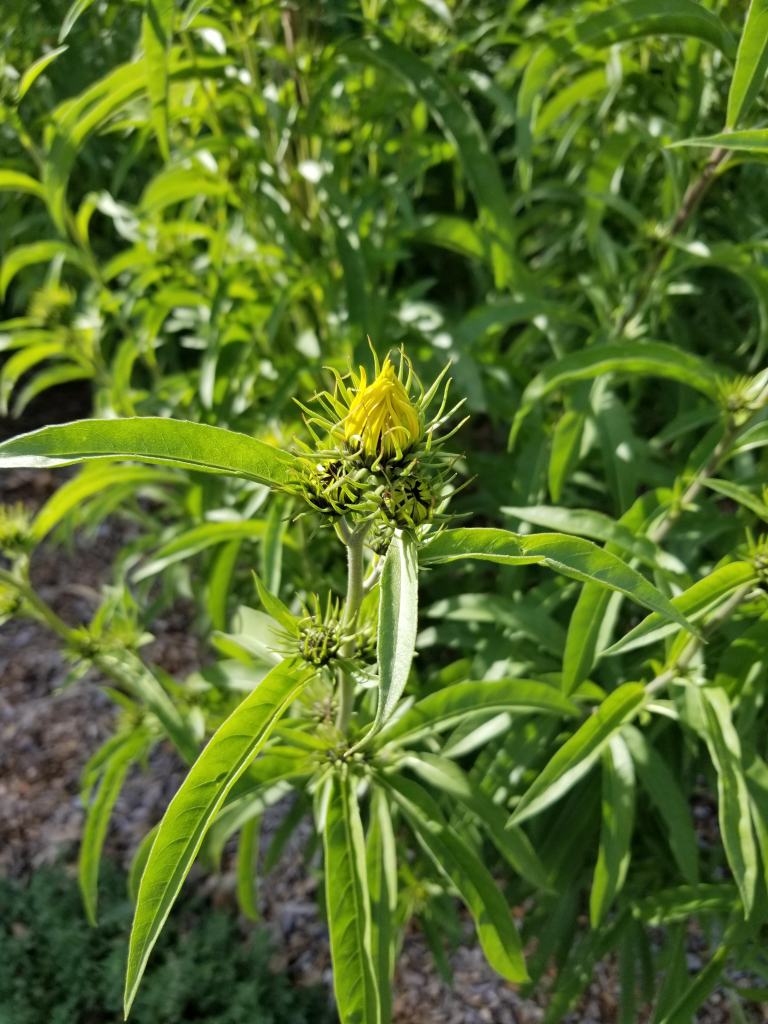
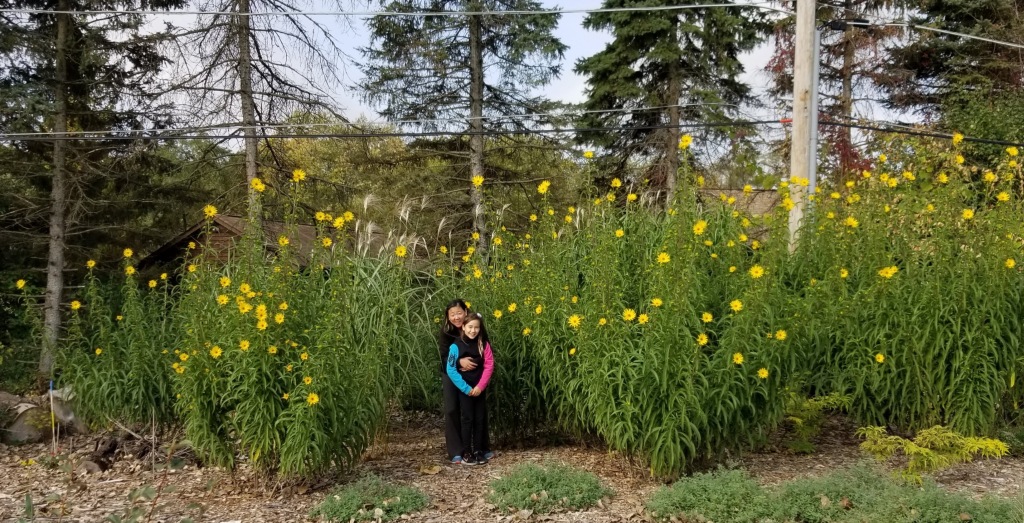
Each year the Miscanthus giganteus and the Maximillian sunflowers thicken up. This was the first year we could literally disappear from view by walking into the center:
We’ve been very happy with the bamboo-like look and structure of this combination:
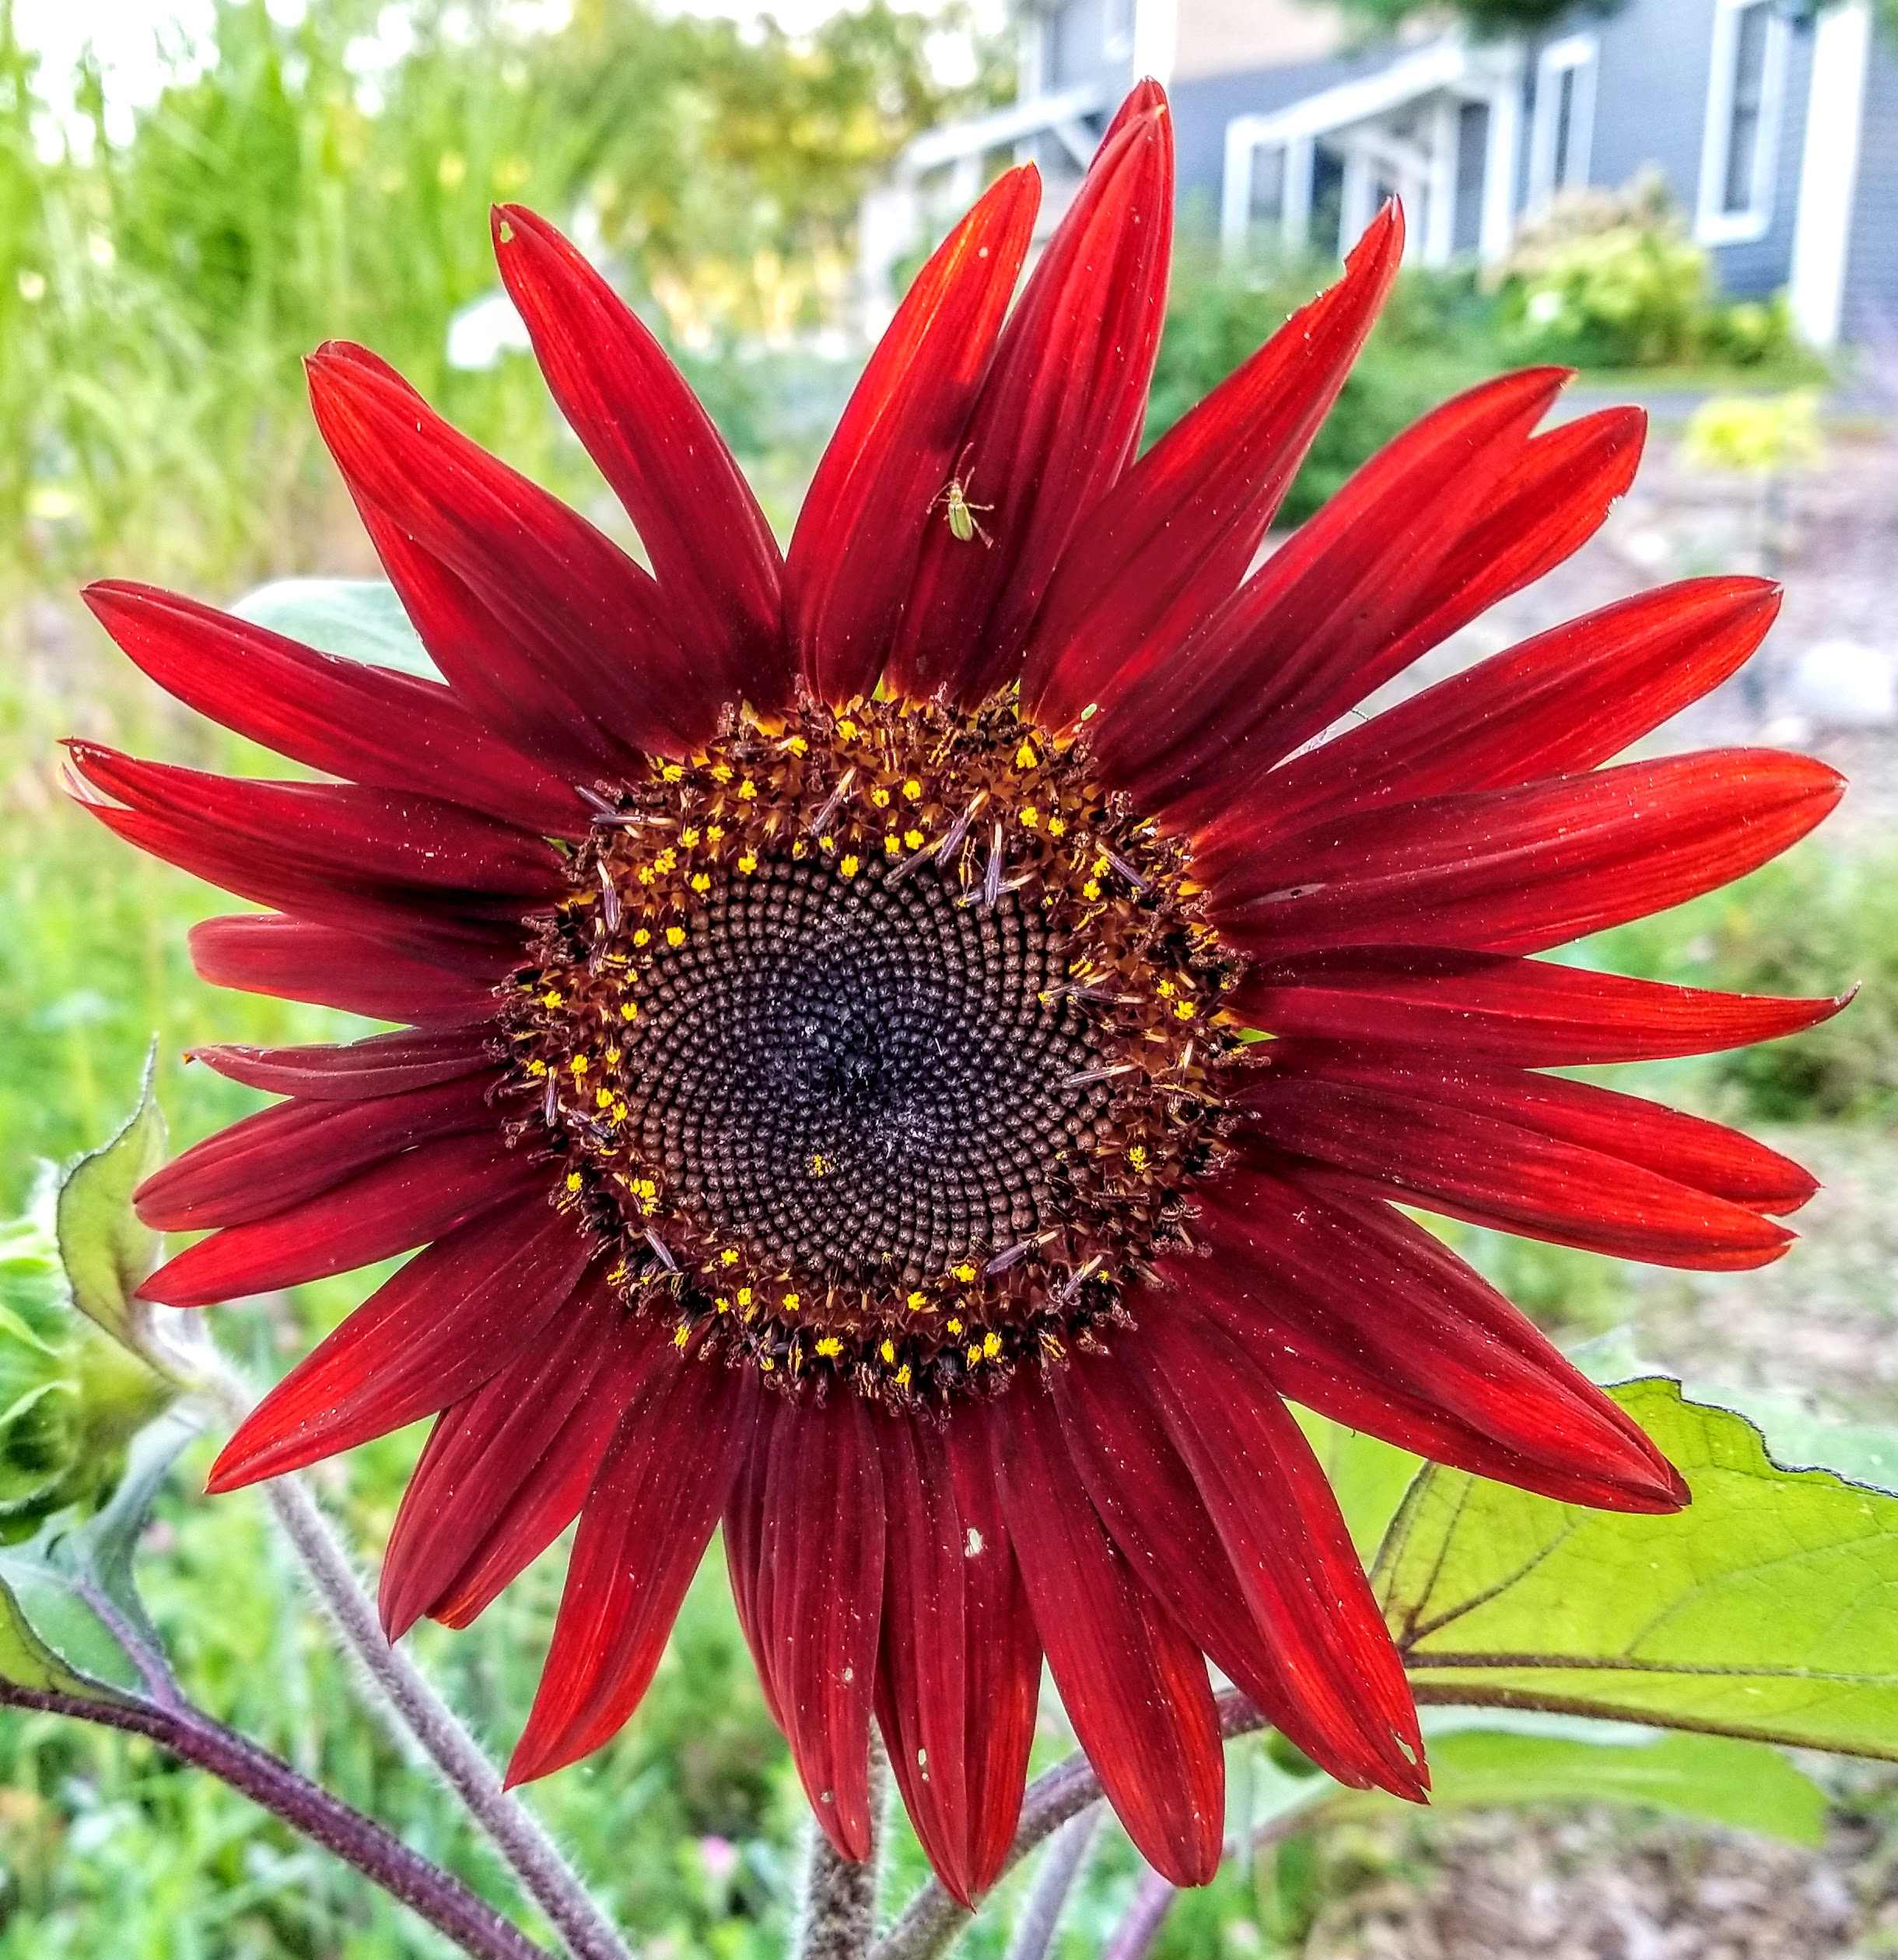
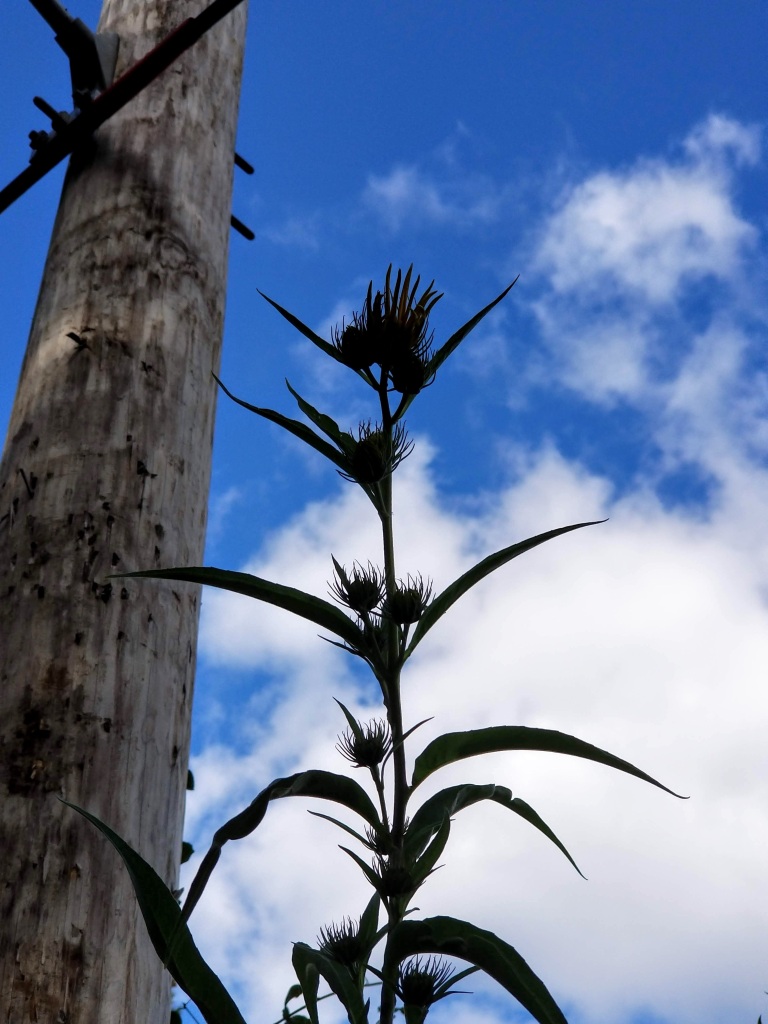
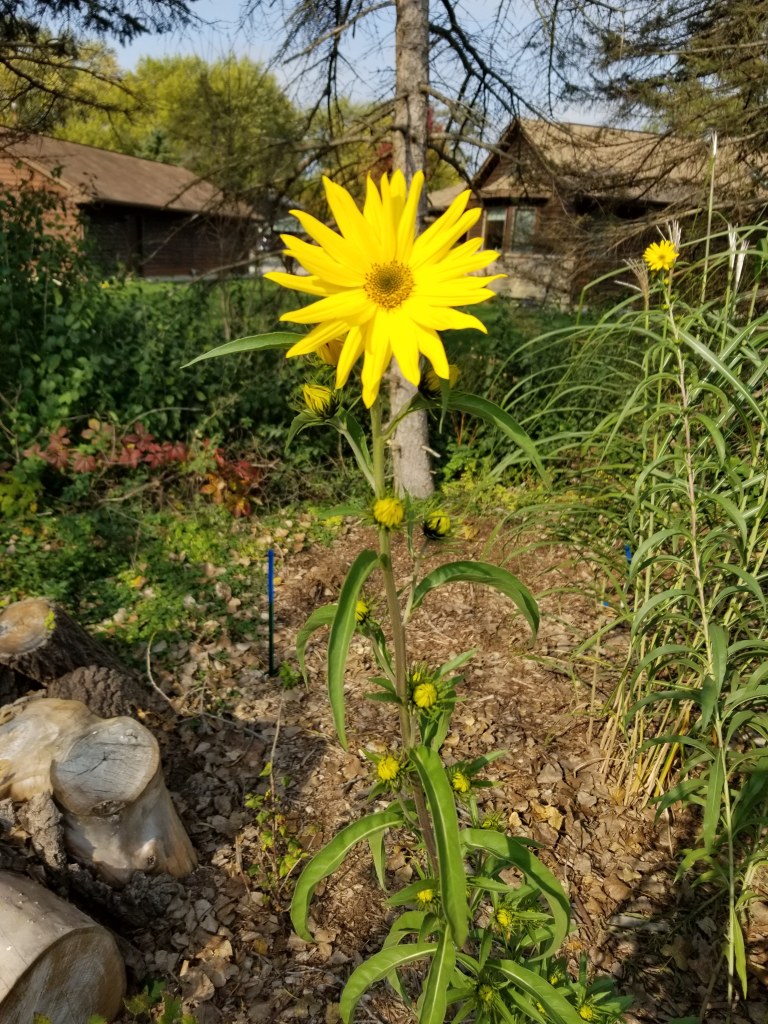
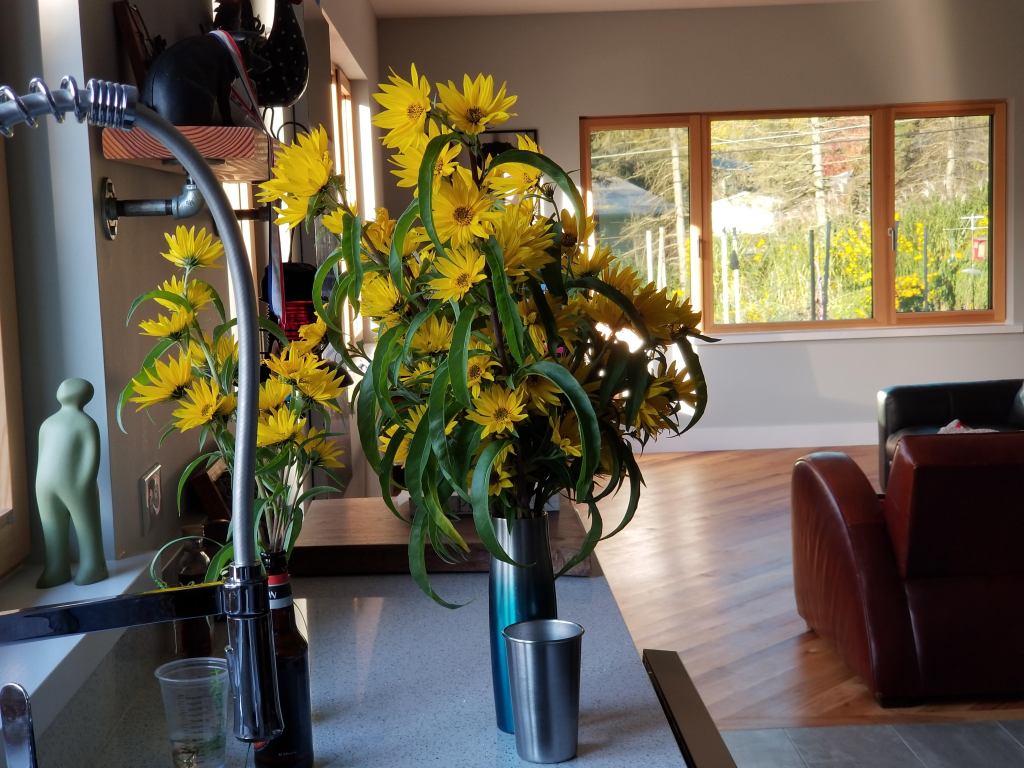
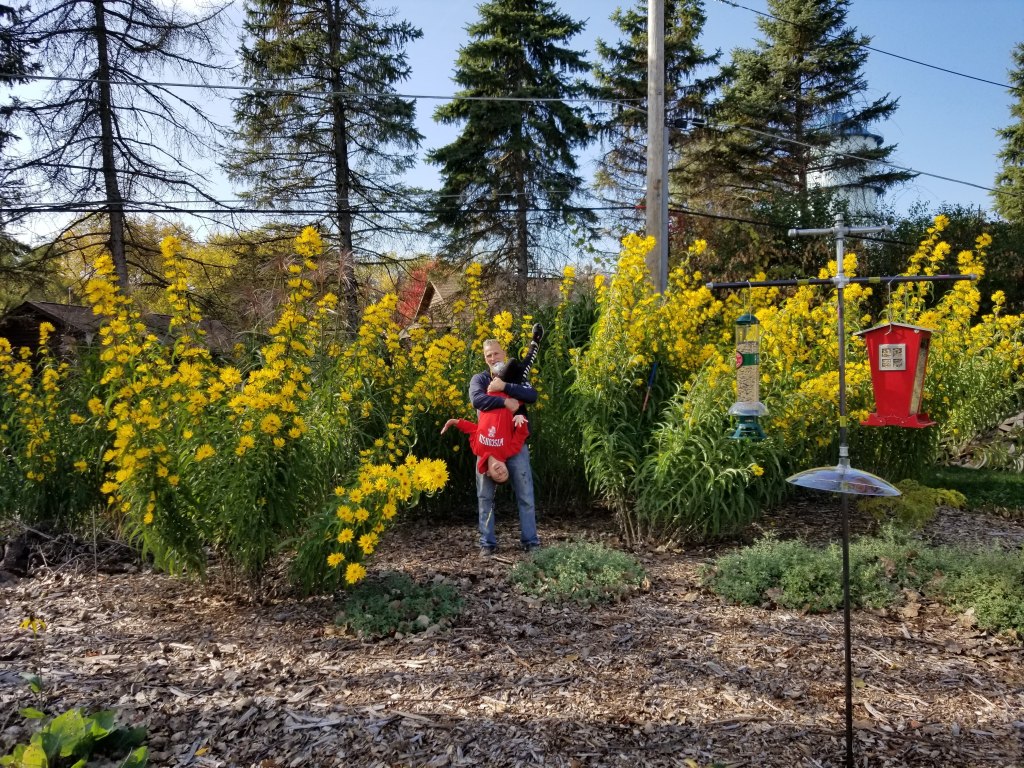
And the sunflower blooms in fall never disappoint:
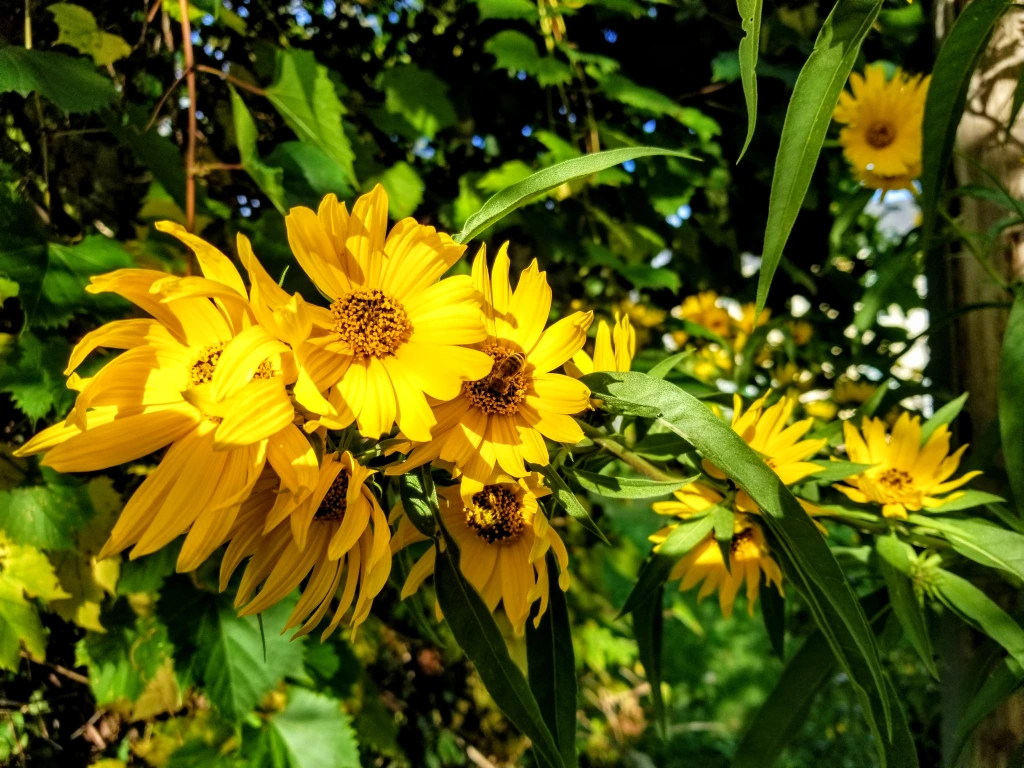
The pairing continues to make for a nice silhouette against a summer sky when working or wandering in the yard:
The addition of the catmint and bird feeders in the foreground has helped to fill out this corner of the yard:
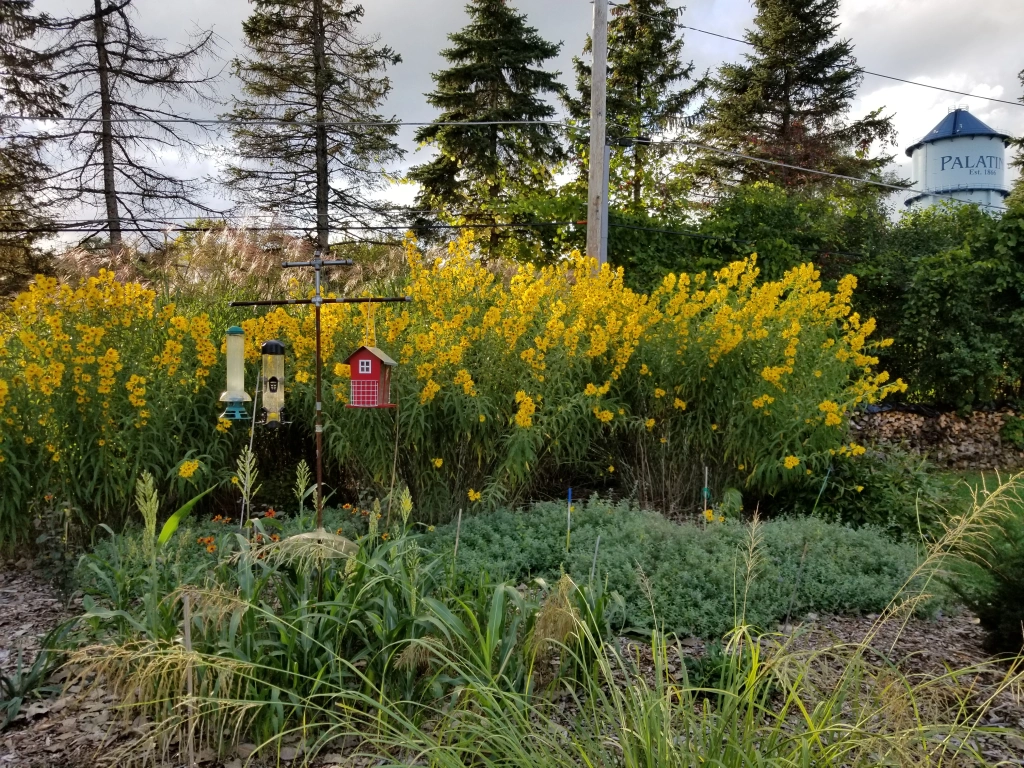
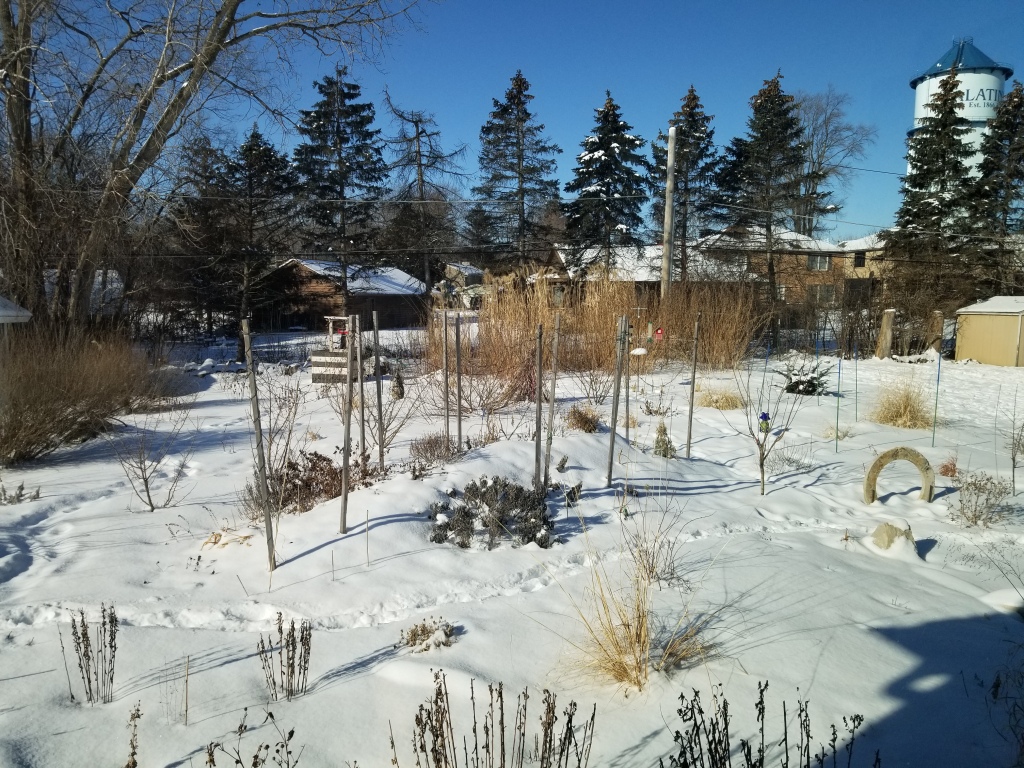
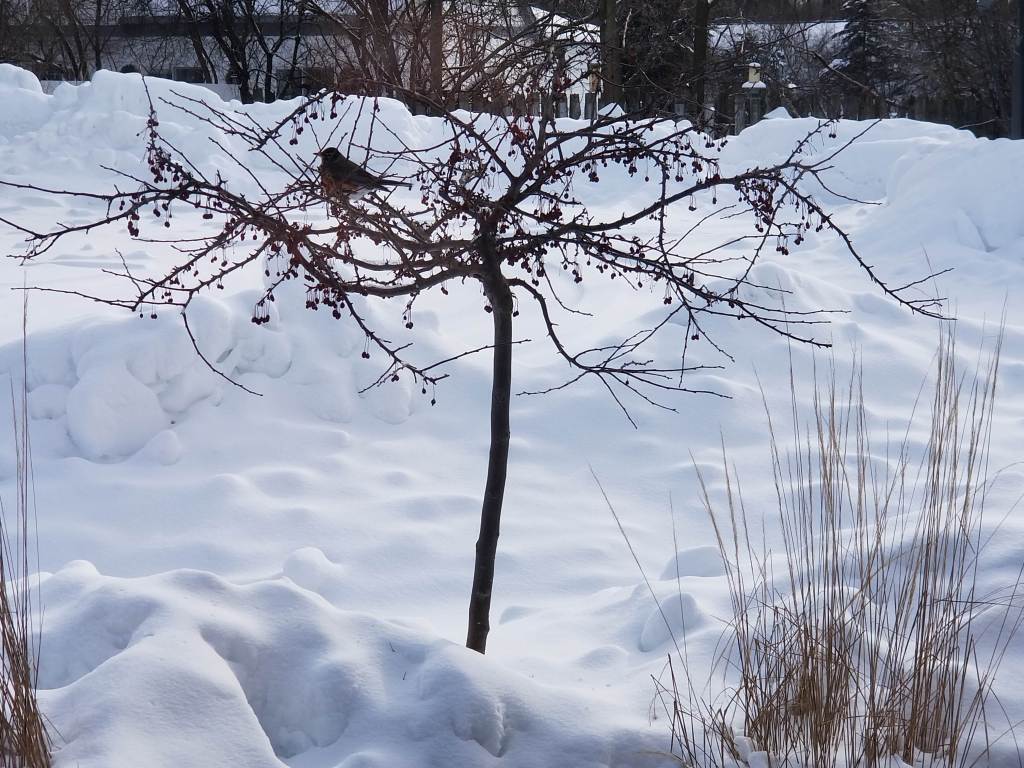
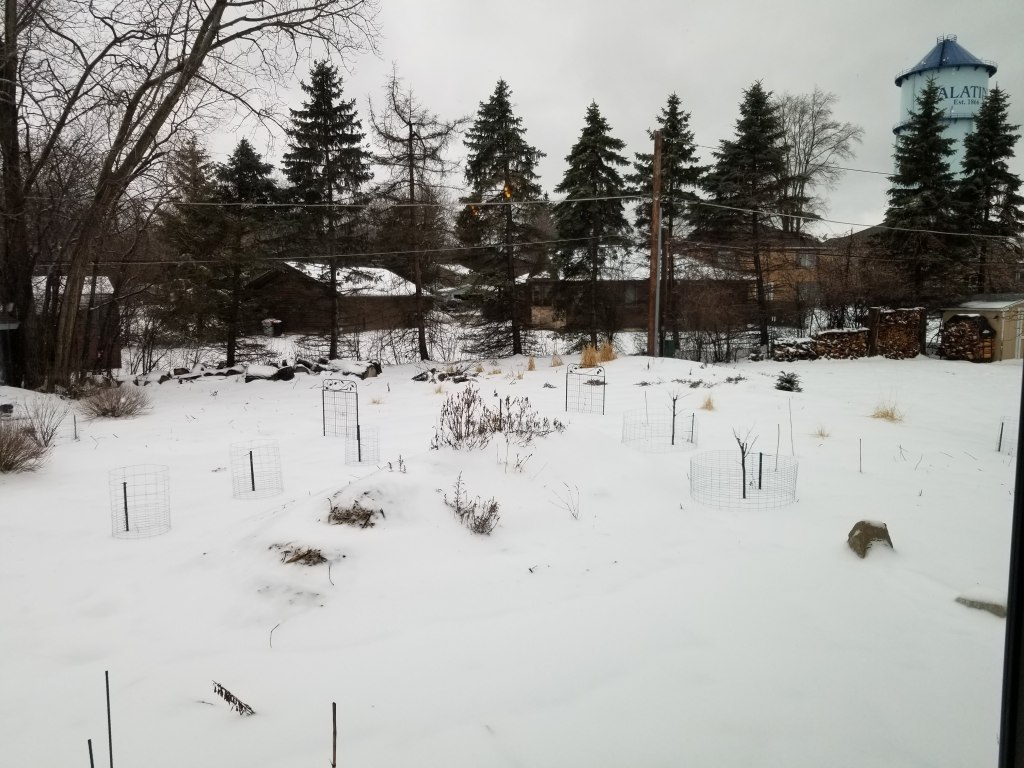
There has also been progress made in terms of the views in winter. In fact, there is now some lingering structure to help get us through the coldest months. Our west-facing windows are a great vantage point from which to bird watch, or catch a glimpse of the hawks as they take their shots around the bird feeders, almost on a daily basis.
How far we’ve come…
Some of our goals heading into our fifth growing season will include adding some physical structure (likely to include some seating in the garden), more flowers (of course), and we may even, for the first time, be able to divide and spread around some of the plants that will be 4-5 years old.
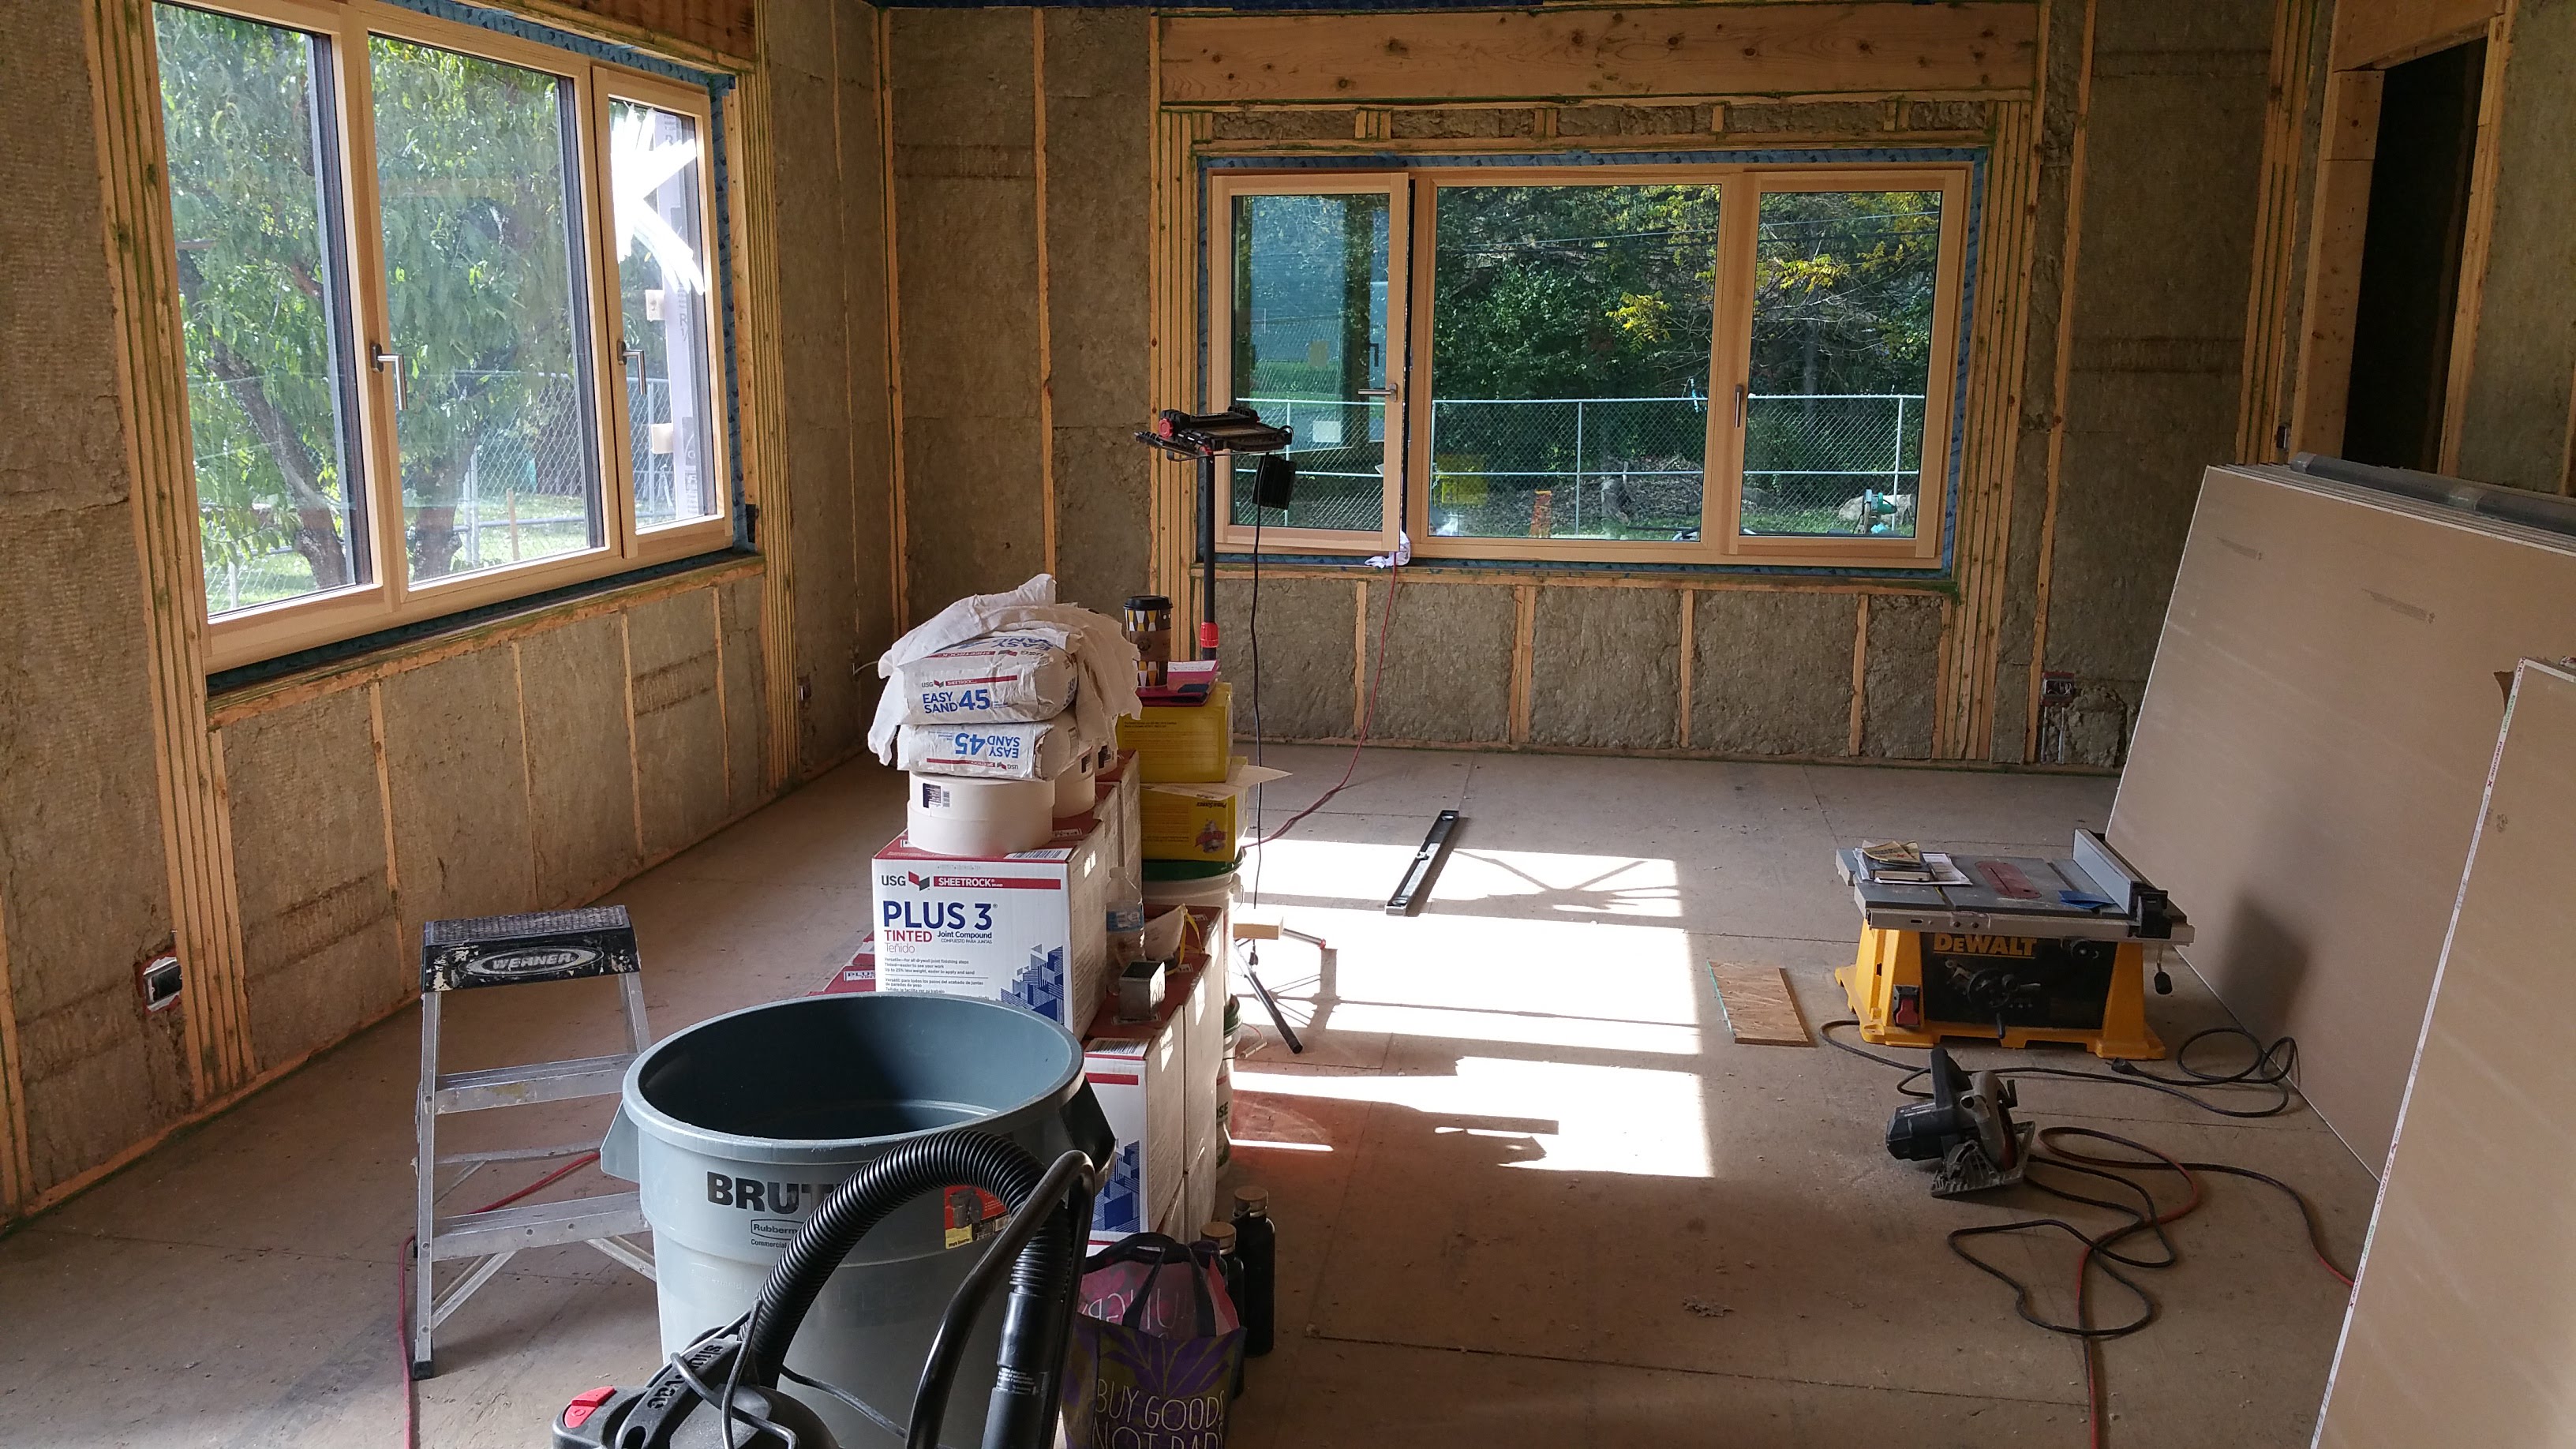
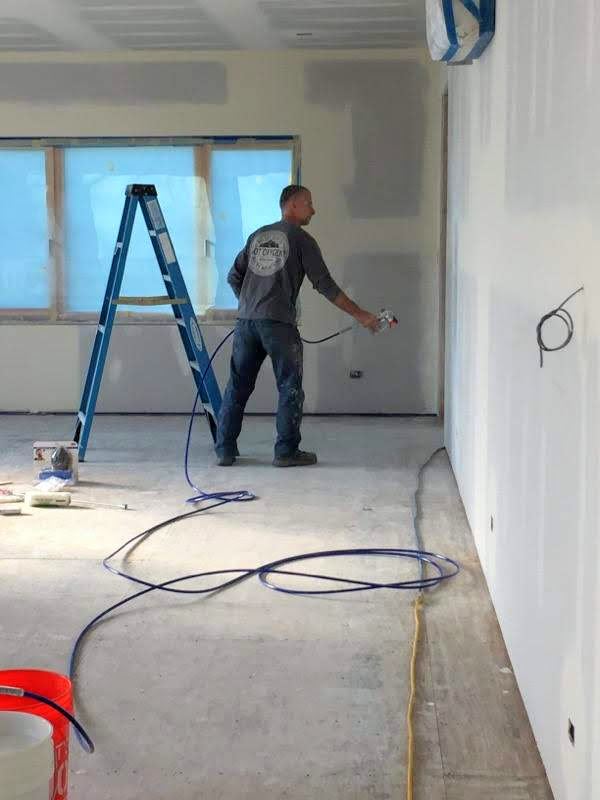
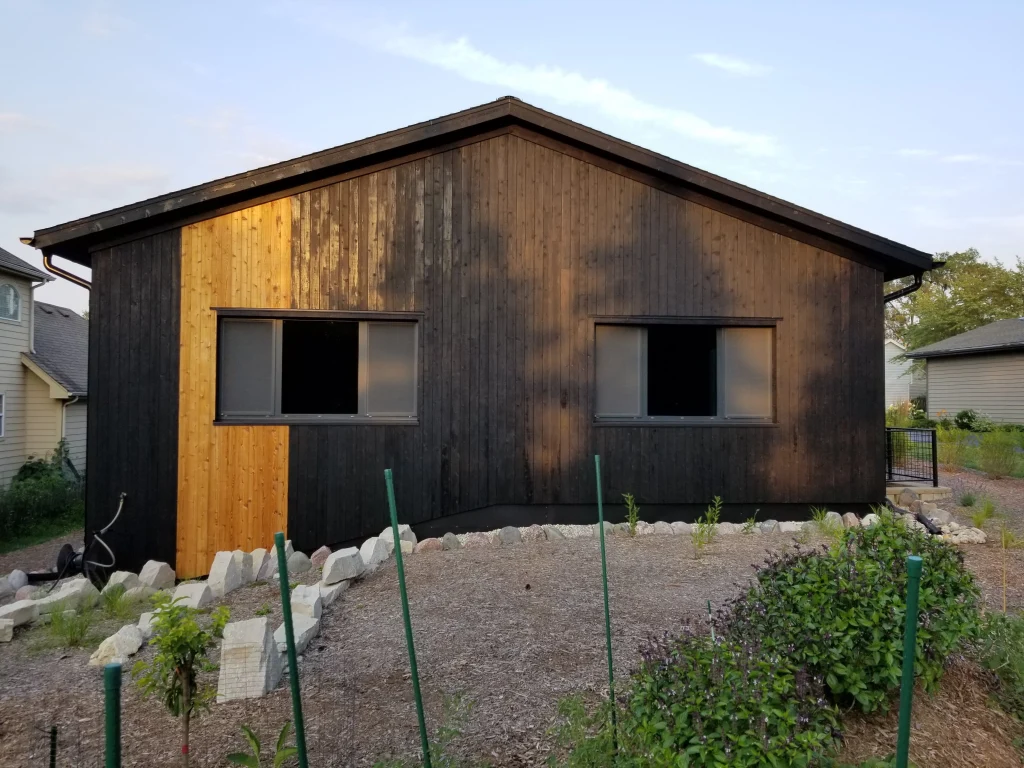
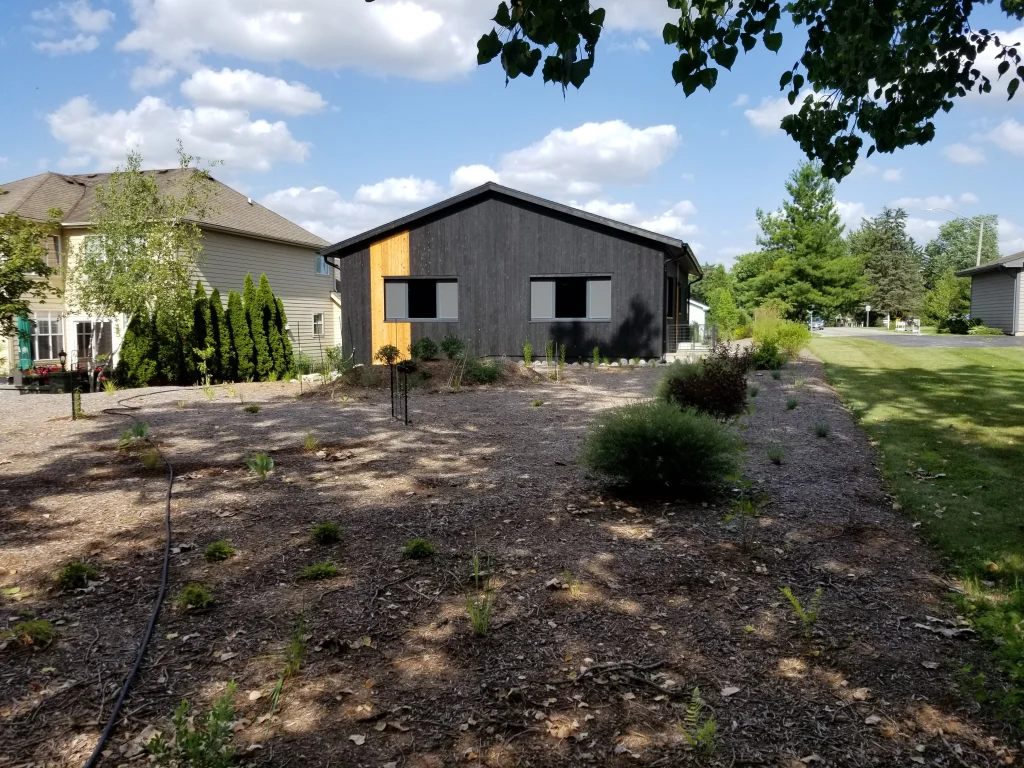
As important as it is to set goals, it’s equally worthwhile to take stock of just how far we’ve come. With the chaos of construction, followed pretty quickly by the COVID crisis, it’s been easy to lose any real sense of time, let alone progress. It’s important to look back occasionally to remind ourselves of just how dramatic some of the change and development has been:
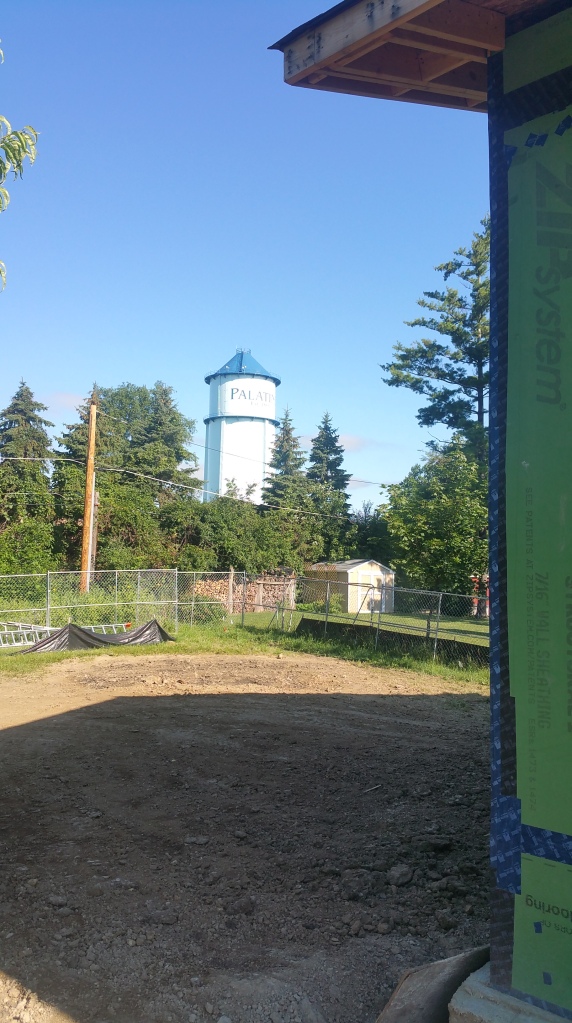
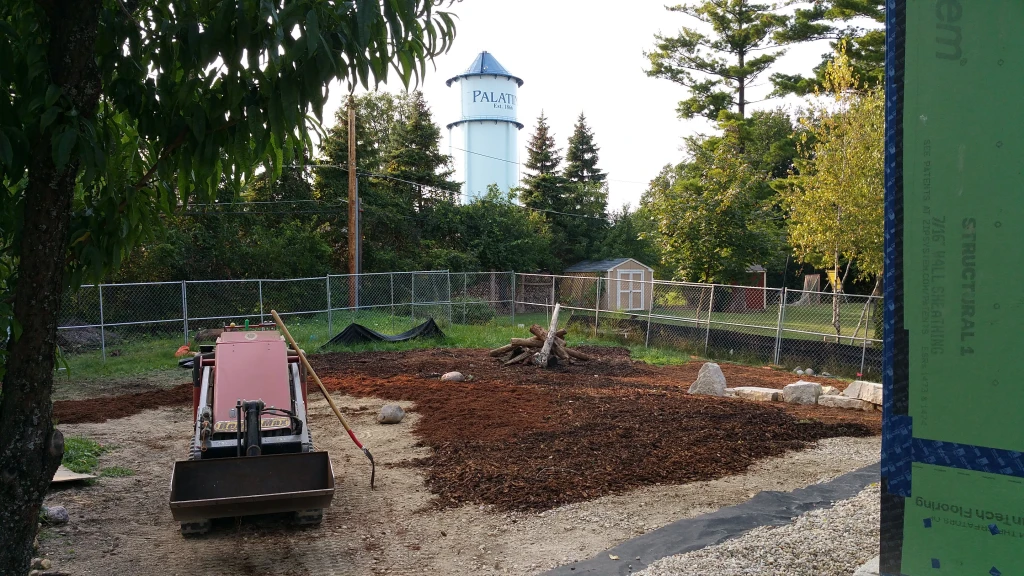
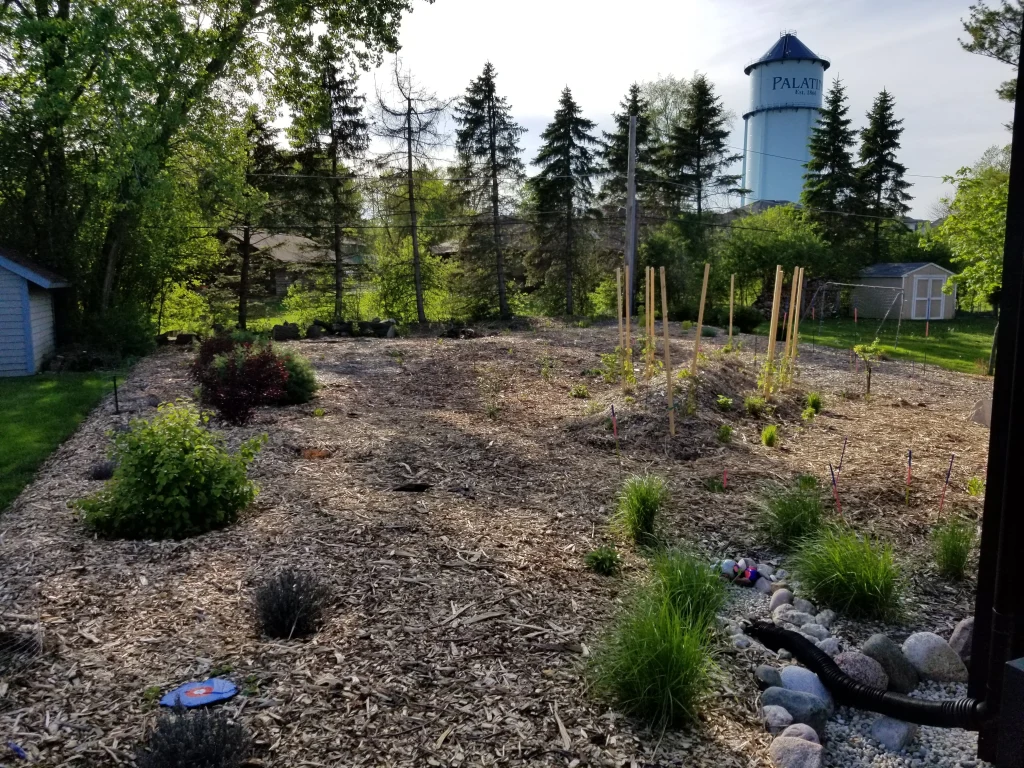
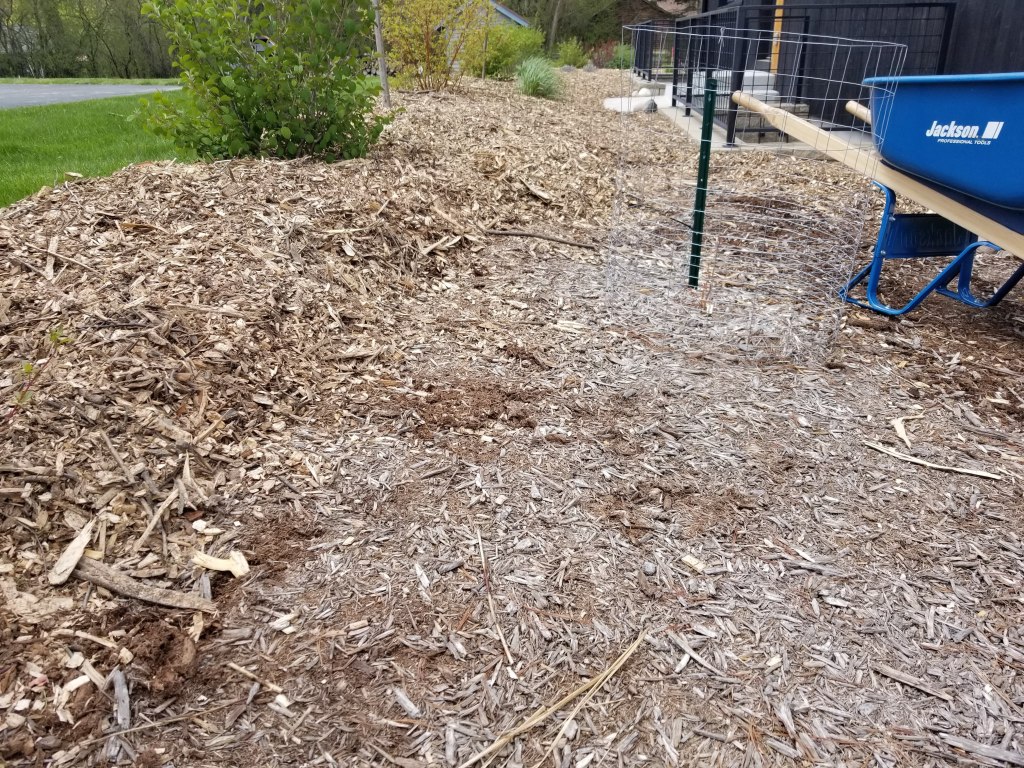
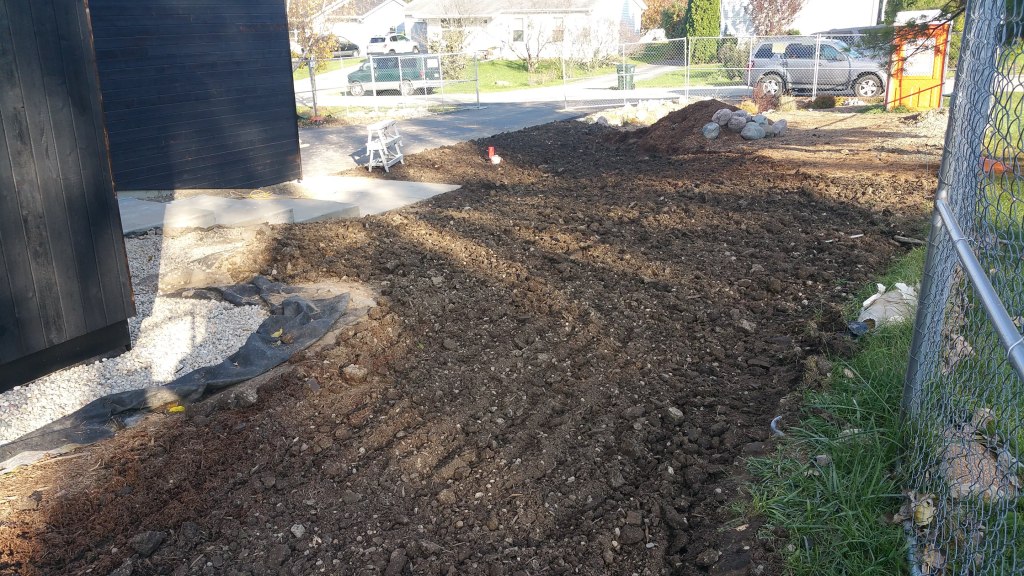
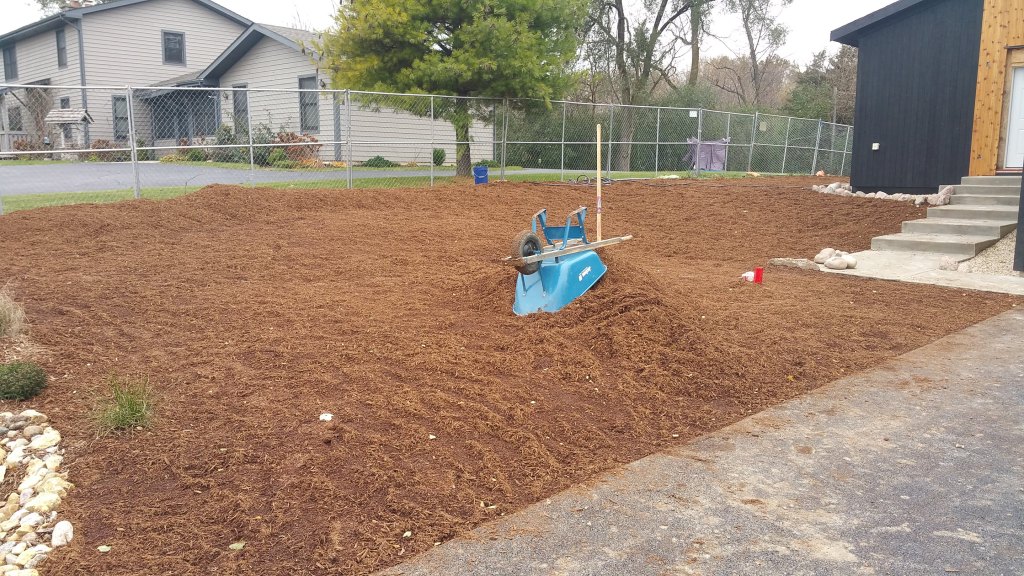
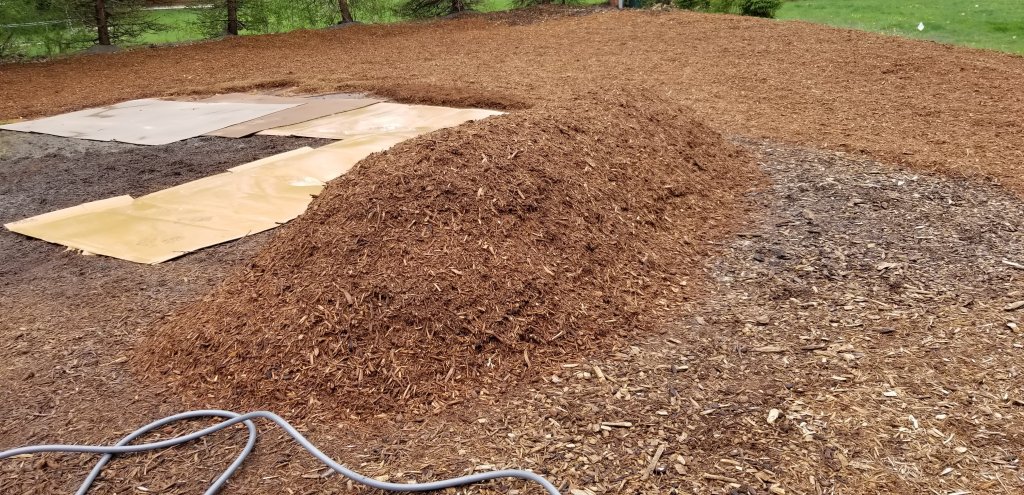
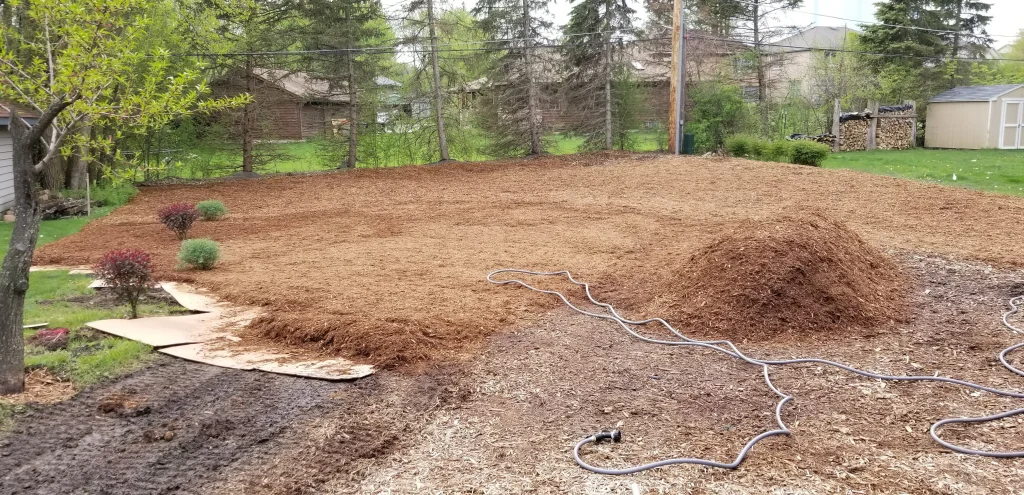
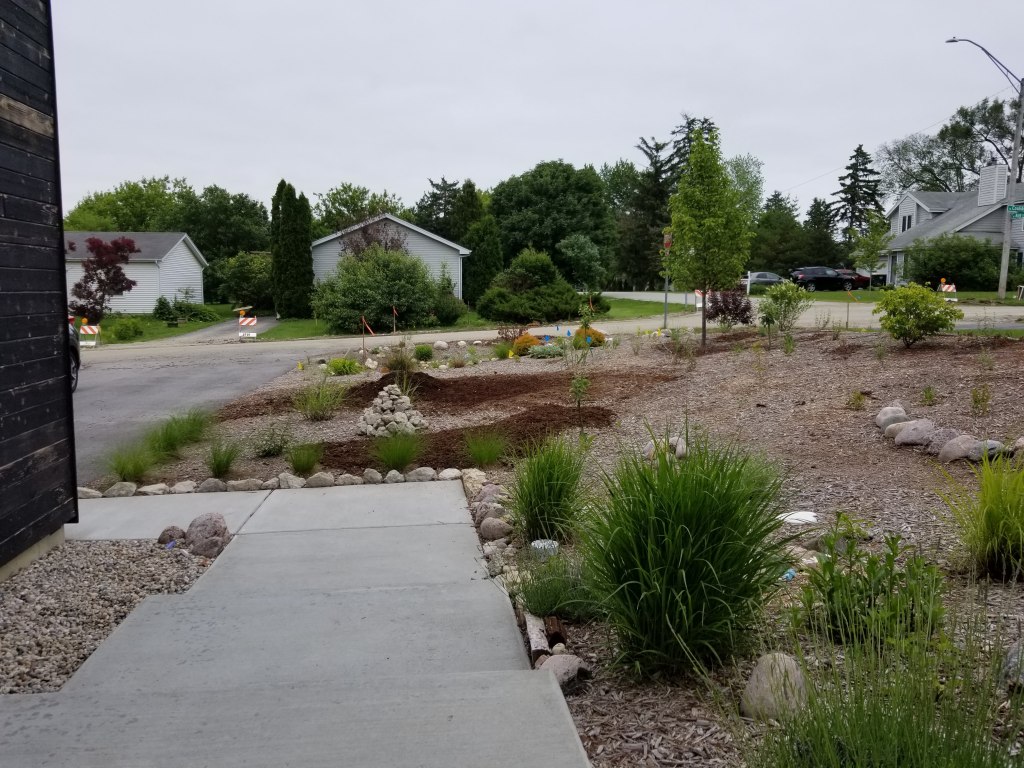
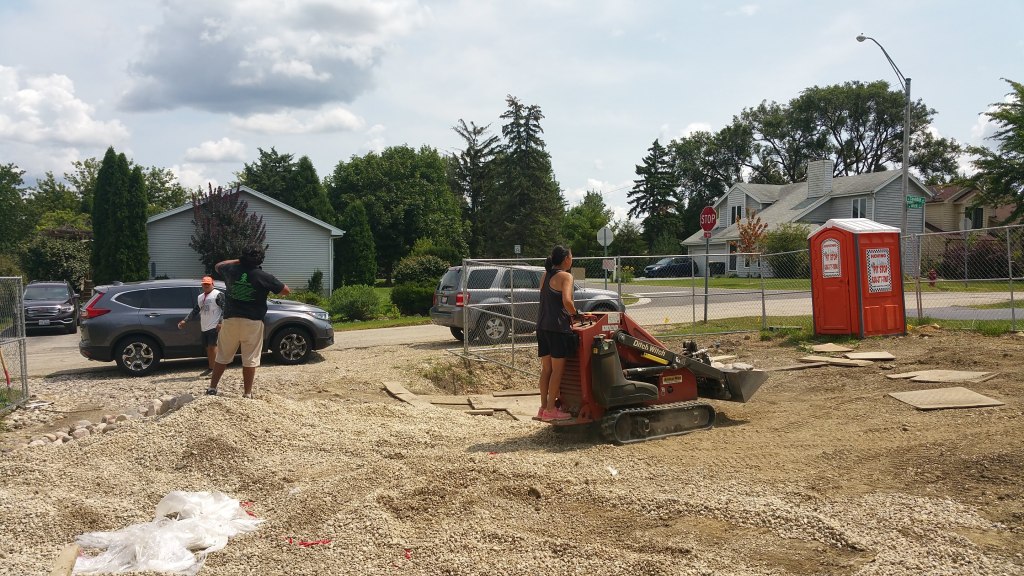
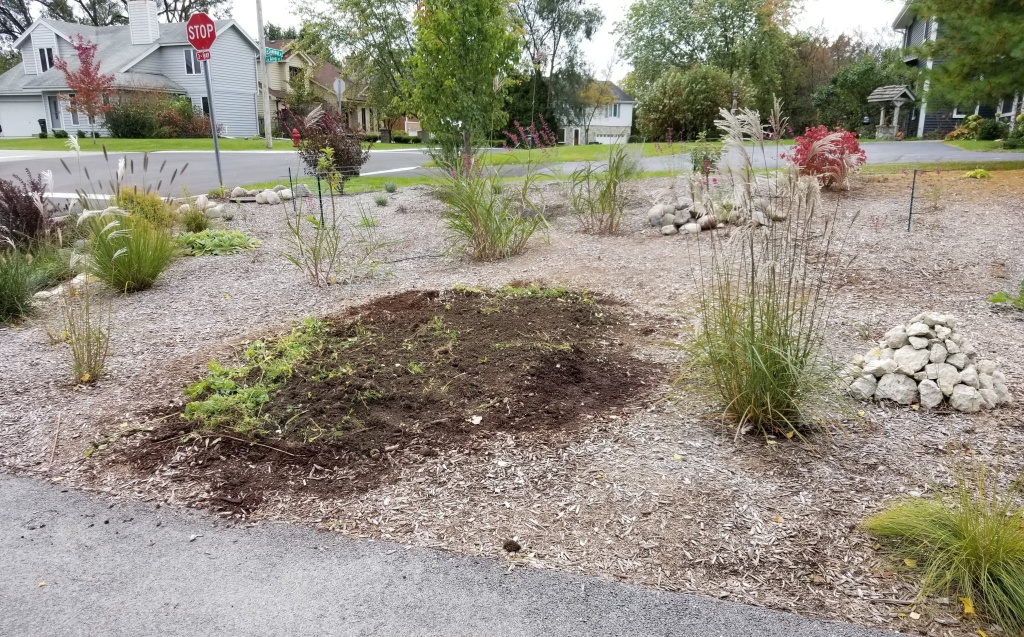
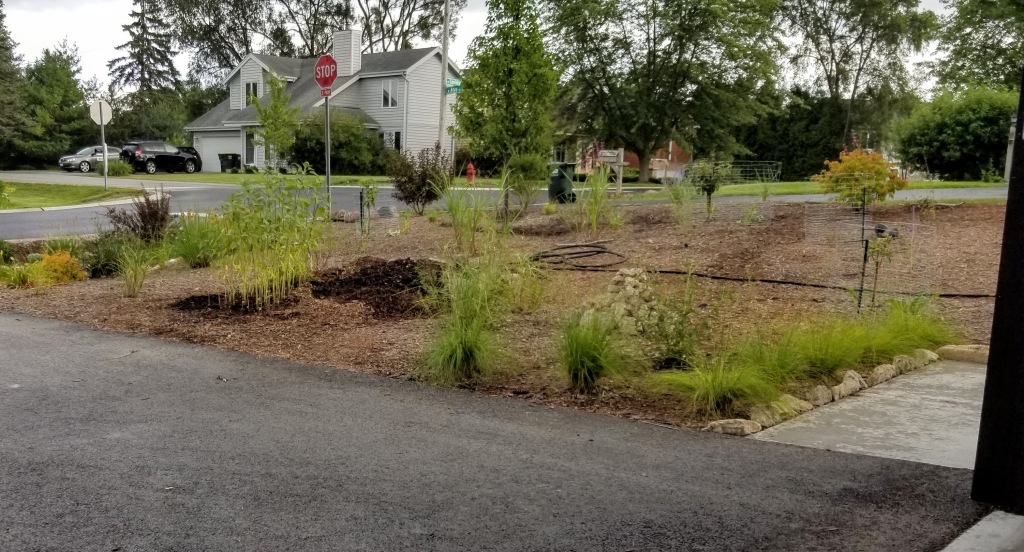
Here are another series of photos showing how things have transpired, this time concentrating on the front yard. For instance, the initial sheet mulching layers going down:
Adding plants and an additional layer of mulch during the early days of the COVID crisis:
As the space between plants continues to dwindle, and as things mature and spread out, the fecundity may approach the level of wildness (albeit with the occasional gentle nudge from us) that Eric Toensmeier observed in an abandoned lot behind a strip mall that nature had been busy reclaiming for her own:
“This feral ecosystem behind Kmart featured over ten acres of dense clumps of thicket-forming shrubs interspersed with open wildflower meadows. Here and there some teenaged oak and black locust emerged. Songbirds and sparrows were everywhere, and once you walked in a few feet, it was easy to forget you were close to roads, shopping centers, and housing projects. Bumblebees and other pollinators buzzed around a myriad of flowers, from thistles to black-eyed Susans.”
— Eric Toensmeier, Paradise Lot
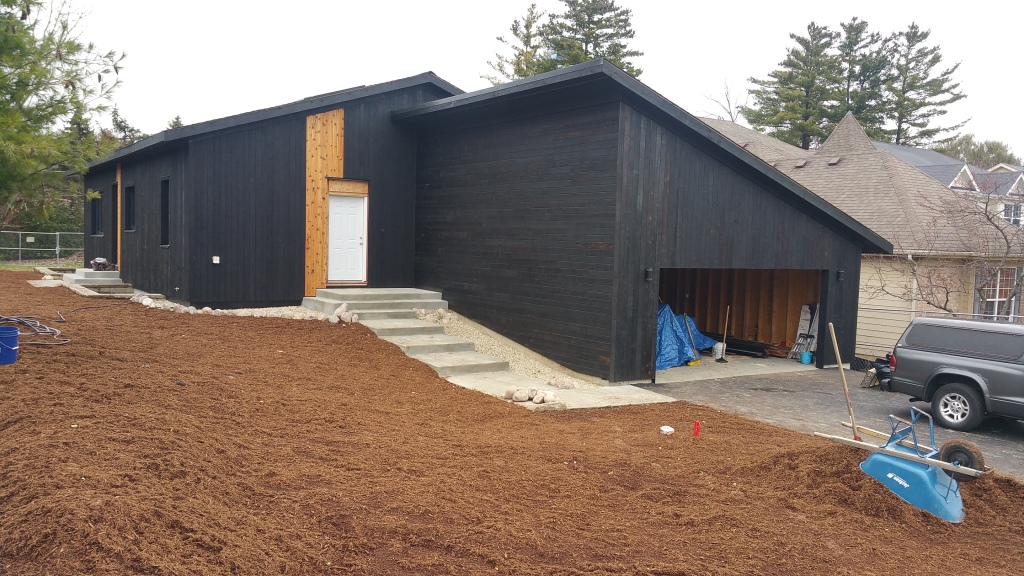
During what amounts to just 2-3 full growing seasons, it’s amazing how much the yard has filled in. With some luck, the house may be slowly transitioning from something that was once imposed on the site — creating some upheaval in the immediate ecosystem — to something that looks like it was an always existing natural habitat with a home somehow dug in and nestled into its center. If the details are attended to, and with enough time elapsed, this illusion may become real.


“It is as if the plants were a gift from the people inside to people on the street.”
— Christopher Alexander, et al., A Pattern Language


You must be logged in to post a comment.